A workflow taught by Adobe Certified Instructors at Adobe Video World.
White balance ensures the colors in your video look natural rather than tinted orange or blue. Getting it right in camera saves hours of correction and is essential for accurate, professional color. This guide explains color temperature, how to set white balance with presets and custom methods, and how to capture true-to-life color in any lighting.
What White Balance Is
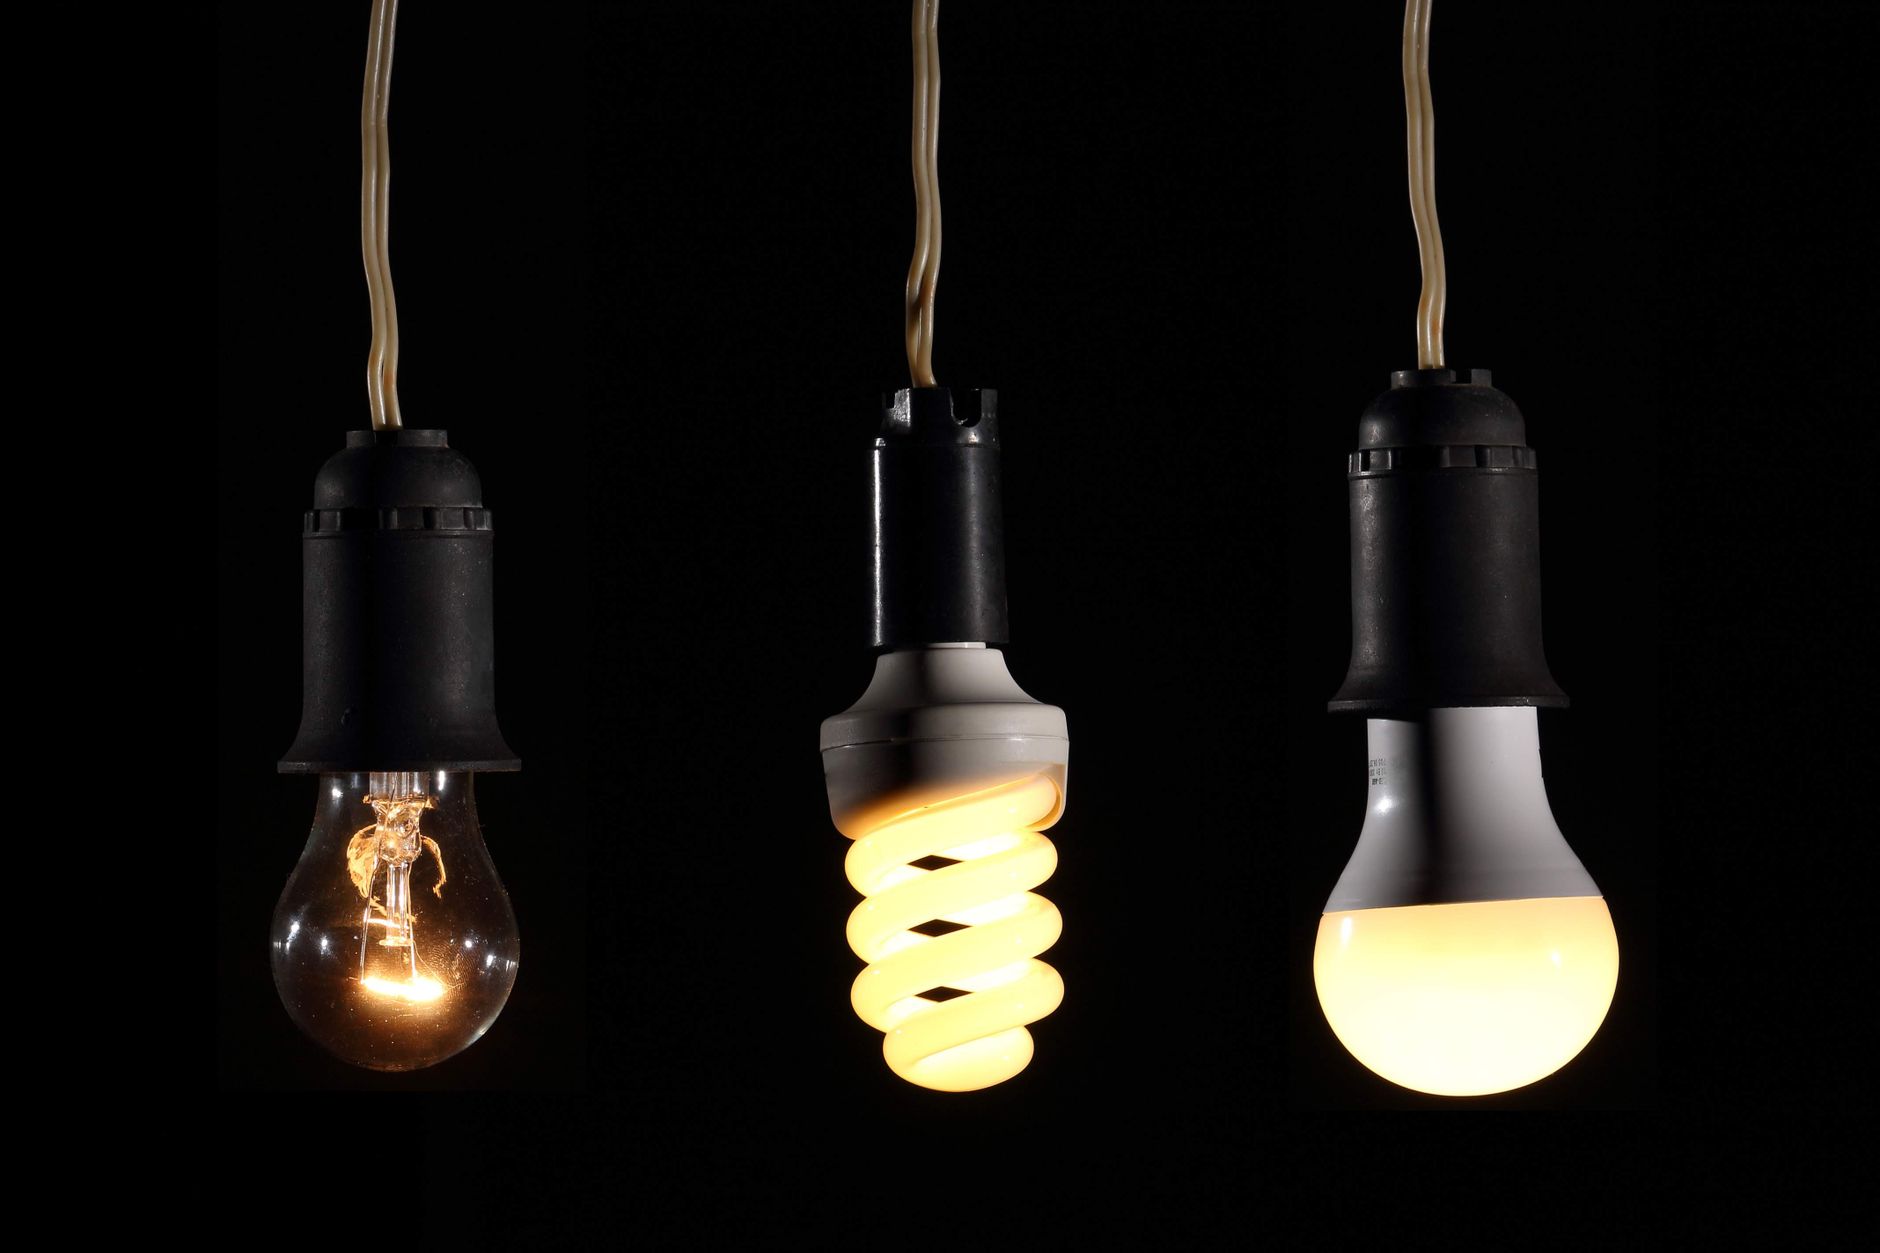
White balance tells your camera what ‘white’ looks like under your current lighting, so it can render all colors accurately. Different light sources have different color casts, and white balance compensates so whites appear white rather than orange or blue.
Without correct white balance, footage takes on an unnatural tint — warm and orange under indoor bulbs, cold and blue in shade. Setting it properly is what makes skin tones and colors look natural and believable in your video.
Understand Color Temperature
White balance is measured in color temperature, on the Kelvin scale. Lower values (around 3200K) are warm and orange, like indoor tungsten bulbs, while higher values (around 5600K and up) are cool and blue, like daylight and shade.
Understanding this scale helps you recognize and correct color casts. Each lighting situation has a characteristic temperature, and matching your white balance to it neutralizes the cast, giving you accurate color regardless of the light source.
Use White Balance Presets
Cameras include white balance presets for common lighting — Daylight, Cloudy, Shade, Tungsten, and Fluorescent. Selecting the preset that matches your conditions quickly gets you close to accurate color without manual measurement.
These presets are a fast, reliable starting point in typical situations. Choosing Daylight outdoors or Tungsten under warm indoor bulbs, for instance, compensates for that light’s cast, producing natural color with a single setting.
Set a Custom White Balance
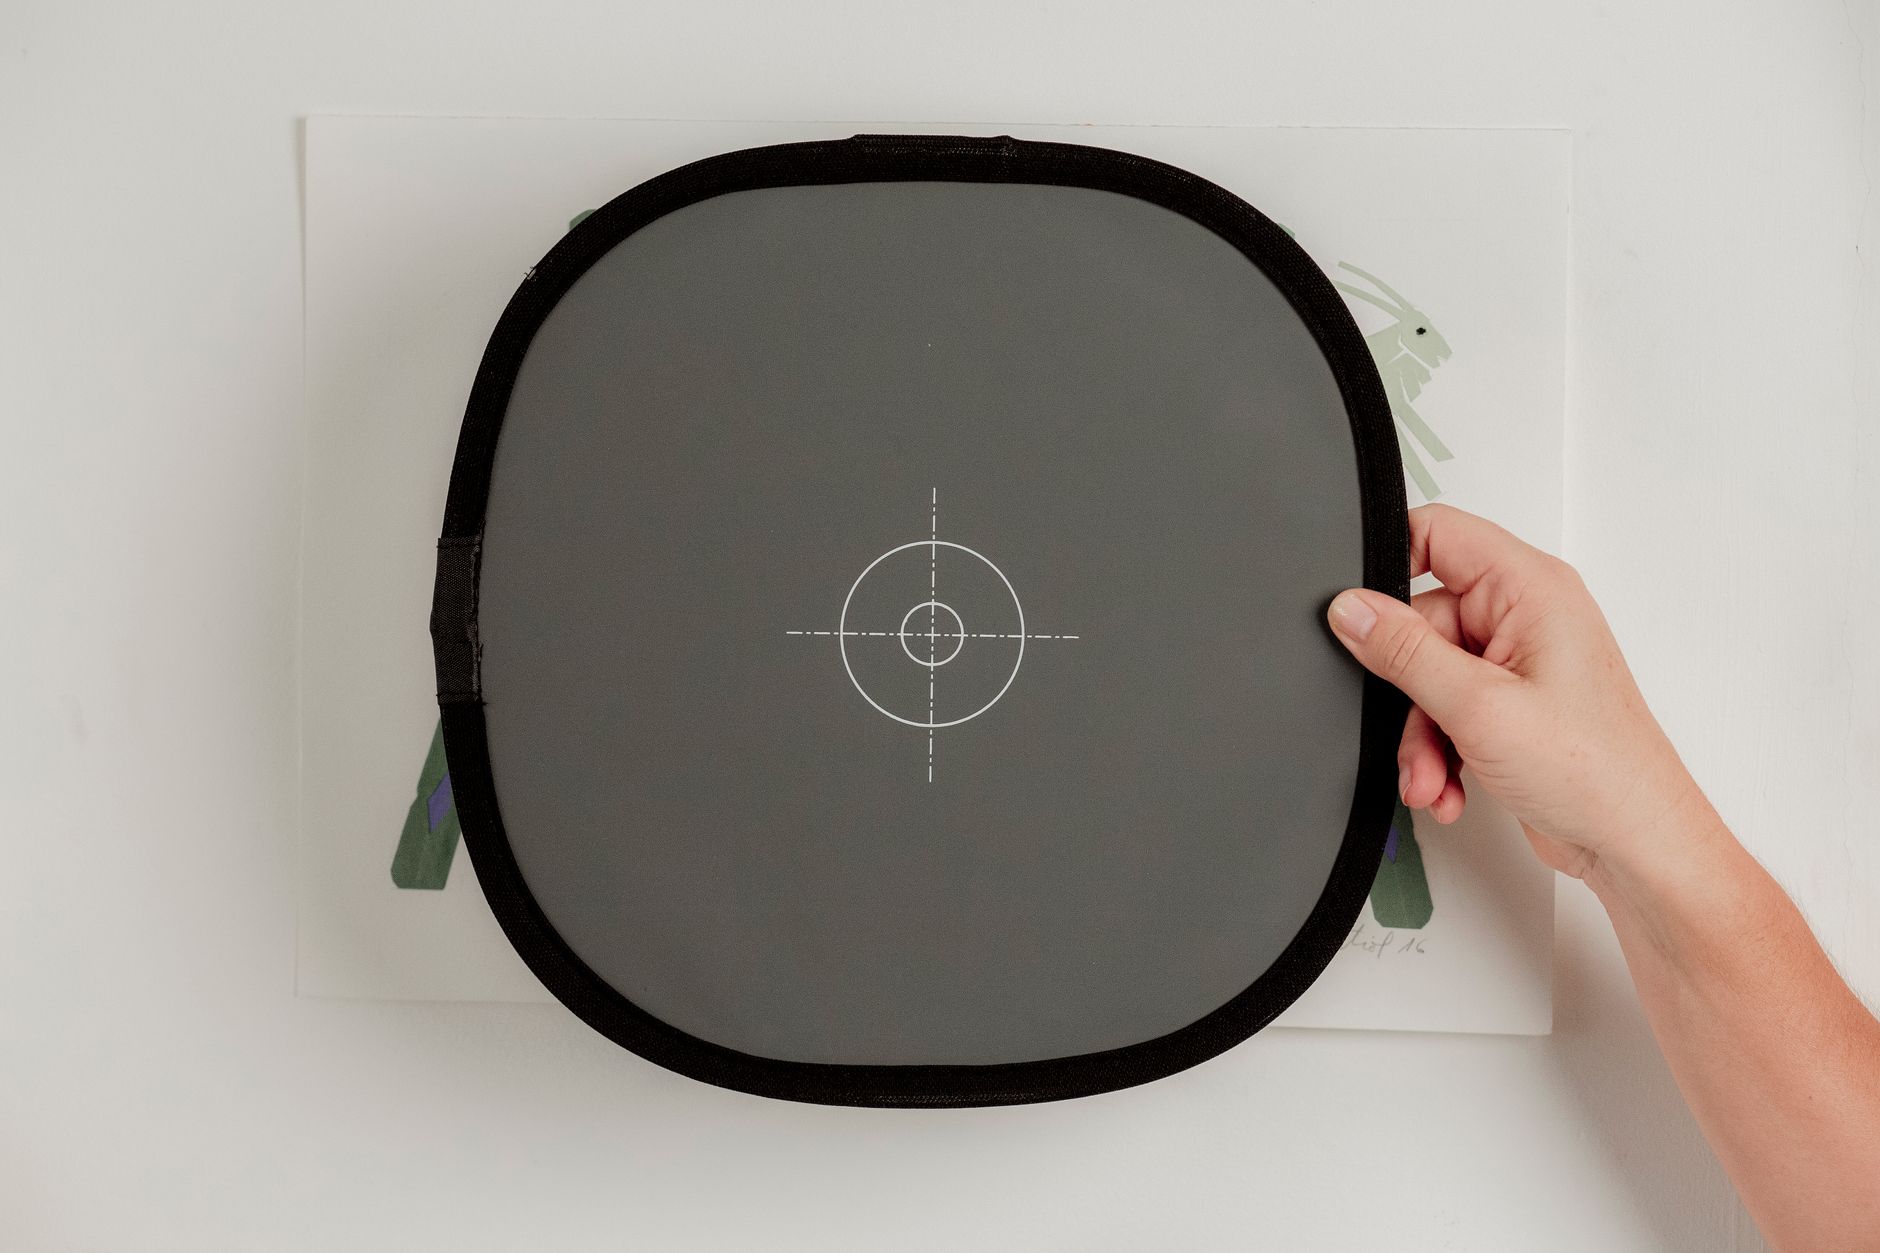
For the most accurate color, set a custom white balance. Point your camera at a white or grey card under your actual lighting and tell the camera to balance to it, and it precisely neutralizes that specific light’s cast.
This custom method is more accurate than presets because it measures your exact conditions. In mixed or unusual lighting where presets fall short, a custom white balance off a grey card gives you reliably correct color every time.
Avoid Auto White Balance for Critical Work
Auto white balance lets the camera guess, which is convenient but risky for video. It can shift mid-shot as the framing or light changes, causing distracting color jumps, and it may not judge tricky lighting correctly.
For consistent, professional footage, setting white balance manually or with a preset keeps color stable throughout a shot. Auto is fine for casual use, but locking your white balance prevents the color shifts that mark amateur video.
Handle Mixed Lighting
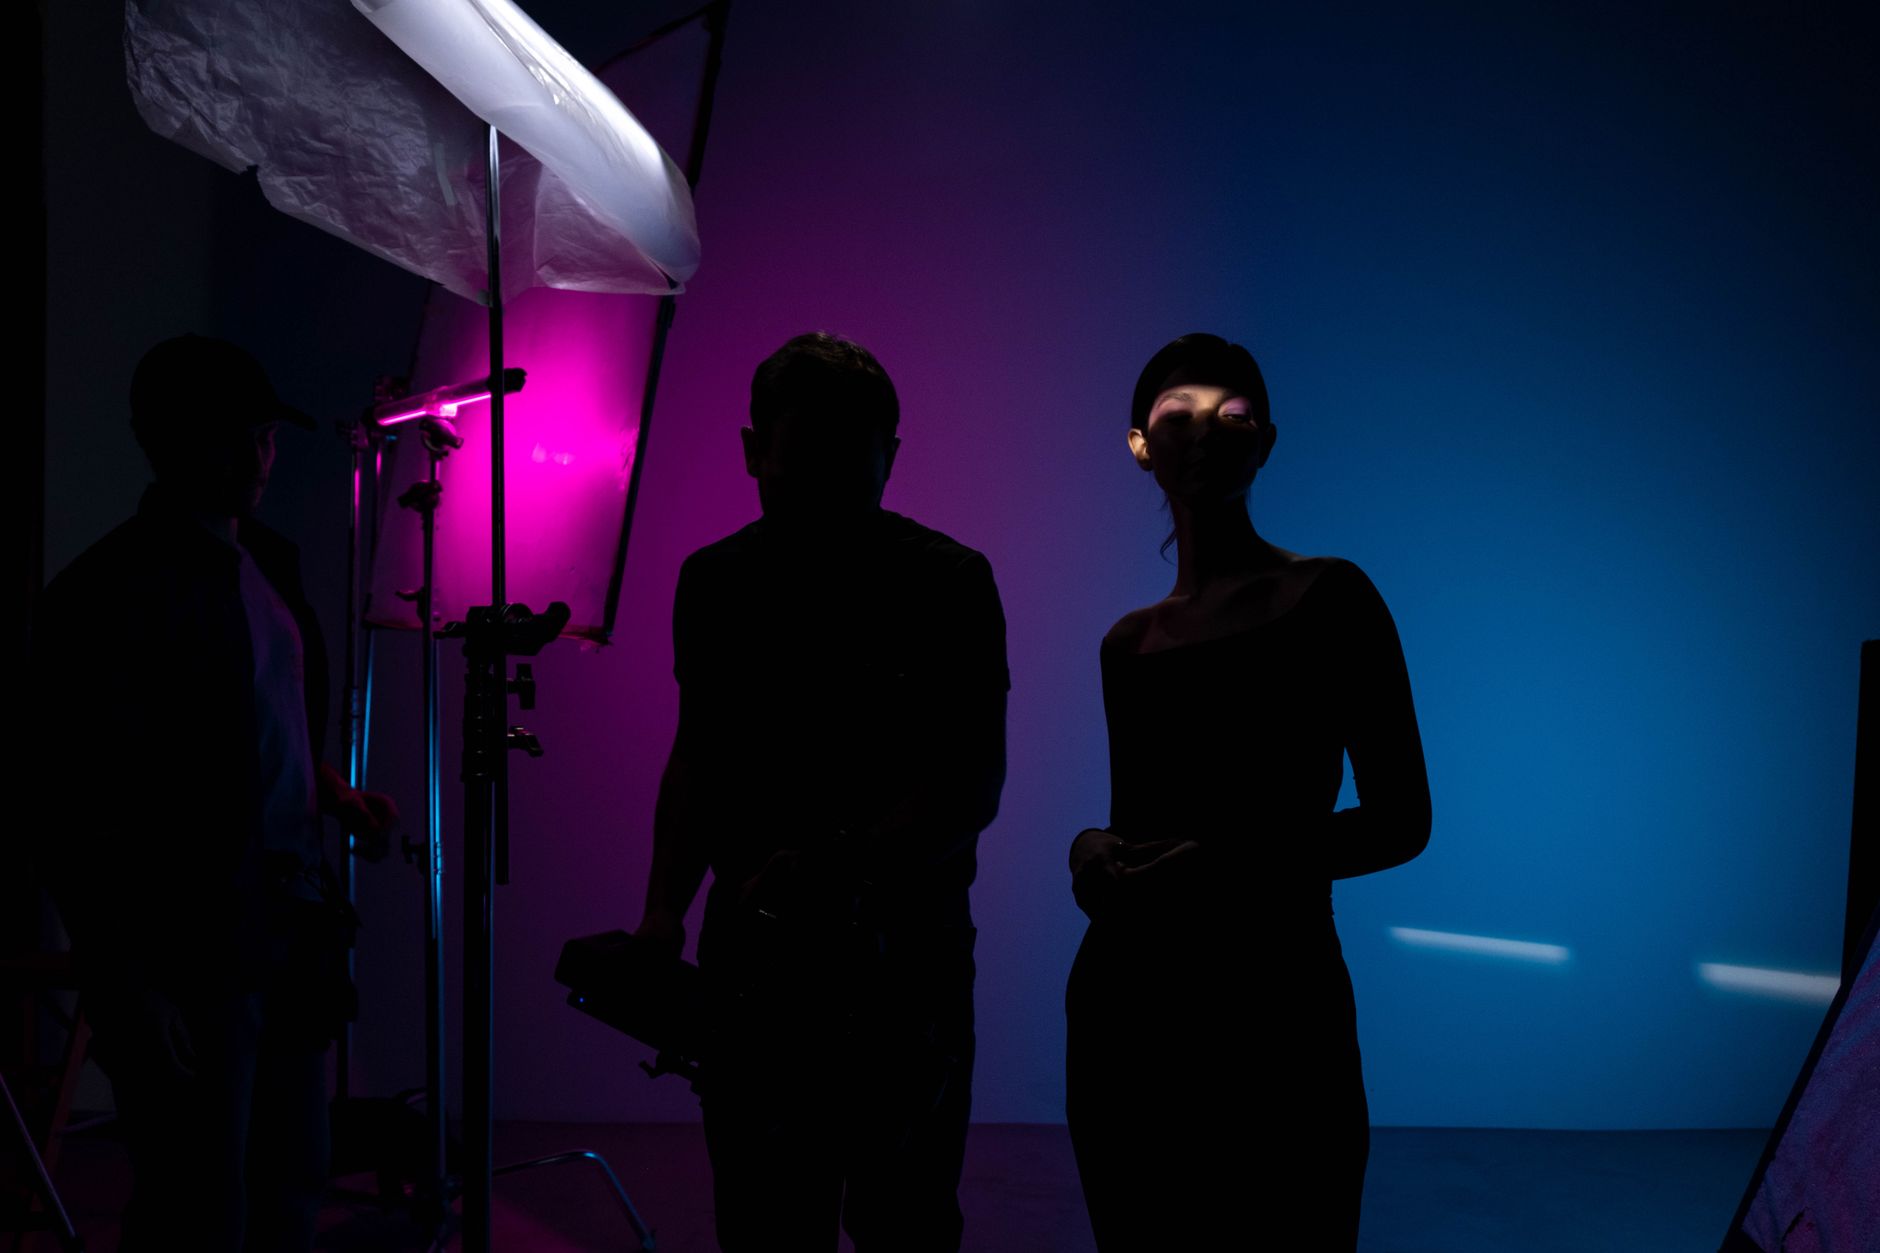
Mixed lighting — daylight from a window plus warm indoor bulbs — is tricky because no single white balance suits both. The best fix is to control the light, gelling or turning off sources so the lighting is consistent, then balance to it.
When you can’t control the light, you choose a compromise white balance and accept some cast, or fix it per area in editing. Recognizing mixed lighting and dealing with it on set, rather than discovering it later, saves significant grading headaches.
Use White Balance Creatively
Beyond accuracy, white balance can be a creative choice. Deliberately warming footage adds a cozy, golden feel, while cooling it adds a cold, tense mood, so you can shift white balance intentionally to support the emotion of a scene.
This creative use connects to color theory and grading, as covered in our color theory guide. Once you understand correct white balance, bending it on purpose becomes a tool for mood, much like color grading in post.
Fix White Balance in Editing
If your white balance is off, you can correct it in editing, especially when shooting in a flat or raw format that preserves color flexibility. The Lumetri tools let you neutralize casts after the fact.
However, getting it right in camera is always better, since correction can degrade quality and never fully matches accurate capture. Treat editing fixes as a safety net, not a substitute for setting white balance properly when you shoot.
White Balance Best Practices
- Match white balance to your lighting’s color temperature.
- Use presets for common conditions, custom for accuracy.
- Set a custom balance off a grey card in tricky light.
- Avoid auto white balance for consistent, professional footage.
Common White Balance Mistakes
- Leaving auto on, causing color to shift mid-shot.
- Footage tinted orange or blue from the wrong setting.
- Ignoring mixed lighting until the edit.
- Relying on fixing it later instead of getting it right in camera.
A Real White Balance Example
Picture shooting indoors under warm lamps with daylight spilling through a window. Left on auto, the camera drifts between warm and cool as you reframe, ruining consistency. So you pull a grey card into the dominant light, set a custom white balance off it, and lock it. Now every shot shares the same neutral, accurate color regardless of framing.
Because you balanced to the actual light rather than guessing, skin tones look natural and the footage cuts together seamlessly. That few seconds with a grey card on set saves an hour of fighting color casts in the grade — the quiet efficiency of getting white balance right the moment you shoot.
Match White Balance Across Cameras
On multi-camera shoots, consistent white balance is essential or your angles won’t intercut cleanly. If two cameras are set differently, one shot looks warm and the next cold, jarring the viewer every time you cut. Setting the same custom white balance, ideally off the same grey card under the same light, keeps every camera matched.
When small differences slip through anyway, the color matching tools in your editor can bring the cameras into alignment in post. But matching white balance in camera first means far less correction later, and it’s the foundation of a multi-camera edit that feels like one cohesive, seamless production.
Pushing the white balance cold is one of the first moves in converting day footage to night.
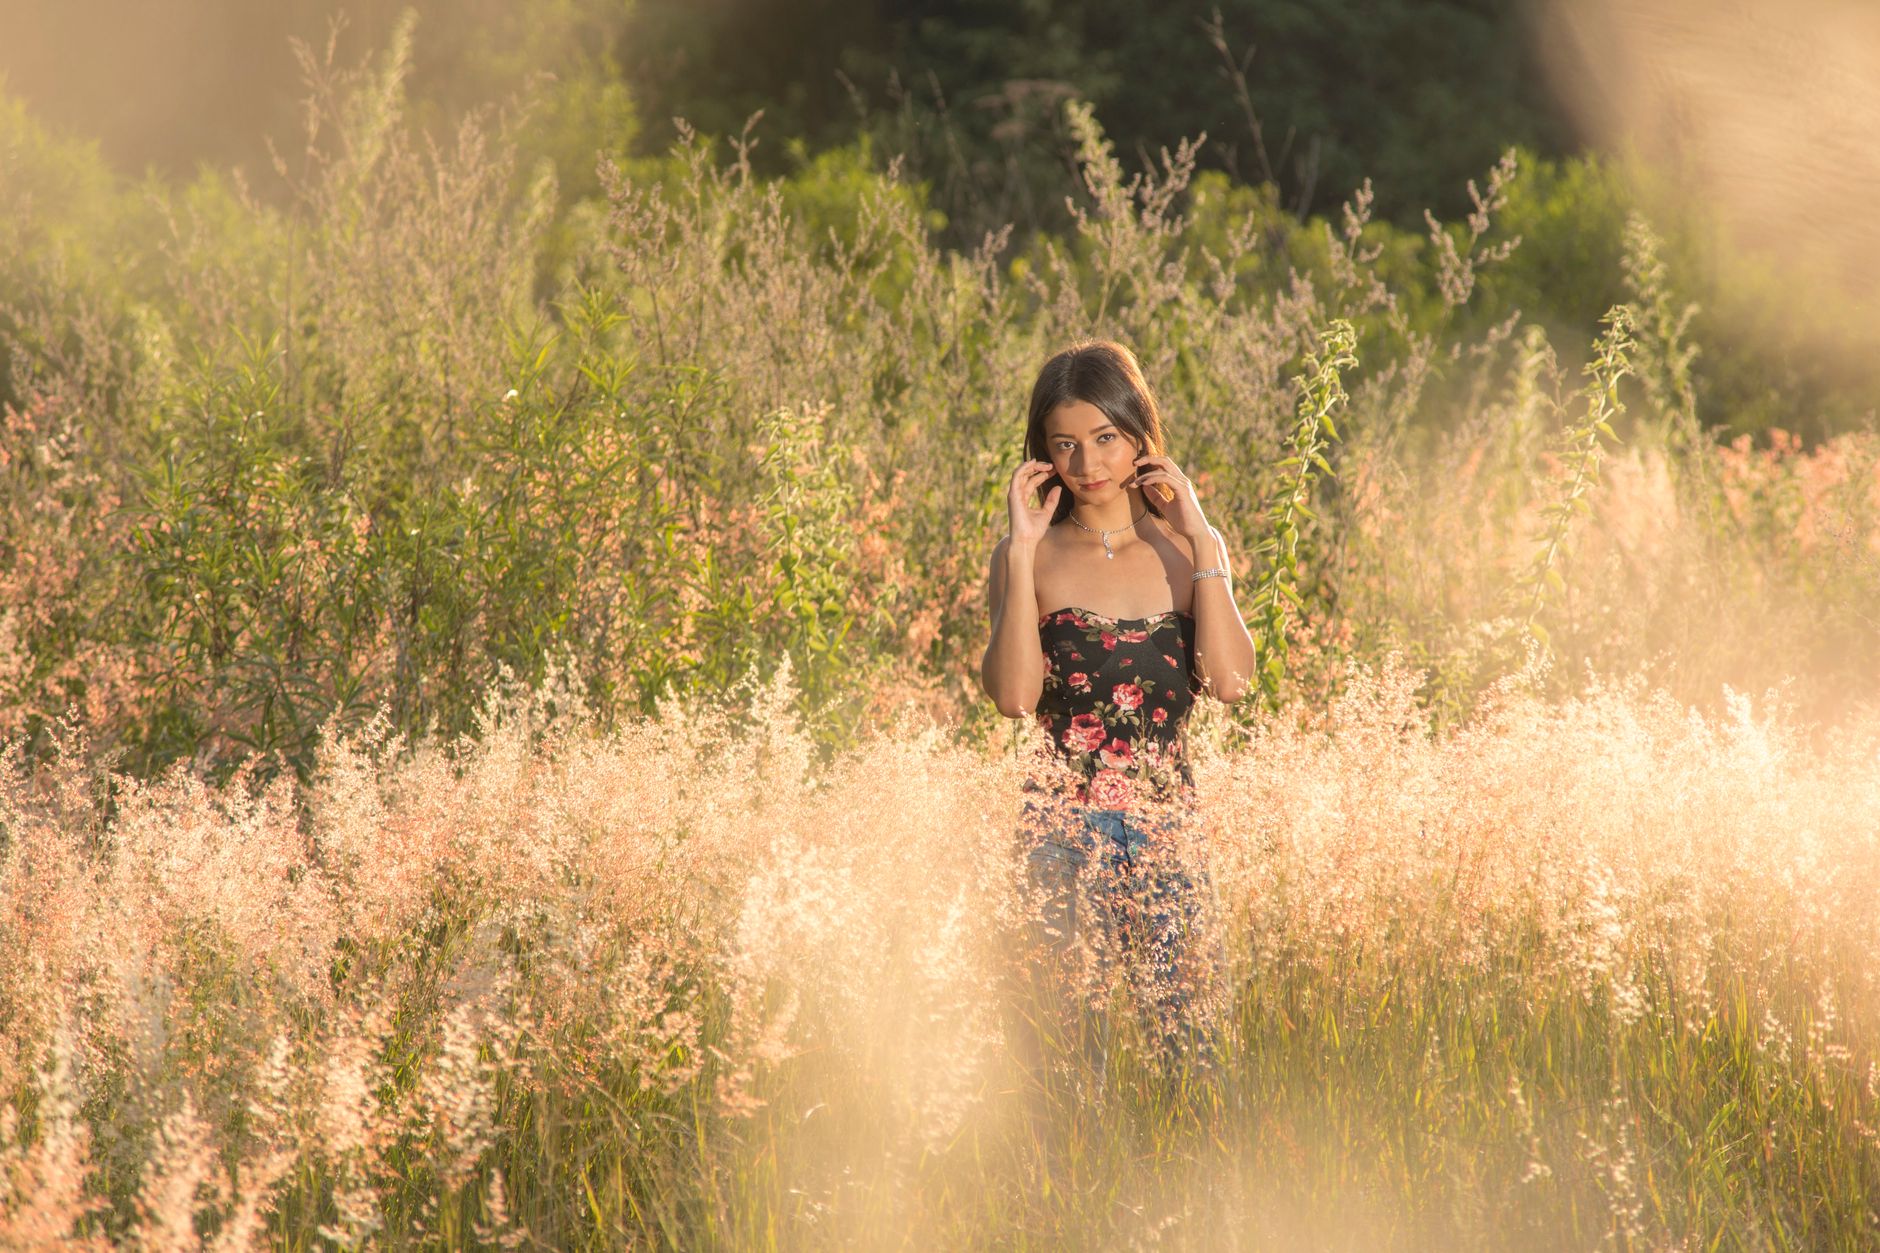
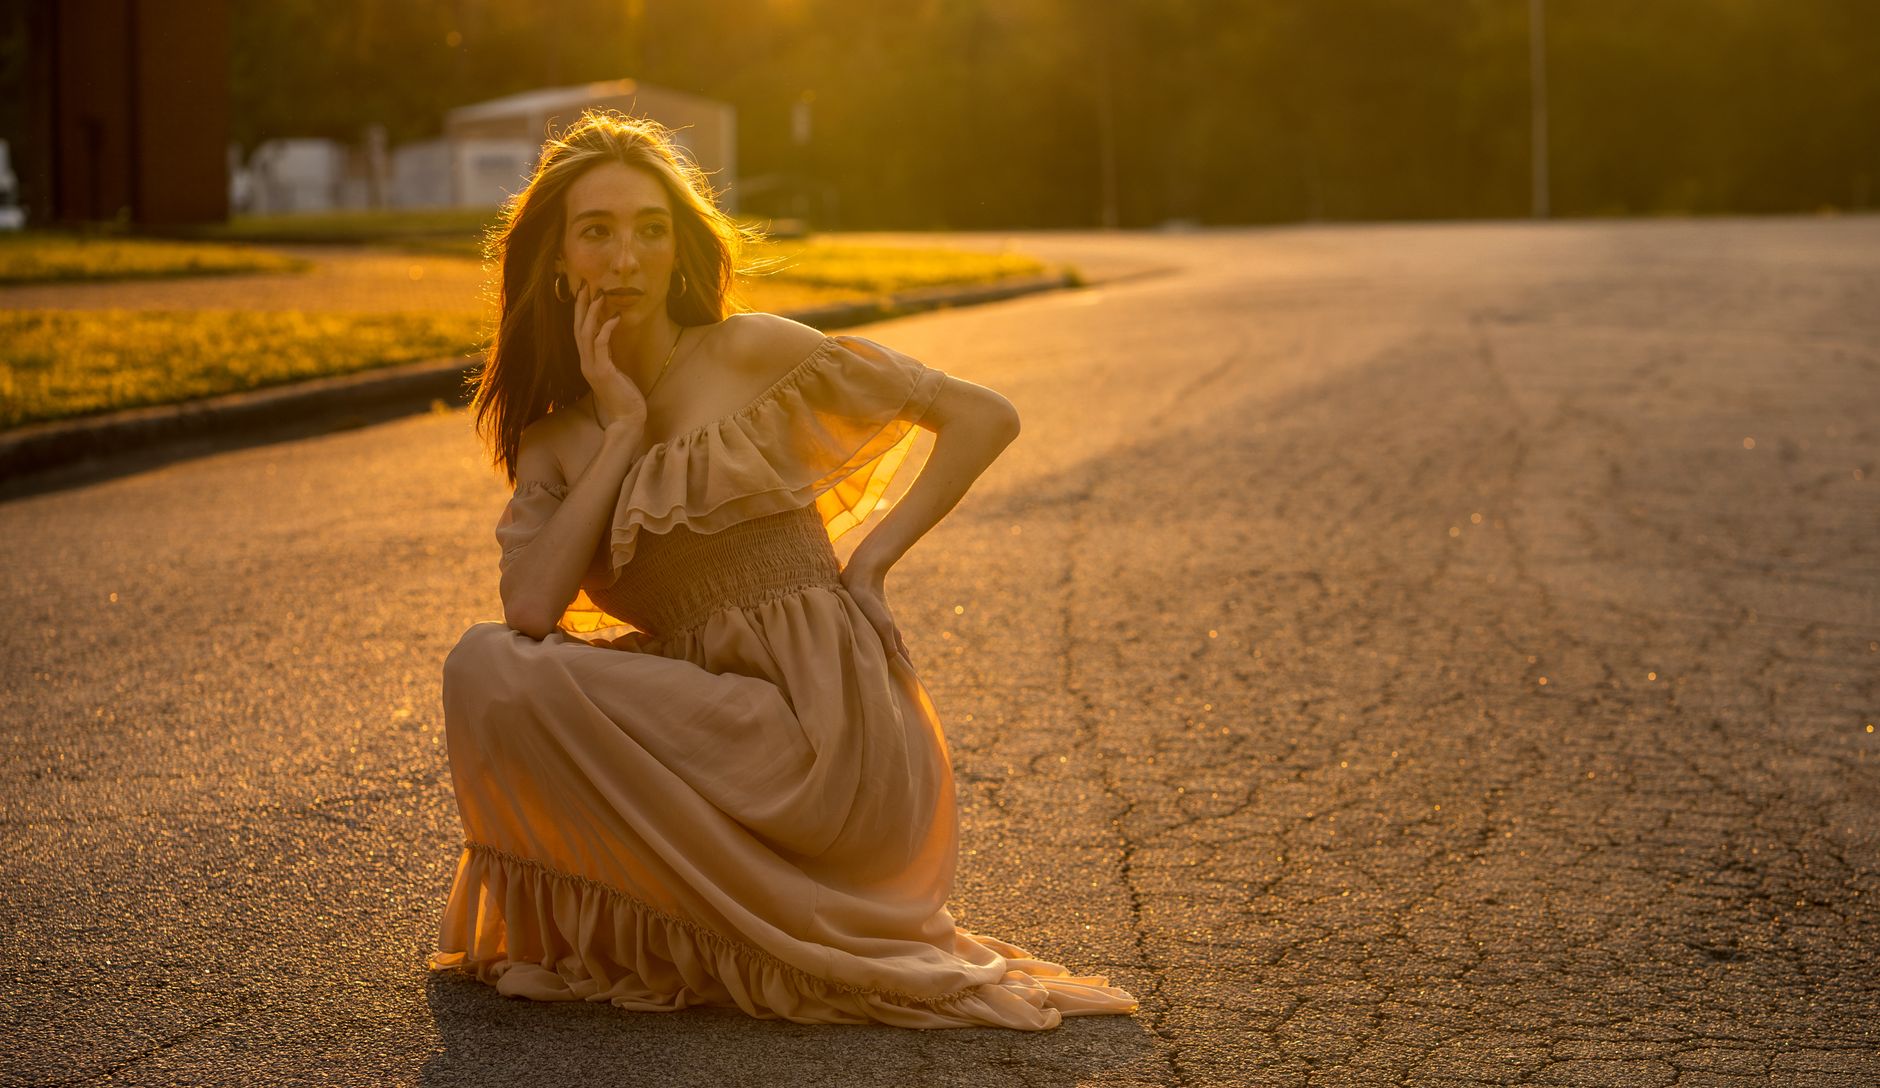
Preserving those amber tones rather than neutralizing them is the trick to shooting natural light at golden hour.
Matching white balance between two angles is much easier using Premiere’s comparison view.
Starting from neutral, correctly balanced footage lets applying LUTs in Premiere Pro land predictably.
Key Takeaways
- White balance makes colors look natural, not tinted.
- Color temperature runs from warm (low K) to cool (high K).
- Use presets for common light, custom for accuracy.
- Get it right in camera; treat editing fixes as a safety net.
Frequently Asked Questions
What is white balance in video?
White balance tells your camera what white looks like under your current lighting, so all colors render accurately. It compensates for light sources’ color casts, making whites appear white rather than orange or blue.
How do I set a custom white balance?
Point your camera at a white or grey card under your actual lighting and tell the camera to balance to it. This precisely neutralizes that specific light’s cast and is more accurate than presets, especially in mixed lighting.
Should I use auto white balance for video?
Avoid it for critical work. Auto white balance can shift mid-shot as framing or light changes, causing distracting color jumps. Set it manually or with a preset for consistent, professional footage.
Sources: Wikipedia’s article on color balance.
Get true color at Adobe Video World
Train hands-on with Adobe Certified Instructors across 100+ Premiere Pro & After Effects sessions.



