A workflow taught by Adobe Certified Instructors at Adobe Video World.
Disorganized footage is a silent productivity killer — lost clips, broken project links, and wasted hours searching. Good media management keeps your projects tidy, your editing fast, and your footage safe. This guide covers folder structures, labeling, bins, and backup habits that keep every project under control from import to archive.

Why Media Management Matters
As projects grow, footage multiplies into hundreds of clips across cameras, audio, graphics, and music. Without a system, finding the right file becomes a constant struggle, and misplaced media can break your project entirely.
Good organization saves time, prevents lost work, and keeps your editing smooth. It’s an unglamorous skill, but it’s one that separates professionals who work efficiently from those who waste hours hunting for files and fixing broken links.
Set Up a Folder Structure
Start every project with a consistent folder structure on your drive. A typical setup has folders for footage, audio, music, graphics, project files, and exports, so every type of media has a clear home from the moment you import it.
Using the same structure for every project means you always know where things are. Setting this up before you start importing, rather than dumping everything in one folder, is the foundation of a manageable project that stays tidy as it grows.
Name Files and Folders Clearly
Clear, consistent naming makes media findable. Descriptive names — by scene, date, camera, or content — beat default camera filenames, and a consistent convention means you can identify a clip without opening it.
Avoid vague names like ‘clip1’ or relying on automatic numbering alone. A little effort naming your media as you organize it pays off every time you search for a specific shot, turning a frustrating hunt into a quick find.

Use Bins to Organize in Your Project
Inside your editing project, bins (folders) keep your media organized just as folders do on your drive. Create bins for footage, audio, graphics, and sequences, and sort your clips into them so your project panel stays navigable.
Mirroring your folder structure with bins keeps everything consistent. A well-organized project panel, with clearly named bins, means you spend your time editing rather than scrolling through a chaotic list of every file in the project.

Label and Tag Your Clips
Beyond bins, color labels and metadata help you sort and find clips. Labeling good takes, marking clips by type, or tagging footage with keywords lets you quickly identify and filter your media, especially on large projects.
These organizational tools, combined with markers for noting key moments within clips, turn a sprawling collection of footage into a navigable, searchable library. The effort scales with your project’s size and complexity.
Back Up Your Footage
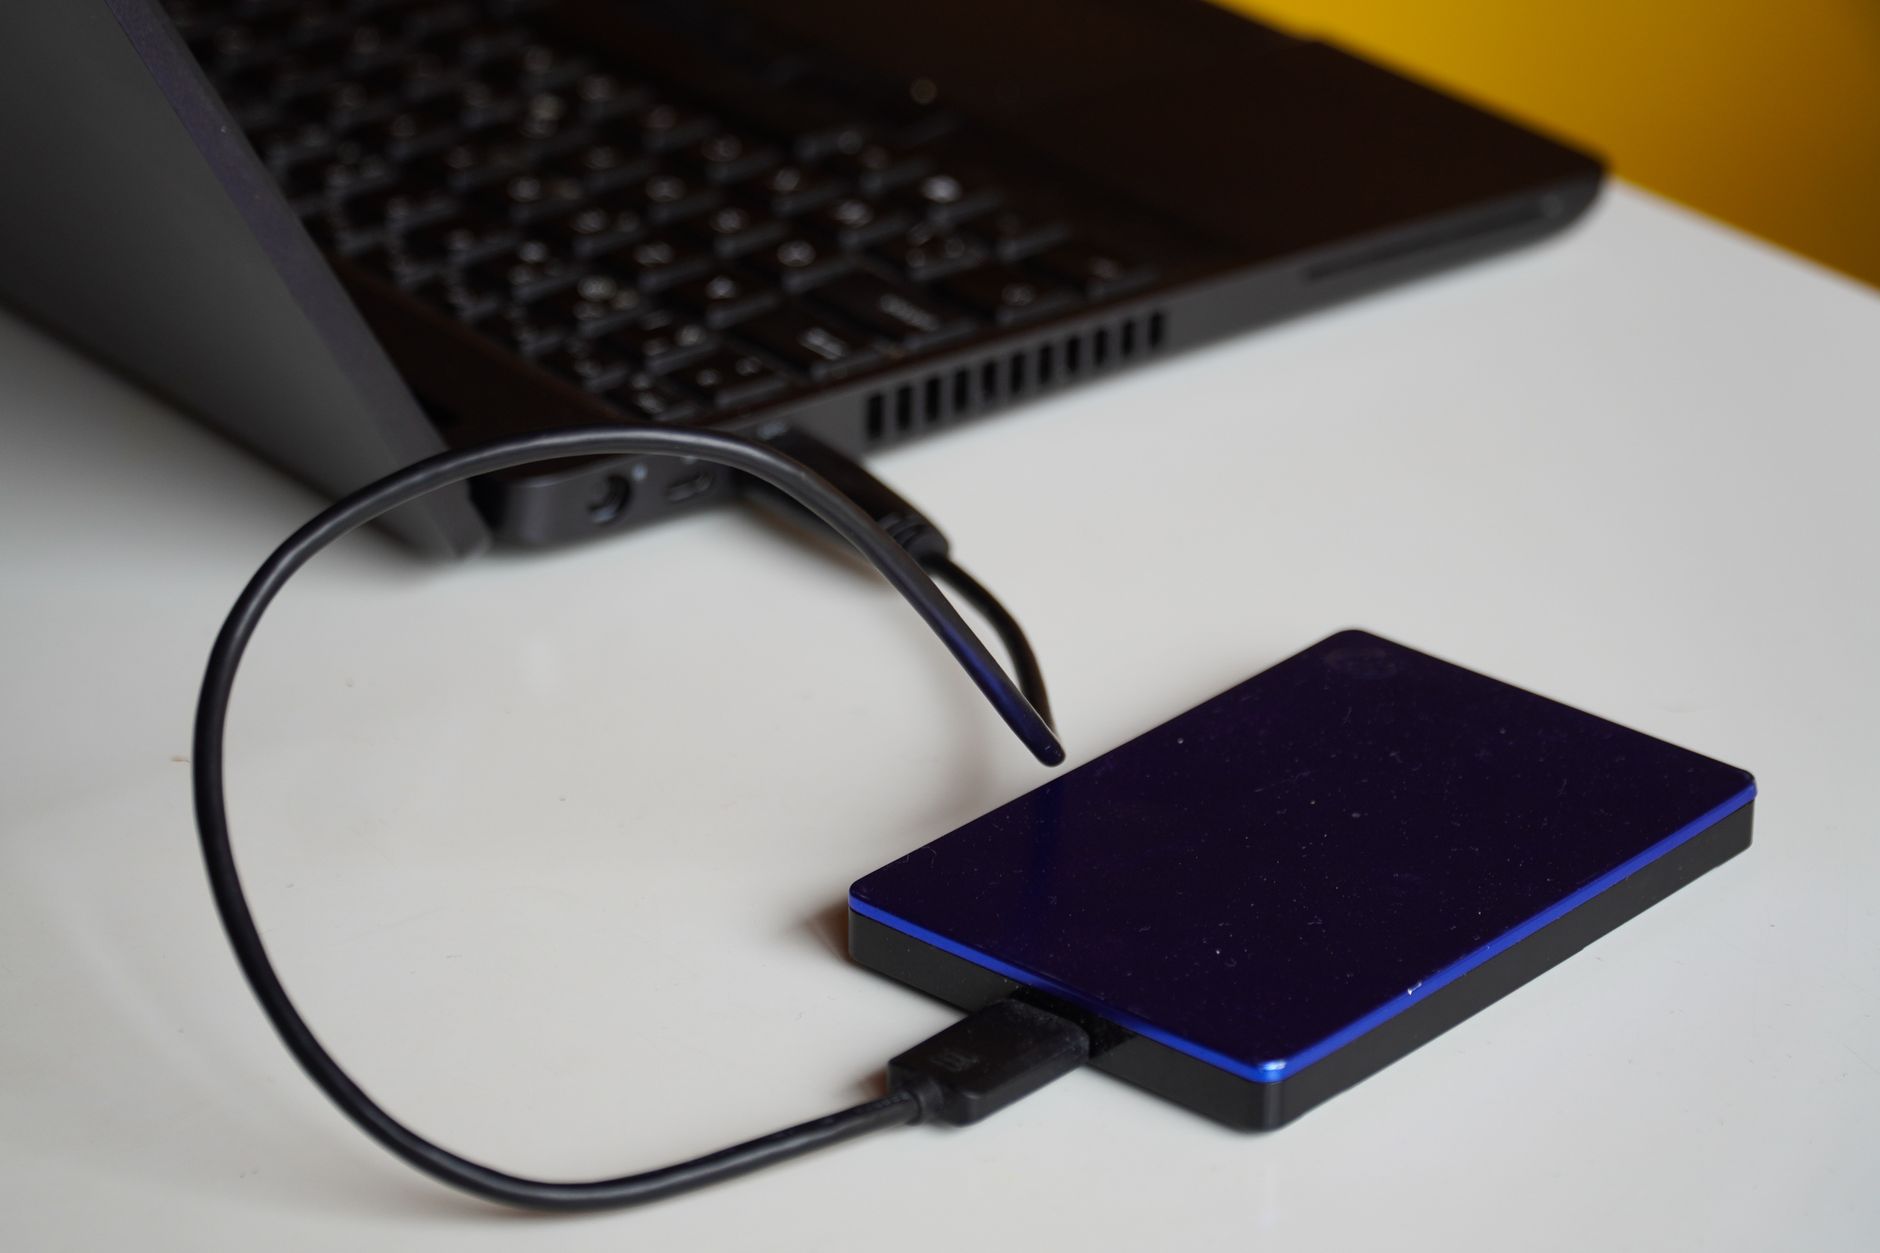
Footage is irreplaceable, so backup is non-negotiable. The widely-used 3-2-1 rule recommends three copies of your data, on two different types of media, with one stored offsite, protecting against drive failure, theft, and disaster.
At minimum, keep your footage on more than one drive. Backing up before you wipe a camera card, and maintaining copies throughout a project, is cheap insurance against the catastrophe of losing footage you can never reshoot.
Keep Project Files Linked
Editing projects link to your media files, so moving or renaming files after importing can break those links. Keeping your media in its organized location, and not moving files mid-project, prevents the offline media errors that disrupt editing.
If links do break, you can relink, but it’s far better to avoid the problem. Establishing your folder structure first and leaving media in place keeps your project healthy, with every clip connected and ready throughout the edit.
Archive Finished Projects
When a project is done, archive it properly rather than leaving it cluttering your working drives. Consolidating the project and its media, then storing it on archive drives, frees up space while keeping the project recoverable if you need it again.
A clean archive of finished work, organized and backed up, means you can return to old projects without scrambling. This final step in media management keeps your active workspace clear and your completed work safe for the long term.
Media Management Best Practices
- Set up a consistent folder structure before importing.
- Name files clearly and mirror the structure with bins.
- Label and tag clips to find them fast.
- Back up footage with the 3-2-1 rule and archive finished work.
Common Media Management Mistakes
- Dumping all media into one folder with no structure.
- Vague file names that make clips impossible to find.
- Moving or renaming files mid-project, breaking links.
- No backup, risking irreplaceable footage.
A Real Project Setup Example
Imagine starting a client project. Before importing a single clip, you create a project folder with subfolders for footage, audio, music, graphics, project files, and exports, and copy the camera cards into the footage folder with descriptive names. Inside the editing app, you mirror that structure with matching bins.
From the first day to delivery, you always know exactly where everything lives, links never break because nothing moves, and a second editor could open the project and navigate it instantly. That up-front discipline turns what could be a chaotic file hunt into a calm, efficient edit — proof that organization is a creative enabler, not just housekeeping.
Build Habits That Scale
Good media management isn’t a one-time setup but a set of habits applied to every project. Naming files as you import, sorting clips into bins before you start cutting, backing up at the end of each day, and archiving once you deliver all become second nature with repetition, and they scale effortlessly from a short solo video to a sprawling team production.
These habits matter most precisely when projects grow large and stressful, exactly when disorganization would cost you the most. Pairing them with clear markers and labels inside the timeline builds a workflow that stays calm and findable no matter how much footage you throw at it, protecting both your time and your sanity.
On big team edits, Premiere’s Productions for managing multiple linked projects keeps everything organized and shared across the whole production.
Just as organized footage saves time, using markers in After Effects keep a long composition easy to navigate.
Key Takeaways
- Good media management saves time and prevents lost work.
- Use a consistent folder structure and clear file names.
- Organize with bins, labels, and tags inside your project.
- Back up with the 3-2-1 rule and archive finished projects.
Frequently Asked Questions
How should I organize my video footage?
Set up a consistent folder structure (footage, audio, music, graphics, project files, exports), name files clearly, and mirror that structure with bins inside your editing project. Keep media in place to avoid broken links.
What is the 3-2-1 backup rule?
The 3-2-1 rule recommends keeping three copies of your data, on two different types of media, with one stored offsite. This protects irreplaceable footage against drive failure, theft, and disaster.
Why does my project show offline or missing media?
Editing projects link to media files, so moving or renaming files after importing breaks those links. Keep media in its organized location and don’t move files mid-project; if links break, you can relink them.
Sources: Wikipedia’s overview of digital asset management.
Stay organized at Adobe Video World
Train hands-on with Adobe Certified Instructors across 100+ Premiere Pro & After Effects sessions.



