A workflow taught by Adobe Certified Instructors at Adobe Video World.
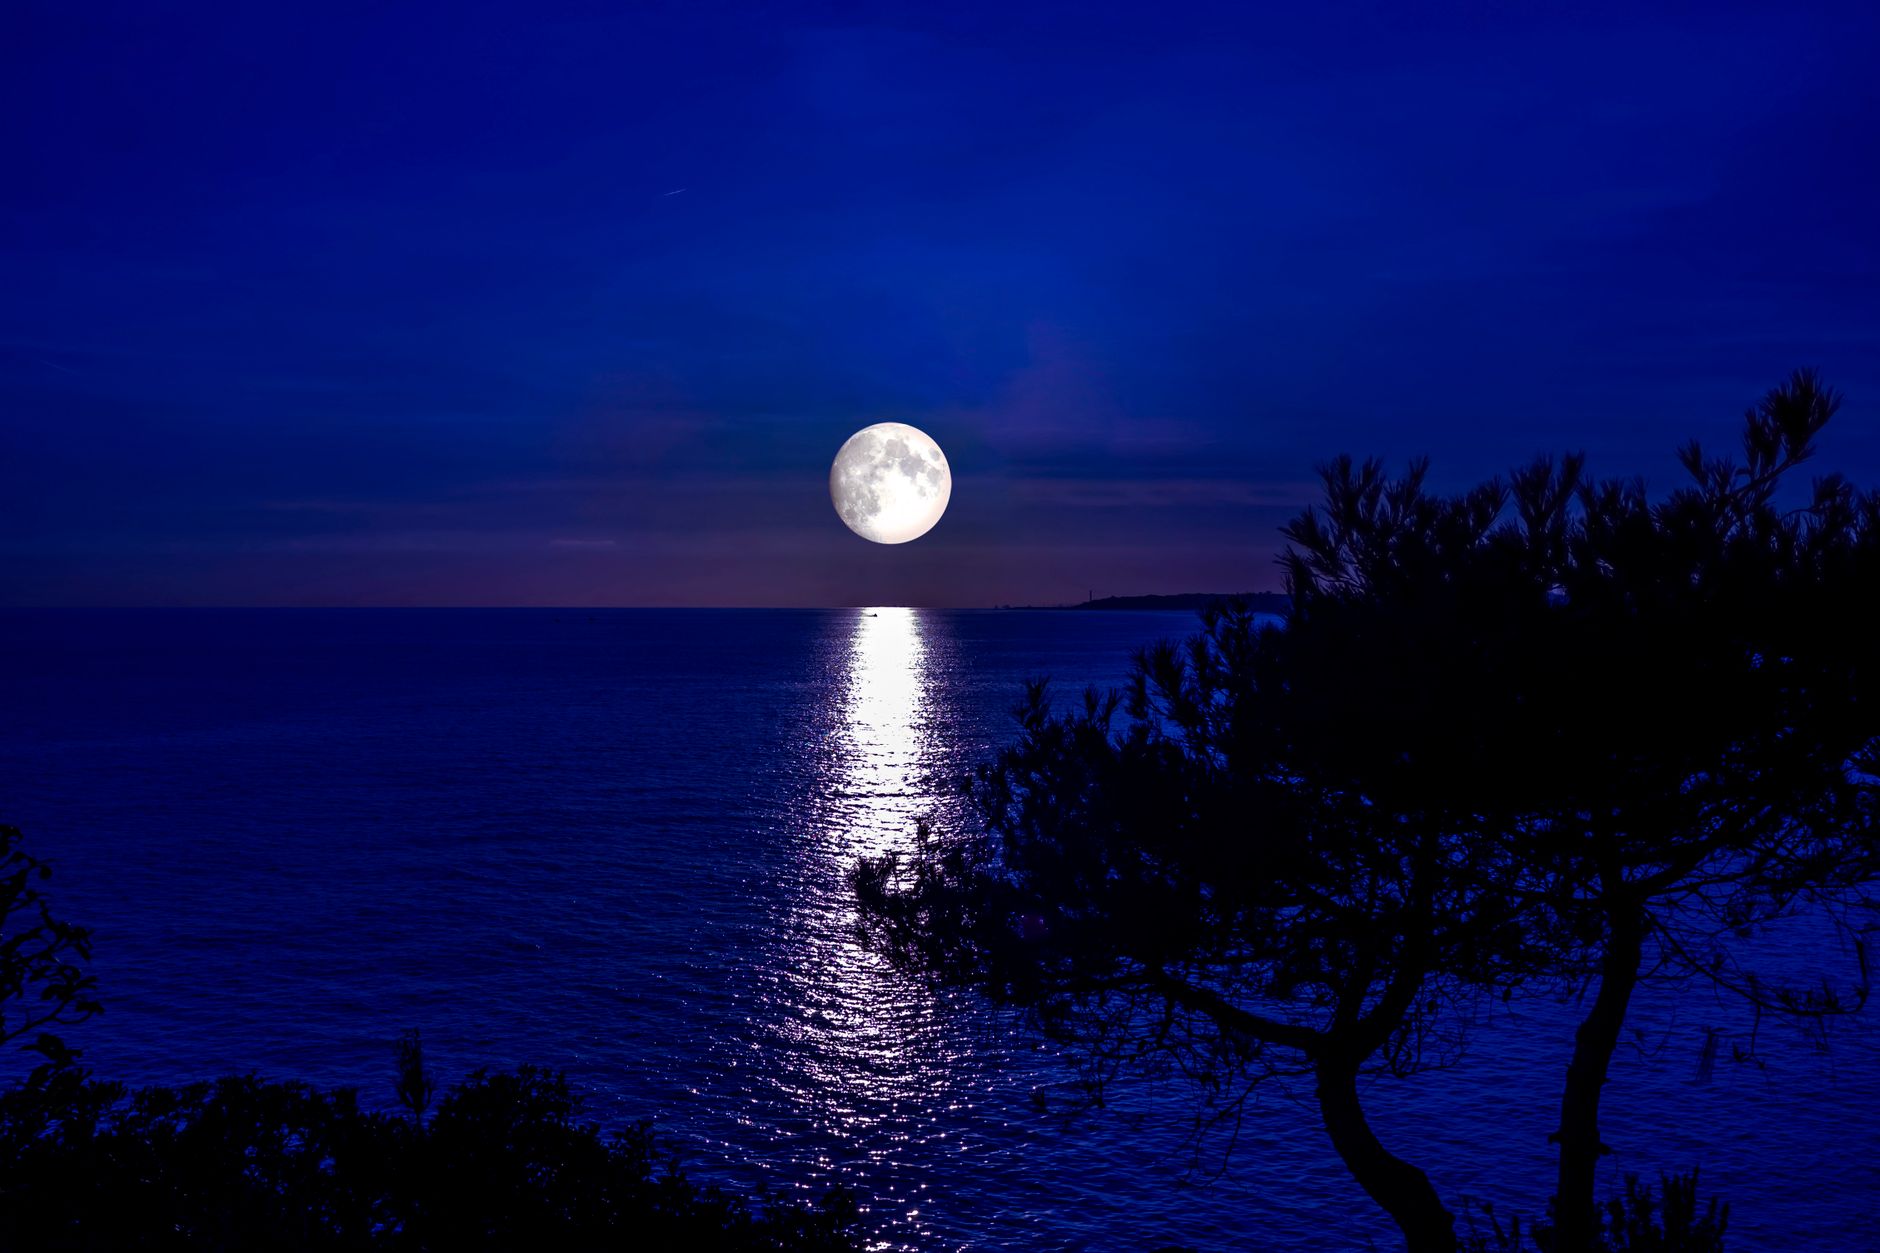
Shooting at night is hard, so filmmakers often shoot in daylight and convert it to night in post — the classic ‘day for night’ technique. With careful grading in After Effects, daytime footage can convincingly become a moonlit scene. This guide covers creating a day-to-night effect, from darkening to color to the finishing touches.
Why Shoot Day for Night
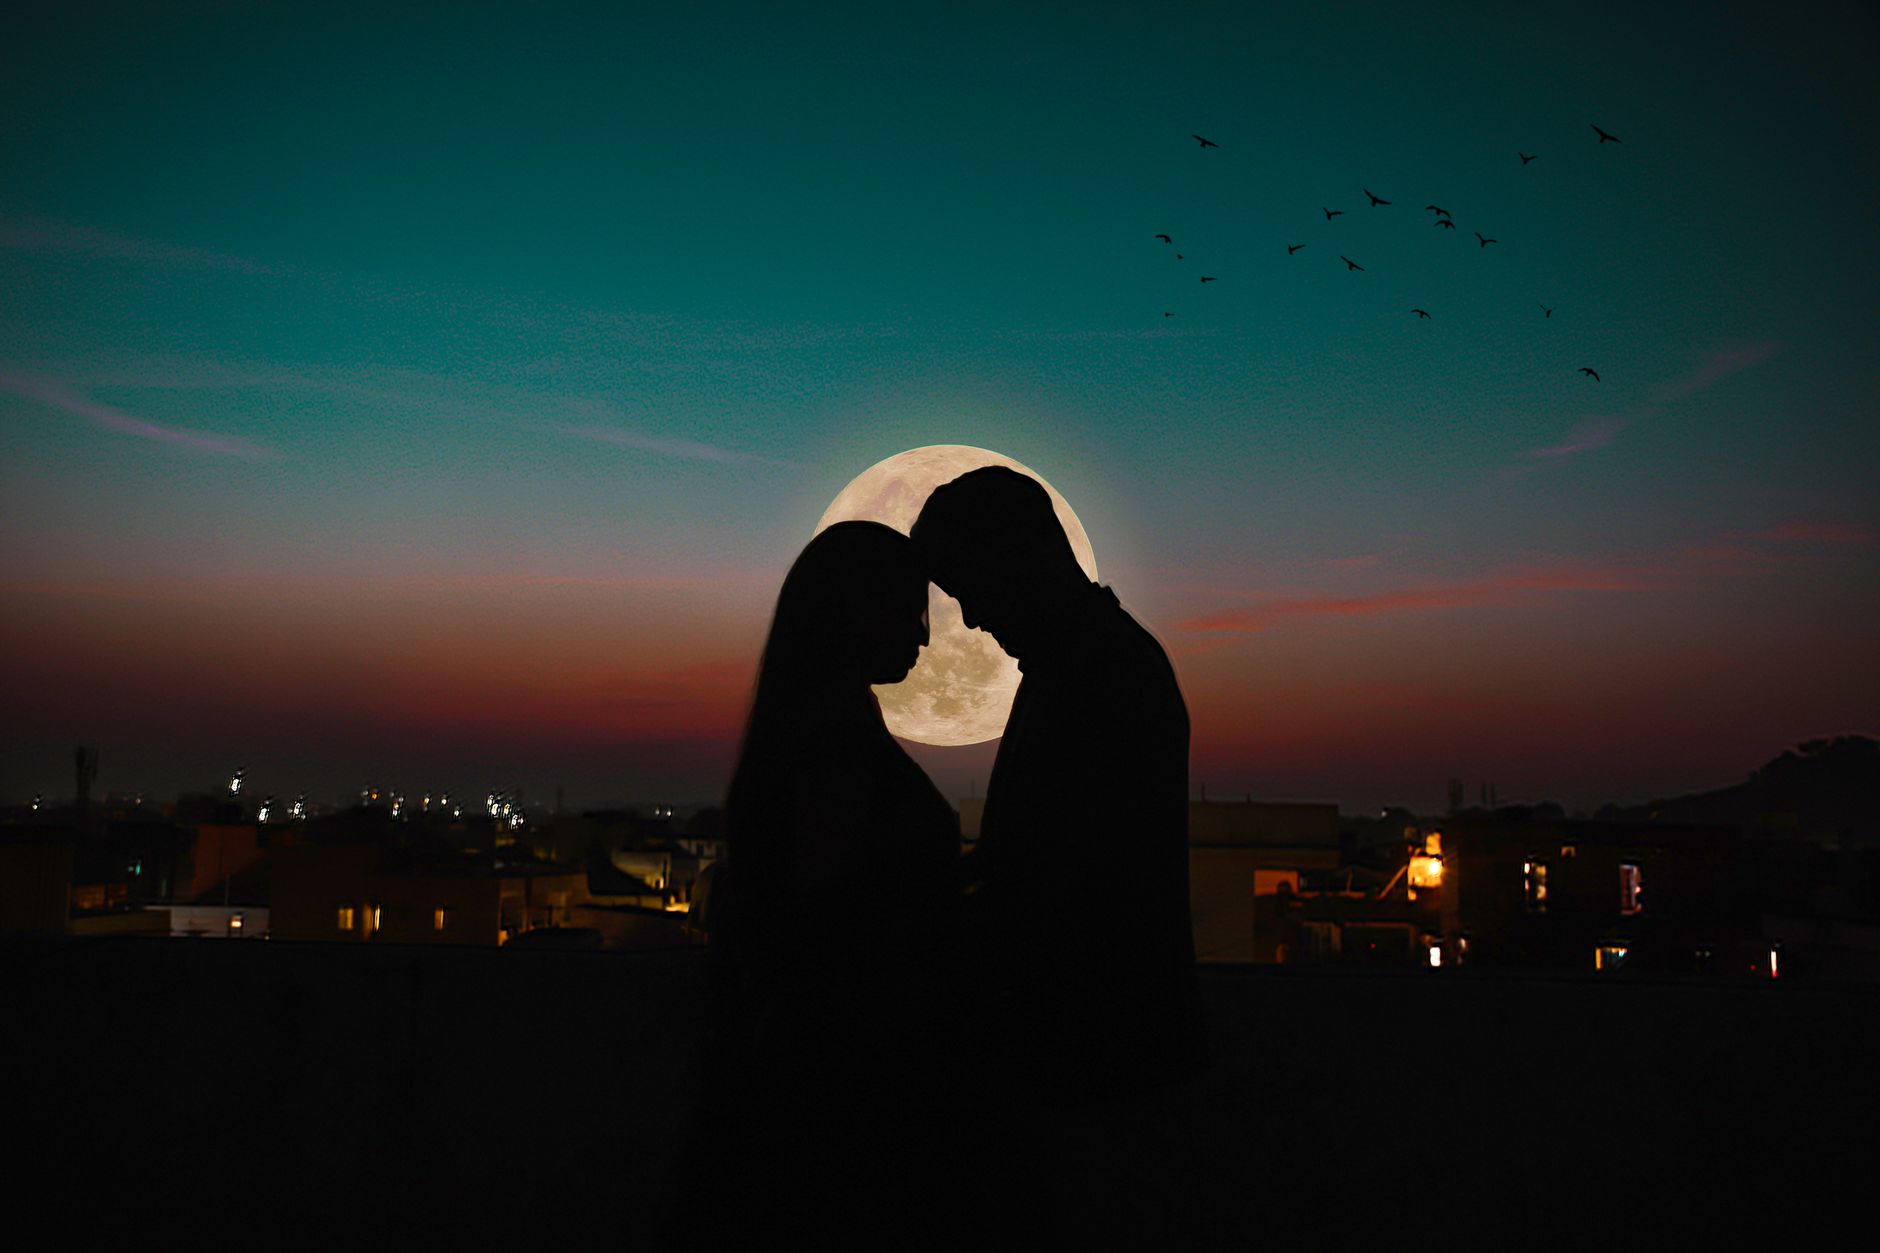
Filming at night is challenging — low light, noise, and the difficulty of lighting large areas make it impractical for many productions. Shooting in daylight and converting to night in post avoids these problems while still delivering a nighttime look.
This ‘day for night’ technique has a long history in filmmaking. With modern grading tools, you can transform well-shot daytime footage into a convincing moonlit scene, gaining the ease of daytime shooting with the mood of night.
Start with the Right Footage
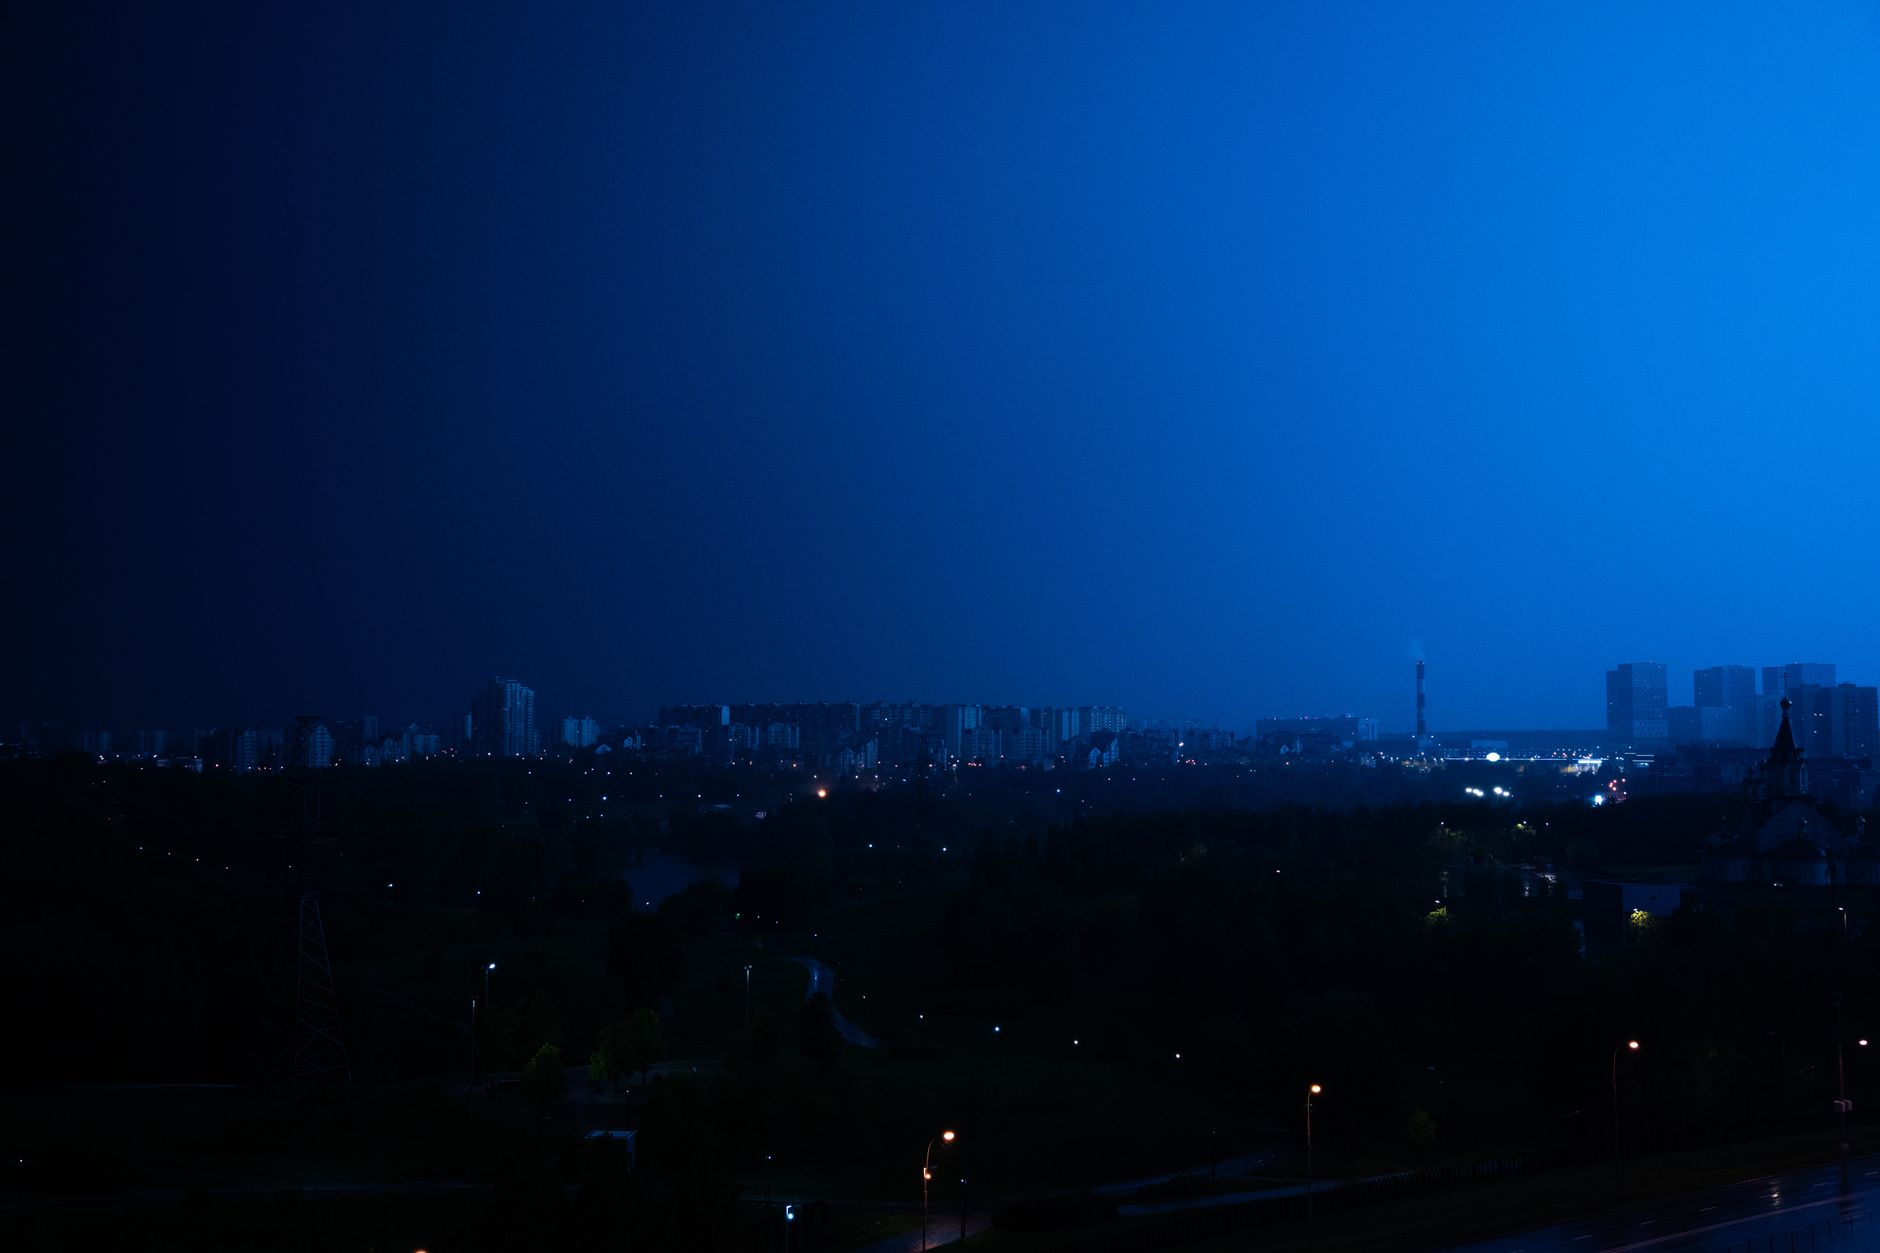
Day-for-night works best with the right source. Footage shot slightly underexposed, with an overcast sky or shade rather than harsh sun, and avoiding bright skies, converts most convincingly, since hard shadows and bright skies betray the daylight.
Avoiding direct, obvious sunlight is key, since night has no harsh sun shadows. Shooting with this conversion in mind — flatter light, controlled exposure, and minimal bright sky — gives you footage that grades to night believably.
Darken the Image
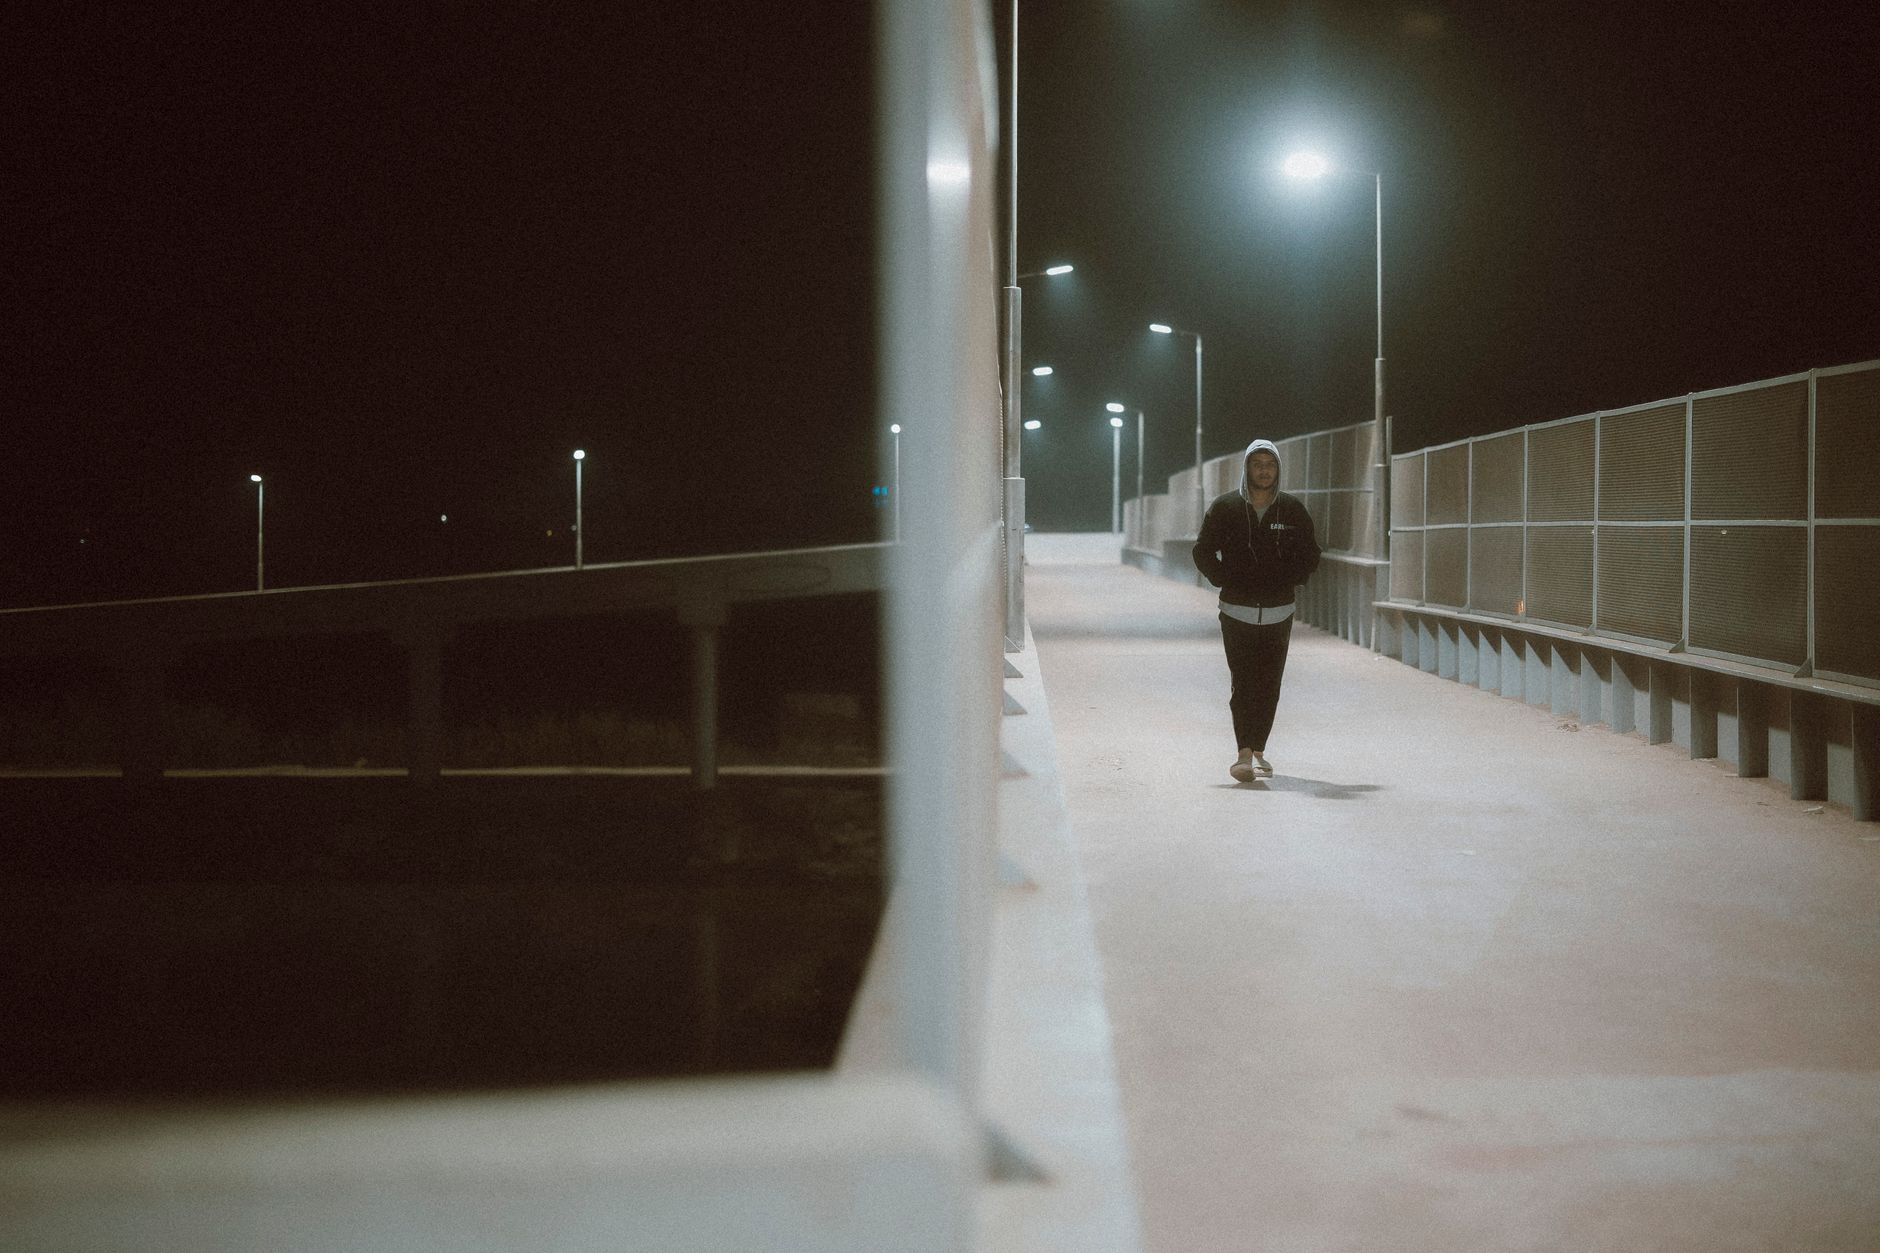
Night is dark, so the first step is reducing brightness. Lowering the exposure and pulling down the highlights and midtones darkens the scene, while keeping some detail in the shadows so the image isn’t a black void.
The goal is a dark but readable image, as a real moonlit scene would appear. Using the curves to darken while preserving shadow detail creates the dim, nighttime exposure that’s the foundation of the effect.
Cool the Color
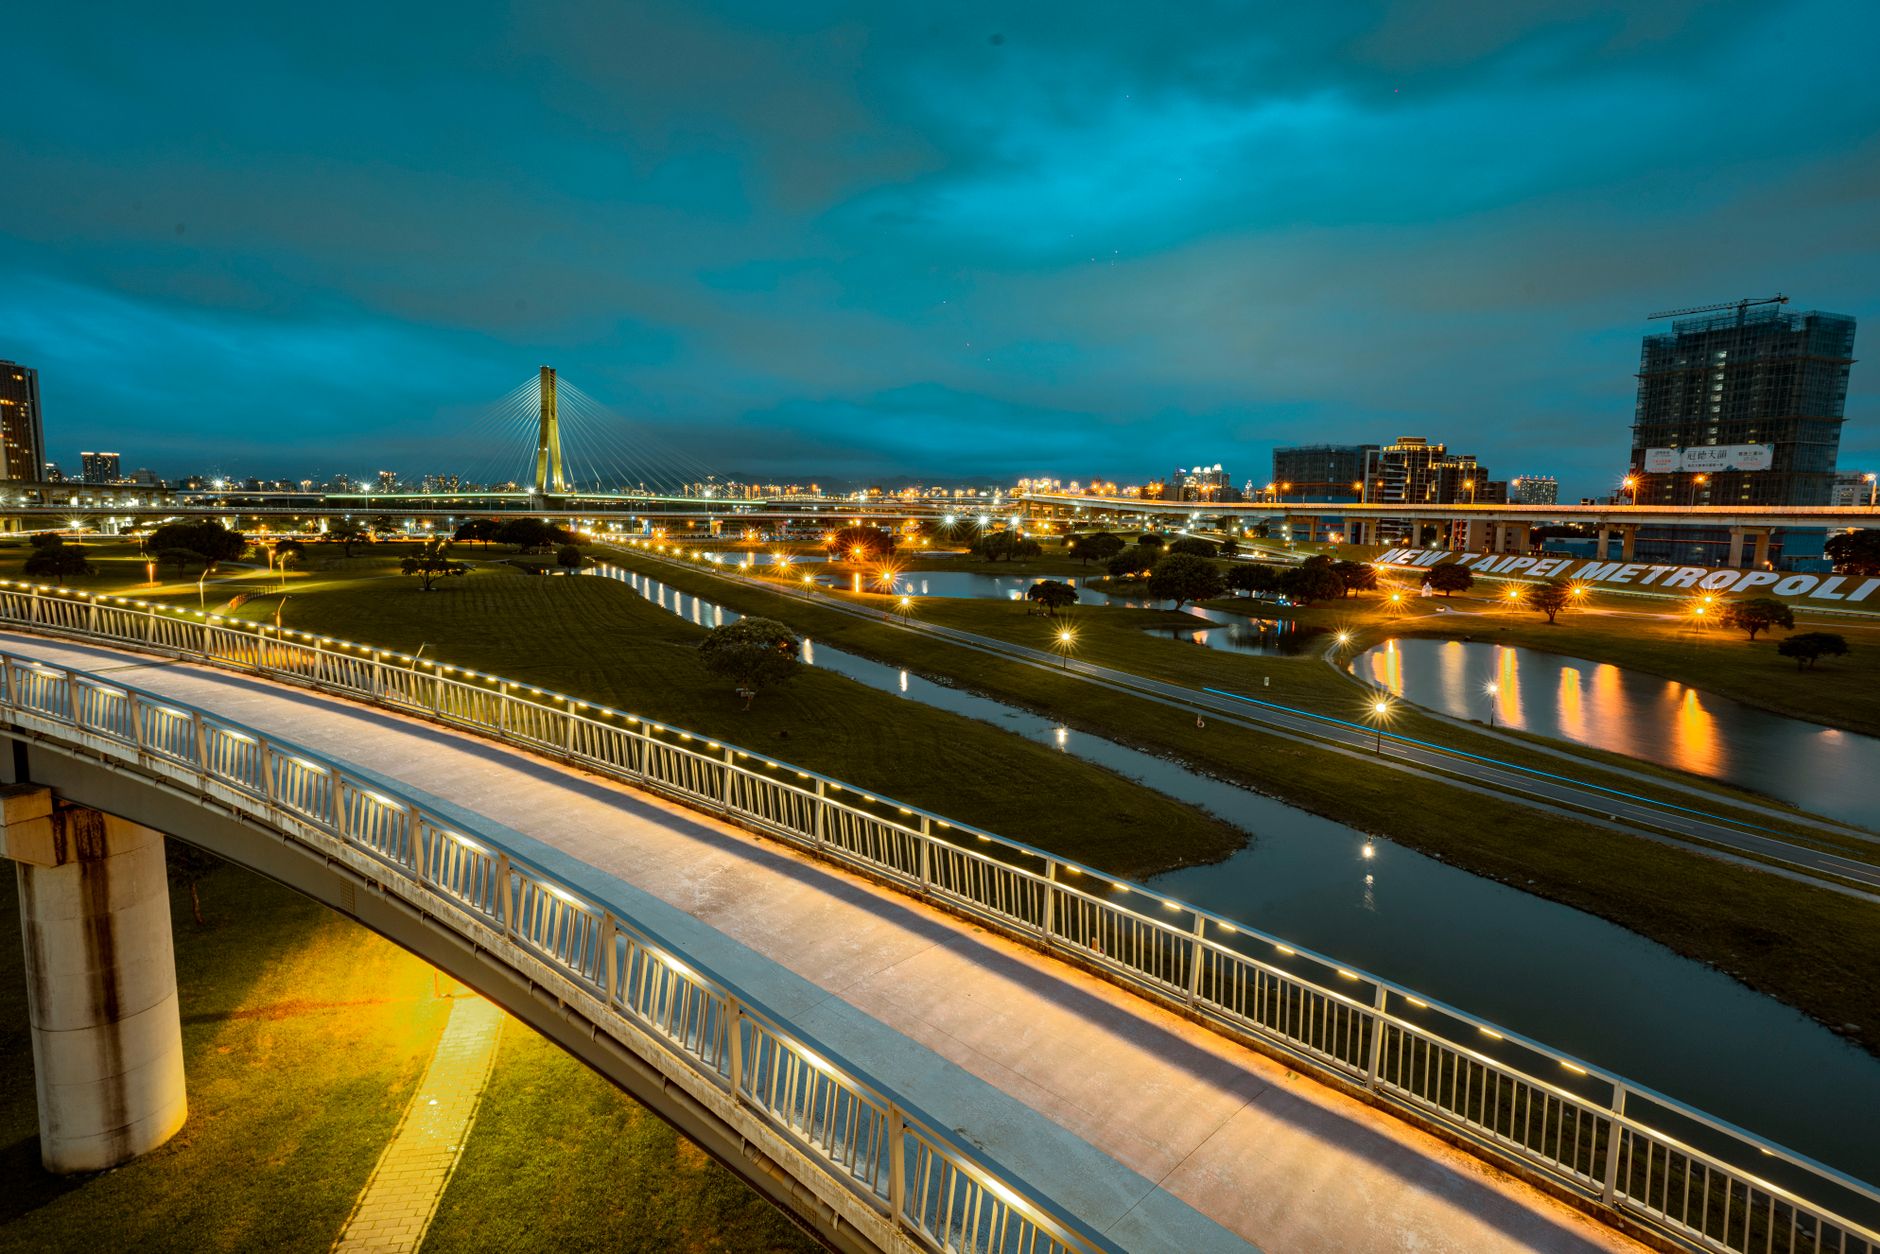
Night reads as cool and blue, so shifting the color temperature is essential. Pushing the image toward blue, especially in the shadows and midtones, mimics the cool quality of moonlight and removes the warm look of daylight.
This blue shift is what most signals ‘night’ to the viewer. Cooling the color with the color wheels, leaning the shadows toward blue while keeping the look natural, transforms the warm day into a cold night.
Add Moonlight
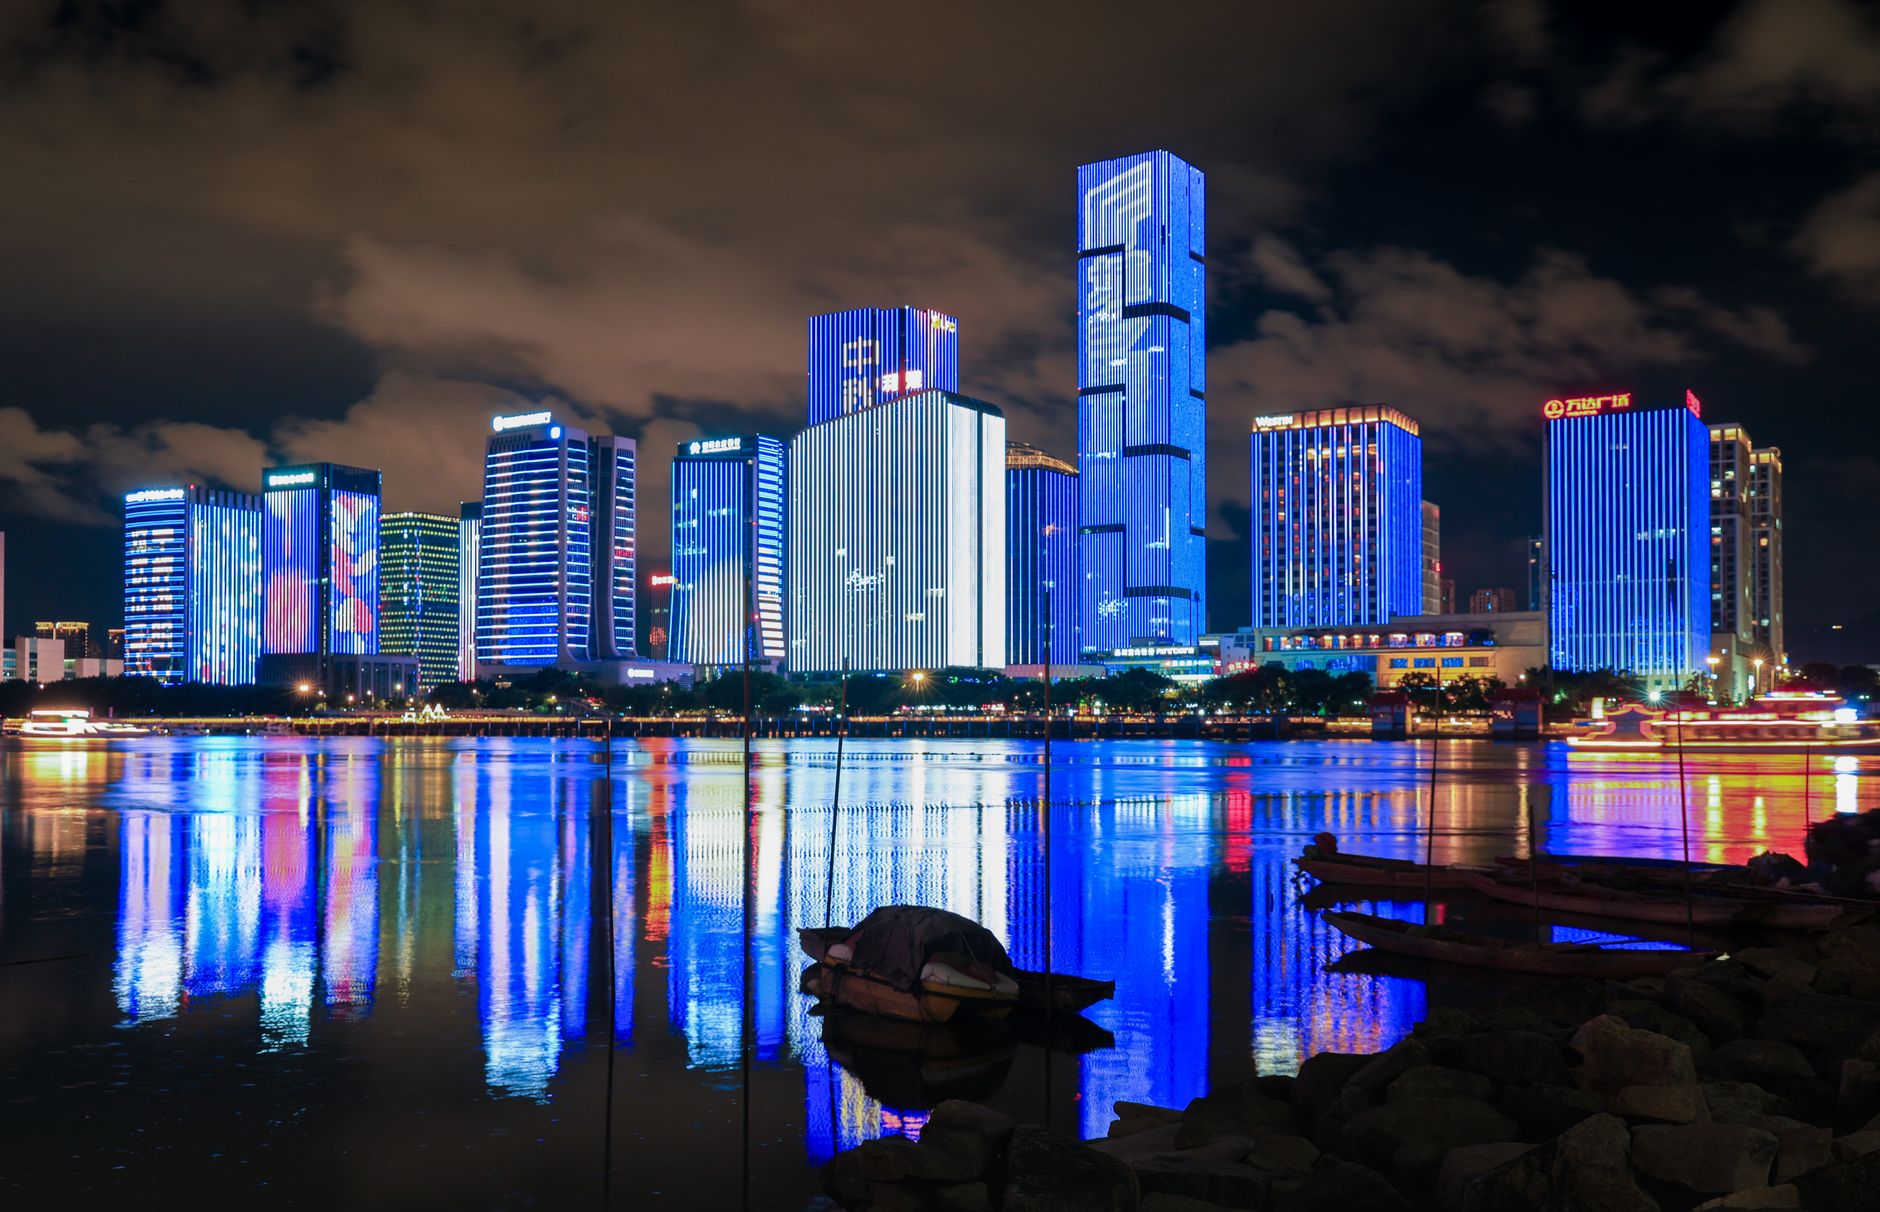
Moonlight is the key light of a night scene. Suggesting a cool, directional moonlight — a soft blue glow from one direction — gives the scene a believable nighttime light source, with the rest of the frame falling into shadow.
This implied light source grounds the night look, since real nights have moonlight or ambient sky light. Adding a subtle blue light direction, brighter where the ‘moon’ would fall, makes the conversion feel like a genuinely lit night rather than just a dark image.
Boost Contrast and Crush Blacks
Night scenes have deep shadows and high contrast. Increasing the contrast and crushing the blacks so the darkest areas go truly dark, while highlights stay controlled, reinforces the nighttime feel with its characteristic pools of shadow.
This contrast, with genuinely dark shadows, is part of what makes night look like night. Pushing the blacks down and shaping the contrast, while keeping the moonlit areas readable, creates the moody, high-contrast look of a real night scene.
Handle the Sky
A bright daytime sky is the biggest giveaway, so it needs attention. Darkening the sky dramatically, or replacing it with a night sky, removes the bright daylight sky that would betray the conversion.
Since night skies are dark, often with stars or moonlight, a bright blue or white sky breaks the illusion completely. Darkening the sky heavily or swapping it for a starry night sky is essential to a convincing day-to-night conversion.
Add Practical Lights
Real night scenes have practical lights — windows, lamps, streetlights — glowing in the dark. Adding or enhancing these warm light sources in the frame adds realism and contrast against the cool moonlight, bringing the night scene to life.
These warm practical lights contrast beautifully with the blue night, just as in real nighttime footage. Brightening existing lights or adding a warm glow to windows and lamps gives the scene the lived-in detail that completes the effect.
Day-to-Night Best Practices
- Shoot slightly underexposed with flat light and minimal bright sky.
- Darken the image while keeping shadow detail.
- Cool the color toward blue and add directional moonlight.
- Darken or replace the sky and enhance practical lights.
Common Day-to-Night Mistakes
- Hard sun shadows that reveal the daylight source.
- A bright sky left in the frame.
- A warm color cast instead of cool blue.
- No practical lights, leaving the night flat and empty.
A Real Day-for-Night Example
Imagine a scene shot in flat afternoon shade that needs to read as a moonlit night. You darken the exposure and pull the midtones down while protecting a little shadow detail, push the whole image cool toward blue, and add a soft blue ‘moonlight’ from one side. You crush the blacks for deep shadow, darken the muted sky heavily, and brighten a warm porch lamp in the frame.
The contrast between that warm practical light and the cool blue night sells the conversion completely. Because the footage was shot in flat light with no harsh sun and minimal bright sky, it grades convincingly to night — a textbook example of how the right source footage plus deliberate grading turns afternoon into midnight.
Day-for-Night and Sound
A convincing night look is reinforced by its soundscape. Layering nighttime ambience — crickets, distant traffic, a quiet wind — under day-for-night footage cues the viewer’s ears to accept the night, doing as much work as the grade to establish the time of day.
Removing obvious daytime sounds like birdsong and adding the subtle atmosphere of night completes the illusion. Pairing the visual conversion with thoughtful sound design, drawing on our sound design guide, is what makes a day-for-night scene fully believable rather than just a darkened, blue image.
A custom night look can be saved and reused as one of your Premiere Pro LUTs.
Key Takeaways
- Day for night converts daylight footage to a moonlit look.
- Darken the image and cool the color toward blue.
- Add directional moonlight and crush the blacks.
- Darken or replace the sky and enhance practical lights.
Frequently Asked Questions
How do I create a day-to-night effect in After Effects?
Darken the image while keeping shadow detail, cool the color toward blue (especially the shadows), add directional moonlight, boost contrast and crush the blacks, darken or replace the bright sky, and enhance any practical lights.
What footage works best for day for night?
Footage shot slightly underexposed with flat, overcast light or shade, avoiding harsh sun and bright skies. Hard sun shadows and bright skies betray the daylight source, so flatter light converts to night most convincingly.
Why does my day-to-night look fake?
Common giveaways are hard sun shadows, a bright sky, a warm color cast, or no practical lights. Cool the image toward blue, darken or replace the sky, crush the blacks, and add warm practical lights for contrast and realism.
Sources: Adobe’s guide to the color correction effects in After Effects.
Turn day into night at Adobe Video World
Train hands-on with Adobe Certified Instructors across 100+ Premiere Pro & After Effects sessions.



