A workflow taught by Adobe Certified Instructors at Adobe Video World.
Getting your camera settings right is the foundation of great-looking video. Shutter speed, ISO, and aperture work together to control exposure and the look of your footage. Understanding them lets you shoot intentionally instead of relying on auto. This guide explains each setting, how they interact, and the rules that give video a cinematic look.
The Exposure Triangle
Three settings control your exposure: shutter speed, ISO, and aperture. Together they form the exposure triangle, balancing how bright your image is, and each also affects the look of your footage in its own way.
Changing one setting requires adjusting the others to maintain correct exposure. Understanding how these three interact is the foundation of shooting video manually, letting you control both brightness and the creative qualities of your image.
Shutter Speed
Shutter speed is how long the camera’s sensor is exposed to light for each frame, affecting both brightness and how motion appears. A slower shutter lets in more light and blurs motion, while a faster shutter is darker and freezes movement.
For video, shutter speed is special because it controls motion blur, which strongly affects how natural your footage looks. This is why video has a specific shutter rule, unlike photography, where freezing motion is often the goal.
The 180-Degree Shutter Rule
The 180-degree shutter rule says to set your shutter speed to roughly double your frame rate — so 1/50 for 25fps, or 1/48 for 24fps. This produces natural-looking motion blur that matches how we expect film to look.
Footage shot this way has the smooth, cinematic motion audiences are used to. A shutter that’s too fast makes motion look choppy and unnatural, while this rule keeps it pleasingly fluid, which is why it’s a cornerstone of video shooting.
ISO and Sensitivity
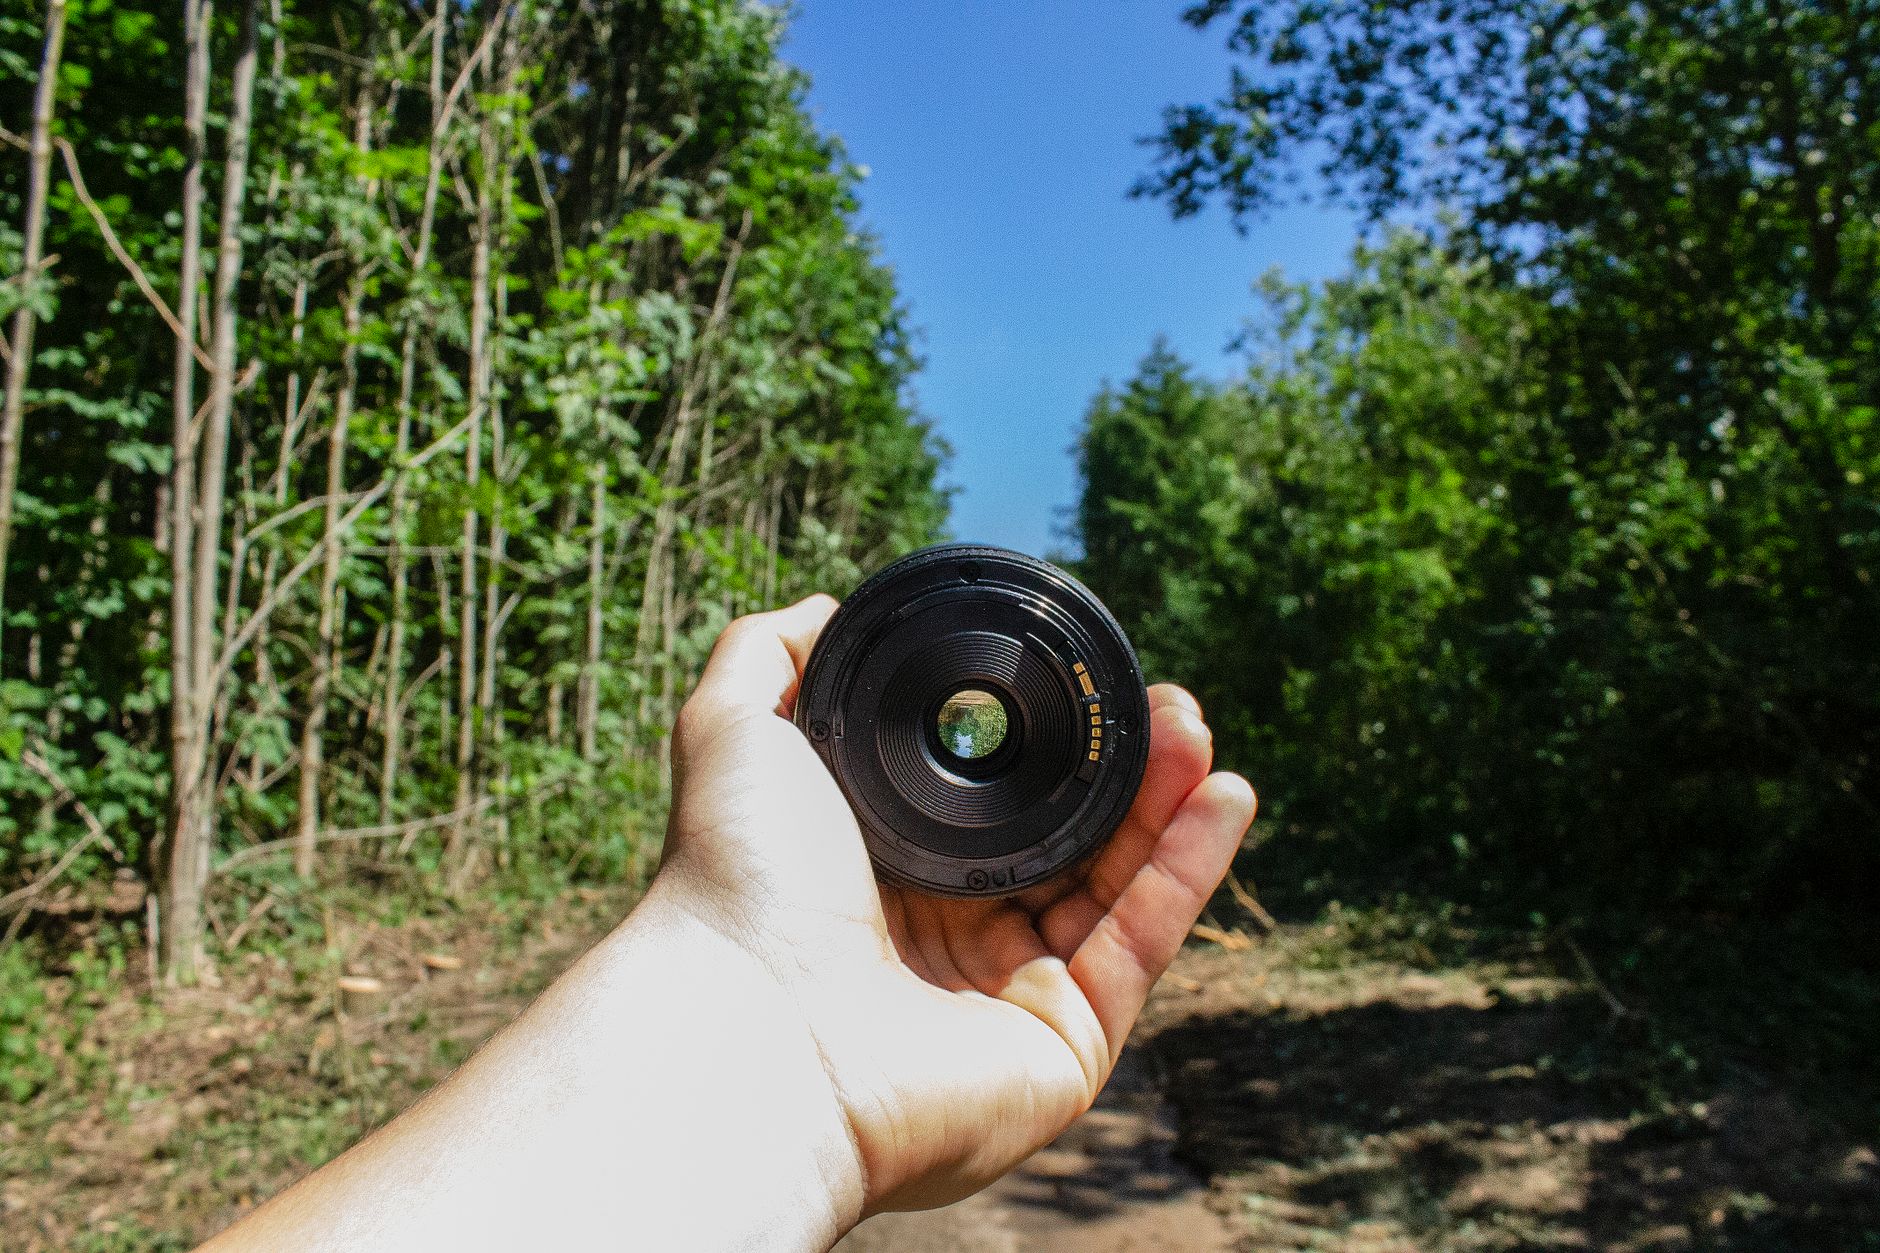
ISO controls the sensor’s sensitivity to light. A low ISO gives a clean image but needs more light, while a high ISO brightens a dark scene but introduces noise — the grainy texture that degrades footage.
The goal is to use the lowest ISO that gives proper exposure, keeping your image clean. When a scene is too dark, raising ISO helps, but understanding the noise trade-off lets you balance brightness against image quality intentionally.
Aperture and Depth of Field
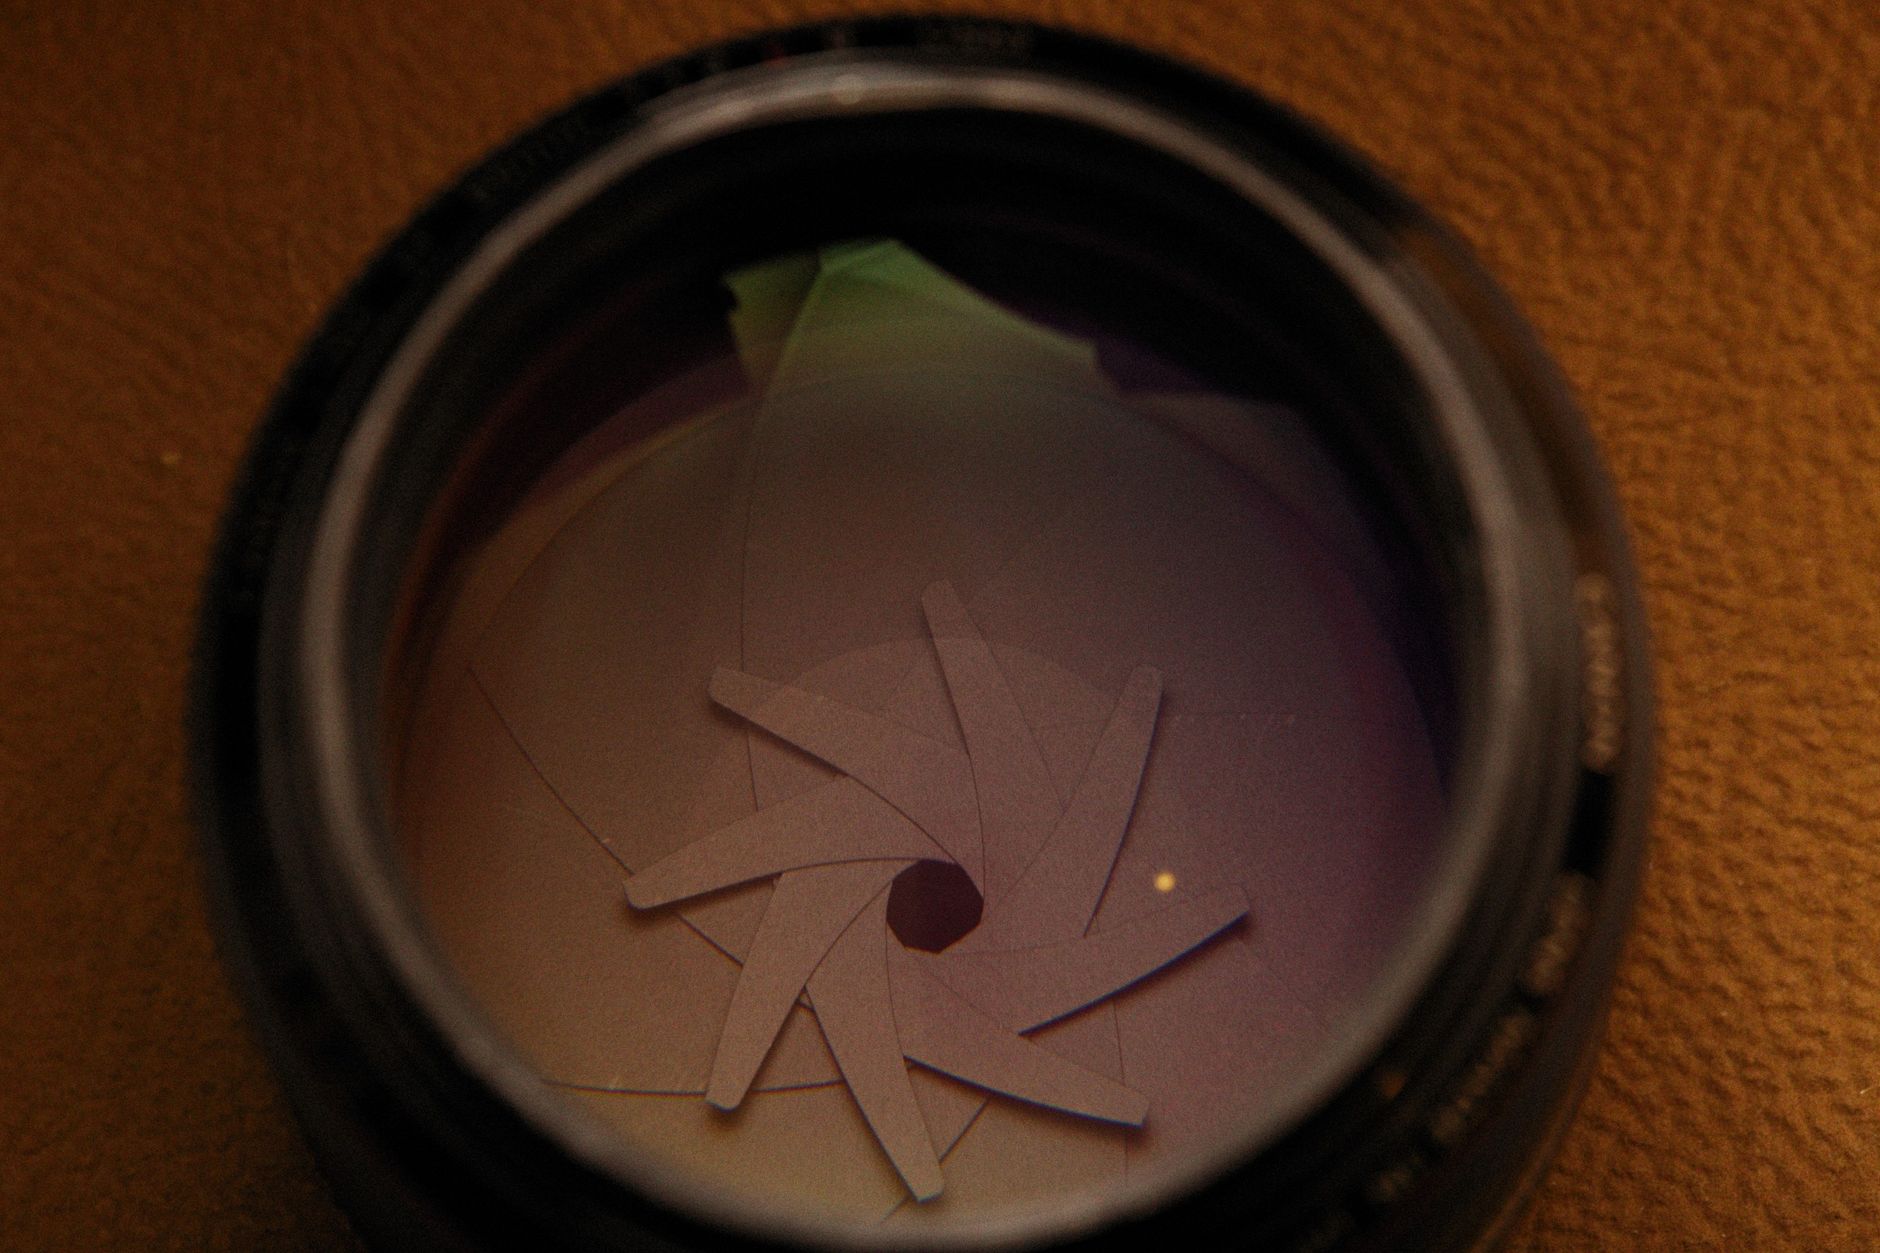
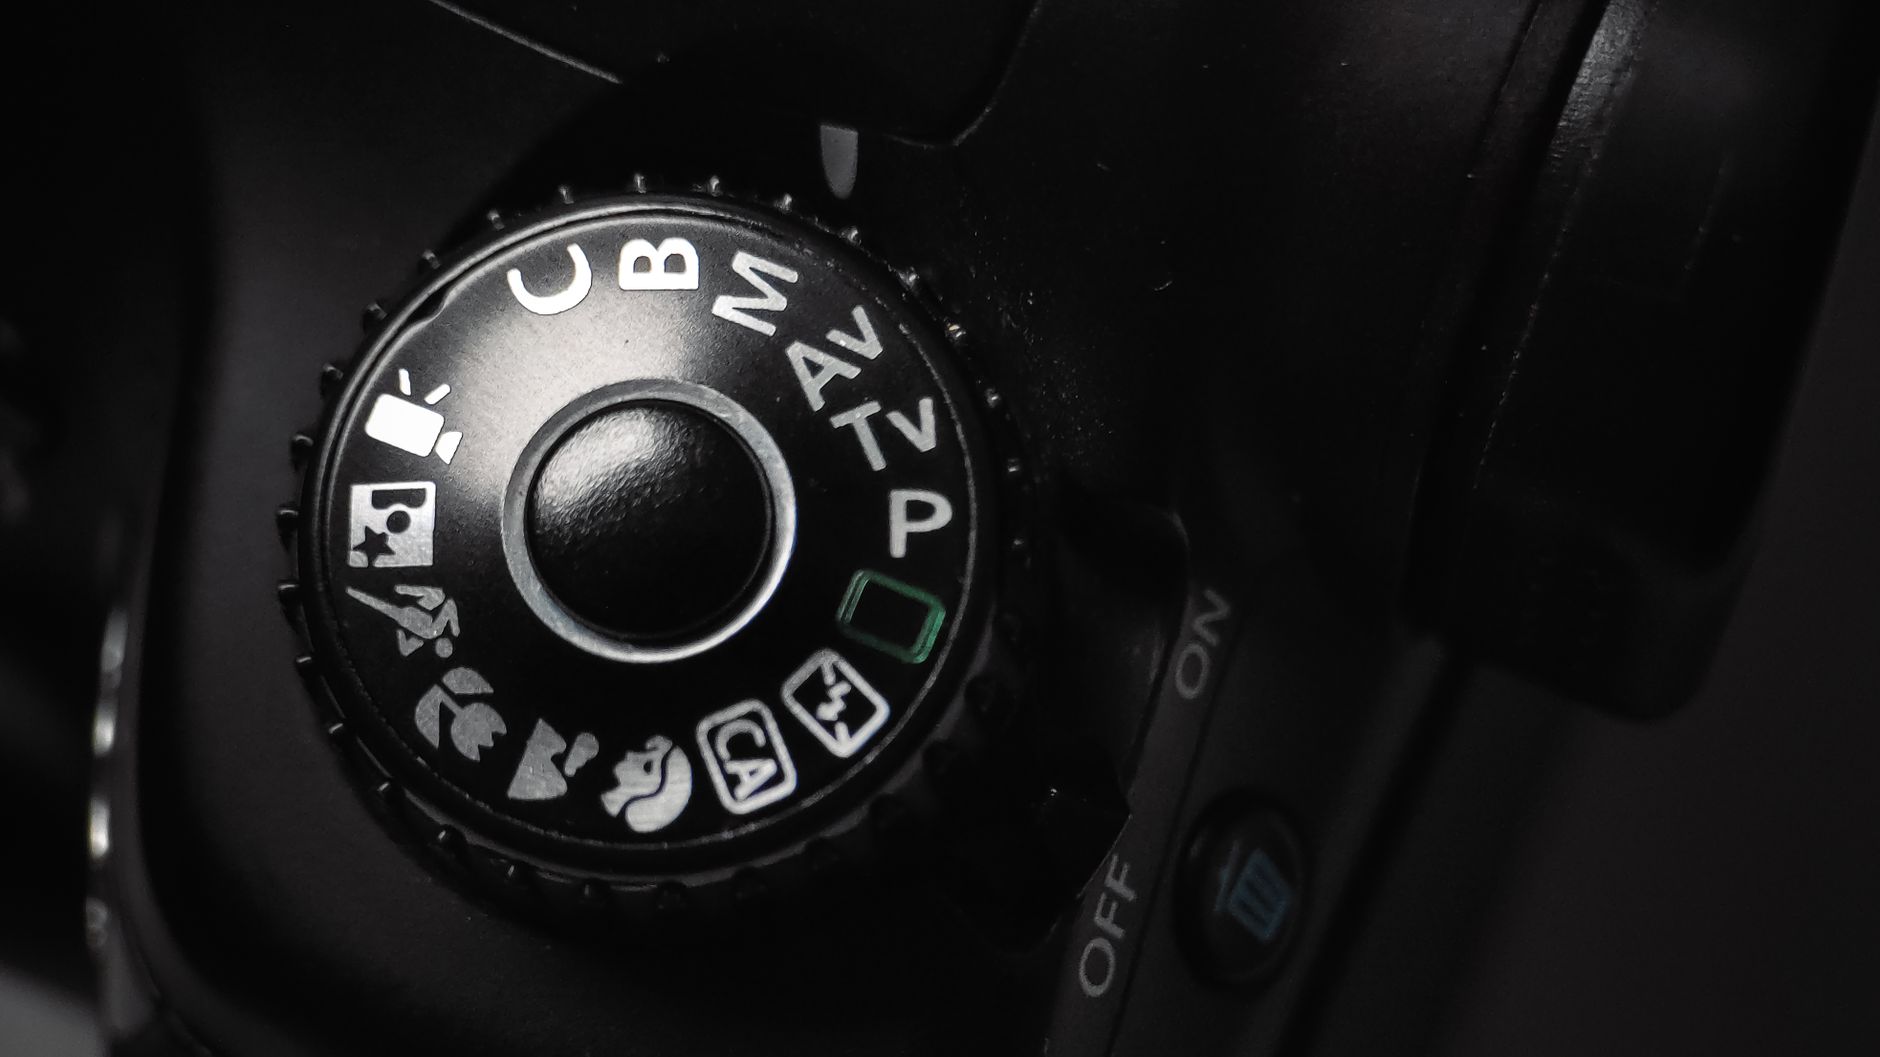
Aperture is the opening in the lens that controls how much light enters, measured in f-stops. Beyond brightness, aperture controls depth of field — how much of the image is in focus — which is a major creative tool.
A wide aperture (low f-number) creates a shallow depth of field with a blurred background that isolates your subject beautifully, while a narrow aperture keeps more in focus. This control over background blur is key to the cinematic look many creators want.
Balance the Three Settings
Because shutter speed is fixed by the 180-degree rule and you want low ISO for clean footage, aperture and lighting often do the heavy lifting for exposure. When you can’t change shutter and want to keep ISO low, you adjust aperture or add light.
This is where ND filters come in — they reduce light so you can keep a wide aperture and the correct shutter in bright conditions. Balancing the triangle around the constraints of video is a skill that comes with practice and intention.
Set White Balance Too
Beyond the exposure triangle, white balance ensures colors look natural rather than too orange or blue. Setting it correctly for your lighting, as covered in our white balance guide, is essential for accurate, professional color.
Getting white balance right in camera saves correction work later. Together with proper exposure, correct white balance means your footage starts with accurate color and brightness, giving you a strong foundation for editing and grading.
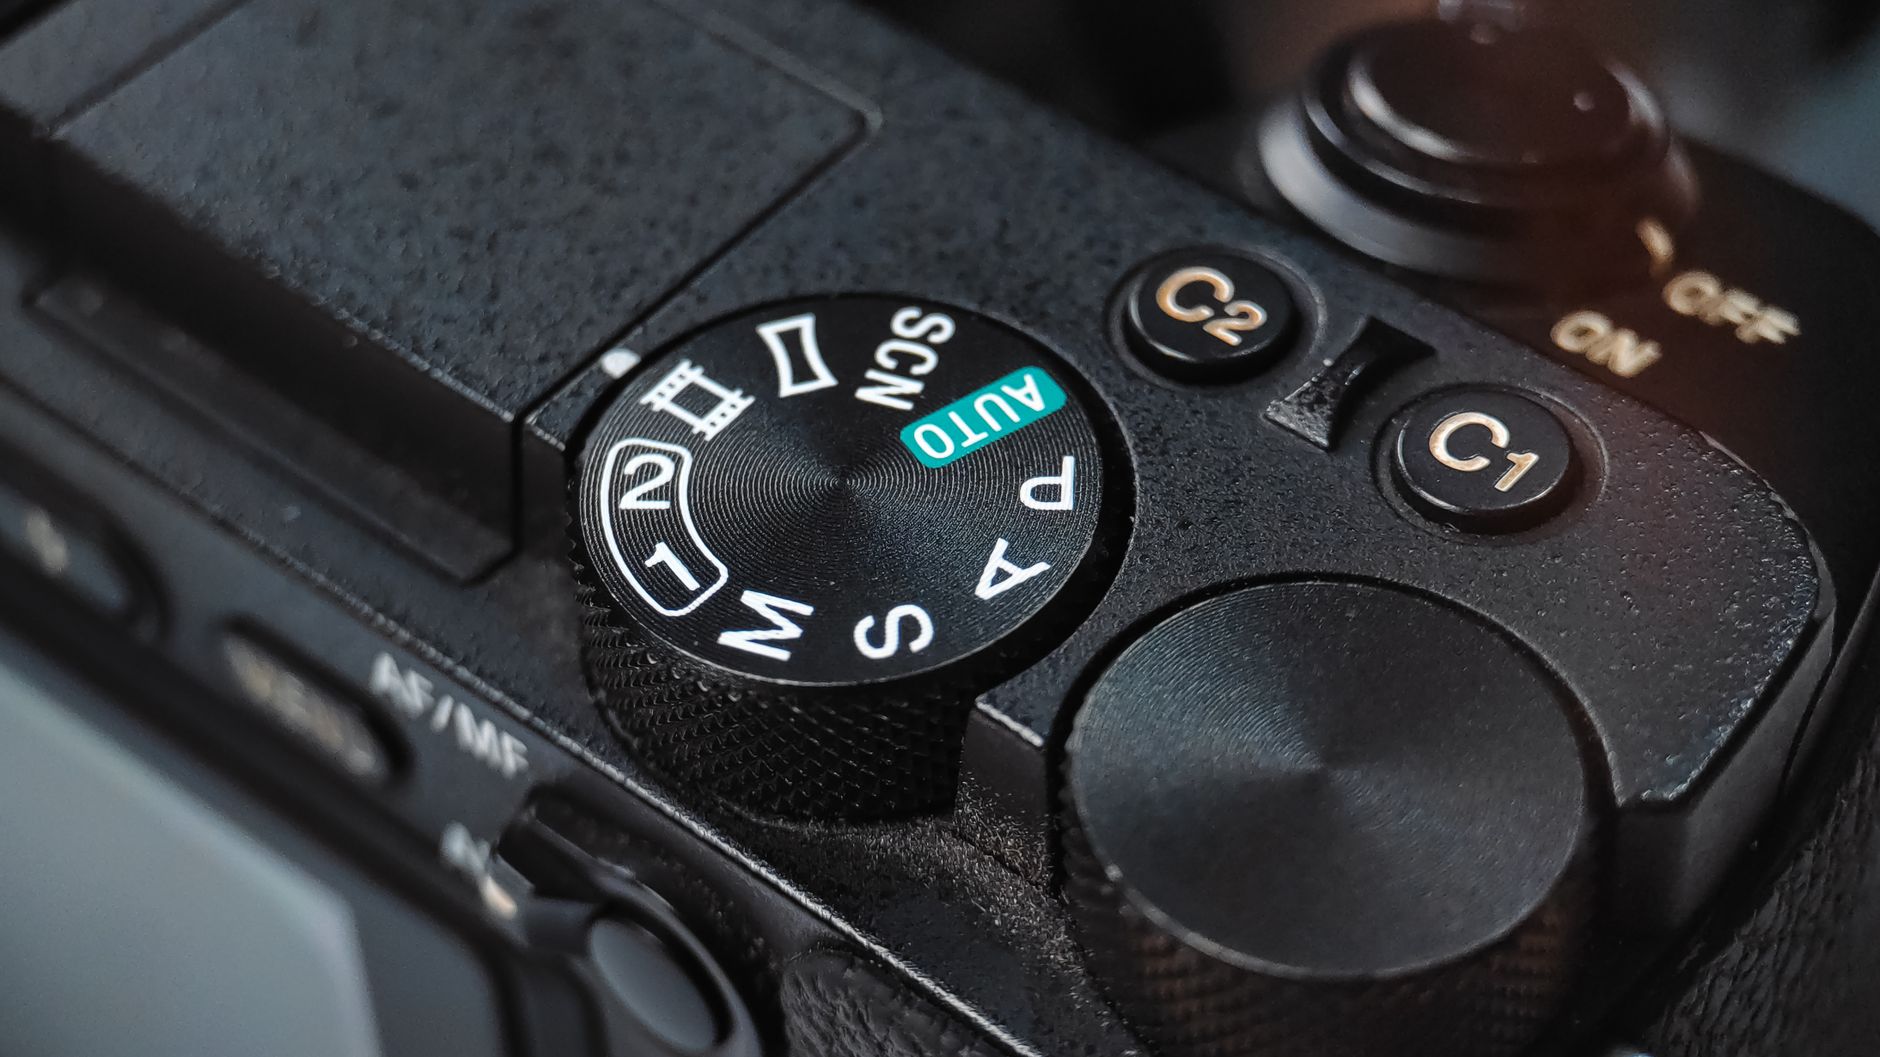
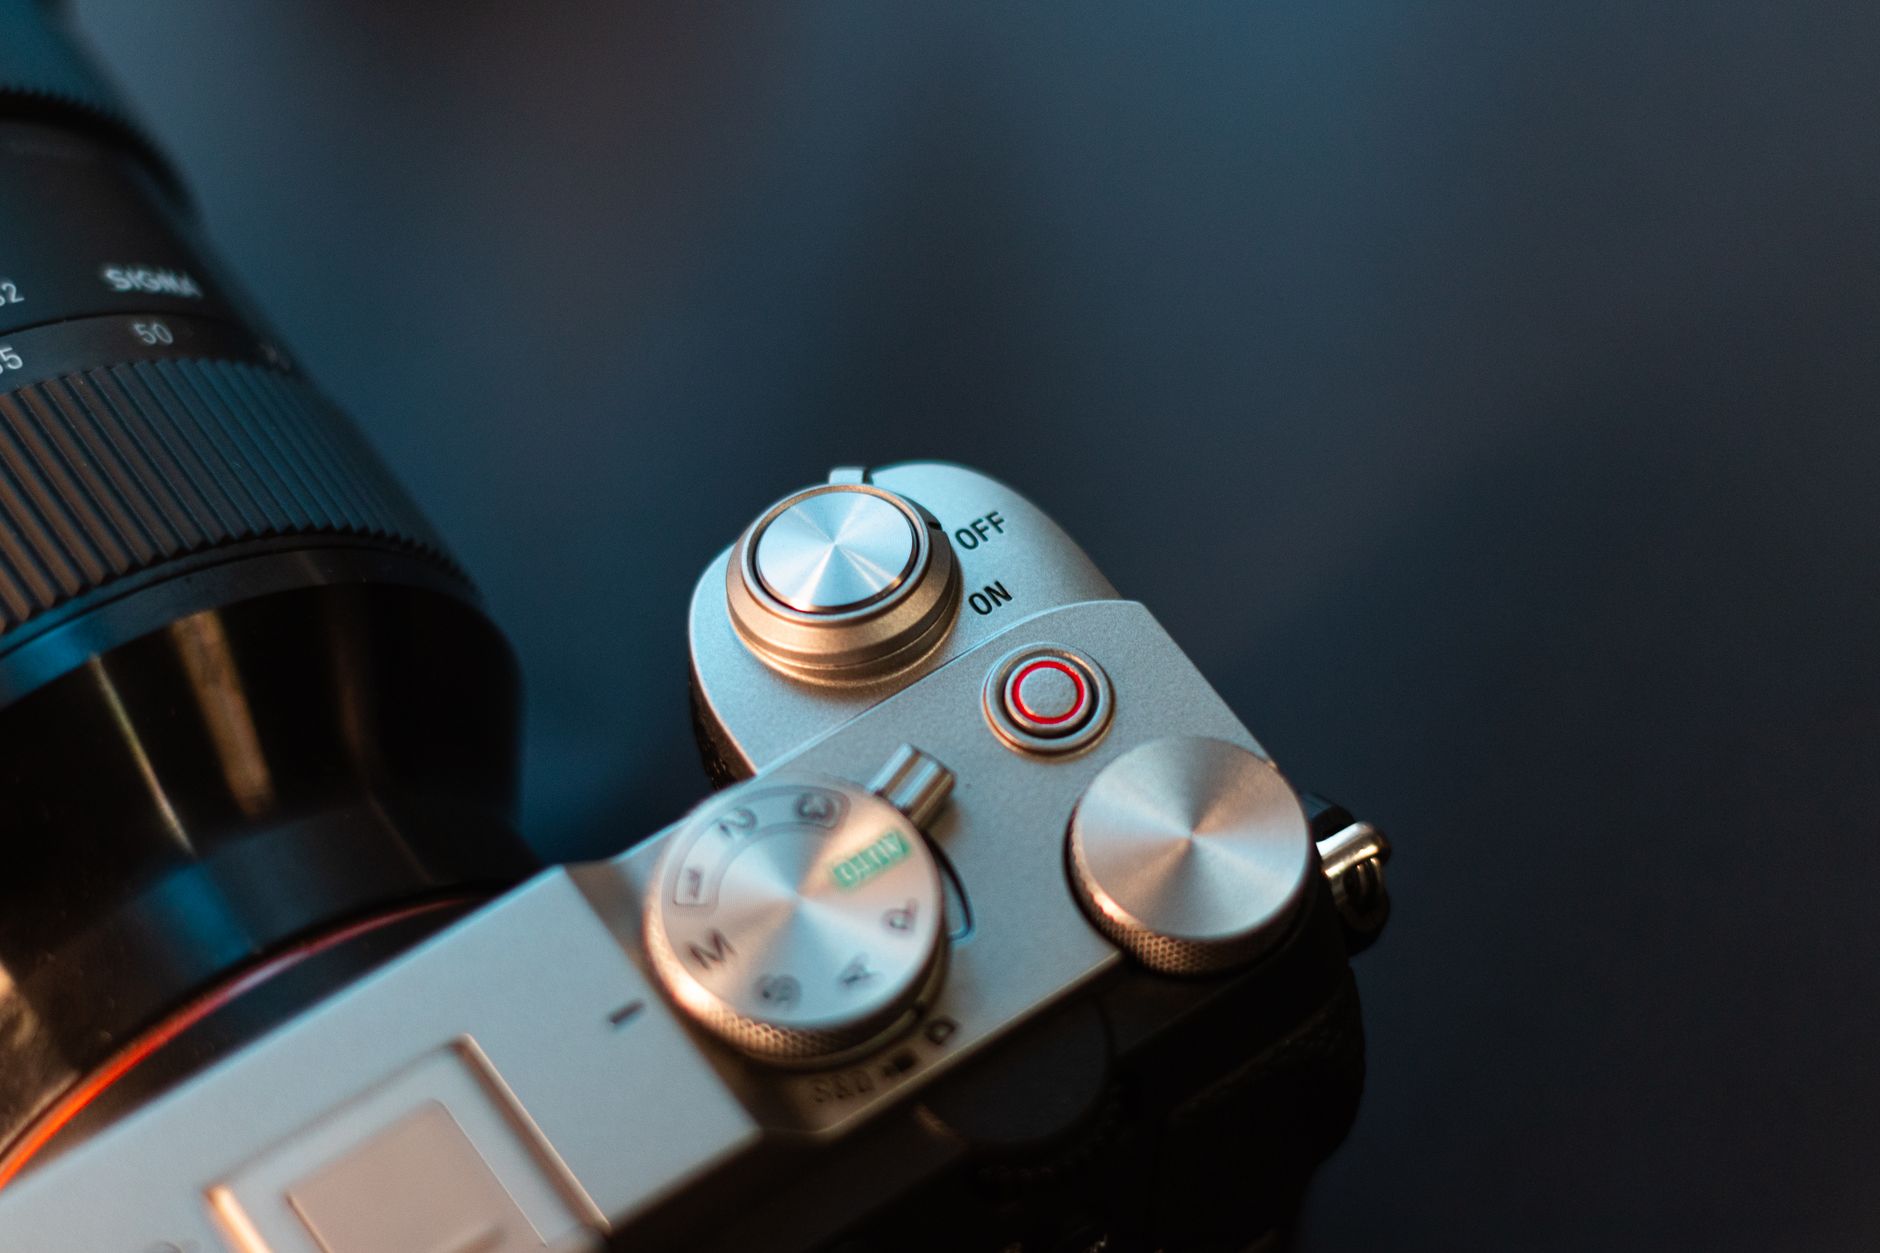
Shoot Manual for Control
While auto settings are convenient, shooting manual gives you full creative control and consistency. Auto exposure can shift mid-shot as lighting changes, causing distracting brightness jumps, whereas manual settings stay locked for a stable, professional image.
Learning to set exposure manually is a major step toward intentional filmmaking. Combined with good lighting, manual camera settings let you craft exactly the look you want rather than leaving it to the camera’s guesses.
Camera Settings Best Practices
- Set shutter speed to double your frame rate (180-degree rule).
- Use the lowest ISO that gives proper exposure to avoid noise.
- Use aperture to control both light and depth of field.
- Use ND filters to keep settings correct in bright light.
Common Camera Settings Mistakes
- A shutter speed too fast, making motion look choppy.
- High ISO introducing noise when more light would help.
- Leaving everything on auto, causing exposure shifts.
- Ignoring depth of field as a creative tool.
A Real Exposure Example
Imagine filming an interview by a window at 24fps. You lock the shutter to 1/48 for natural motion blur, set ISO as low as the light allows for a clean image, and open the aperture wide to blur the busy background and let in light. The window is bright, so you add an ND filter to avoid overexposing while keeping that shallow depth of field.
Every setting is a deliberate choice balancing exposure against the look you want — clean, cinematic, with the subject popping against soft bokeh. That’s the payoff of understanding the exposure triangle: instead of fighting auto mode’s guesses, you craft exactly the image you envisioned, consistently from shot to shot.
Use a Flat Profile for Grading
Many cameras offer flat or log picture profiles that capture a low-contrast, desaturated image preserving maximum detail in shadows and highlights. Shooting flat gives you far more flexibility to color grade in post, since you’re not locked into the contrast and color the camera baked in.
The trade-off is that flat footage looks dull straight out of camera and requires grading to look its best, so it suits projects where you’ll spend time in post. Pairing a flat profile with correct exposure and white balance gives you a pristine, malleable starting point for crafting a polished, cinematic final look.
If a scene forced you into a high ISO, removing noise and grain in post helps recover a cleaner image.
Learning manual exposure goes hand in hand with picking one of the best beginner-friendly cameras for video.
Dialing exposure for that fast-changing warm light is central to golden hour video tips.
Key Takeaways
- Shutter, ISO, and aperture form the exposure triangle.
- Follow the 180-degree rule for natural motion blur.
- Keep ISO low for clean footage; use aperture for depth.
- Shoot manual for control and consistency.
Frequently Asked Questions
What are the main camera settings for video?
Shutter speed, ISO, and aperture form the exposure triangle. Shutter speed controls motion blur, ISO controls sensitivity and noise, and aperture controls light and depth of field. Together they set exposure and look.
What is the 180-degree shutter rule?
Set your shutter speed to roughly double your frame rate — 1/50 for 25fps, 1/48 for 24fps. This produces natural-looking motion blur that matches the cinematic look audiences expect from film.
How do I get a blurry background in video?
Use a wide aperture (a low f-number), which creates a shallow depth of field that blurs the background and isolates your subject. This background blur is key to the cinematic look many creators want.
Sources: Wikipedia’s article on the exposure triangle.
Shoot it right at Adobe Video World
Train hands-on with Adobe Certified Instructors across 100+ Premiere Pro & After Effects sessions.



