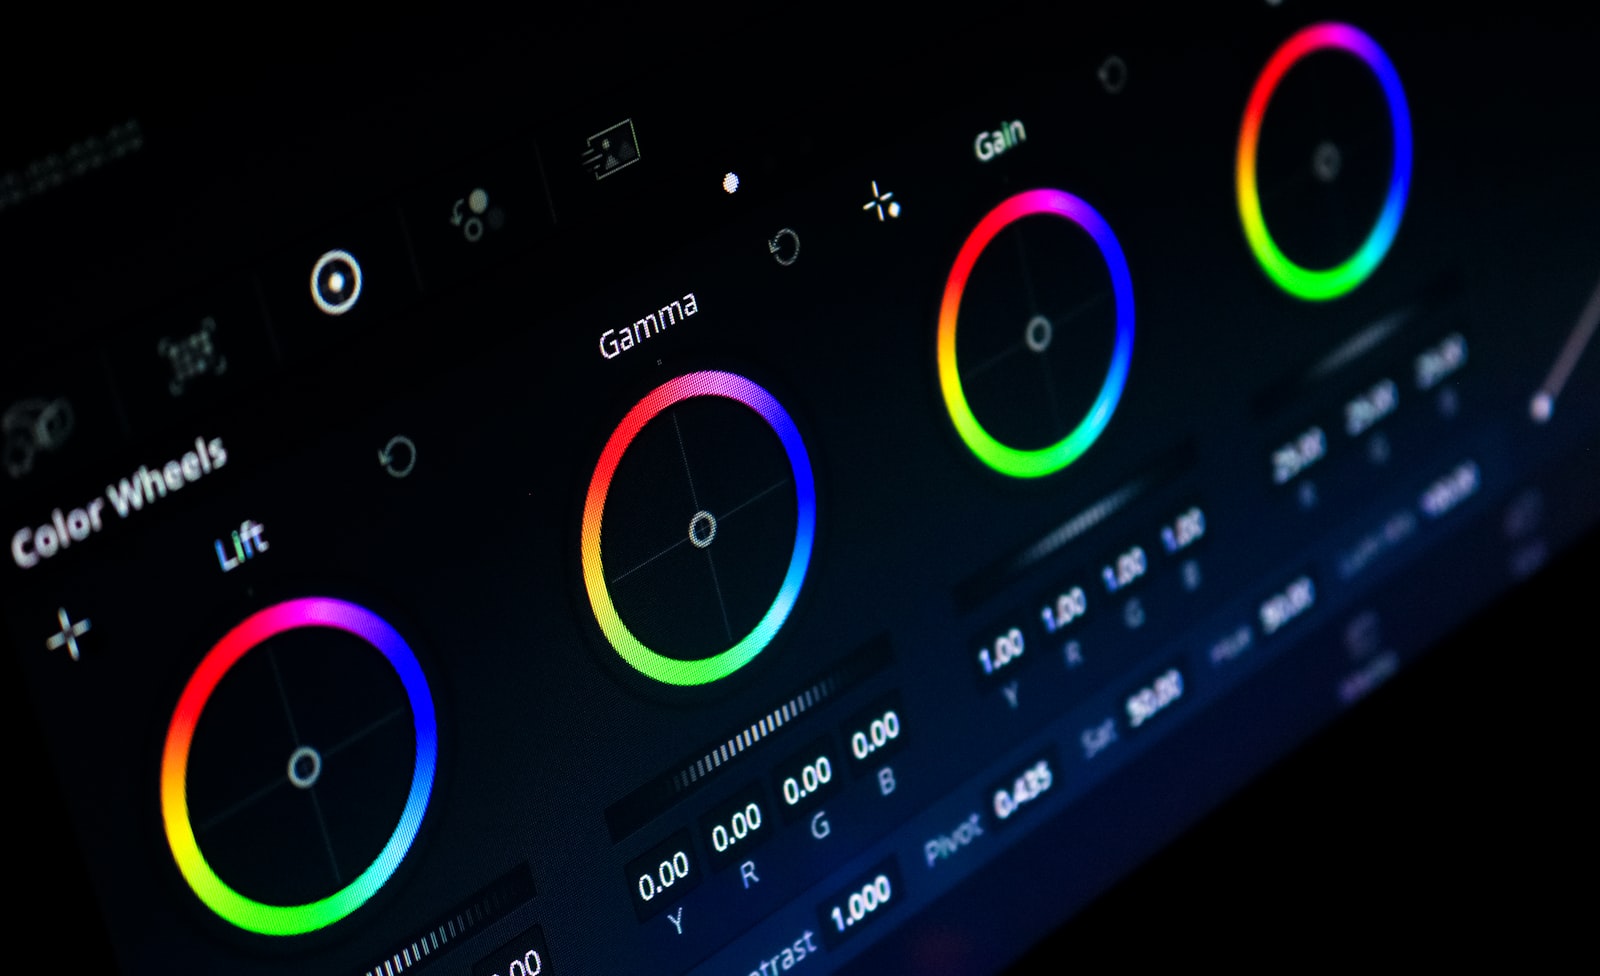
A workflow taught by Adobe Certified Instructors at Adobe Video World.
Your eyes can deceive you — monitors vary, lighting shifts, and what looks right may not be. Lumetri Scopes give you an objective, technical readout of your image’s brightness and color, so you can grade accurately and meet broadcast standards. This guide explains the waveform, vectorscope, histogram, and parade, and how to read each one.

Why Scopes Matter
Color grading by eye alone is risky because no two monitors show an image identically, and your perception drifts as you work. Scopes measure the actual signal — exactly how bright and how saturated your image is — independent of your display.
This objectivity is why every professional colorist relies on scopes. They let you set correct exposure, balance color neutrally, and ensure footage is broadcast-safe, giving you a ground truth to grade against, as our color grading guide builds on.
Open the Lumetri Scopes Panel
Find the scopes via Window > Lumetri Scopes. The panel opens with one or more scopes displayed, and right-clicking it lets you choose which scopes to show and how they’re configured.
You can display several scopes at once or focus on one, depending on what you’re judging. Setting up the scopes you use most keeps the readouts you need visible while you grade, without cluttering your workspace.
Read the Waveform
The waveform shows the brightness of your image from left to right, with the vertical axis representing luminance — bright pixels high, dark pixels low. It’s the primary tool for setting correct exposure.
Read it to check that your blacks sit near the bottom and highlights near the top without clipping off the scale. Keeping the signal within range, generally between 0 and 100, ensures detail isn’t lost in crushed shadows or blown highlights.
Read the Vectorscope
The vectorscope displays color information as a circular graph, showing hue by direction and saturation by distance from the center. It tells you which colors dominate and how saturated they are, regardless of brightness.
It’s invaluable for spotting color casts — if the whole plot leans toward one hue, your image has a tint to correct. The vectorscope is also where you check skin tones, which should fall along a specific line on the graph.
Use the Skin Tone Line
The vectorscope has a diagonal indicator line, often called the skin tone or ‘I’ line, that natural skin tones fall along regardless of ethnicity. Checking that faces sit near this line is a reliable way to confirm accurate skin color.
If skin tones drift off the line, your white balance or grade is pushing them unnaturally. This single reference is one of the most practical uses of scopes, since believable skin tone is critical to almost every shot with people.
Read the Histogram
The histogram graphs how many pixels fall at each brightness level, from black on the left to white on the right. A tall spike on the left means lots of dark pixels; one on the right means bright areas.
It gives you an at-a-glance sense of your exposure distribution and whether you’re clipping. If the graph is bunched against either edge, you’re losing detail in shadows or highlights, signaling an exposure adjustment is needed.
Read the RGB Parade
The RGB parade shows the red, green, and blue channels side by side as separate waveforms. Comparing their levels reveals color balance — if one channel sits consistently higher, your image leans toward that color.
It’s the go-to scope for neutralizing color casts. To balance a shot, you adjust the channels so the parade aligns in the areas that should be neutral, like whites and grays, removing unwanted tints precisely.
Use Scopes to Match Shots
Scopes are essential for matching clips so a scene looks consistent. Compare two shots’ waveforms and parades, then grade one to match the other’s levels, ensuring brightness and color carry seamlessly across edits.
This objective matching, related to the techniques in our color matching guide, is far more reliable than eyeballing it. When intercut shots share the same scope readings, the scene feels like one cohesive piece.
Reading Scopes Best Practices
- Use the waveform to set exposure within a safe range.
- Use the vectorscope and skin tone line to check color and faces.
- Use the RGB parade to neutralize color casts.
- Compare scopes between shots to match a scene.
Common Scope Mistakes
- Grading entirely by eye and ignoring the scopes.
- Clipping highlights or crushing blacks off the waveform.
- Missing a color cast the parade would reveal.
- Letting skin tones drift far off the vectorscope’s line.
A Real Grading Workflow with Scopes
Picture correcting an underexposed interview clip. You open the waveform and see the signal bunched low, so you lift the exposure until the highlights approach the top without clipping and the blacks settle near the bottom. Then you switch to the RGB parade, notice the blue channel sitting high, and pull it down to remove a cold cast.
Finally you check the vectorscope, nudging the grade until the subject’s skin tone falls neatly along the skin tone line. At each step the scopes tell you exactly what to fix, turning a guesswork correction into a precise, repeatable process — the disciplined approach our color grading guide teaches.
Stay Broadcast-Safe with Scopes
If your video is destined for television, it must meet broadcast standards that cap how bright and how saturated the signal can be. The waveform and vectorscope show you instantly whether you’re within those limits, so you can pull back any levels that exceed them before delivery.
Even for online video, keeping the signal in a sensible range prevents clipping and oversaturation that look harsh on other screens. Using scopes to stay within safe boundaries, alongside the right export settings, ensures your footage looks correct wherever it’s viewed, not just on your own monitor.
Read Scopes While You Shoot and Edit
Scopes aren’t only an editing tool — the discipline of reading them carries back to the shoot. Understanding how exposure reads on a waveform helps you light and expose footage correctly in camera, so you capture clean signal with detail in both shadows and highlights rather than fixing problems later.
In the edit, glancing at the scopes as you make each adjustment builds an instinct for what good levels look like. Over time you’ll predict what a shot needs before the scopes confirm it, and pairing that instinct with the workflow in our color matching guide makes grading faster and far more reliable.
The scopes give objective data, but an accurate, calibrated editing monitor is still essential for judging color by eye.
Pushing a heavily stylized grade while keeping skin tones believable is routine in music video editing.
Reading the waveform as you pull down exposure keeps turning day into night in post believable.
Reading the vectorscope helps you target HSL secondary corrections in Premiere Pro precisely on one hue.
Key Takeaways
- Scopes give an objective readout independent of your monitor.
- The waveform judges exposure; the parade judges color balance.
- The vectorscope and skin tone line confirm accurate color.
- Use scopes to grade safely and match shots in a scene.
Frequently Asked Questions
What are Lumetri Scopes used for?
Lumetri Scopes give an objective, technical readout of your image’s brightness and color, independent of your monitor. They help you set correct exposure, balance color, check skin tones, and match shots accurately.
How do I read the waveform in Premiere Pro?
The waveform shows brightness, with bright pixels high and dark pixels low on the vertical axis. Keep blacks near the bottom and highlights near the top without clipping off the scale to preserve detail.
How do I check skin tones with scopes?
Use the vectorscope’s diagonal skin tone line. Natural skin tones fall along this line regardless of ethnicity, so if faces drift off it, your white balance or grade is pushing the color unnaturally.
Sources: Wikipedia’s article on the vectorscope.
Grade with confidence at Adobe Video World
Train hands-on with Adobe Certified Instructors across 100+ Premiere Pro & After Effects sessions.



