A workflow taught by Adobe Certified Instructors at Adobe Video World.
Golden hour — the time around sunrise and sunset — bathes everything in warm, soft, flattering light that makes footage instantly cinematic. Knowing how to shoot in golden hour and natural light is one of the most valuable skills for beautiful video. This guide covers using natural light to capture stunning, professional footage.
What Golden Hour Is
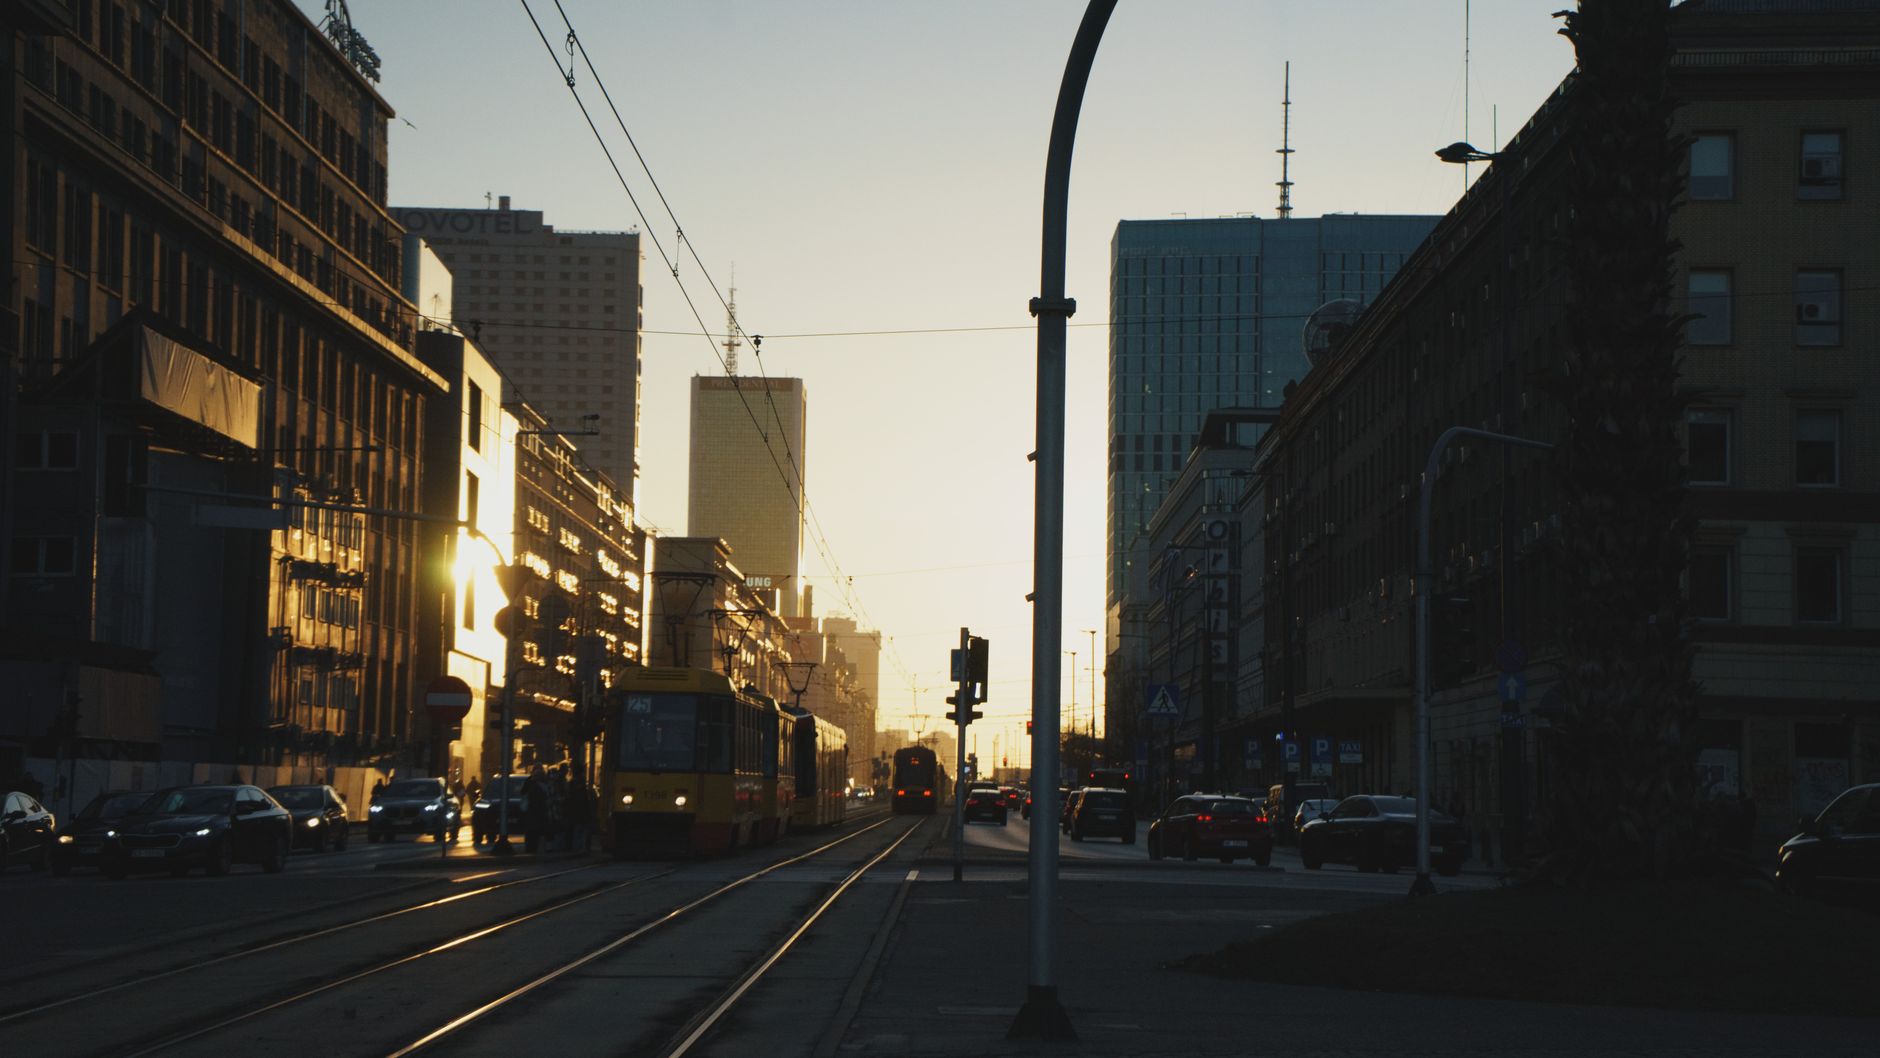
Golden hour is the period shortly after sunrise and before sunset when the sun is low, casting warm, soft, golden light. The low angle and the atmosphere’s filtering create a flattering, magical quality that’s hard to replicate artificially.
This light is prized by filmmakers and photographers because it makes almost everything look beautiful. The warm tones, long soft shadows, and gentle quality of golden hour light give footage an instantly cinematic, emotive feel.
Why Golden Hour Light Is Beautiful
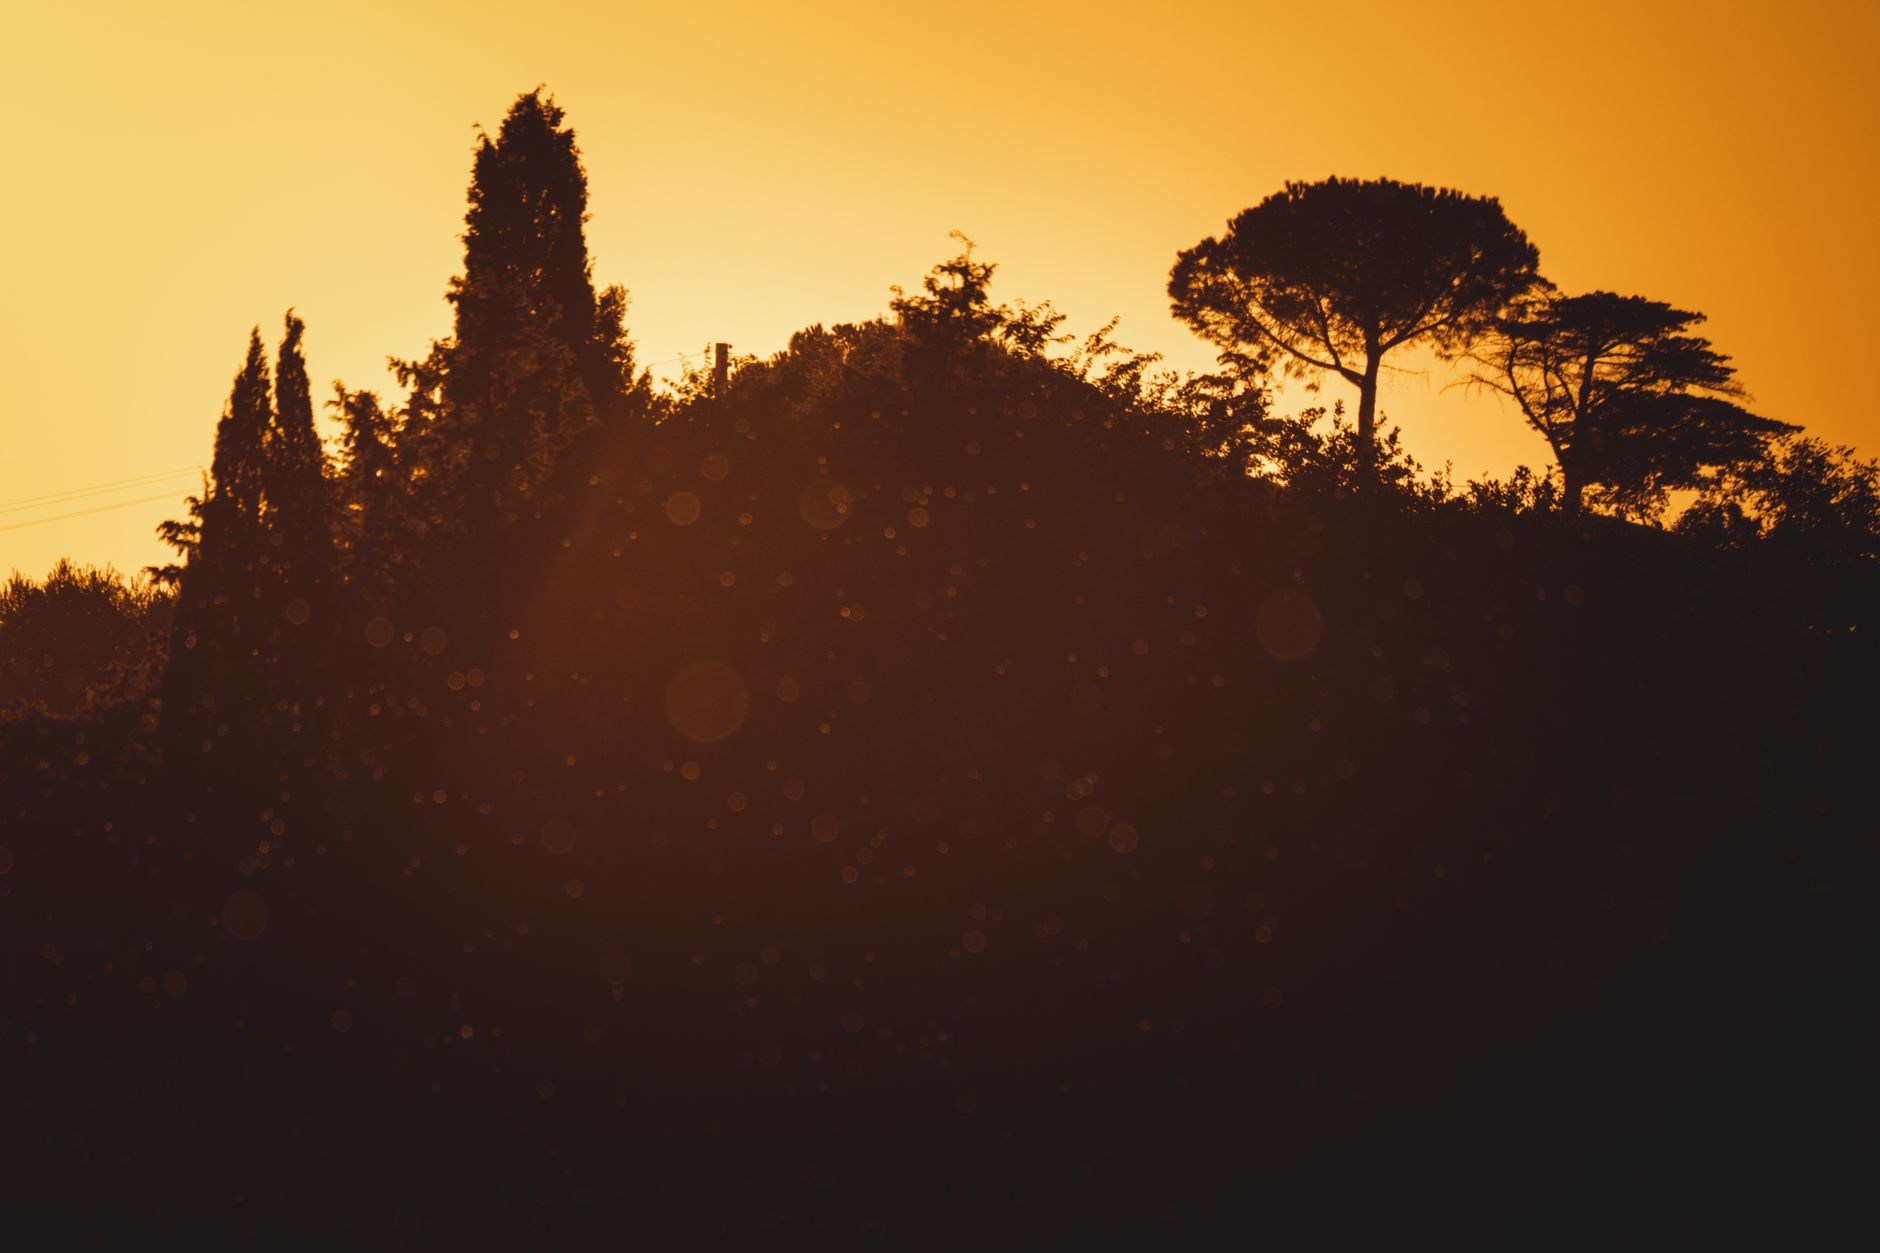
Golden hour light is soft and directional, wrapping around subjects flatteringly without the harsh shadows of midday sun. Its warm color adds a cozy, emotional tone, and the low angle creates depth with long shadows and rim lighting.
This combination — soft, warm, directional light — is ideal for flattering subjects and creating mood. It’s why golden hour is so coveted, delivering naturally the qualities that artificial lighting setups work hard to achieve.
Plan for the Light
Golden hour is brief, so planning is essential. Knowing when sunrise and sunset occur, scouting your location, and being ready to shoot when the light is right ensures you capture the magic before it fades, since the best light lasts only a short while.
Apps that predict golden hour timing and sun position help you plan. Arriving early, setting up, and being prepared to shoot quickly during the short window is key, since golden hour waits for no one and the light changes fast.
Position Your Subject
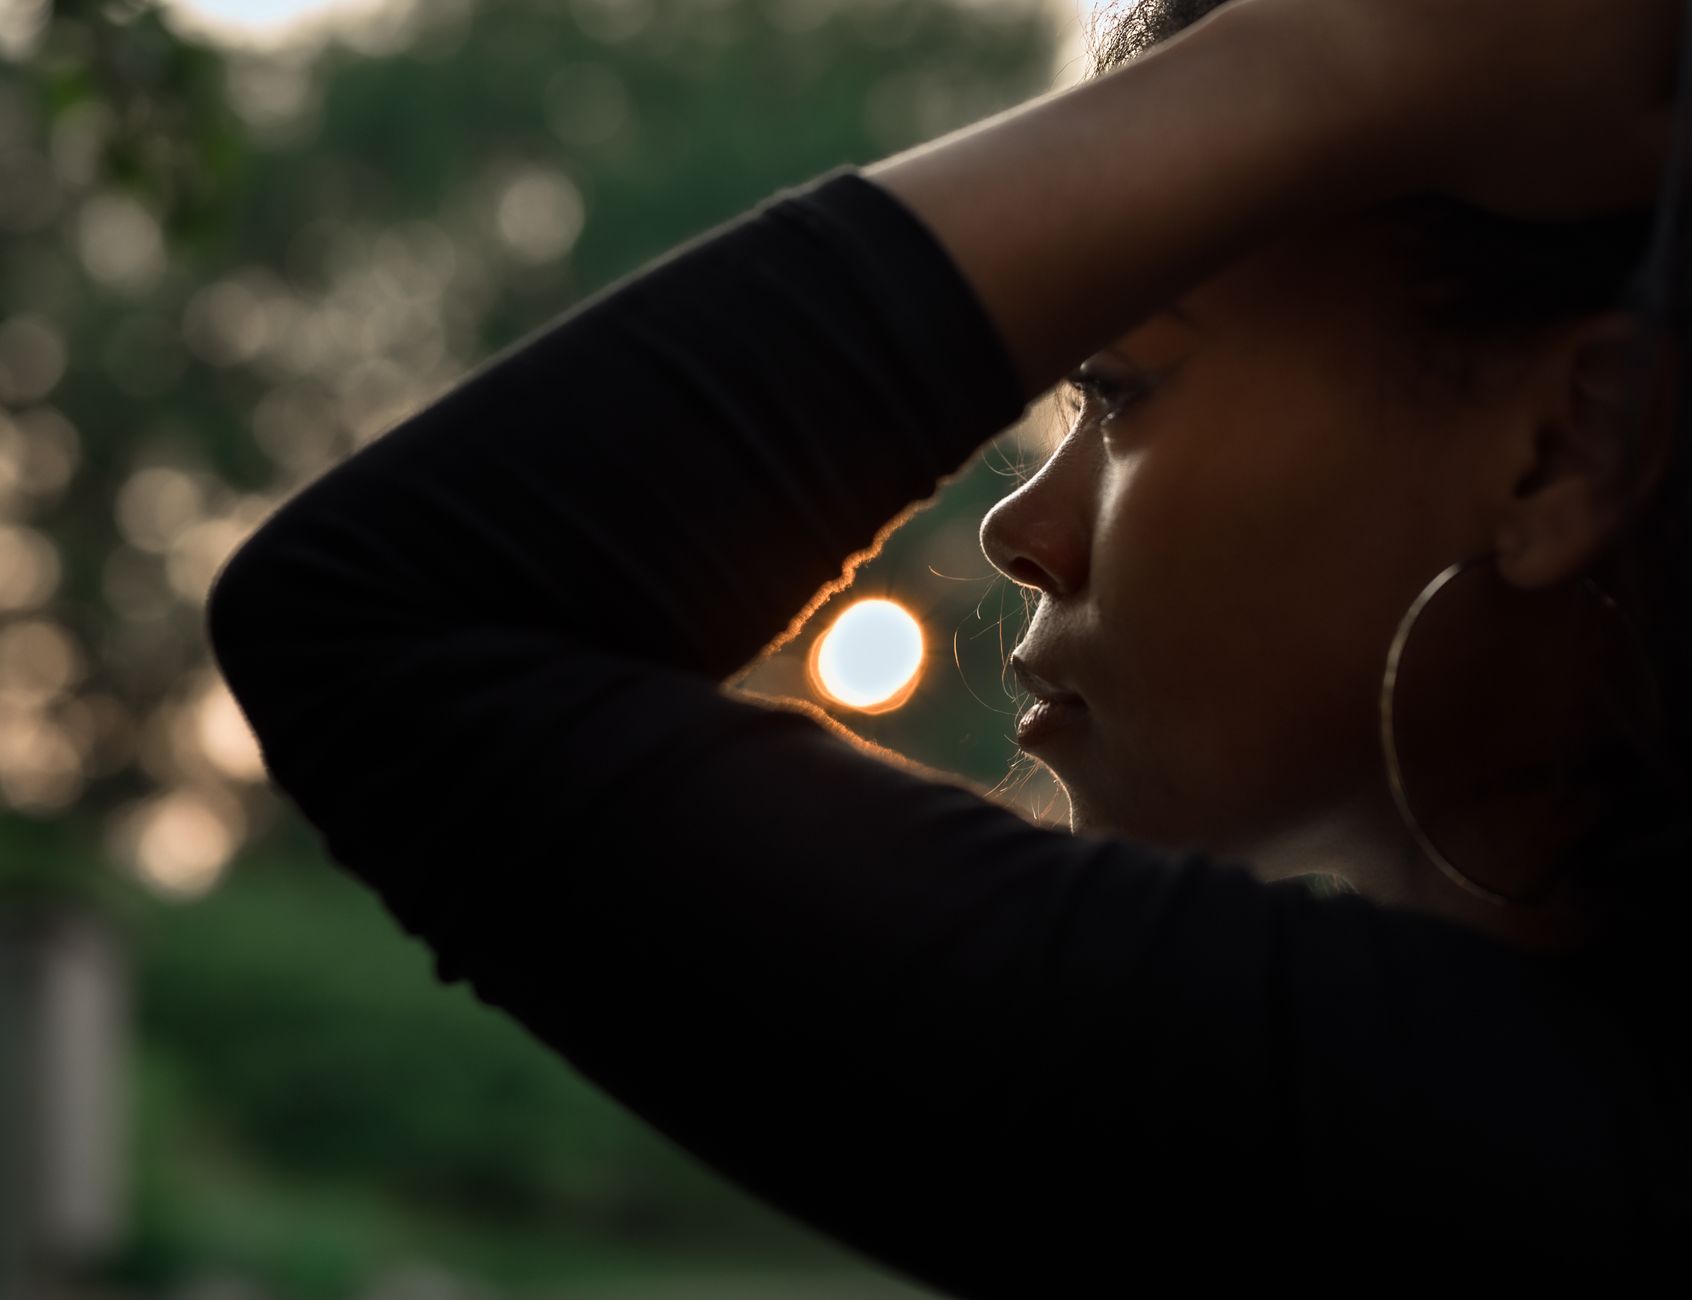
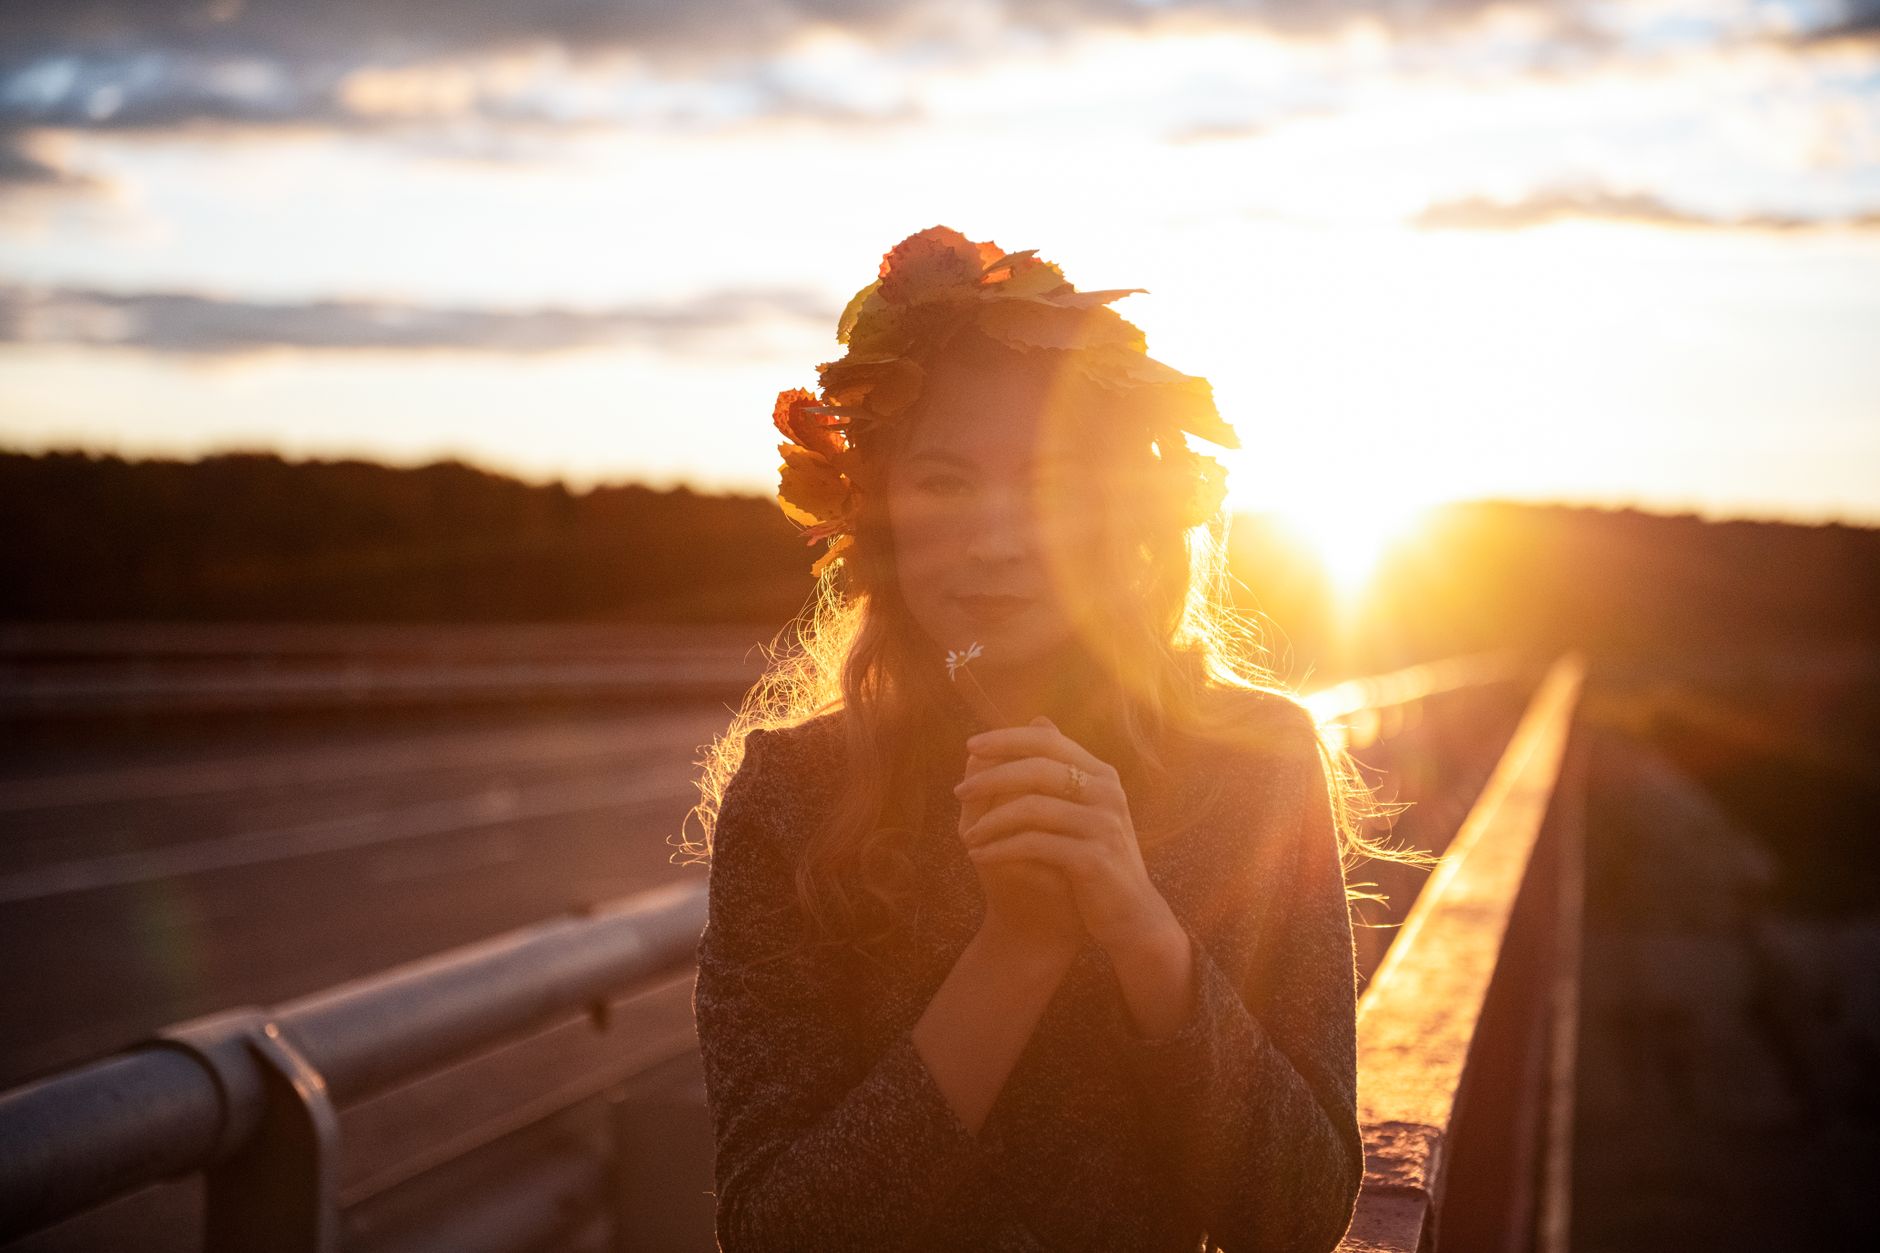
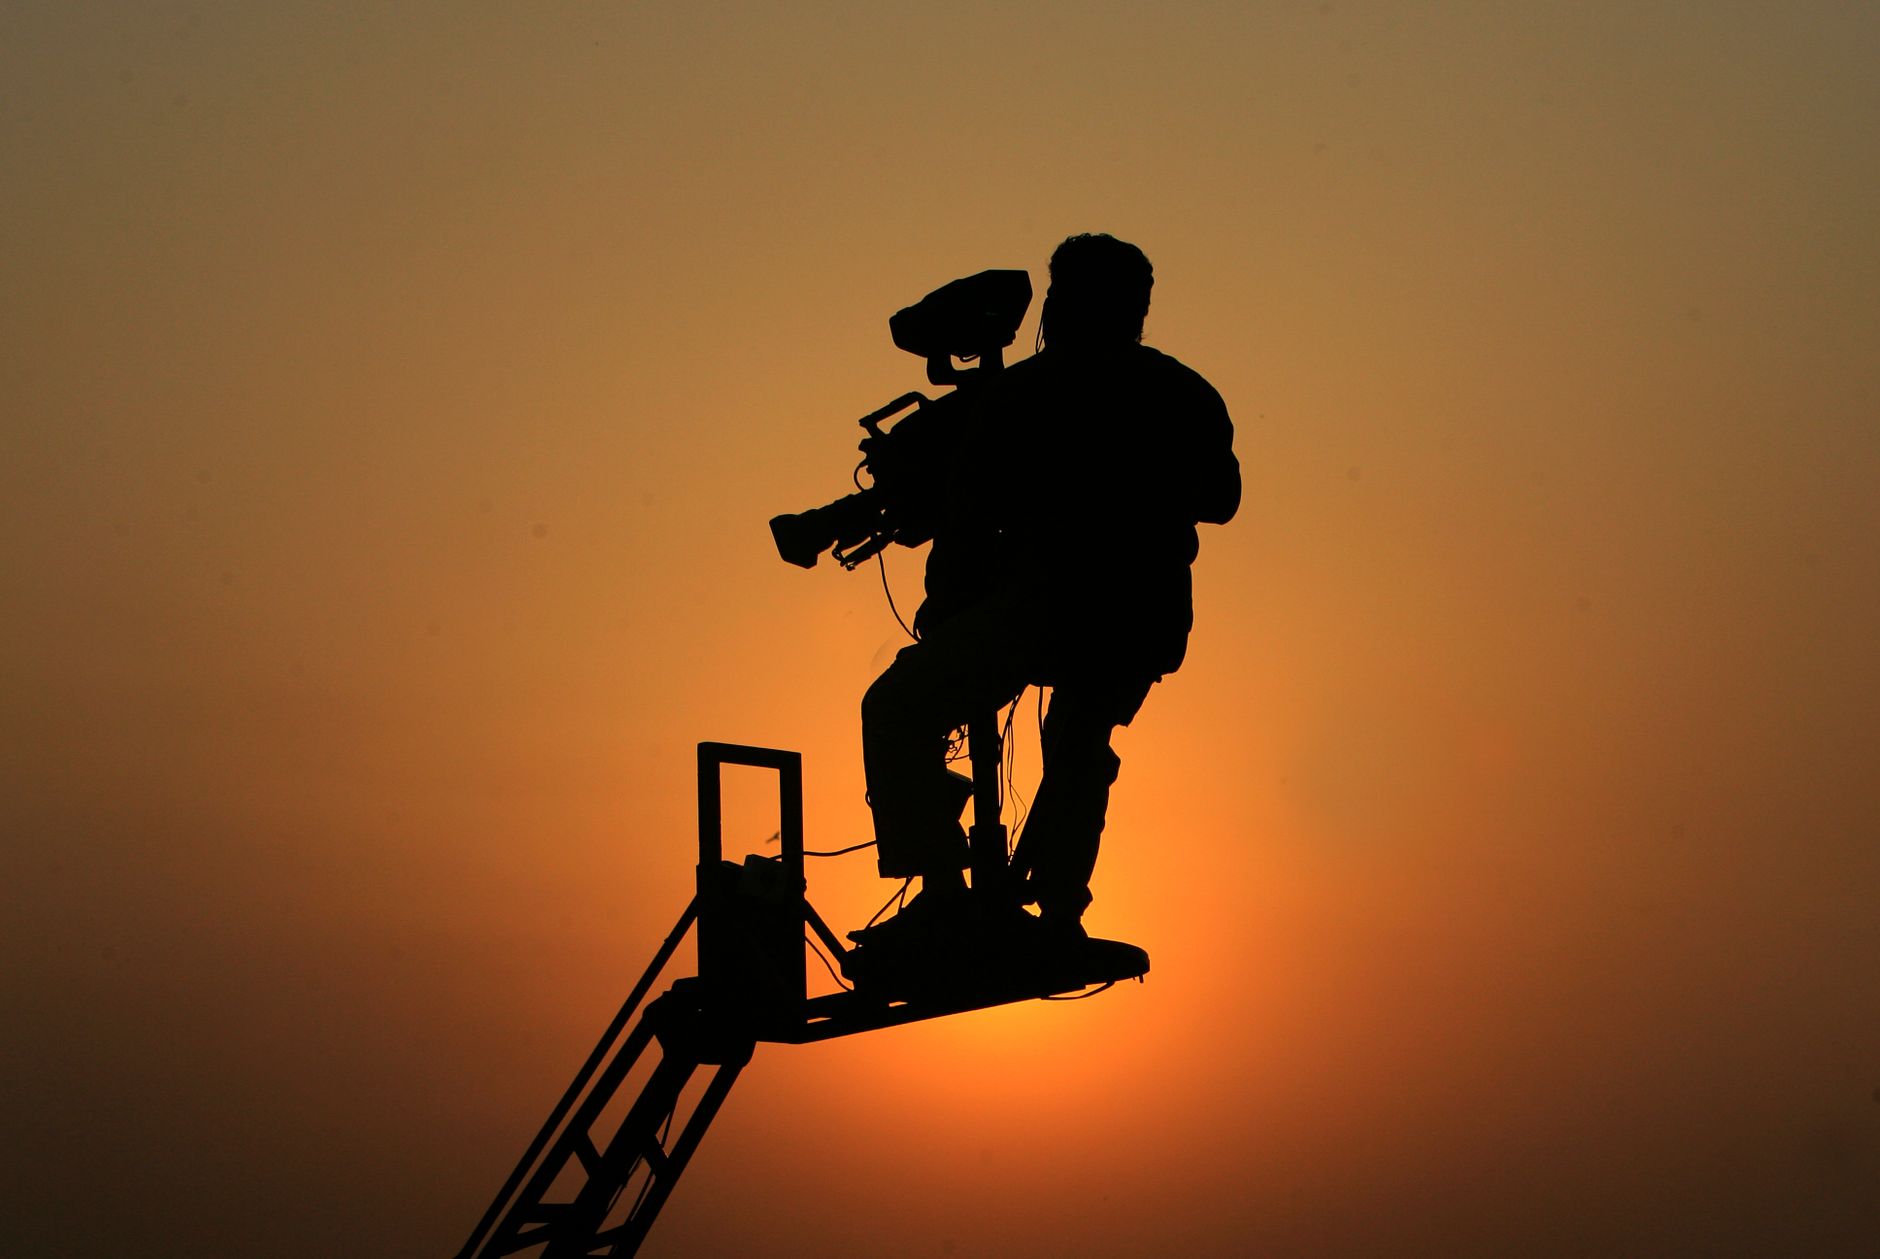
Subject placement relative to the sun shapes the look. Backlighting — sun behind the subject — creates a glowing rim and dreamy haze, while side lighting models the face with soft shadows, and front lighting bathes the subject in warm light.
Backlighting at golden hour is especially beautiful, creating a halo of light around your subject. Experimenting with the subject’s angle to the low sun, and using the composition principles, lets you craft different flattering, cinematic looks.
Control and Shape the Light
Even natural light can be shaped. Using a reflector to bounce warm light back onto a backlit subject, or a diffuser to soften harsh light, gives you control over how the natural light falls, improving the result.
A simple reflector is invaluable at golden hour, filling shadows on a backlit subject’s face. These small tools, working with the available light rather than against it, let you refine natural light into beautifully balanced, flattering illumination.
Shoot in Other Natural Light
Beyond golden hour, other natural light has uses. Overcast skies act as a giant soft box, providing even, flattering light all day, while open shade offers soft, cool light, and window light indoors is a beautiful, soft source.
Knowing how to use different natural light expands when you can shoot well. Overcast days are great for flattering, shadowless footage, and window light, as our indoor setups show, provides lovely soft illumination for interviews and portraits.
Set Your Exposure and White Balance
Natural light changes, so monitor your settings. Exposing correctly as the light shifts, and setting white balance to preserve or enhance the warm tones, ensures your footage captures the light’s beauty accurately.
At golden hour, you might keep a warmer white balance to embrace the golden tones. Watching your exposure as the sun moves, and choosing white balance deliberately, lets you capture the natural light’s quality rather than fighting or neutralizing it.
Natural Light Best Practices
- Plan around the brief golden hour window.
- Position your subject for backlight or soft side light.
- Use a reflector to fill shadows on backlit subjects.
- Use overcast and window light as soft sources too.
Common Natural Light Mistakes
- Missing golden hour by not planning ahead.
- Shooting in harsh midday sun with unflattering shadows.
- Backlighting without filling the subject’s shadows.
- Neutralizing the warm tones instead of embracing them.
A Real Golden Hour Example
Imagine filming a couple walking along a beach as the sun sinks. You position them with the low sun behind, so its warm light wraps a glowing rim around their hair and shoulders, and hold a small reflector to bounce gentle fill onto their faces. The long shadows stretch across the sand and the whole frame glows golden.
Because you planned to arrive early and embraced the warm white balance, you capture the magic in the brief window before it fades. That backlit, reflector-filled, warmly-graded shot is the quintessential golden-hour image — proof that the most cinematic light of the day is free, if you plan for it and position your subject to make the most of it.
Golden Hour for Different Genres
Golden hour’s flattering warmth suits far more than romantic scenes. Real estate and travel videos use it to make locations look their most inviting, product shoots use its soft glow to flatter their subjects, and interviews positioned near a golden-hour window gain a warm, natural beauty no artificial setup quite matches.
Recognizing how golden hour can elevate whatever you’re shooting, and planning around its brief window, turns it into a reliable tool rather than a happy accident. Combined with the grading techniques in our color grading guide to enhance the warm tones, golden hour gives almost any genre an instant lift in production value.
Golden Hour and Color Grading
Golden hour footage responds beautifully to color grading, since its warm tones give you a rich starting point. Enhancing the warmth, deepening the shadows gently, and refining the glow in post amplifies the magic the light already provides, rather than fighting it.
Grading to embrace and intensify the golden tones, using the techniques in our color grading guide, turns lovely footage into stunning footage. Because the light is already cinematic, a light, complementary grade is usually all it takes to make golden-hour shots truly sing.
When natural light isn’t enough, an affordable video lighting kit gives you control over the look.
Warm exterior light shot at the right time of day makes editing a real estate tour look far more inviting.
Chasing the best light in a new place pays off most in travel video editing.
Key Takeaways
- Golden hour’s warm, soft light is instantly cinematic.
- Plan ahead, since the best light is brief.
- Position subjects for backlight or soft side light.
- Use reflectors and embrace the warm tones.
Frequently Asked Questions
What is golden hour?
Golden hour is the period shortly after sunrise and before sunset when the sun is low, casting warm, soft, golden light. Its flattering, directional quality makes footage instantly cinematic, which is why filmmakers prize it.
How do I shoot in golden hour?
Plan around the brief window, position your subject for backlight (sun behind them) for a glowing rim or soft side light for modeling, use a reflector to fill shadows, and set white balance to embrace the warm tones.
What if I can’t shoot at golden hour?
Use other flattering natural light: overcast skies act as a giant soft box for even, shadowless light, open shade gives soft cool light, and window light indoors is a beautiful soft source for interviews and portraits.
Sources: Wikipedia’s article on golden hour photography.
Harness natural light at Adobe Video World
Train hands-on with Adobe Certified Instructors across 100+ Premiere Pro & After Effects sessions.



