A workflow taught by Adobe Certified Instructors at Adobe Video World.
Low-light shooting is challenging — too little light leads to dark, noisy, unusable footage. But with the right settings, lenses, and techniques, you can capture clean, atmospheric video in dim conditions. This guide covers managing ISO and noise, using fast lenses, and getting good results when the light is low.
The Low-Light Challenge
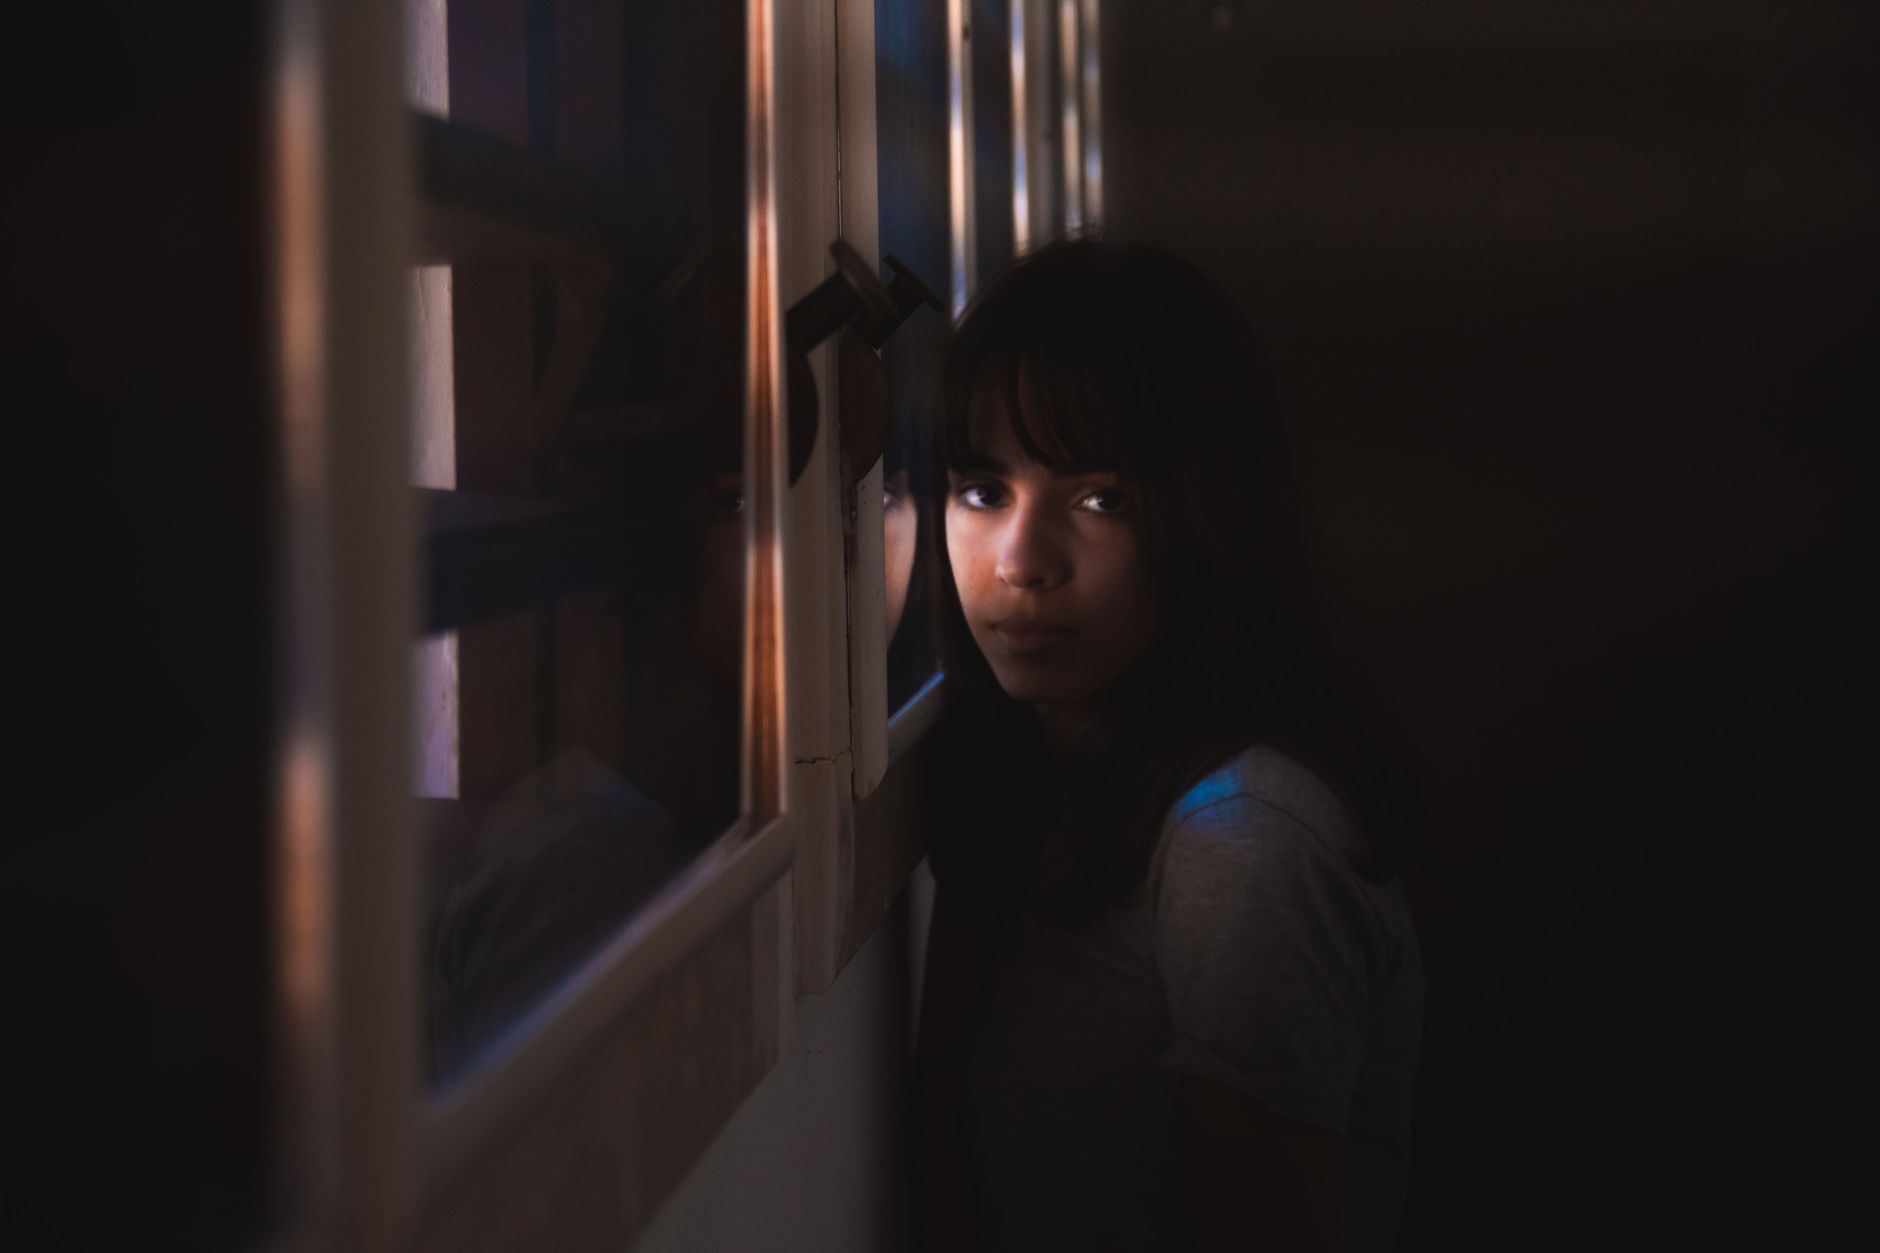
Low light forces a trade-off: to brighten the image, you must raise ISO, open the aperture, or slow the shutter, but each has limits and downsides. Pushed too far, footage becomes noisy, soft, or motion-blurred, so balancing these is the core challenge.
Understanding how to manage exposure in low light lets you capture clean, usable footage where others get unusable darkness. The goal is gathering enough light for a bright, clean image while keeping noise and other compromises under control.
Use a Fast Lens
A fast lens with a wide maximum aperture is your best friend in low light. Opening up to a low f-number like f/1.8 gathers far more light than a slower lens, letting you keep ISO lower and the image cleaner.
The wide aperture of a fast lens is often the single biggest factor in low-light success, as our lenses guide covers. Prioritizing fast glass for dim conditions gathers the light you need without resorting to extreme ISO.
Manage ISO and Noise
ISO brightens the image but introduces noise as it rises. Finding your camera’s usable ISO ceiling — how high you can go before noise becomes objectionable — lets you brighten the image while keeping it acceptably clean.
Modern cameras handle high ISO better than ever, but every camera has a limit. Knowing your camera’s noise performance, and staying within its usable range, balances brightness against the grain, which is central to good low-light footage.
Expose Carefully
In low light, careful exposure matters more than ever. Avoiding underexposure is key, because brightening a dark image in post amplifies noise dramatically, so it’s better to expose properly in camera even at a higher ISO.
Using your camera’s tools — histogram, zebras, or exposure meter — to nail exposure prevents the noisy results of lifting dark footage later. Getting a properly bright exposure in camera, as our camera settings guide covers, is far better than fixing it after.
Add Light When You Can
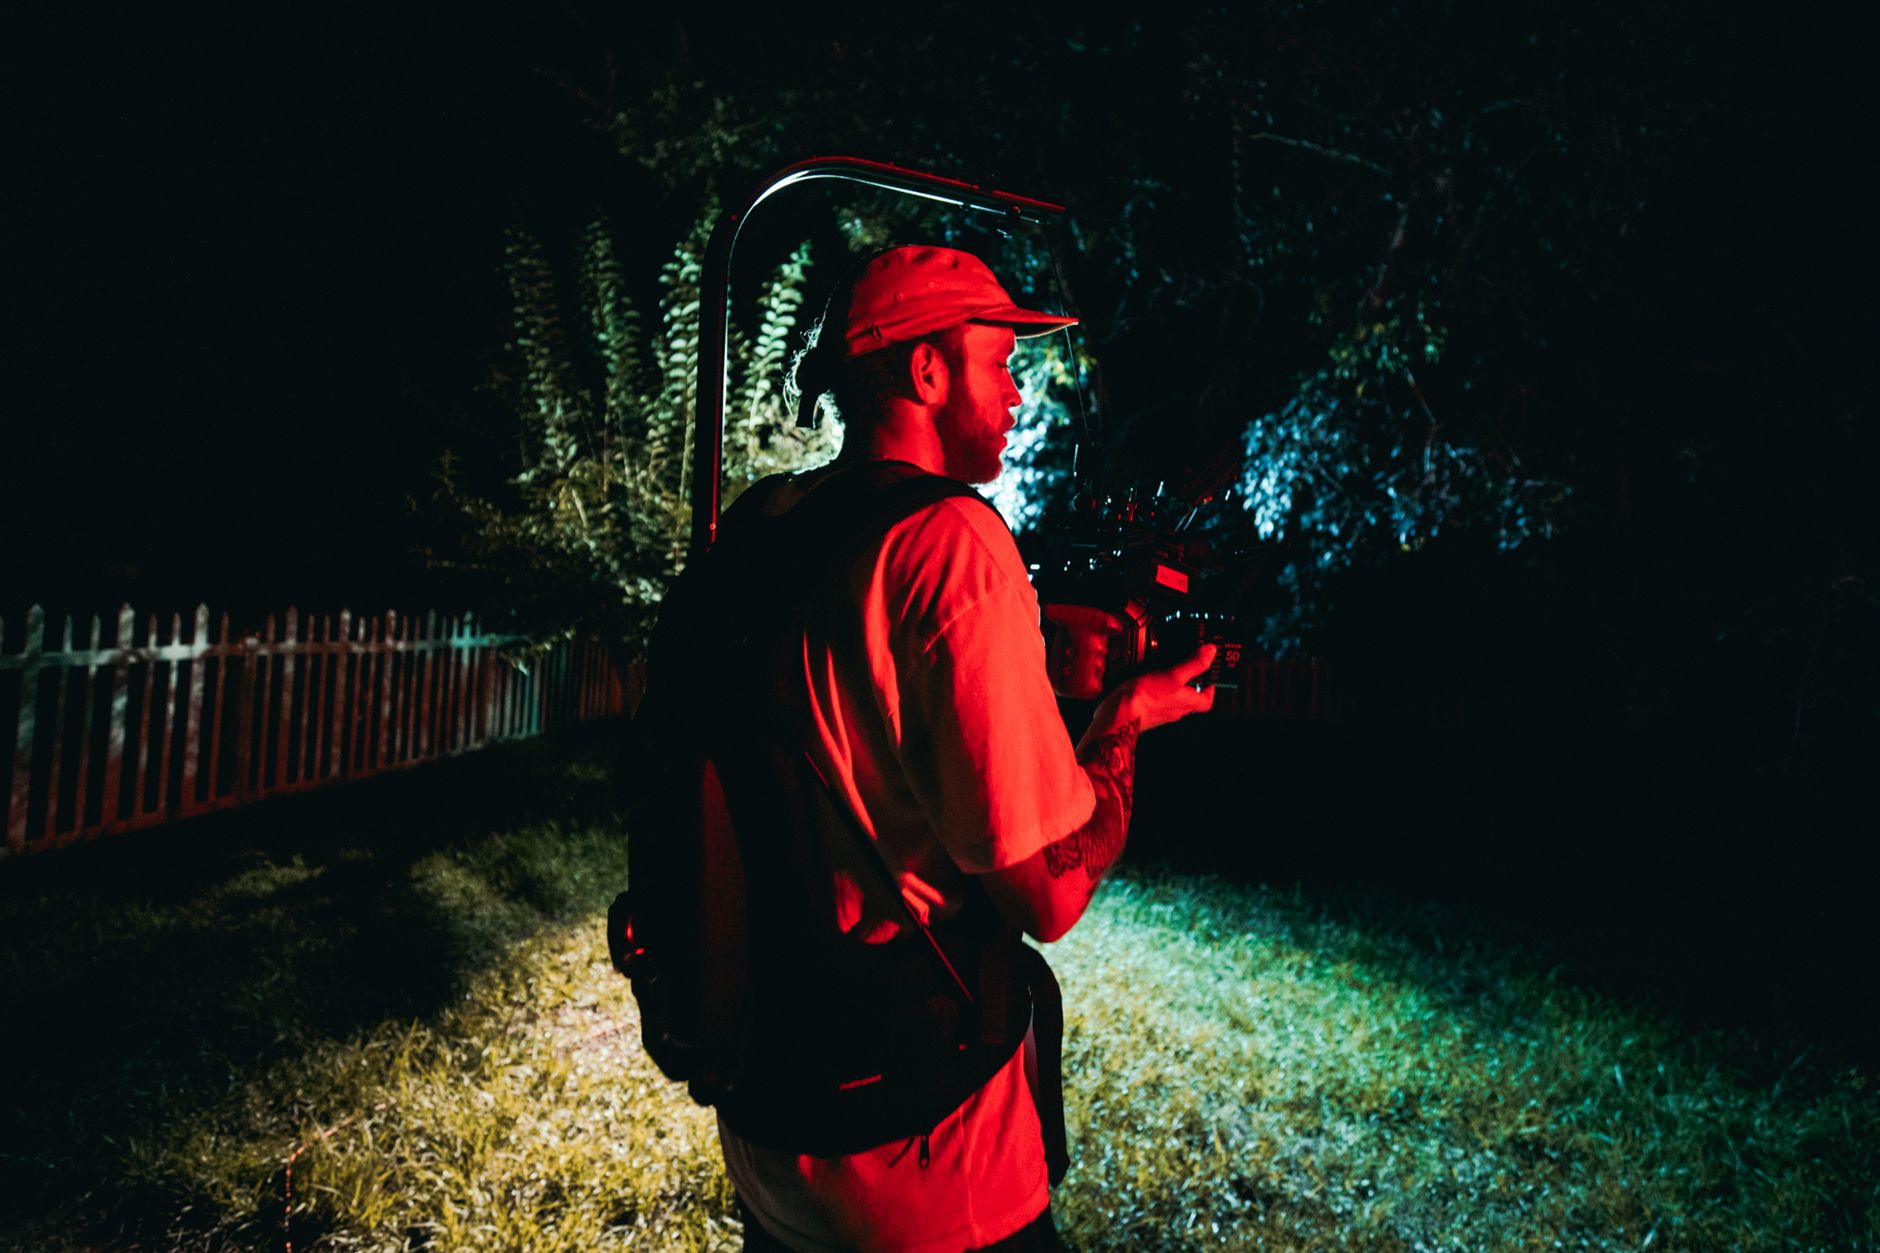
The best low-light solution is often adding light. Even a small LED panel, a practical lamp in the scene, or bouncing available light can lift your subject enough to shoot at a cleaner ISO, dramatically improving the footage.
A little added light goes a long way in the dark, letting you avoid the noise of extreme ISO. Where possible, supplementing the available light, even subtly, using lighting techniques, is the surest path to clean low-light video.
Embrace the Mood
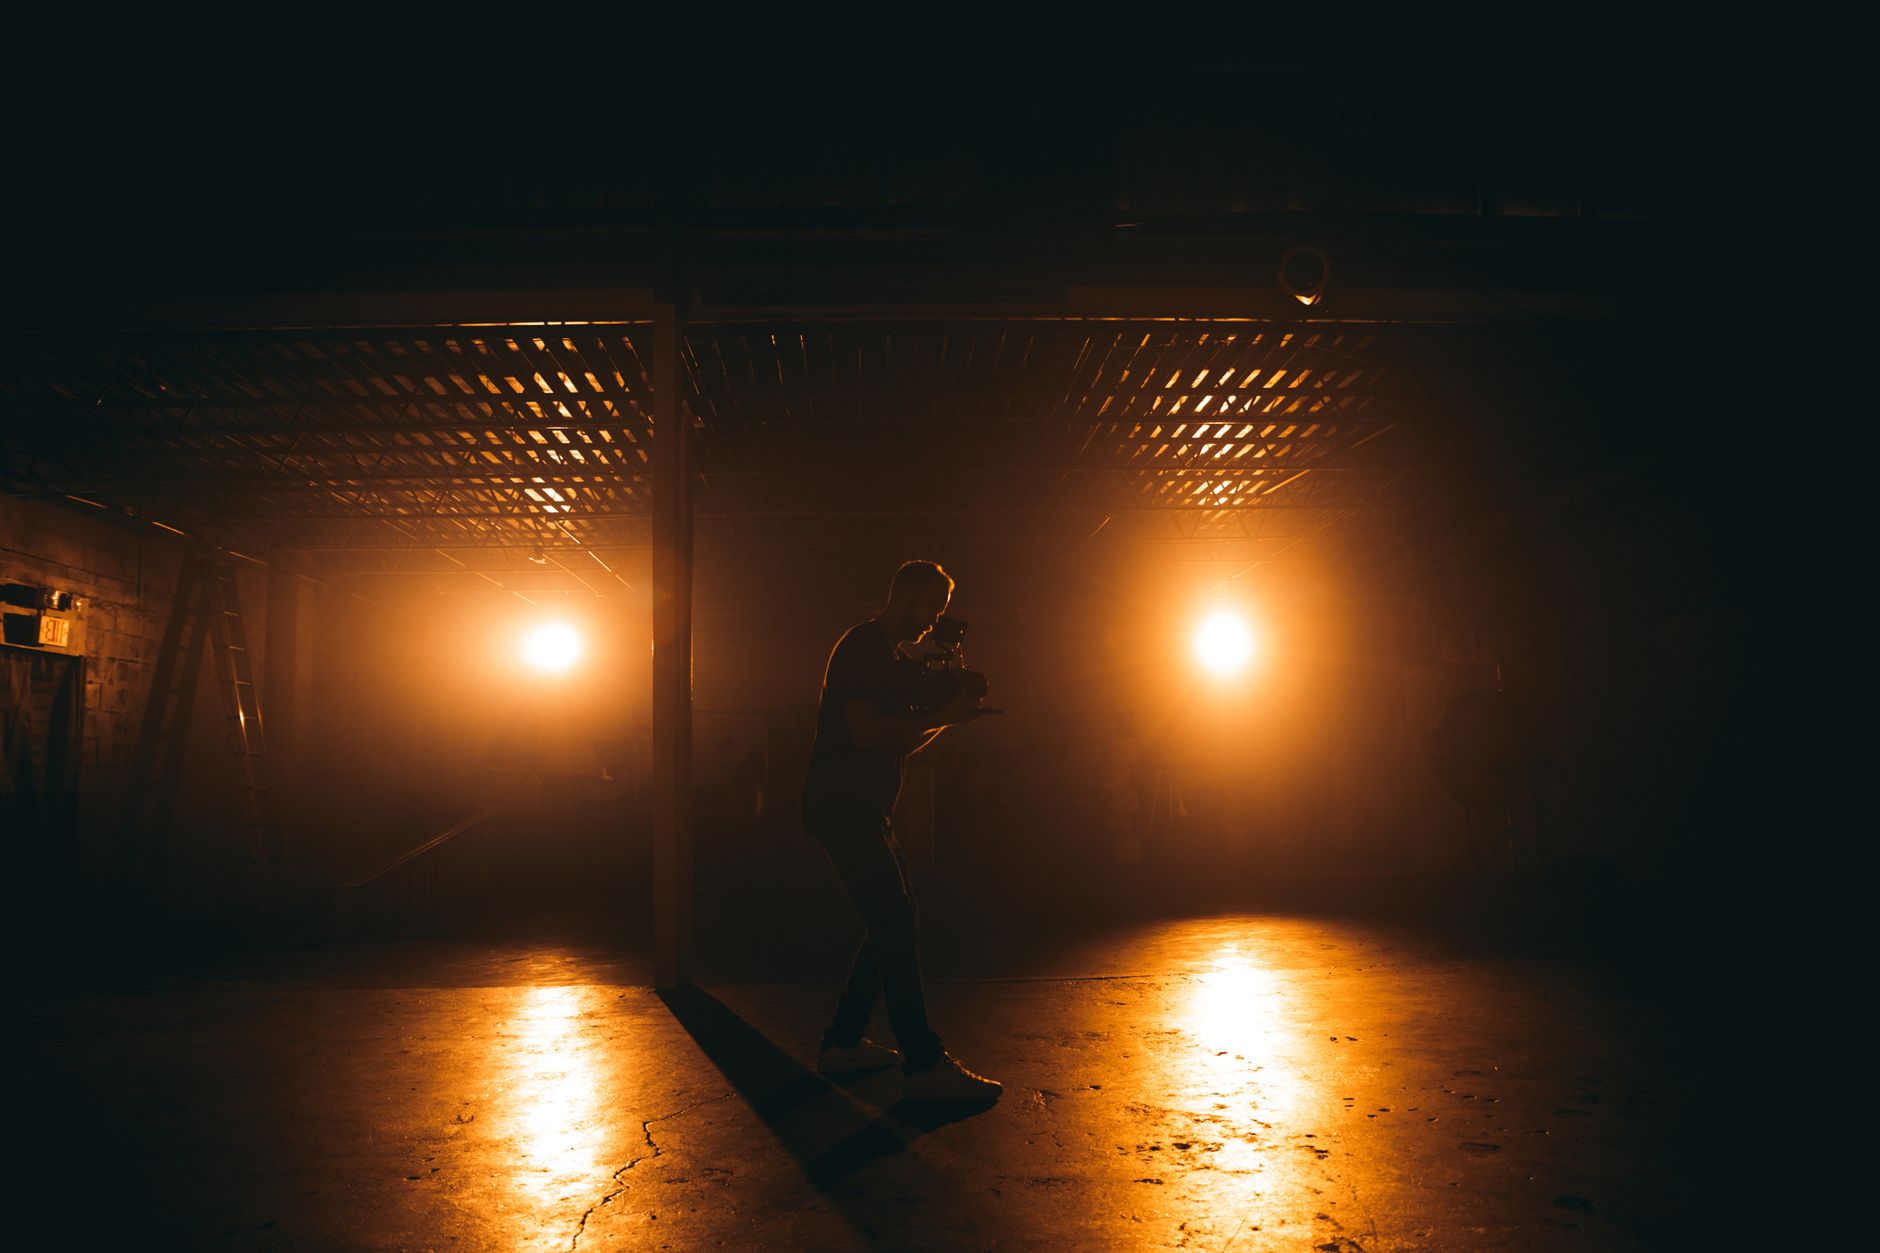
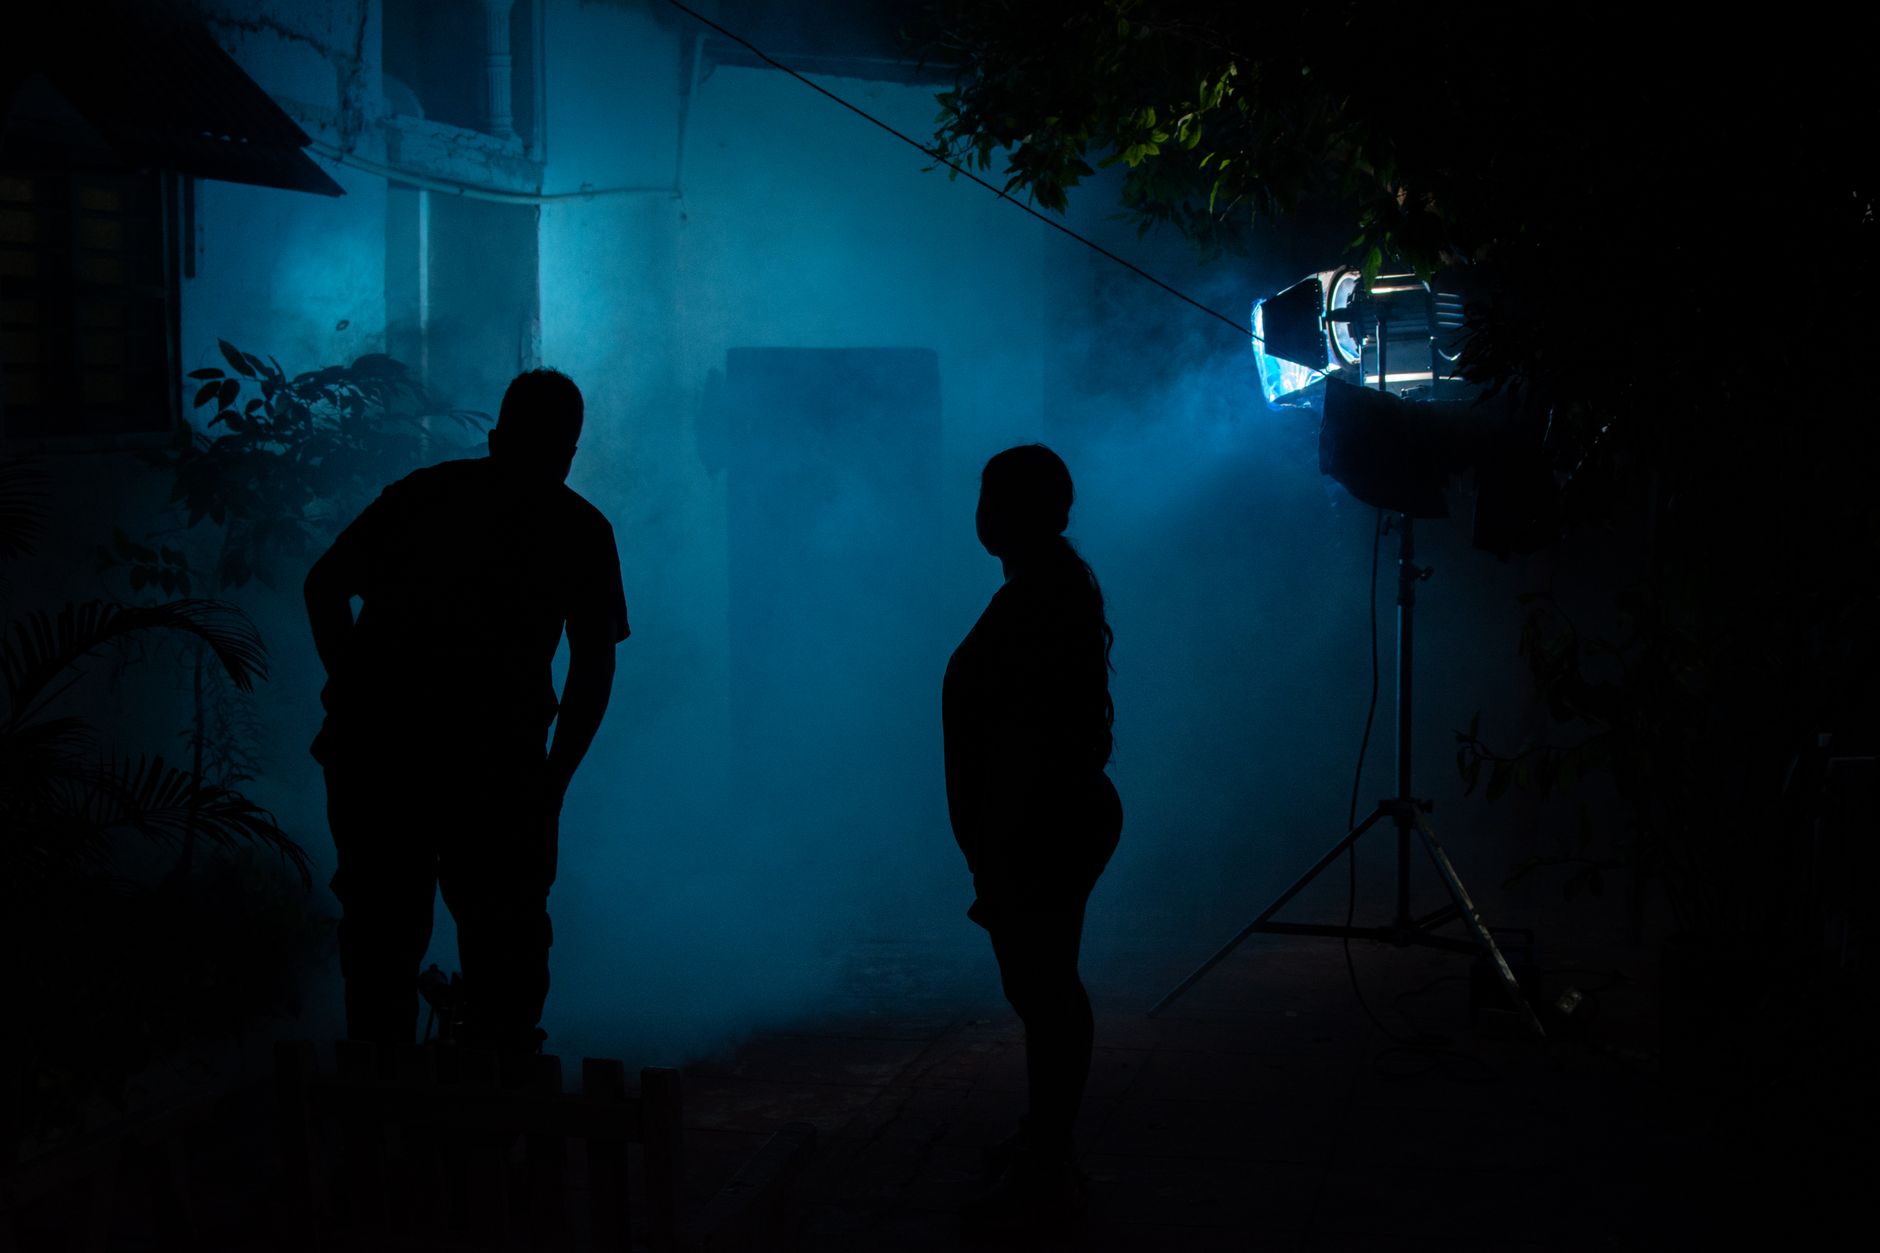
Low light doesn’t have to mean fighting the dark — it can be a creative choice. Embracing shadows and a moody, atmospheric look, rather than trying to brighten everything, can produce striking, cinematic footage that suits the dim setting.
Letting parts of the frame fall into shadow, with a pool of light on your subject, creates drama and mood. Working with the darkness creatively, rather than against it, often yields more compelling results than struggling to light everything evenly.
Reduce Noise in Post
Some noise is inevitable in low light, and post-production can help. Noise reduction tools in editing soften grain, and a touch of film grain over the top can even make remaining noise look intentional and filmic.
Used carefully, noise reduction cleans up footage without making it look plasticky, while embracing a stylized grain reframes noise as texture. These post techniques, combined with good in-camera exposure, help you deliver clean or intentionally textured low-light footage.
Low-Light Best Practices
- Use a fast lens with a wide aperture to gather light.
- Know your camera’s usable ISO ceiling for clean footage.
- Expose properly in camera to avoid noise from lifting later.
- Add even a little light, and embrace the mood.
Common Low-Light Mistakes
- Underexposing and brightening later, amplifying noise.
- Pushing ISO past the camera’s usable range.
- Not adding available light when it’s possible.
- Fighting the darkness instead of using it creatively.
A Real Low-Light Example
Picture filming a moody bar interview at night. You mount a fast f/1.4 prime, expose carefully to keep your subject’s face properly bright rather than lifting it later, and set the ISO to the highest clean value your camera handles. A single small LED bounced off the ceiling lifts the shadows just enough without flattening the atmosphere.
The result is a clean, cinematic, moody shot where the darkness is intentional, not a technical failure. That combination of fast glass, careful exposure, a sensible ISO ceiling, and a touch of added light is exactly how professionals capture usable, beautiful footage in conditions where an unprepared shooter would get only noise.
Know Your Camera’s Limits
Every camera has a low-light personality, and learning yours is invaluable. Testing how high you can push the ISO before noise becomes objectionable, and how your camera renders shadows, tells you exactly what settings keep footage clean, so you’re not guessing in the moment when the light is fading.
This knowledge lets you make confident decisions on a dark set — when to add light, when to open up, and when to embrace the grain. Pairing your camera’s known limits with the exposure discipline in our camera settings guide means you shoot to your gear’s strengths rather than discovering its weaknesses in the edit.
Low Light and Camera Choice
Cameras vary widely in low-light performance, and this is one area where gear genuinely matters. Larger sensors and cameras designed for high ISO gather more light and produce cleaner images in the dark, so a camera’s low-light capability is worth considering if you shoot dim scenes often.
That said, technique and fast lenses still make a huge difference on any camera. Knowing your specific camera’s low-light limits, pairing it with fast glass, and exposing carefully lets you get the best possible results from whatever gear you have, even in challenging darkness.
When high ISO leaves a speckled picture, you can reduce noise and grain in After Effects to clean up dark, grainy footage.
Adding even a little light helps, which is where a basic video lighting kit earns its place.
Newer sensors handle dim scenes far better, which is why our best cameras for beginners weighs low-light performance heavily.
Key Takeaways
- Low light forces trade-offs between ISO, aperture, and shutter.
- Use a fast lens and know your usable ISO ceiling.
- Expose properly in camera rather than brightening later.
- Add light when you can, and embrace a moody look.
Frequently Asked Questions
How do I shoot video in low light?
Use a fast lens with a wide aperture to gather light, keep ISO within your camera’s usable range to limit noise, expose properly in camera rather than brightening later, and add even a little light when you can.
How do I reduce noise in low-light video?
Expose properly in camera (brightening dark footage later amplifies noise), use a fast lens to keep ISO lower, and apply noise reduction in post. A touch of film grain can also make remaining noise look intentional and filmic.
What’s the most important thing for low-light video?
A fast lens with a wide aperture is often the single biggest factor, as it gathers far more light and lets you keep ISO lower for a cleaner image. Proper exposure in camera and adding available light also make a big difference.
Sources: Wikipedia’s overview of film speed and ISO.
Master the dark at Adobe Video World
Train hands-on with Adobe Certified Instructors across 100+ Premiere Pro & After Effects sessions.



