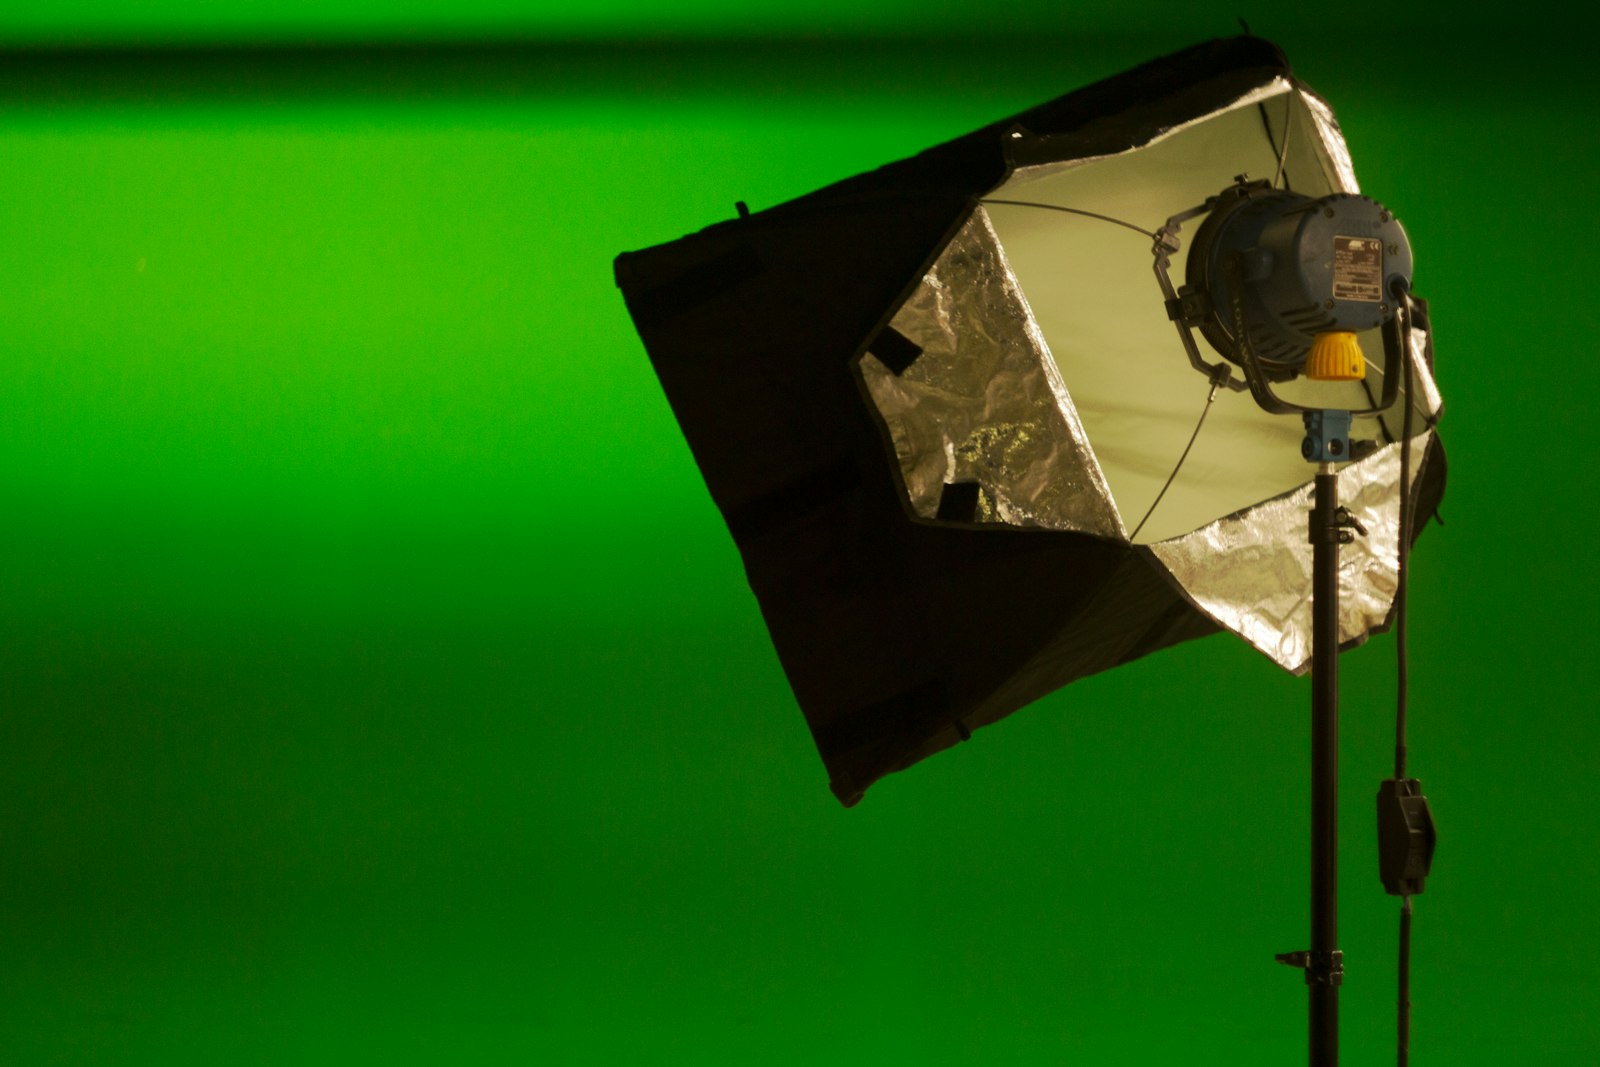
A workflow taught by Adobe Certified Instructors at Adobe Video World.
Lighting transforms video, and building a good lighting kit doesn’t have to be expensive. Understanding the lights and modifiers you need lets you assemble a kit that produces professional results. This guide covers building a video lighting kit, from the essential lights to modifiers, for great-looking footage on any budget.
Why a Lighting Kit Matters
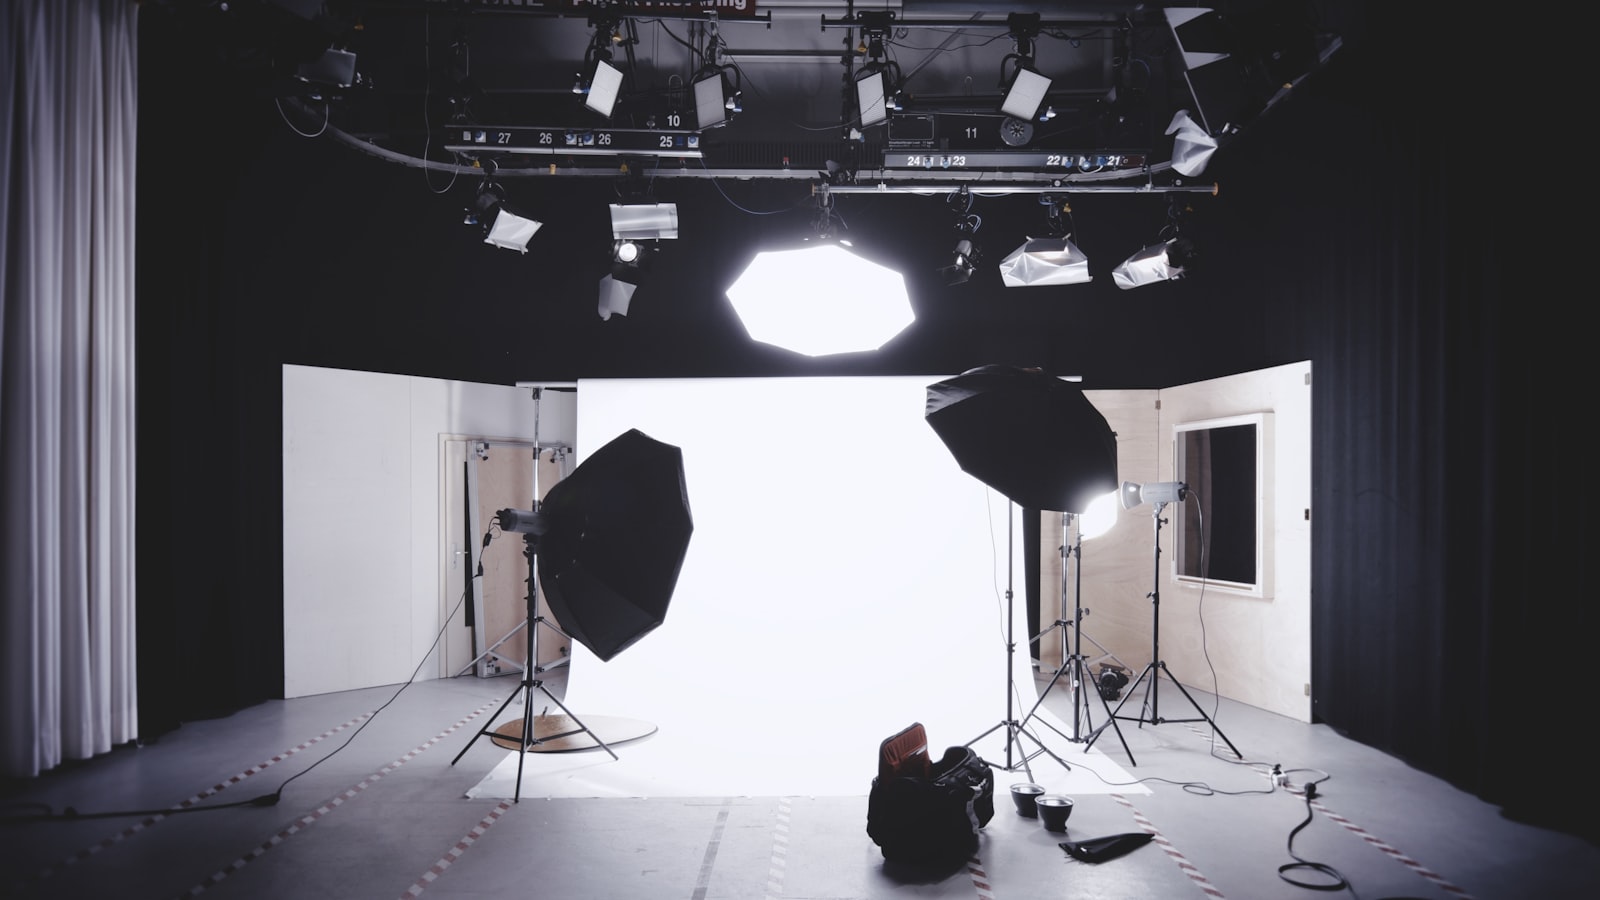
Lighting has a bigger impact on how professional video looks than almost any other factor. A good lighting kit lets you control and shape light, flattering your subject and setting mood, which is why it’s worth investing in beyond the camera.
Even modest cameras look great with good lighting, while expensive cameras look amateur with bad lighting. Building a kit that gives you control over light, as our lighting guide covers, is one of the best investments for quality video.
Start with Key, Fill, and Back Lights
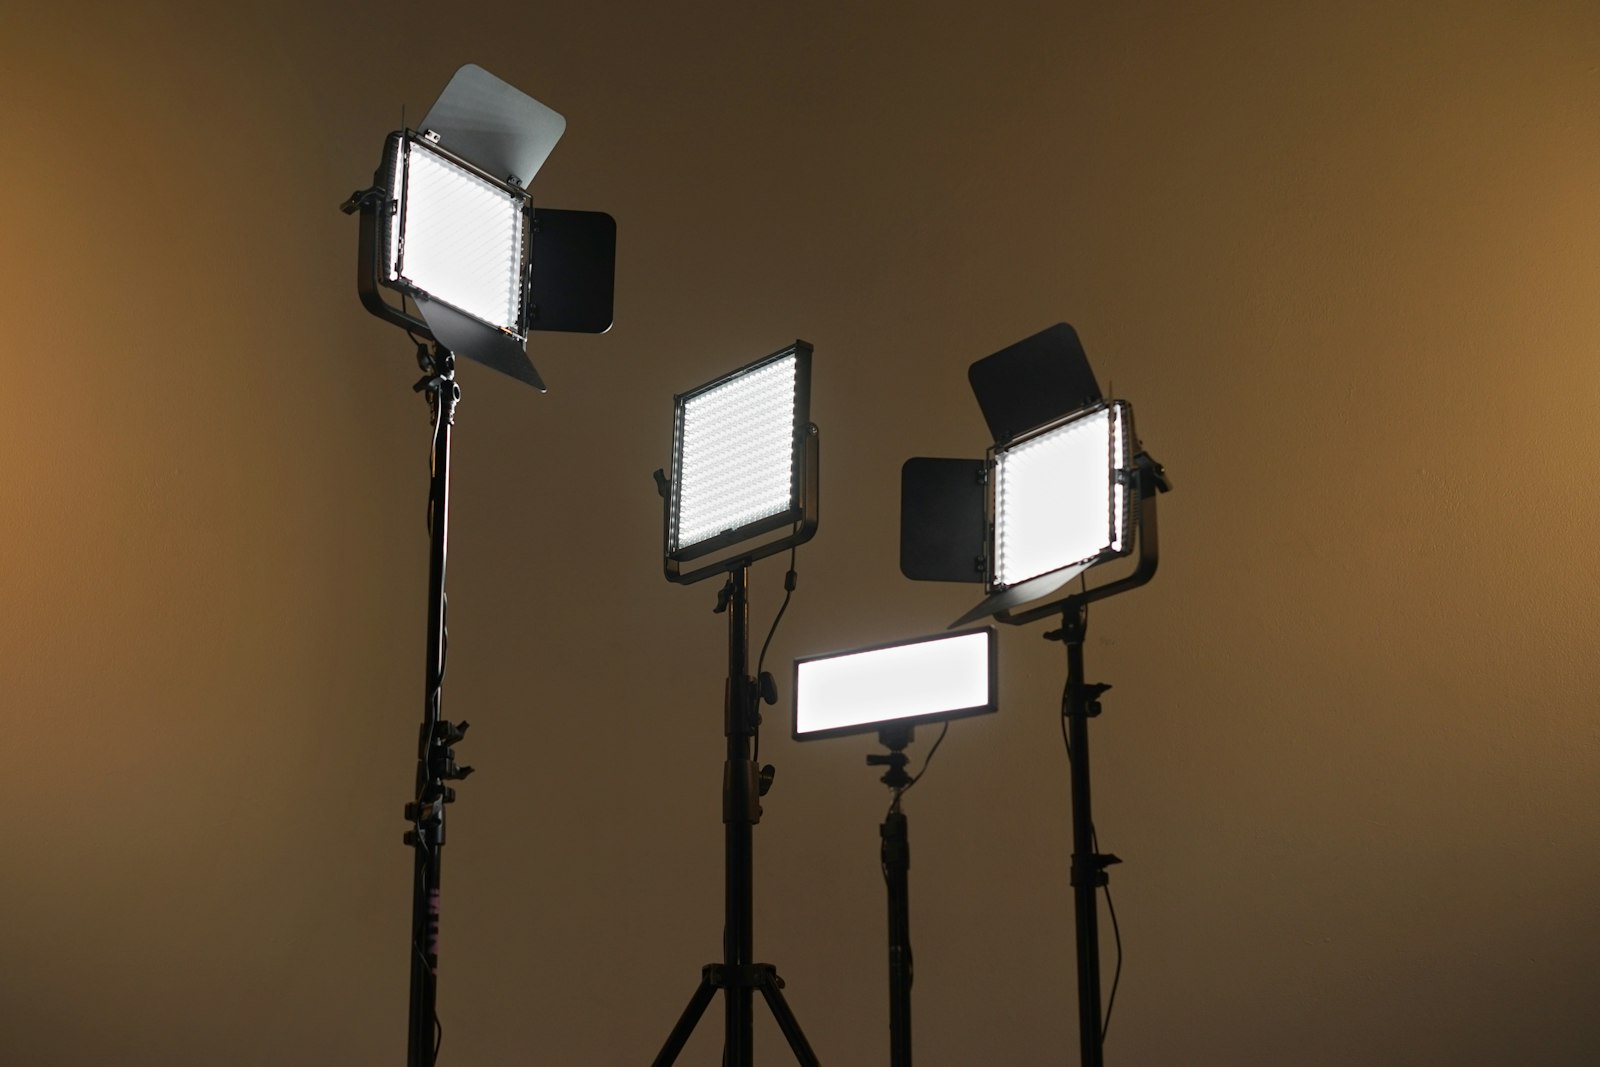
The foundation is three-point lighting, requiring three lights. A key light as the main source, a fill light to soften shadows, and a back light to separate the subject form the core kit for professional, flattering lighting.
Starting with these three lights enables the classic three-point setup that flatters subjects and adds dimension. A kit built around a key, fill, and back light gives you the control to light interviews and scenes professionally, the foundation of good lighting.
Choose LED Panels
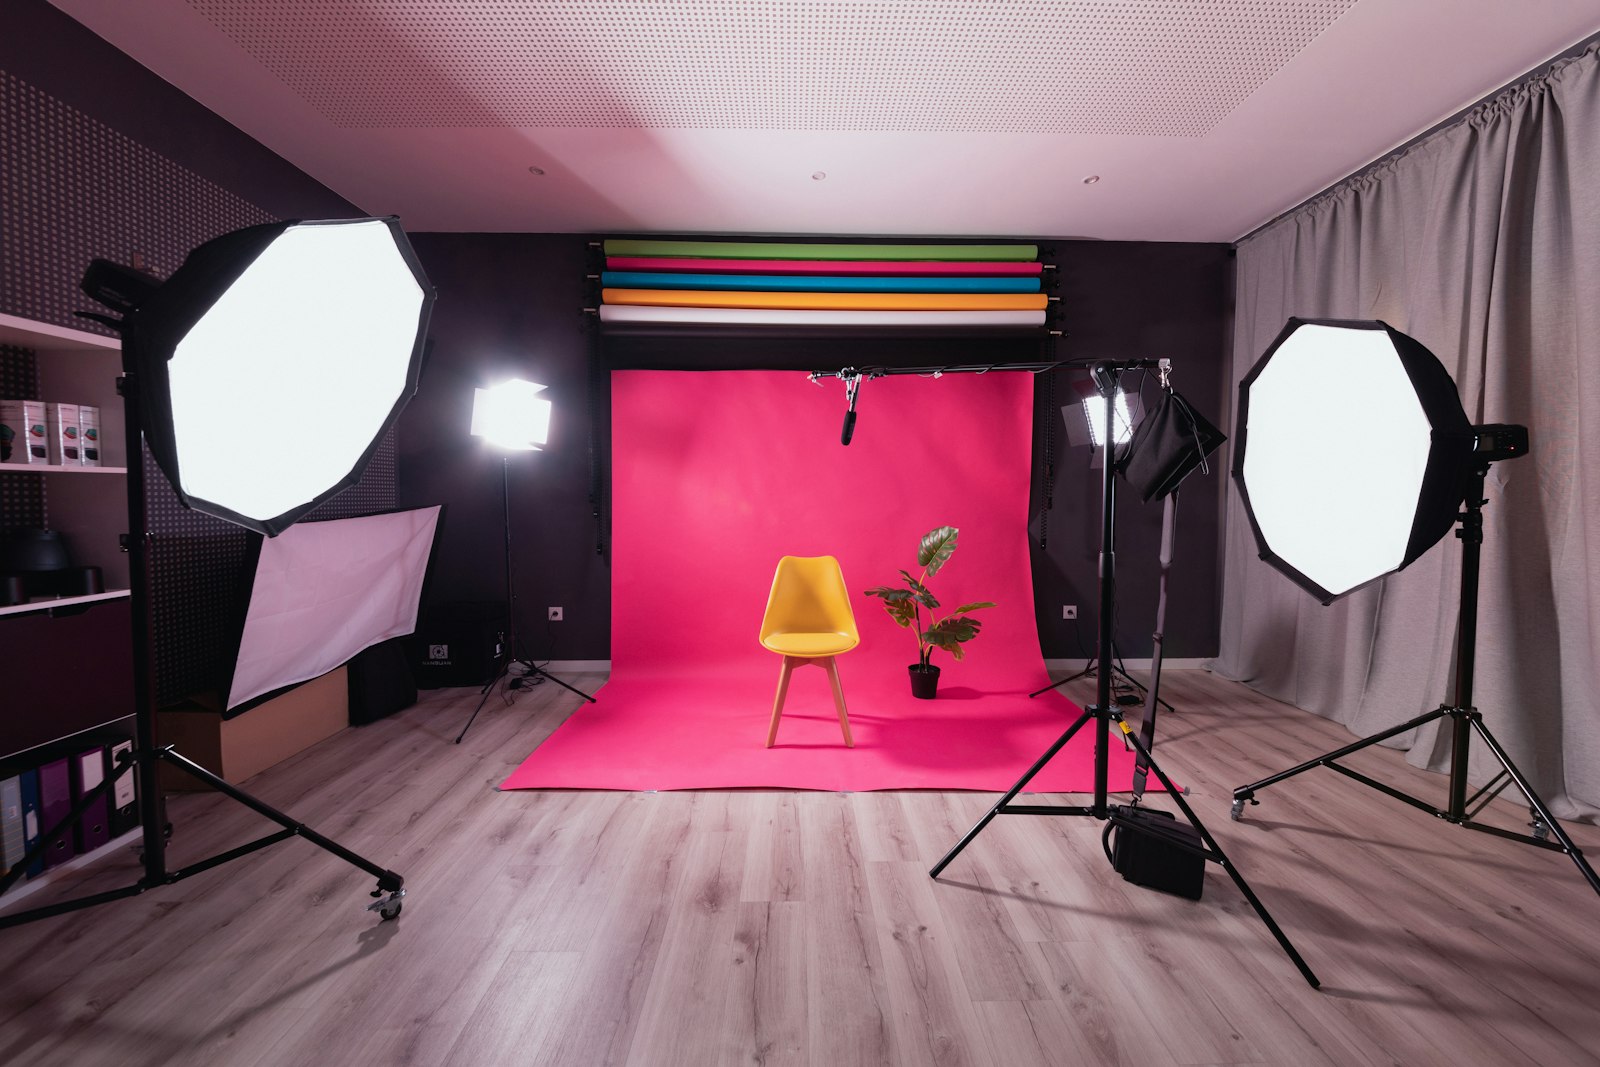
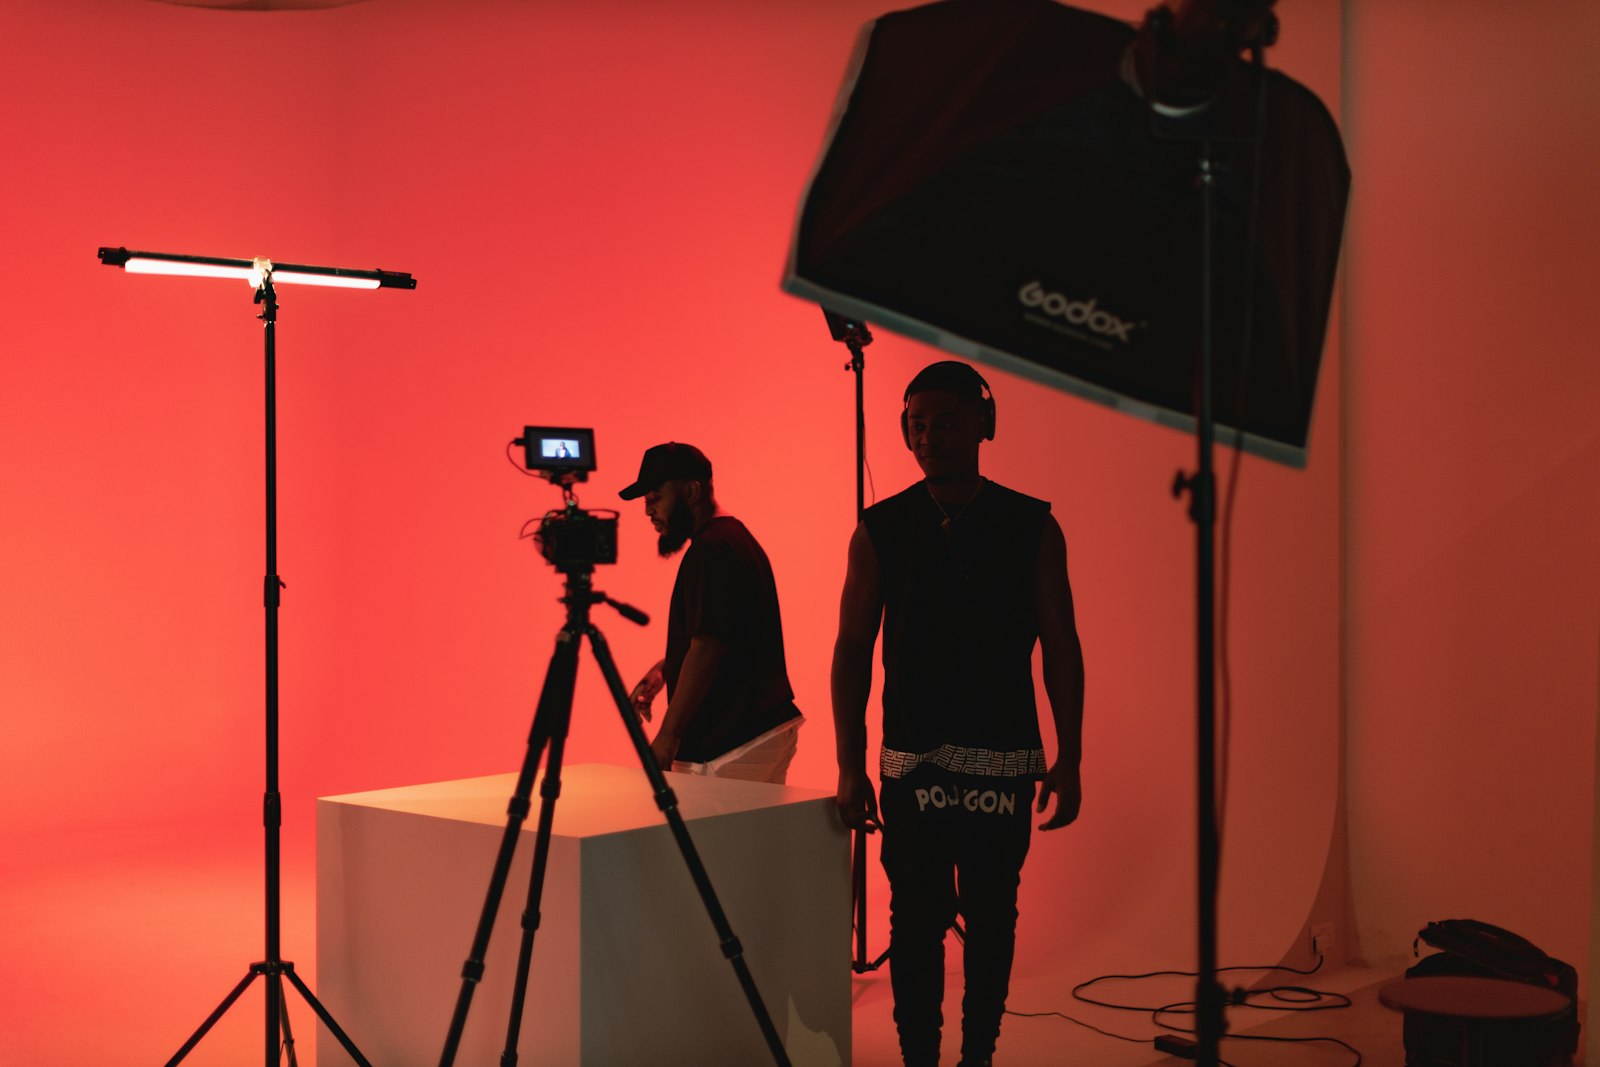
LED panels are popular for video lighting — affordable, cool-running, dimmable, and often adjustable in color temperature. They’re versatile, easy to use, and a great choice for building an accessible, flexible lighting kit.
LEDs have made quality lighting affordable and convenient, with adjustable brightness and color. Their efficiency and flexibility make LED panels an excellent foundation for a beginner or intermediate kit, offering professional capability without the heat and cost of older lights.
Add Softboxes and Diffusion
Soft light is more flattering, so modifiers matter. Softboxes, umbrellas, and diffusion soften and spread light, turning harsh sources into the gentle, flattering light that looks professional on subjects.
These modifiers are as important as the lights themselves, since soft light flatters skin and creates pleasing shadows. Adding softboxes or diffusion to your lights, as our lighting guide stresses, transforms hard light into the soft, professional illumination you want.
Consider Light Shaping Tools
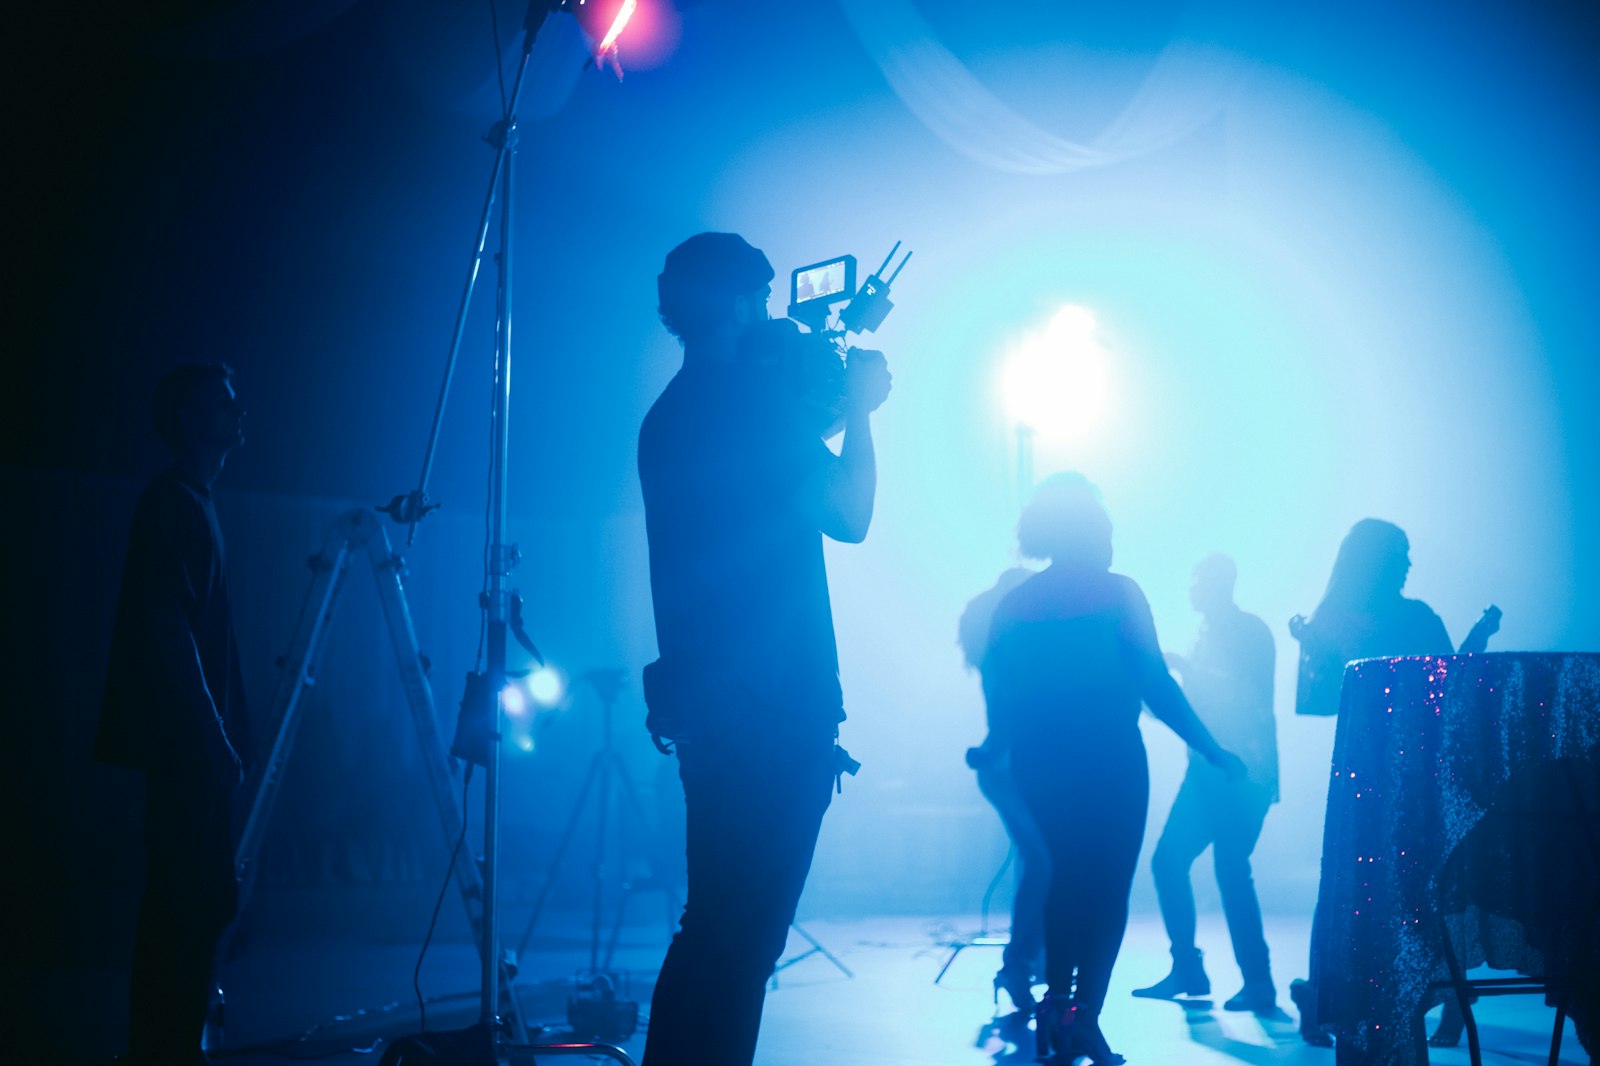
Beyond softening, shaping tools control where light goes. Barn doors, grids, flags, and reflectors direct, block, and bounce light, giving you precise control over your lighting for more polished, intentional results.
These tools let you sculpt light rather than just adding it, controlling spill and shaping the look. Adding shaping accessories as your kit grows gives you the control that professional lighting requires, letting you craft exactly the lighting your scene needs.
Add Stands and Accessories
Lights need support and power. Sturdy light stands, clamps, batteries or power supplies, and bags to carry it all are essential parts of a functional kit, ensuring you can position and run your lights reliably.
These practical accessories are easy to overlook but necessary. Budgeting for solid stands, reliable power, and transport alongside the lights ensures your kit is actually usable on set, completing a functional lighting setup.
Build on a Budget
A good lighting kit doesn’t require huge spending. Affordable LED panels, a couple of lights, basic modifiers, and even natural light and reflectors can produce professional results, so you can build a capable kit on a budget.
Starting with one or two lights and a reflector, then expanding, builds a kit gradually. Combining affordable lights with the techniques in our lighting guide, you can achieve professional-looking video without an expensive kit, since technique matters as much as gear.
Lighting Kit Best Practices
- Build around key, fill, and back lights for three-point lighting.
- Choose affordable, flexible LED panels.
- Add softboxes and diffusion for flattering soft light.
- Include stands, power, and shaping tools.
Common Lighting Kit Mistakes
- Buying lights without softboxes or diffusion.
- Neglecting stands, power, and accessories.
- Overspending instead of learning technique.
- Skipping the back light that separates the subject.
A Real Lighting Kit Example
Imagine assembling a first lighting kit on a modest budget. You buy two affordable bicolor LED panels and one small accent light, add a softbox to the key for flattering soft light and a diffusion panel for the fill, and mount them on sturdy stands. With the key at forty-five degrees, the fill softening the shadows, and the accent as a back light, you have a complete three-point setup.
Interviews shot with this kit look genuinely professional, with flattering soft light and clean subject separation, for a fraction of the cost of high-end gear. That focused, three-point approach with affordable LEDs and good modifiers is exactly how to build a capable lighting kit without spending a fortune.
Light Color Temperature and Consistency
A key consideration when buying lights is color consistency. Mixing lights of different color temperatures, or pairing them with uncontrolled daylight, creates ugly color casts that are hard to fix, so choosing lights with adjustable or matched color temperature keeps your lighting consistent and gradeable.
Bicolor LED panels that let you dial in the color temperature are especially useful for matching your lights to each other and to ambient light. Pairing consistent lighting with correct white balance, as our white balance guide covers, ensures clean, accurate color that makes the most of your kit and your grade.
Lighting Modifiers Matter Most
The modifiers you use shape light more than the lights themselves, which is why they’re often the most impactful part of a kit. Softboxes, diffusion, and reflectors transform hard sources into the flattering soft light that defines professional lighting.
Investing in good modifiers, even with modest lights, produces better results than expensive lights used bare. A simple LED through a quality softbox looks far more professional than a powerful light with no modification, so modifiers deserve real attention.
Understanding that shaping and softening light matters more than raw power guides smart spending on a lighting kit. Pairing affordable lights with good modifiers, and the techniques from our lighting guides, delivers professional results without an expensive setup.
Clean, controlled light makes merchandise look its best, which is the first step in editing a product video.
Key Takeaways
- A lighting kit hugely improves how professional video looks.
- Build around key, fill, and back lights.
- Choose LED panels and add softboxes for soft light.
- Include stands and shaping tools, and build on a budget.
Frequently Asked Questions
How do I build a video lighting kit?
Build around three lights for three-point lighting — a key, fill, and back light — choose affordable flexible LED panels, add softboxes and diffusion for flattering soft light, and include stands, power, and shaping tools.
What lights are best for video?
LED panels are popular and accessible — affordable, cool-running, dimmable, and often adjustable in color temperature. They’re versatile and easy to use, making a great foundation for a beginner or intermediate lighting kit.
Can I build a good lighting kit on a budget?
Yes. Affordable LED panels, a couple of lights, basic modifiers, and even natural light and reflectors can produce professional results. Start with one or two lights and expand, since technique matters as much as the gear.
Sources: Wikipedia’s overview of stage lighting and film lighting.
Light it right at Adobe Video World
Train hands-on with Adobe Certified Instructors across 100+ Premiere Pro & After Effects sessions.



