A workflow taught by Adobe Certified Instructors at Adobe Video World.
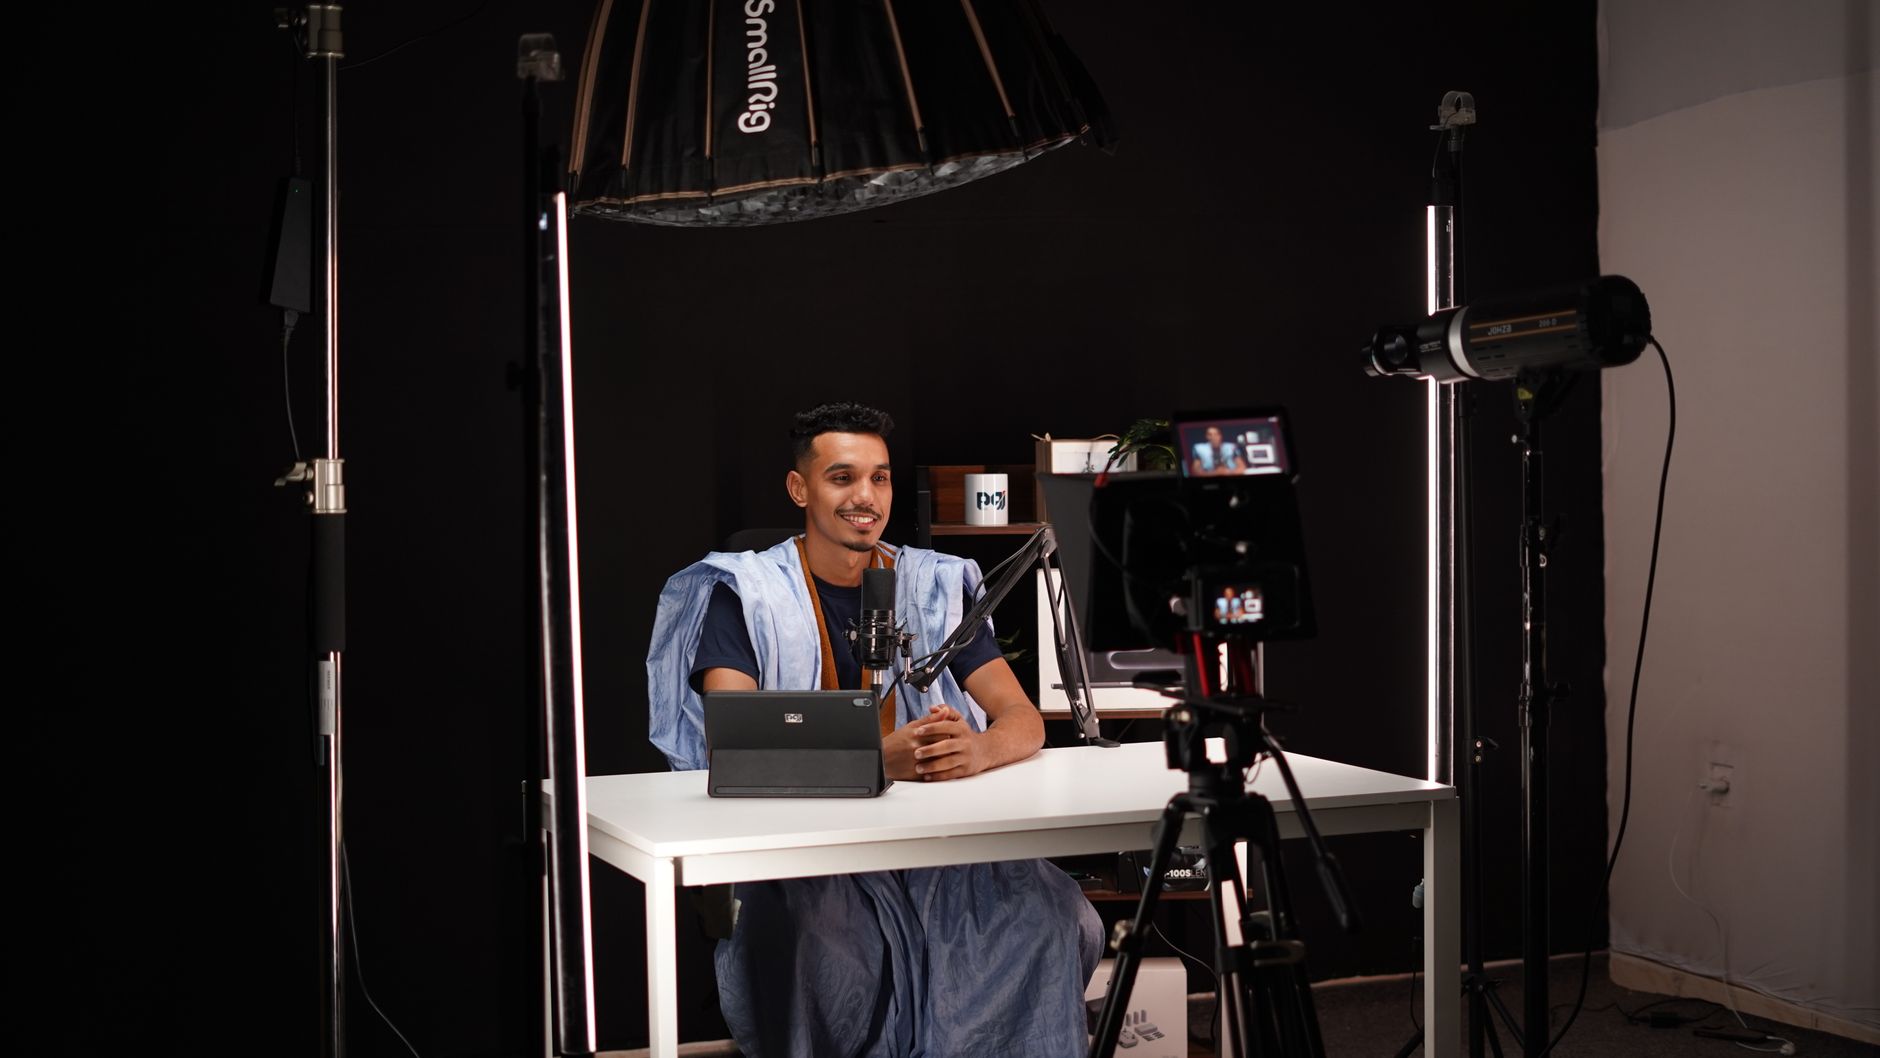
Lighting is what separates professional-looking interviews from flat, amateur ones — and it matters more than the camera you use. The classic three-point lighting setup gives you flattering, controlled, professional results, and the principles work on any budget. This guide covers the key, fill, and back lights, shaping soft light, and achieving a polished interview look.
Why Lighting Matters Most
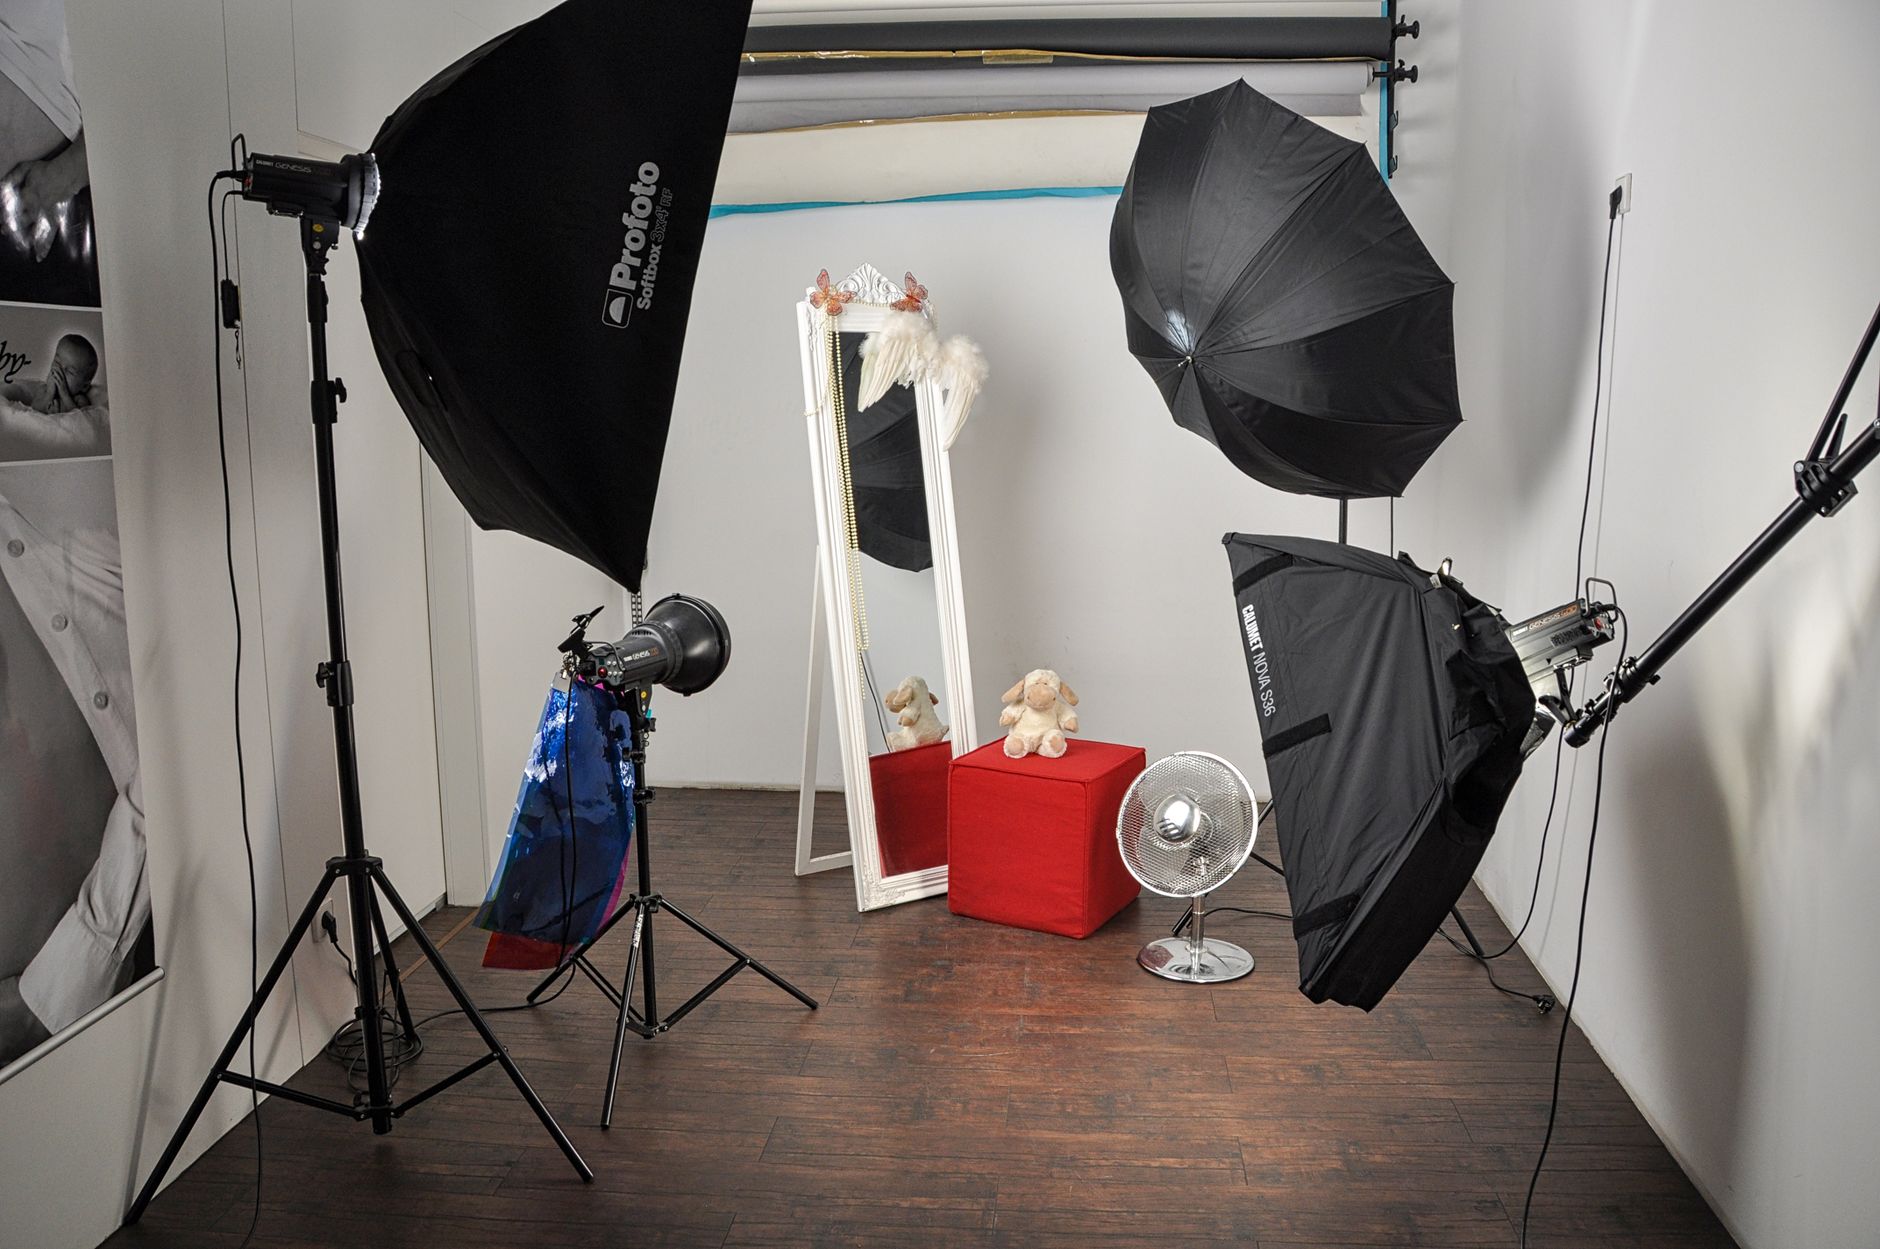
Good lighting can make modest gear look professional, while bad lighting makes even an expensive camera look amateur. It shapes the mood, flatters your subject, and gives footage the polished quality audiences associate with quality production.
Lighting is also one of the few things you fully control on a shoot. Mastering a reliable setup means every interview you film looks intentional and professional, giving you strong footage that needs far less rescuing in the edit.
Understand Three-Point Lighting
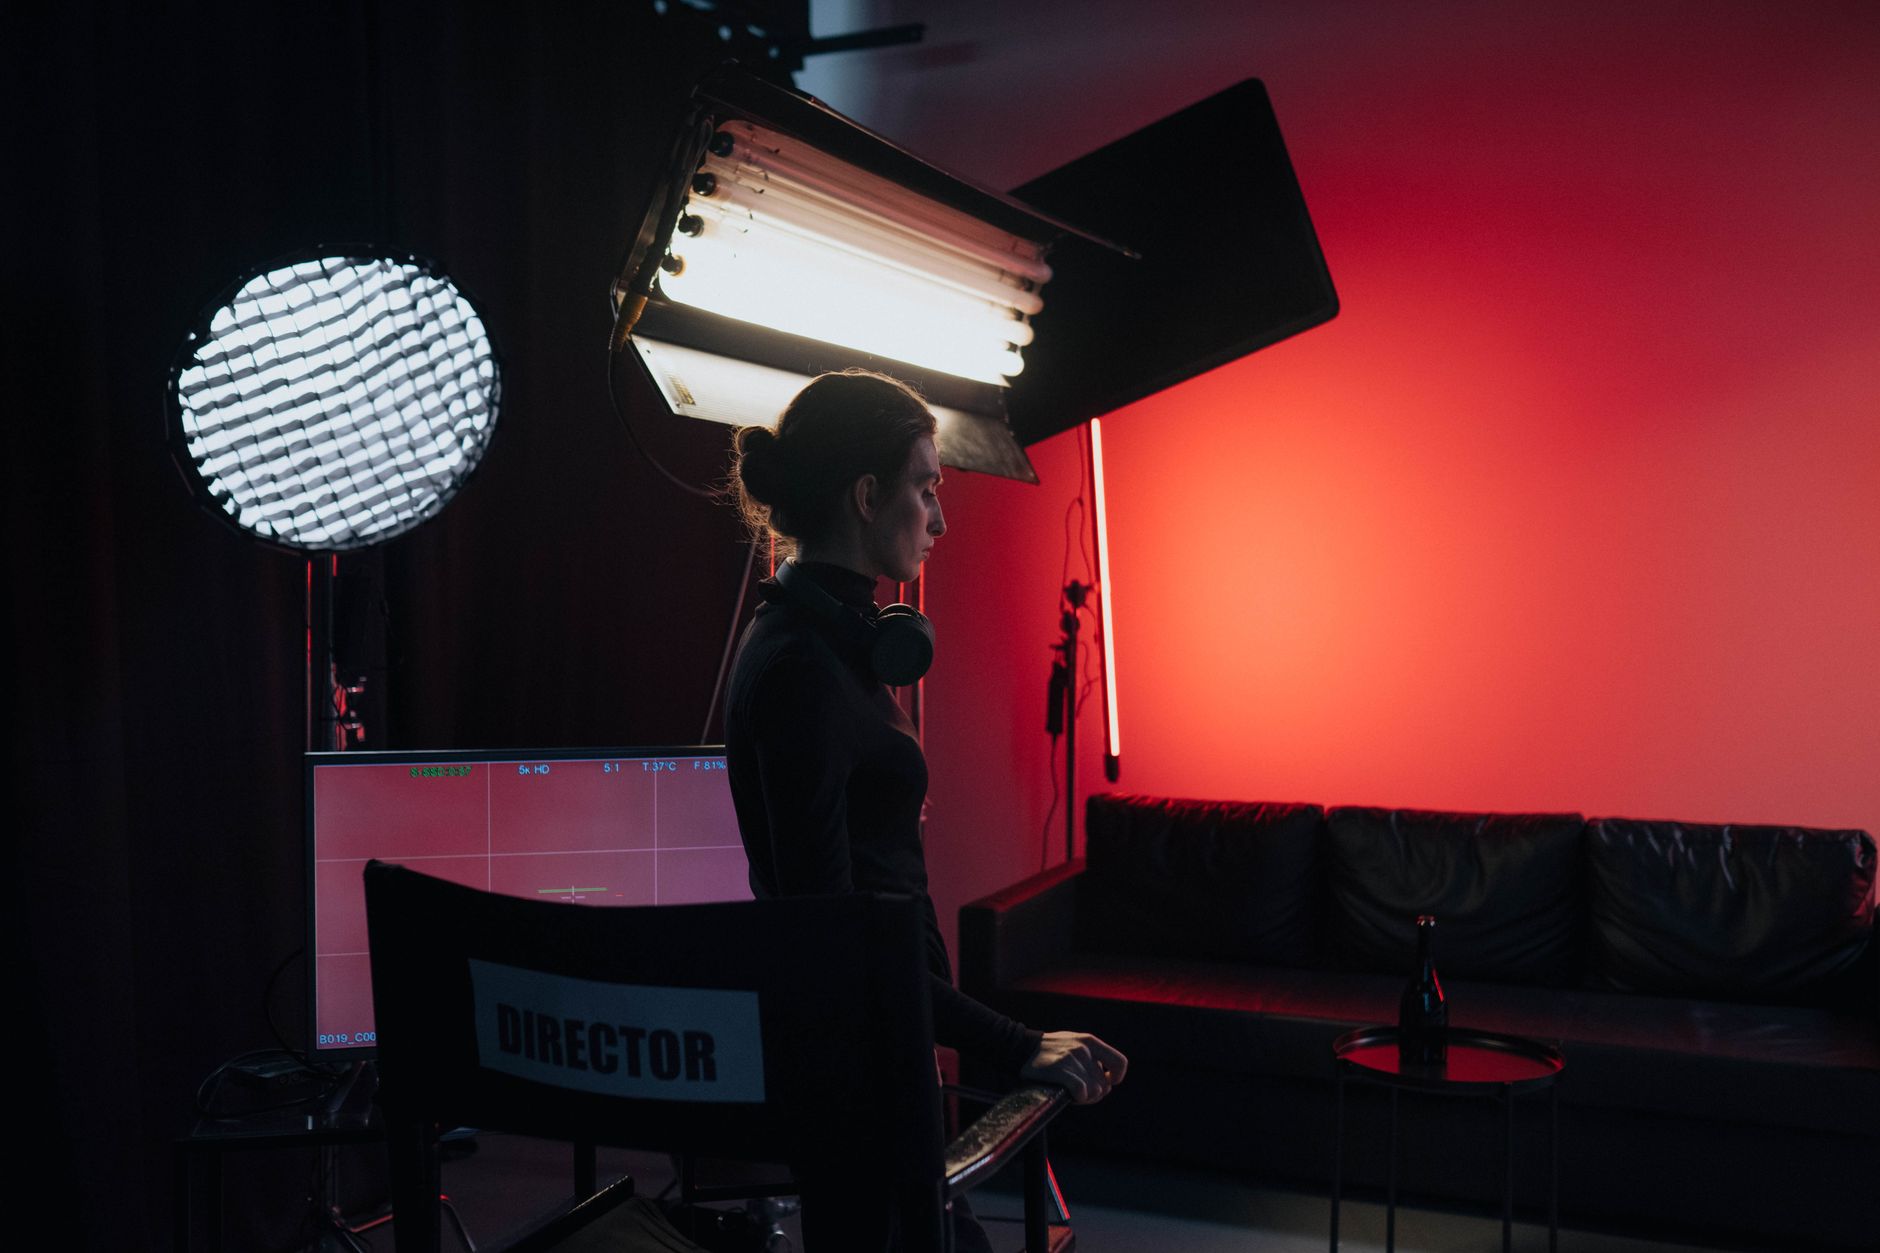
The foundation of interview lighting is the three-point setup: a key light, a fill light, and a back light. Together these three sources shape your subject, control shadows, and separate them from the background for a professional look.
This classic technique has lit film and television for decades because it works. Once you understand what each light does, you can adapt the setup to any space and budget, which makes it the essential starting point for lighting people.
Set the Key Light
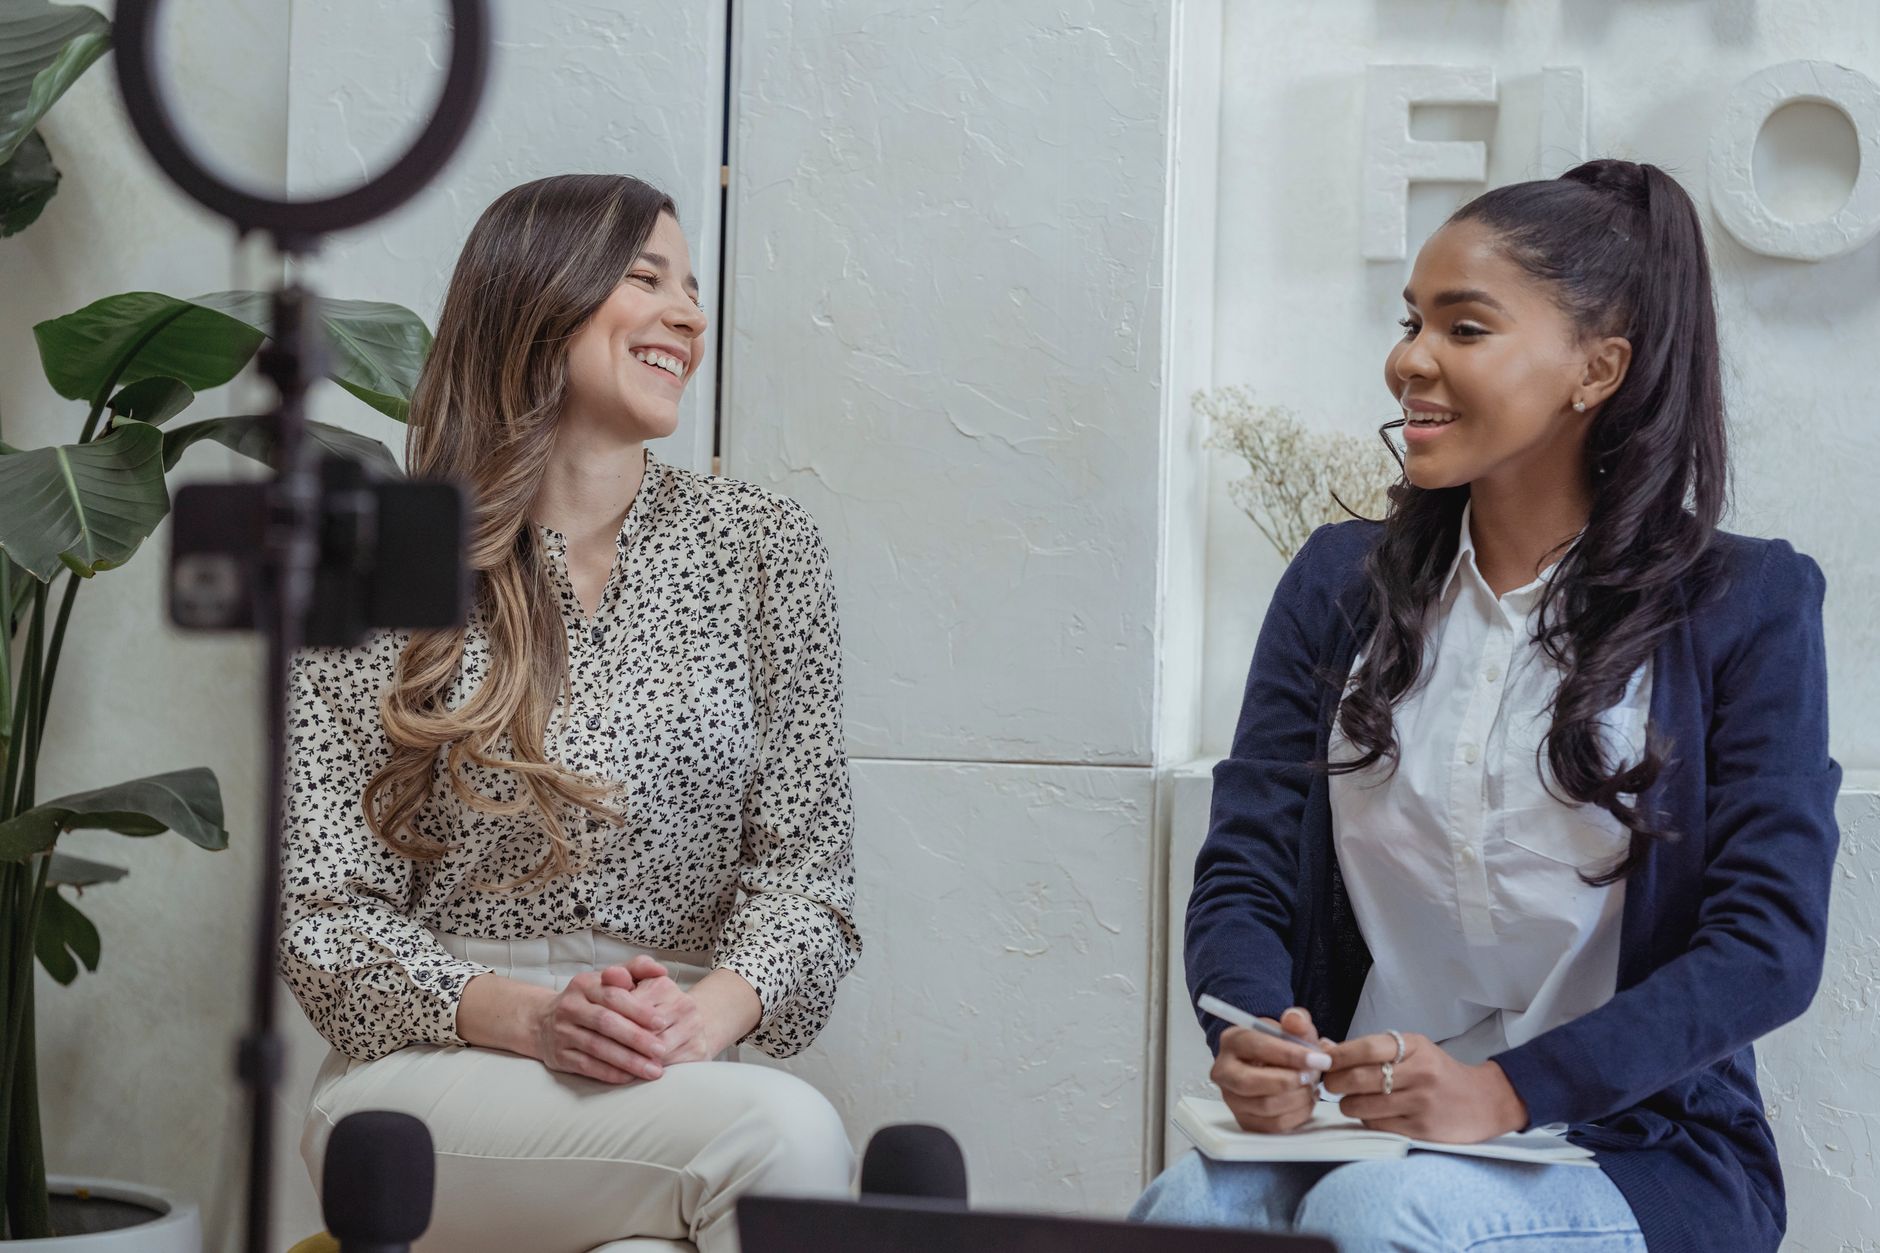
The key light is your main, brightest source, providing most of the illumination on your subject. Place it to one side of the camera at roughly a 45-degree angle to the subject, slightly above eye level, to model the face attractively.
Angling the key rather than placing it flat-on creates gentle shadows that give the face depth and dimension. The key light does the heavy lifting, so getting its position and softness right is the most important step in the whole setup.
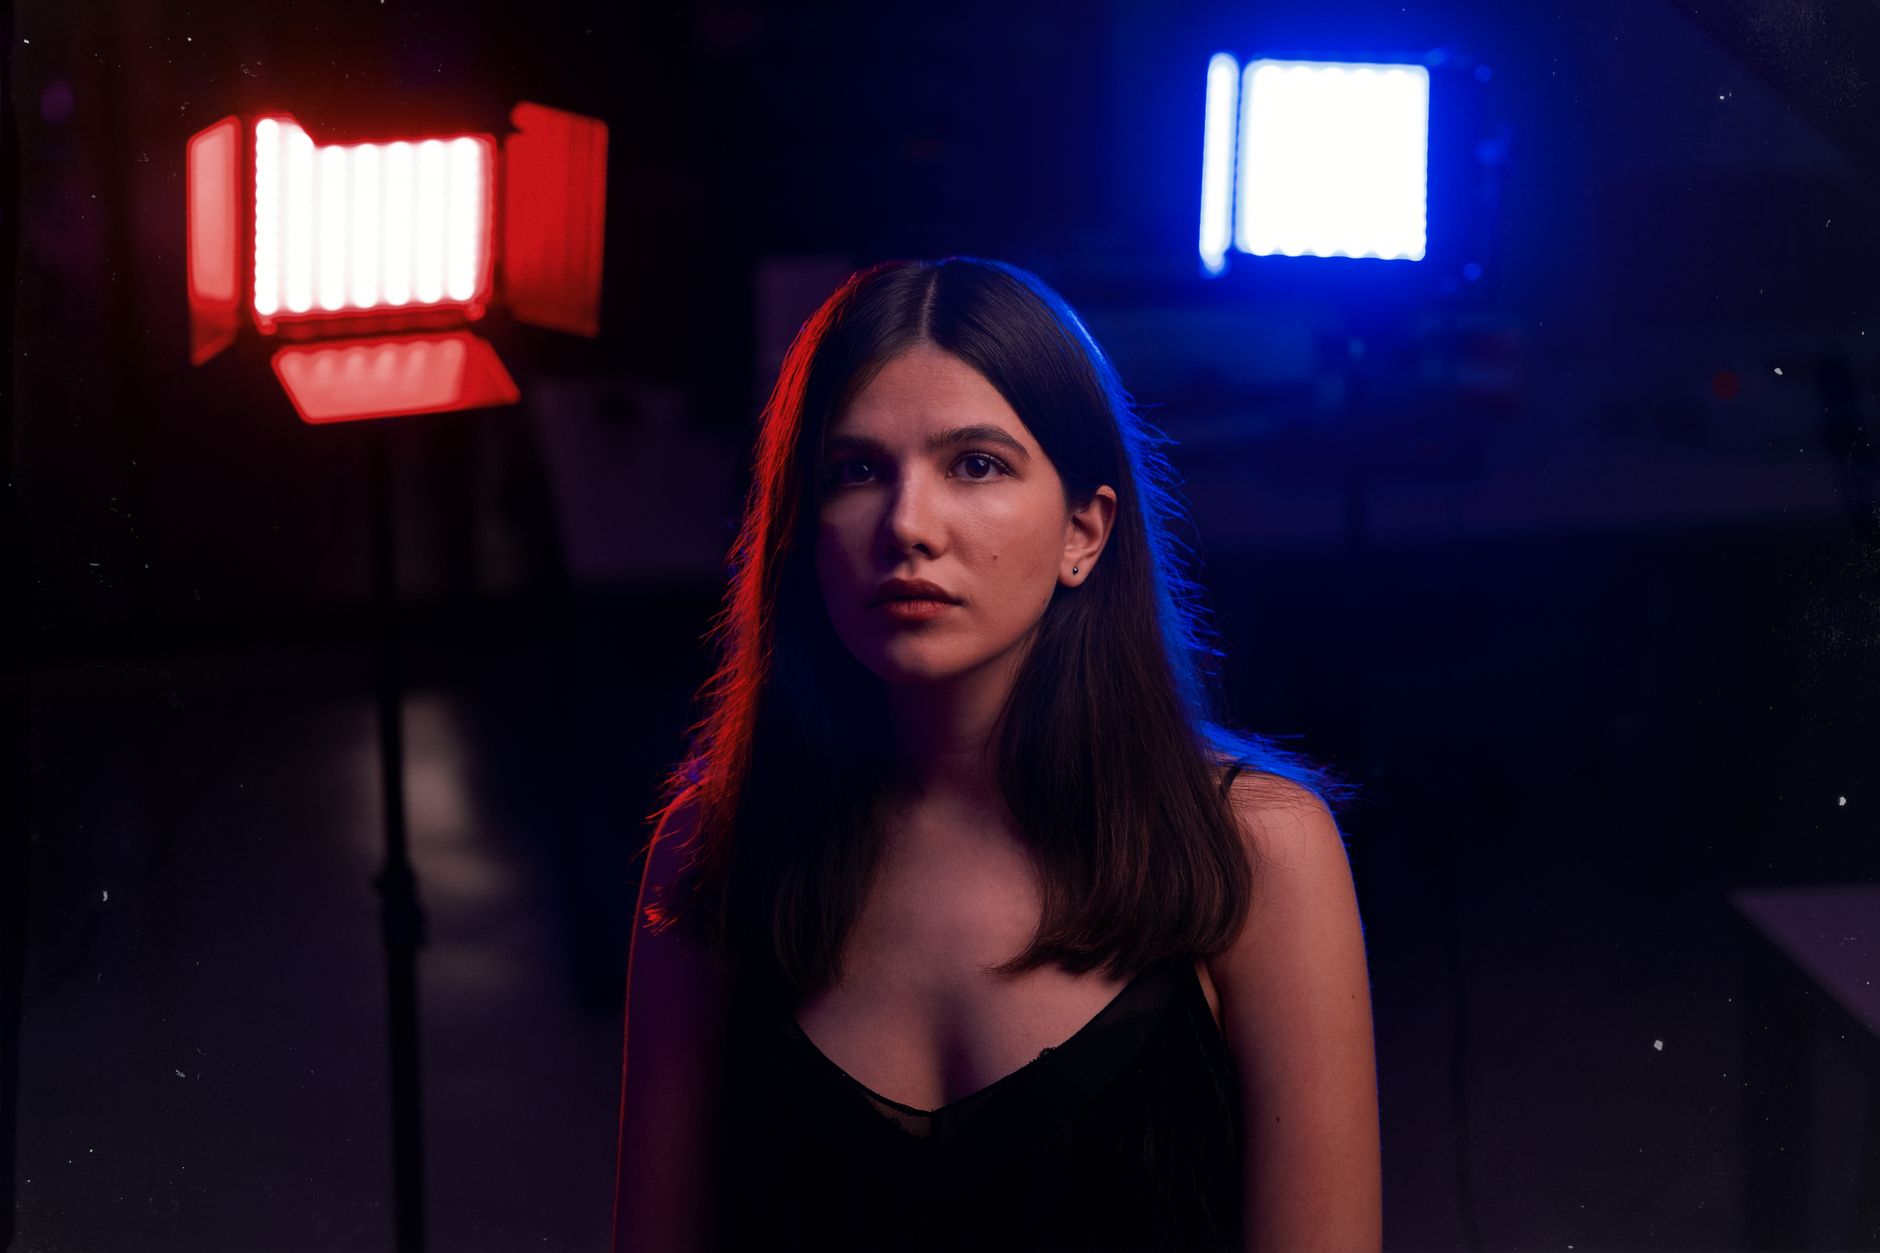
Add the Fill Light
The fill light sits on the opposite side of the camera from the key, softening the shadows the key creates. It’s dimmer than the key — you don’t want to eliminate shadows entirely, just keep them from going too dark.
The ratio between key and fill sets the mood: a strong fill gives an even, bright look, while a weak fill leaves dramatic shadows. Controlling this balance is how you dial an interview from soft and friendly to moody and cinematic.
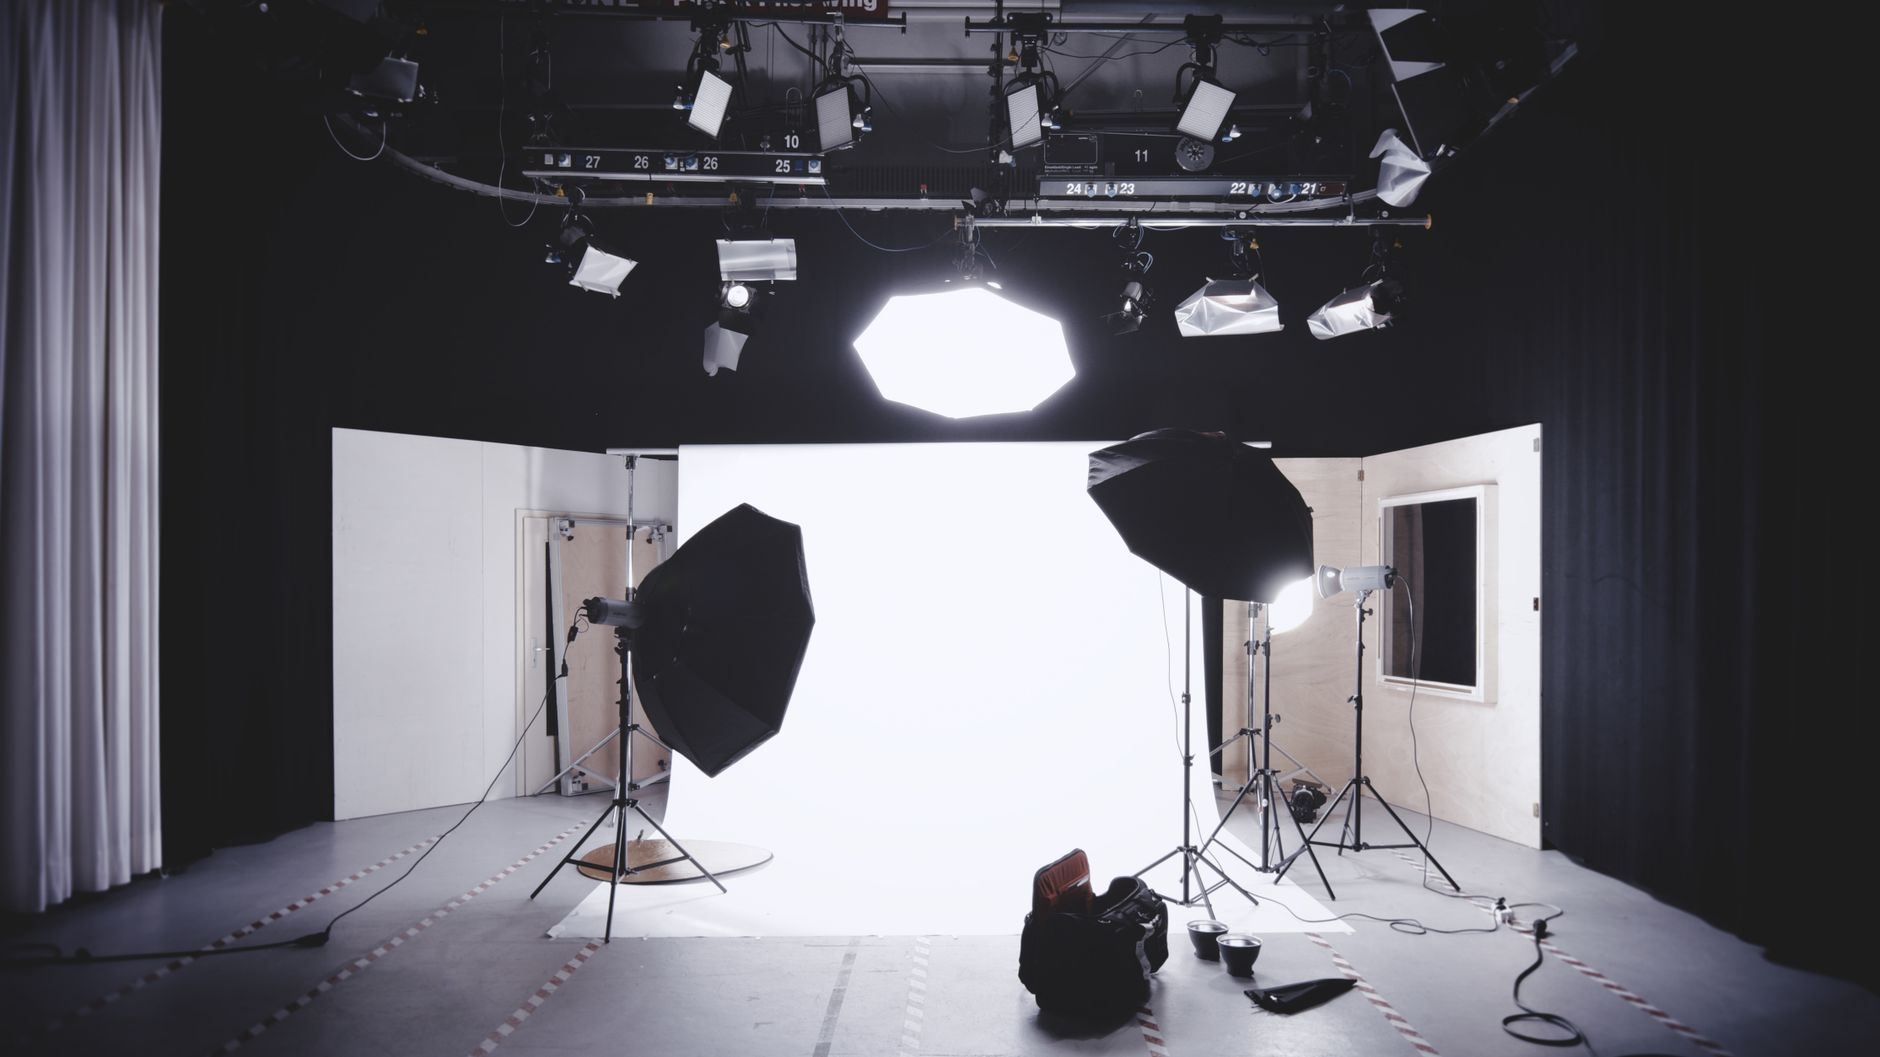
Place the Back Light
The back light, behind the subject and aimed at their head and shoulders, separates them from the background. It creates a subtle rim of light around the edges that lifts the subject off whatever’s behind them.
This separation adds depth and a professional polish that’s instantly noticeable, especially against a dark background. Without a back light, subjects can blend into the scene; with it, they stand out crisply, giving the shot a three-dimensional quality.
Make the Light Soft
Soft, diffused light is almost always more flattering than hard light, smoothing skin and creating gentle shadows. Achieve softness by using larger light sources, softboxes, or diffusion, or by bouncing light off a wall or ceiling.
Hard, direct light creates harsh shadows and unflattering highlights that make skin look rough. Diffusing your sources is one of the simplest, highest-impact things you can do, turning even basic lights into a soft, professional, flattering wash.
Control Your Light
Professional lighting is as much about removing light as adding it. Flagging off spill, closing blinds, and shaping where light falls give you control over the image, preventing unwanted brightness and keeping the focus on your subject.
Mixing your controlled lights with uncontrolled sources, like a bright window, can also cause color and exposure problems. Deciding which lights to use and blocking the rest is what lets you craft the exact look you want rather than fighting the room.
Light on Any Budget
You don’t need expensive equipment to light an interview well — the principles matter more than the gear. A window as a soft key, a white board as a bounce fill, and an affordable LED as a back light can produce beautiful results.
What counts is understanding what each light does and placing it thoughtfully. Once your footage is well-lit, finishing touches in the edit, like the techniques in our color grading guide, refine the look, but great lighting starts on set.
Interview Lighting Best Practices
- Build from the three-point setup: key, fill, and back light.
- Place the key at a 45-degree angle, slightly above eye level.
- Use the fill to soften shadows without erasing them.
- Diffuse your light for soft, flattering results.
Common Lighting Mistakes
- Hard, undiffused light creating harsh shadows.
- Flat, front-on key light with no dimension.
- No back light, letting the subject blend into the background.
- Mixing controlled lights with an uncontrolled bright window.
A Real Budget Lighting Setup
Picture lighting an interview in a spare room with almost no gear. You seat your subject beside a large window, which becomes a soft, flattering key light across one side of their face. On the shadow side you stand a white foam board to bounce light back as a gentle fill, lifting the shadows without erasing them.
Finally, a single inexpensive LED behind and to the side of them, aimed at their shoulders, adds a back light that separates them from the wall. With nothing but a window, a board, and one cheap light placed thoughtfully, the result rivals a studio — vivid proof that lighting is about understanding, not budget.
Match Lighting to the Mood
Lighting isn’t only about looking good — it sets emotional tone. A bright, even setup with a strong fill feels upbeat and approachable, ideal for a friendly corporate interview, while a darker setup with deep shadows and a weak fill feels serious, intimate, or dramatic, suiting a reflective documentary.
Deciding the mood before you light lets you shape the ratio between your key and fill to serve it. Then carrying that intent into the edit, with the grade from our color grading guide, ensures the lighting and color work together to make the audience feel exactly what the story calls for.
The three-point setup is easiest with a proper video lighting kit of key, fill, and back lights.
Flattering light on your subject makes testimonial video editing far easier in post.
Executive interviews lit cleanly are a recurring element of corporate video production and editing.
Good light is only half of it; how to shoot an interview also covers framing, audio, and directing your subject.
Key Takeaways
- Lighting matters more than the camera for a professional look.
- Three-point lighting — key, fill, back — is the foundation.
- Soft, diffused light is the most flattering.
- The principles work on any budget with thoughtful placement.
Frequently Asked Questions
What is three-point lighting?
Three-point lighting uses a key light (the main source), a fill light (to soften shadows), and a back light (to separate the subject from the background). Together they shape the subject for a professional look.
Where should I place the key light for an interview?
Place the key light to one side of the camera at about a 45-degree angle to the subject and slightly above eye level. This models the face with gentle shadows that give it depth, rather than flat front-on light.
How do I make video lighting more flattering?
Use soft, diffused light from larger sources, softboxes, or bounced light, which smooths skin and creates gentle shadows. Hard, direct light creates harsh, unflattering shadows, so diffusing your sources makes a big difference.
Sources: Wikipedia’s overview of three-point lighting.
Light it like a pro at Adobe Video World
Train hands-on with Adobe Certified Instructors across 100+ Premiere Pro & After Effects sessions.



