A workflow taught by Adobe Certified Instructors at Adobe Video World.
Motion tracking lets you attach graphics, text, or effects to moving objects in your footage — a name tag that follows a person, a sign you replace on a wall, or a 3D object planted in a scene. After Effects has powerful trackers built in. Here’s how to use them.
What Motion Tracking Is
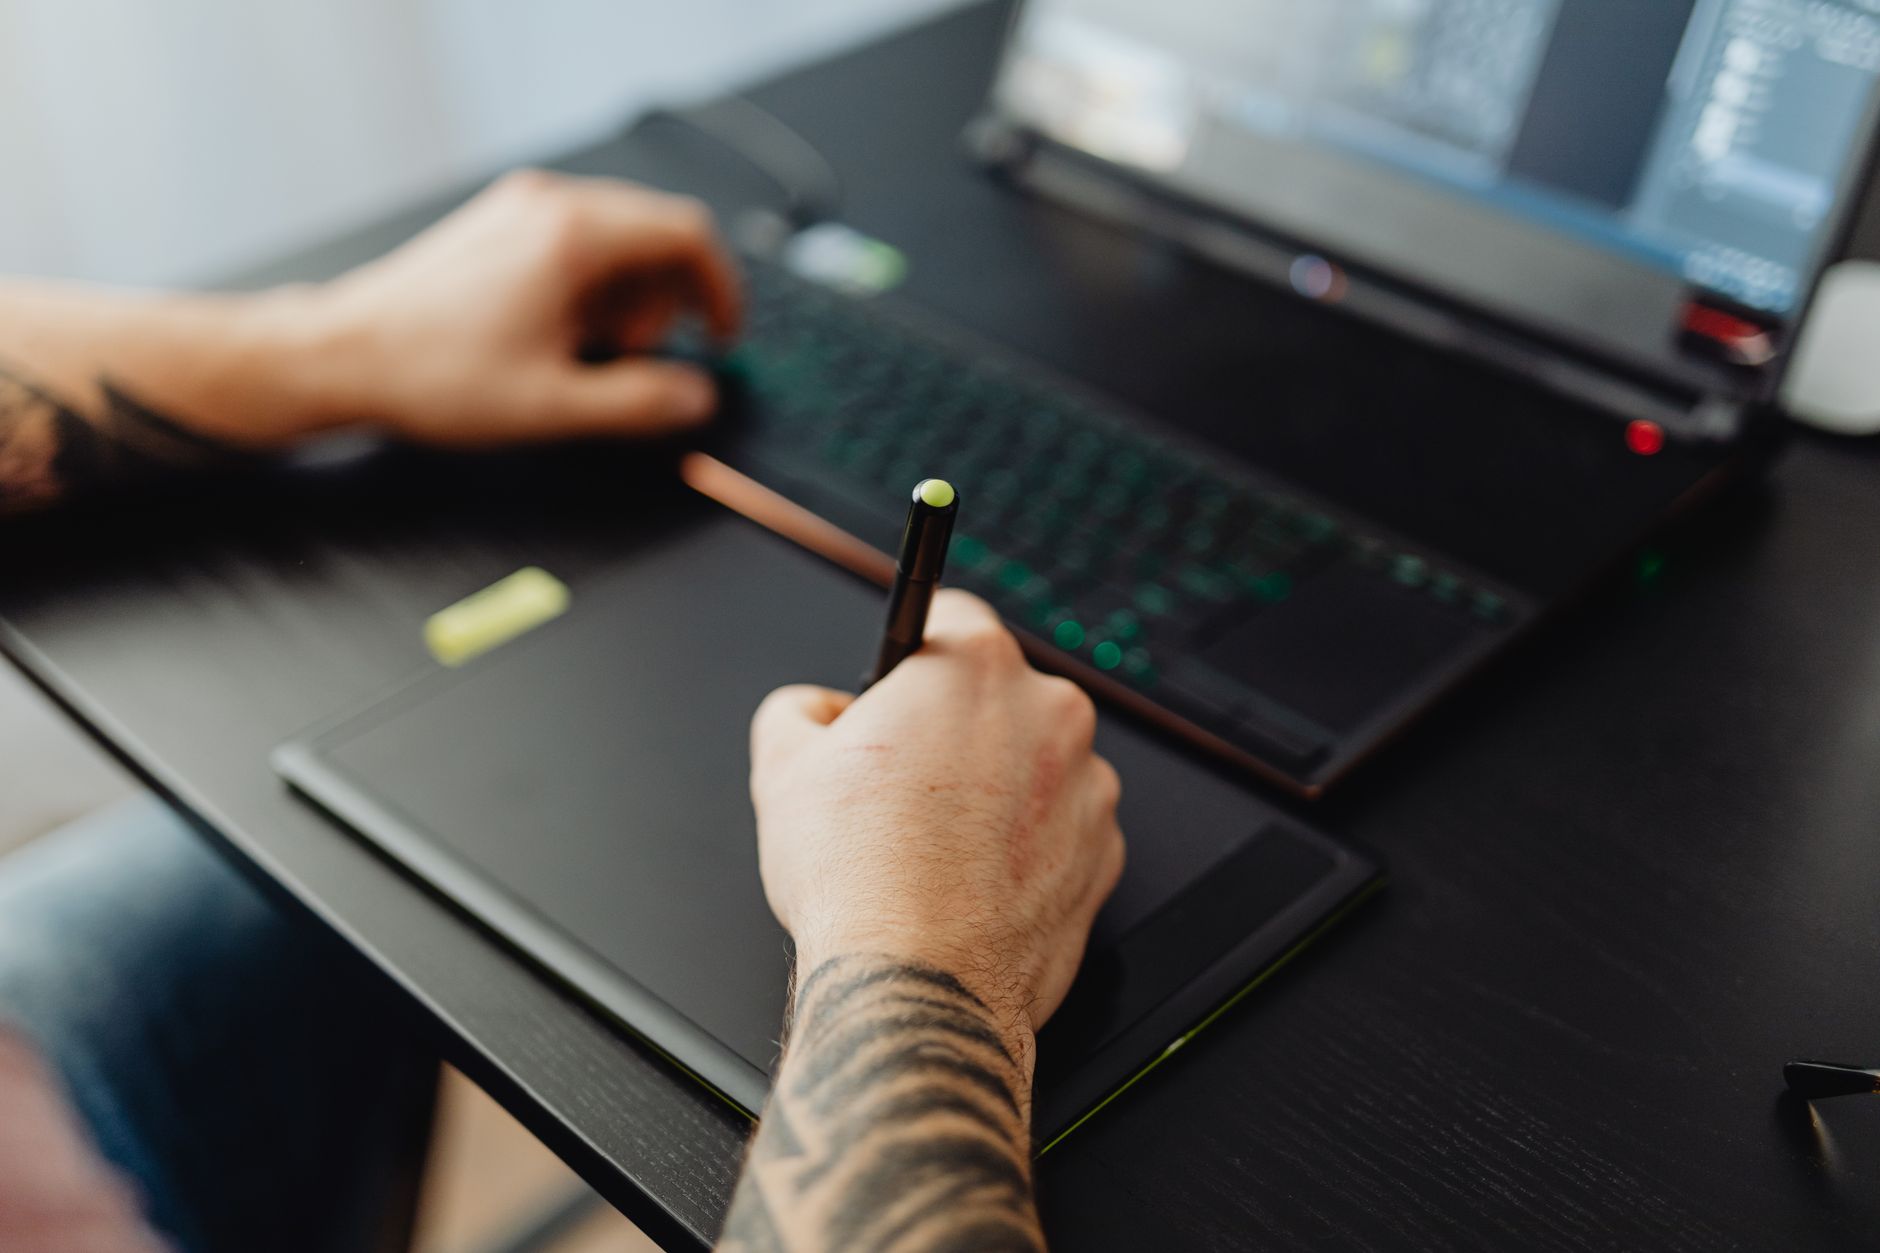
Motion tracking analyzes your footage to follow the movement of a point or an entire scene over time. After Effects records that movement as keyframe data you can apply to other layers.
The result: a graphic that sticks perfectly to a moving subject, as if it were really there. It’s one of the core skills of visual effects work.
Choose the Right Tracker
After Effects offers several trackers for different jobs:
- Point tracker — follows one or two specific points; great for attaching a tag to an object
- 3D Camera Tracker — solves the whole camera move to place objects into a scene
- Face Tracker — tracks facial features for beauty work and masks
- Mask Tracker — follows a shape to roto or obscure a moving area
Track a Single Point
For attaching a graphic to a moving object, open the Tracker panel (Window > Tracker) and click Track Motion. A track point appears in the layer viewer.
Position its inner box over a high-contrast feature to follow, and its outer search box over the area it might move into. Then click analyze and let After Effects follow it frame by frame.
Pick a Good Tracking Target
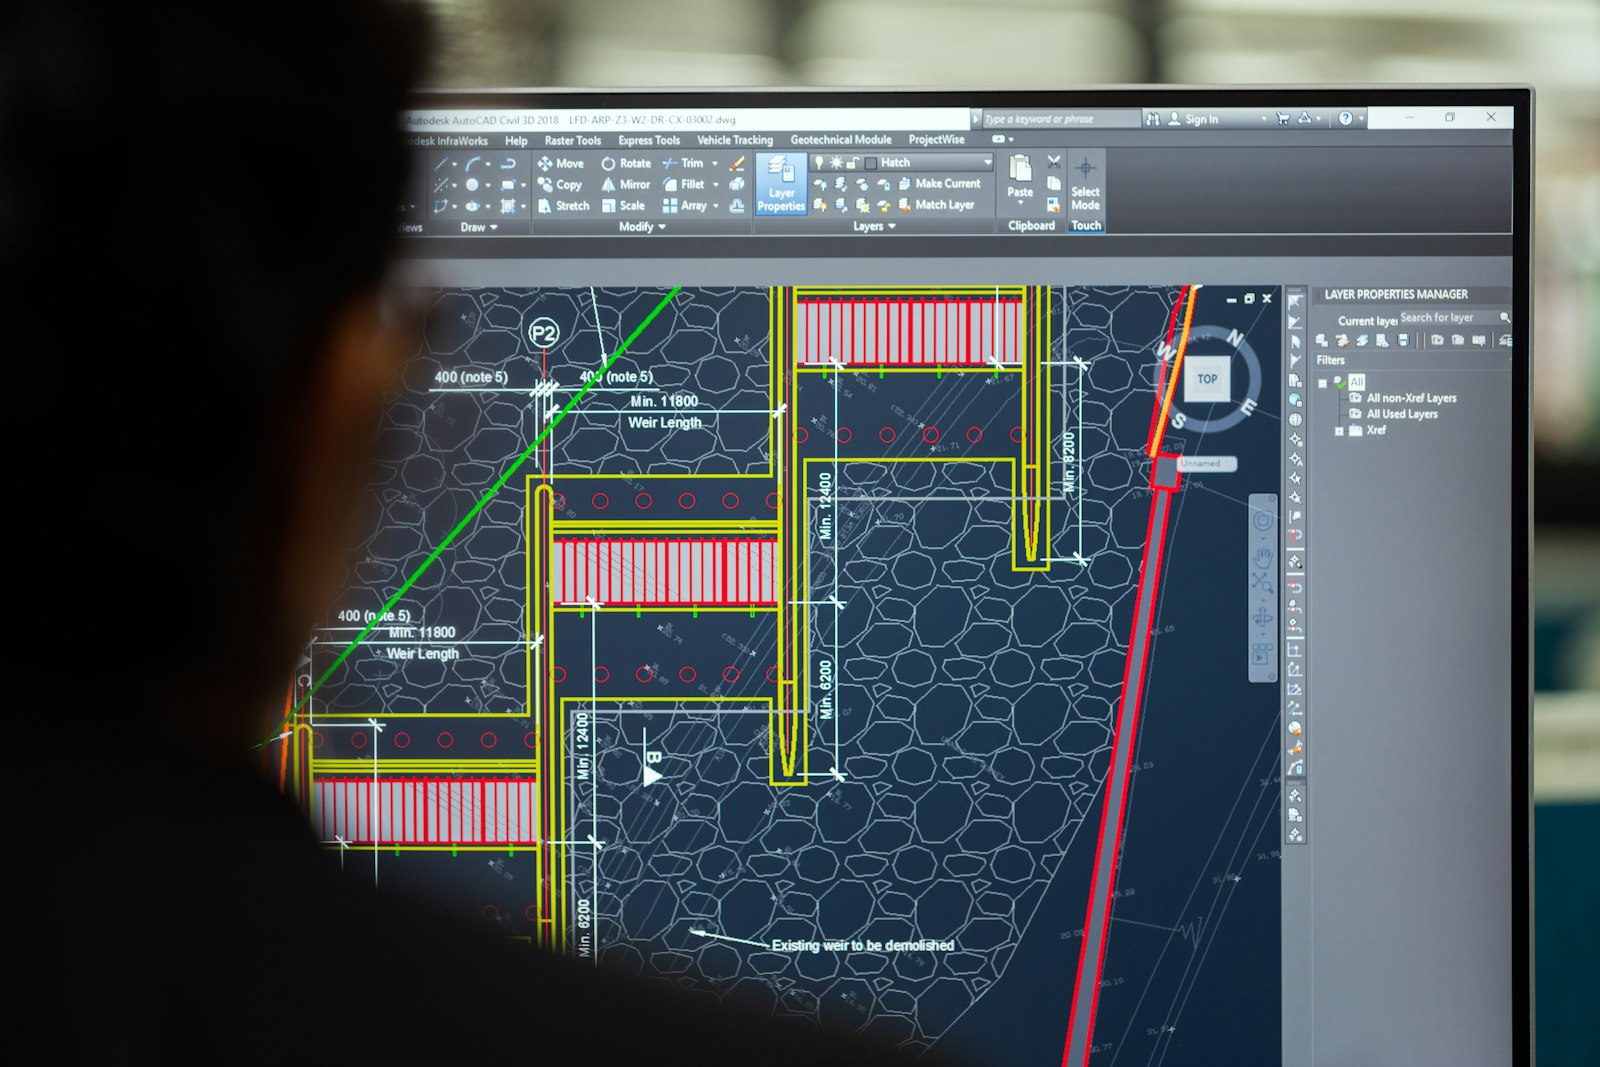
The quality of your track depends entirely on what you track. Choose a small, high-contrast feature that stays visible throughout the shot — a corner, a logo, a distinct mark.
Avoid soft, repeating, or motion-blurred areas; the tracker loses them easily. A few seconds spent picking the right target saves a lot of cleanup later.
Apply the Track Data
Once analyzed, click Edit Target to choose the layer that should follow the motion — your text or graphic — then Apply. After Effects copies the tracked keyframes onto that layer.
Your graphic now moves in lockstep with the footage. Scrub through to check it sticks across the whole shot.
Use the 3D Camera Tracker
To place an object convincingly into a moving scene — like a title standing on a real table — use the 3D Camera Tracker effect. It analyzes the footage and reconstructs the camera’s movement in 3D space.
After it solves, you’ll see tracking points across the scene. Right-click a cluster on the surface you want and choose Create Text and Camera, and your layer is locked into the 3D environment.
Fix a Drifting Track
Tracks sometimes slip off their target mid-shot. When that happens, step back to the last good frame, reposition the track point onto the feature, and re-analyze from there.
For stubborn shots, track a different, clearer feature and offset your graphic to the right spot. Patience here is what separates a track that holds from one that floats.
Stabilize Footage by Tracking
Tracking isn’t only for adding objects — it can remove camera shake too. The Tracker’s Stabilize Motion option tracks the movement and applies the inverse to steady the shot.
For everyday shake, Premiere’s Warp Stabilizer is quicker, but After Effects’ tracking gives you finer manual control on difficult shots.
Combine Tracking with Other Effects
Tracking is the gateway to advanced VFX. Track a wall to replace a sign, track a face to add a mask, or track a scene to integrate a CG element with proper perspective.
It pairs naturally with green-screen compositing and rotoscoping to build seamless, believable shots.
Common Tracking Mistakes
- Tracking a low-contrast or blurry feature, so the track slips.
- Search box too small to follow fast motion.
- Forgetting to set the target layer before applying.
- Expecting a clean solve from shaky, motion-blurred footage.
Combine Tracking with Masking and Roto
Tracking rarely works alone — it’s the foundation that other VFX techniques build on. Track a moving object, then add a mask that follows it to isolate or hide it, a process known as rotoscoping. Track a face, then attach a blur to anonymize it as the person moves.
Layering tracking with masking, keying, and color work is how seamless visual effects are made. As you grow comfortable with the tracker, you’ll find it’s the connective tissue that holds advanced shots together — the step that lets every other effect stick to your footage convincingly.
Build Tracking into Your VFX Workflow
Tracking is rarely the final step — it’s the foundation that other effects build on. A solid track lets you replace a screen, plant a 3D object, or anonymize a face, all while the camera moves freely. The cleaner your track, the more convincing every effect layered on top becomes.
As you grow comfortable with it, you’ll find tracking is the connective tissue of advanced compositing, working hand in hand with rotoscoping and keying. Invest time in choosing strong tracking targets, and every shot that follows becomes dramatically easier to finish.
Tracking is more reliable on a clean frame, which is why undistorting footage to fix barrel distortion before tracking is good practice.
Locking a glowing doorway to the floor as the camera moves relies on the tracking behind the After Effects portal effect.
Pinning a beam to a moving weapon or hand uses the tracking behind the After Effects laser beam effect.
After tracking a moving screen, corner pin screen replacement in After Effects warps your replacement footage to fit its four corners.
Key Takeaways
- Use the point tracker to attach graphics to a moving object.
- Use the 3D Camera Tracker to place objects into a moving scene.
- Always track a small, high-contrast, persistent feature.
- Re-position and re-analyze when a track drifts off target.
A Real Example: Replacing a Sign
A classic tracking job is replacing a sign or screen in a shot. You import the footage, apply Track Motion, and place four track points on the corners of the sign — or use a mask track to follow its surface. After analyzing, After Effects knows exactly how that surface moves through the shot.
You then apply the tracking data to your replacement graphic so it sticks to the sign as the camera moves, matching its perspective and motion frame for frame. Add a subtle color grade so the new graphic blends with the lighting, and the swap becomes invisible. This same workflow powers everything from product replacements to set extensions in professional VFX.
Tracking Tips for Clean Results
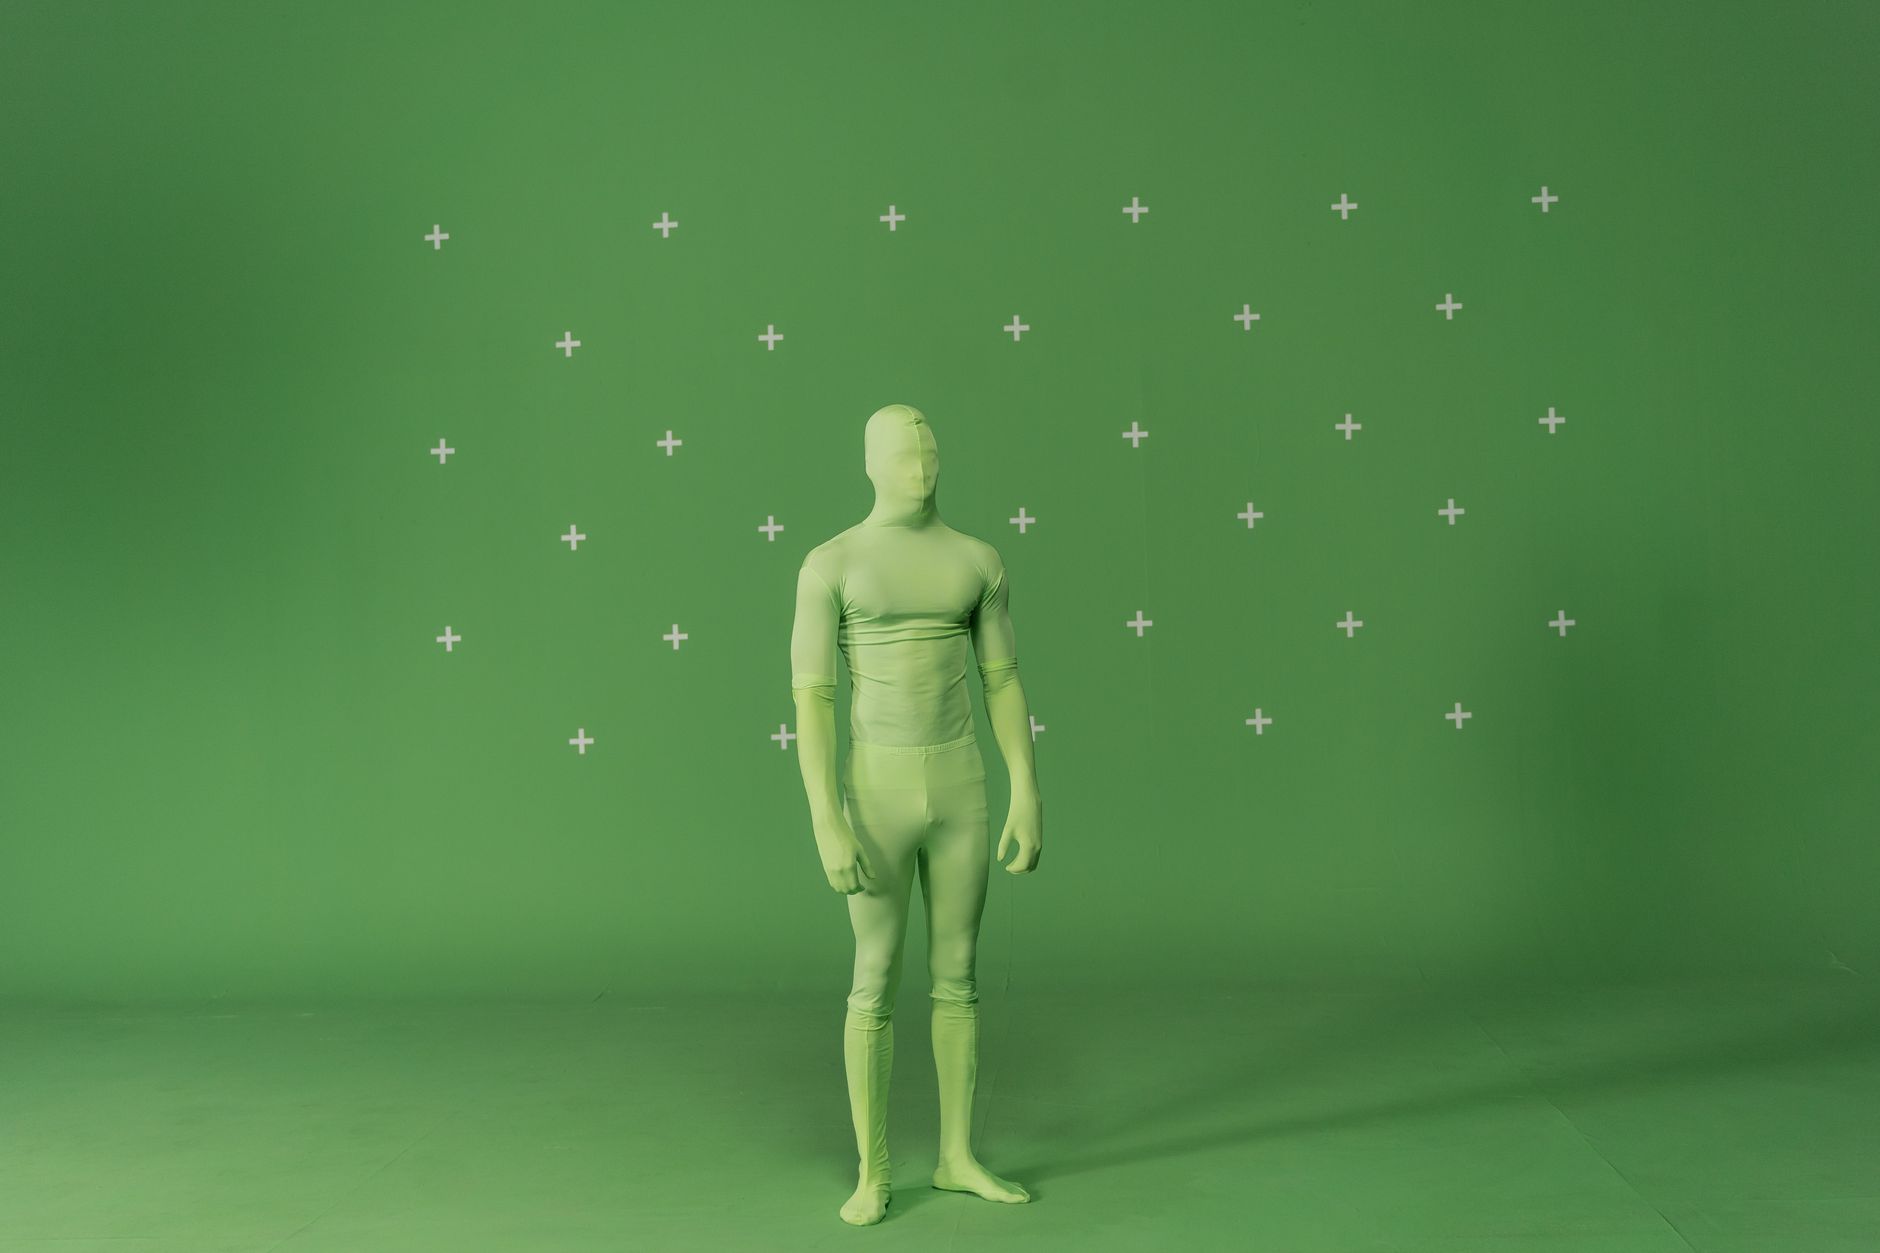
Good tracking is mostly preparation. Whenever you can, plan for it on set: tracking markers, sharp corners, and good lighting all give the tracker something solid to follow. A locked-off or smoothly moving camera tracks far more reliably than a violently shaky one.
In post, always work at full quality, track a feature that stays visible for the whole shot, and don’t be afraid to track multiple points and average them for stability. When a solve looks rough, it’s almost always the footage or the chosen feature — not the software. A few minutes choosing the right target saves hours of manual cleanup.
Frequently Asked Questions
How do I motion track in After Effects?
Open the Tracker panel, click Track Motion, place the track point over a high-contrast feature, analyze the footage, then use Edit Target and Apply to attach a graphic to the tracked motion.
What is the 3D Camera Tracker?
An effect that analyzes footage to reconstruct the camera’s 3D movement, letting you place text and objects into a moving scene with correct perspective.
Why does my motion track keep slipping?
Usually the tracked feature is low-contrast, blurry, or leaves the search box. Track a sharper feature, enlarge the search box, and re-analyze from the last good frame.
Sources: Wikipedia’s article on match moving.
Master visual effects at Adobe Video World
Train hands-on with Adobe Certified Instructors across 100+ Premiere Pro & After Effects sessions.



