A workflow taught by Adobe Certified Instructors at Adobe Video World.
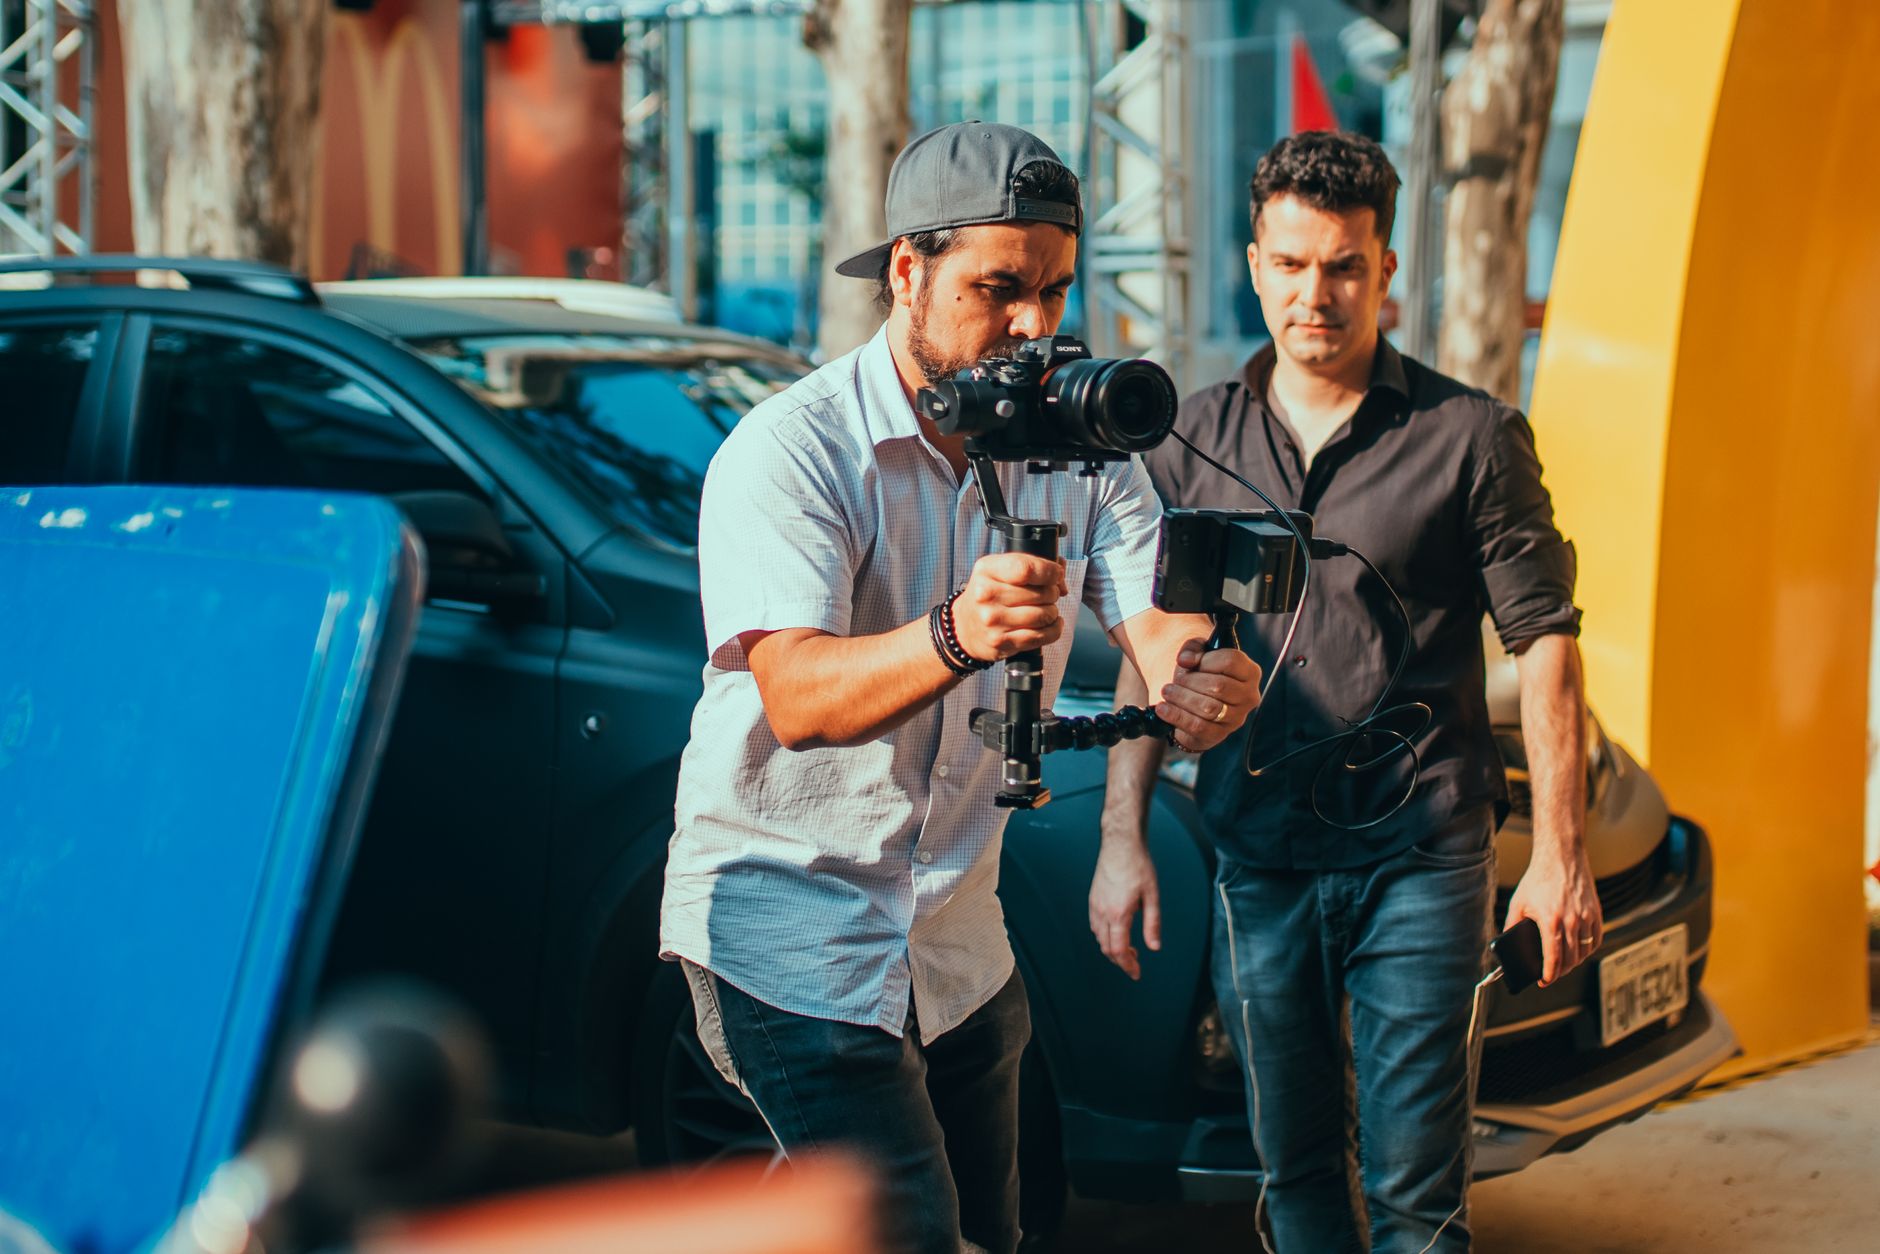
Shaky handheld footage can ruin an otherwise great shot. Premiere Pro’s Warp Stabilizer effect analyzes the movement and smooths it out automatically — no tripod required. Here’s how to use it well and avoid the warping artifacts that catch beginners out.
Apply the Warp Stabilizer Effect
Find Warp Stabilizer in the Effects panel under Video Effects > Distort, then drag it onto your shaky clip. Premiere immediately begins a two-stage background analysis — first analyzing the motion, then stabilizing it.
A banner shows the progress. You can keep editing other parts of your timeline while it works, but the clip can’t be moved until analysis finishes.
Choose the Right Smoothness
Once analyzed, open Effect Controls to fine-tune the result. The key setting is Smoothness — the default 50% suits most shots. Lower it for footage that should keep some natural movement; raise it for a locked-off, tripod-like look.
Under Result, choose Smooth Motion to keep the original camera move but remove the jitter, or No Motion to make a handheld shot look completely static.
Fix Warping and Wobble
Aggressive stabilization can bend straight lines or create a rubbery ‘jello’ wobble. If you see it, adjust the Method setting in this order:
- Subspace Warp (default) — most powerful, but can warp the image.
- Perspective — corners the frame like a sheet of paper.
- Position, Scale, Rotation — gentler and less prone to warping.
- Position — the simplest, for minor shake only.
Stepping down to a simpler method usually removes the wobble at the cost of a little stabilizing power.
Control the Crop
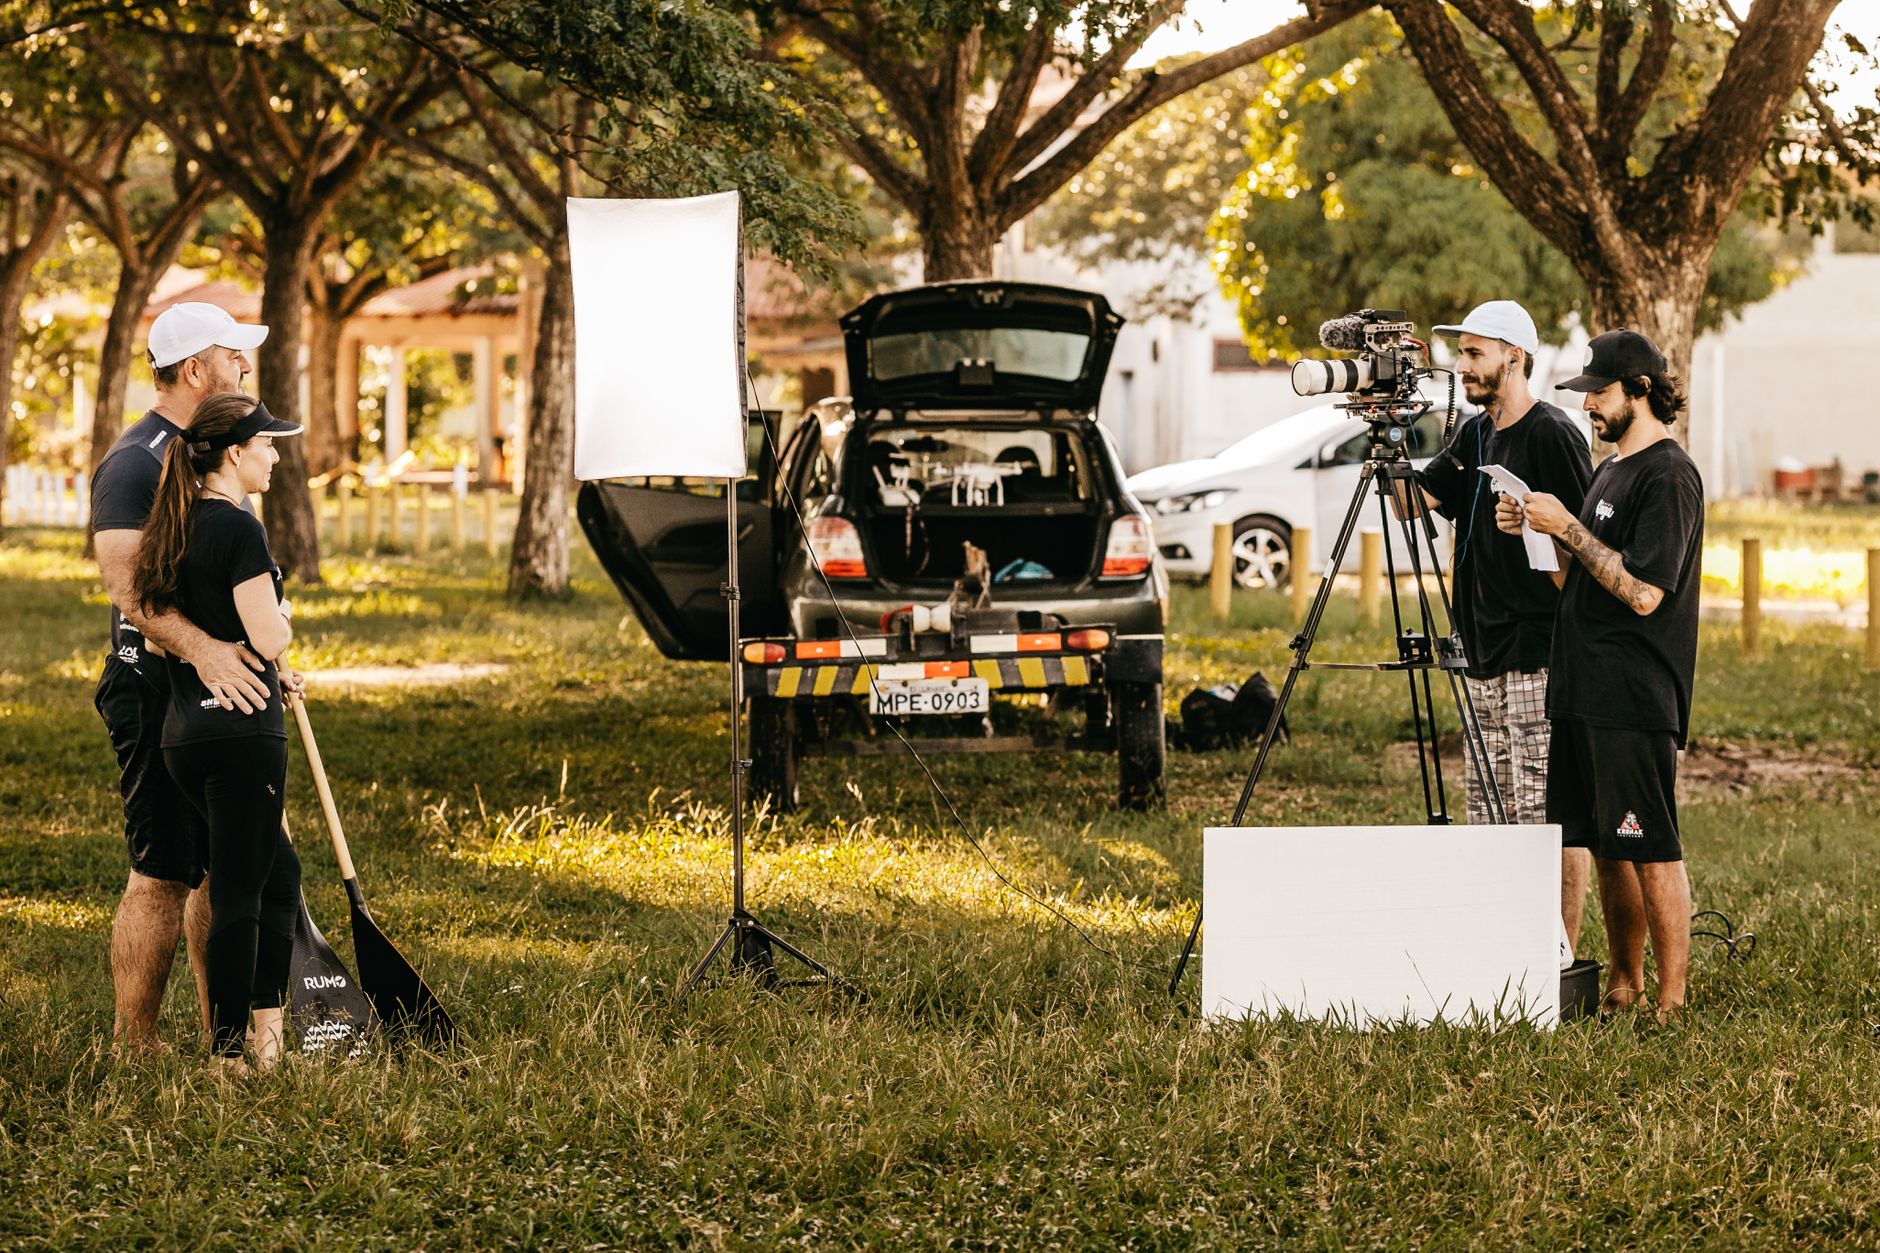
To hide the shaky edges, Warp Stabilizer zooms in slightly — that’s the Auto-scale you’ll see in the settings. If it crops too much, lower the Smoothness or set Framing to Stabilize, Synthesize Edges, which fills the borders instead of zooming.
Shoot a little wider than you need whenever you expect to stabilize, so you have room to crop.
When Stabilizing Won’t Work
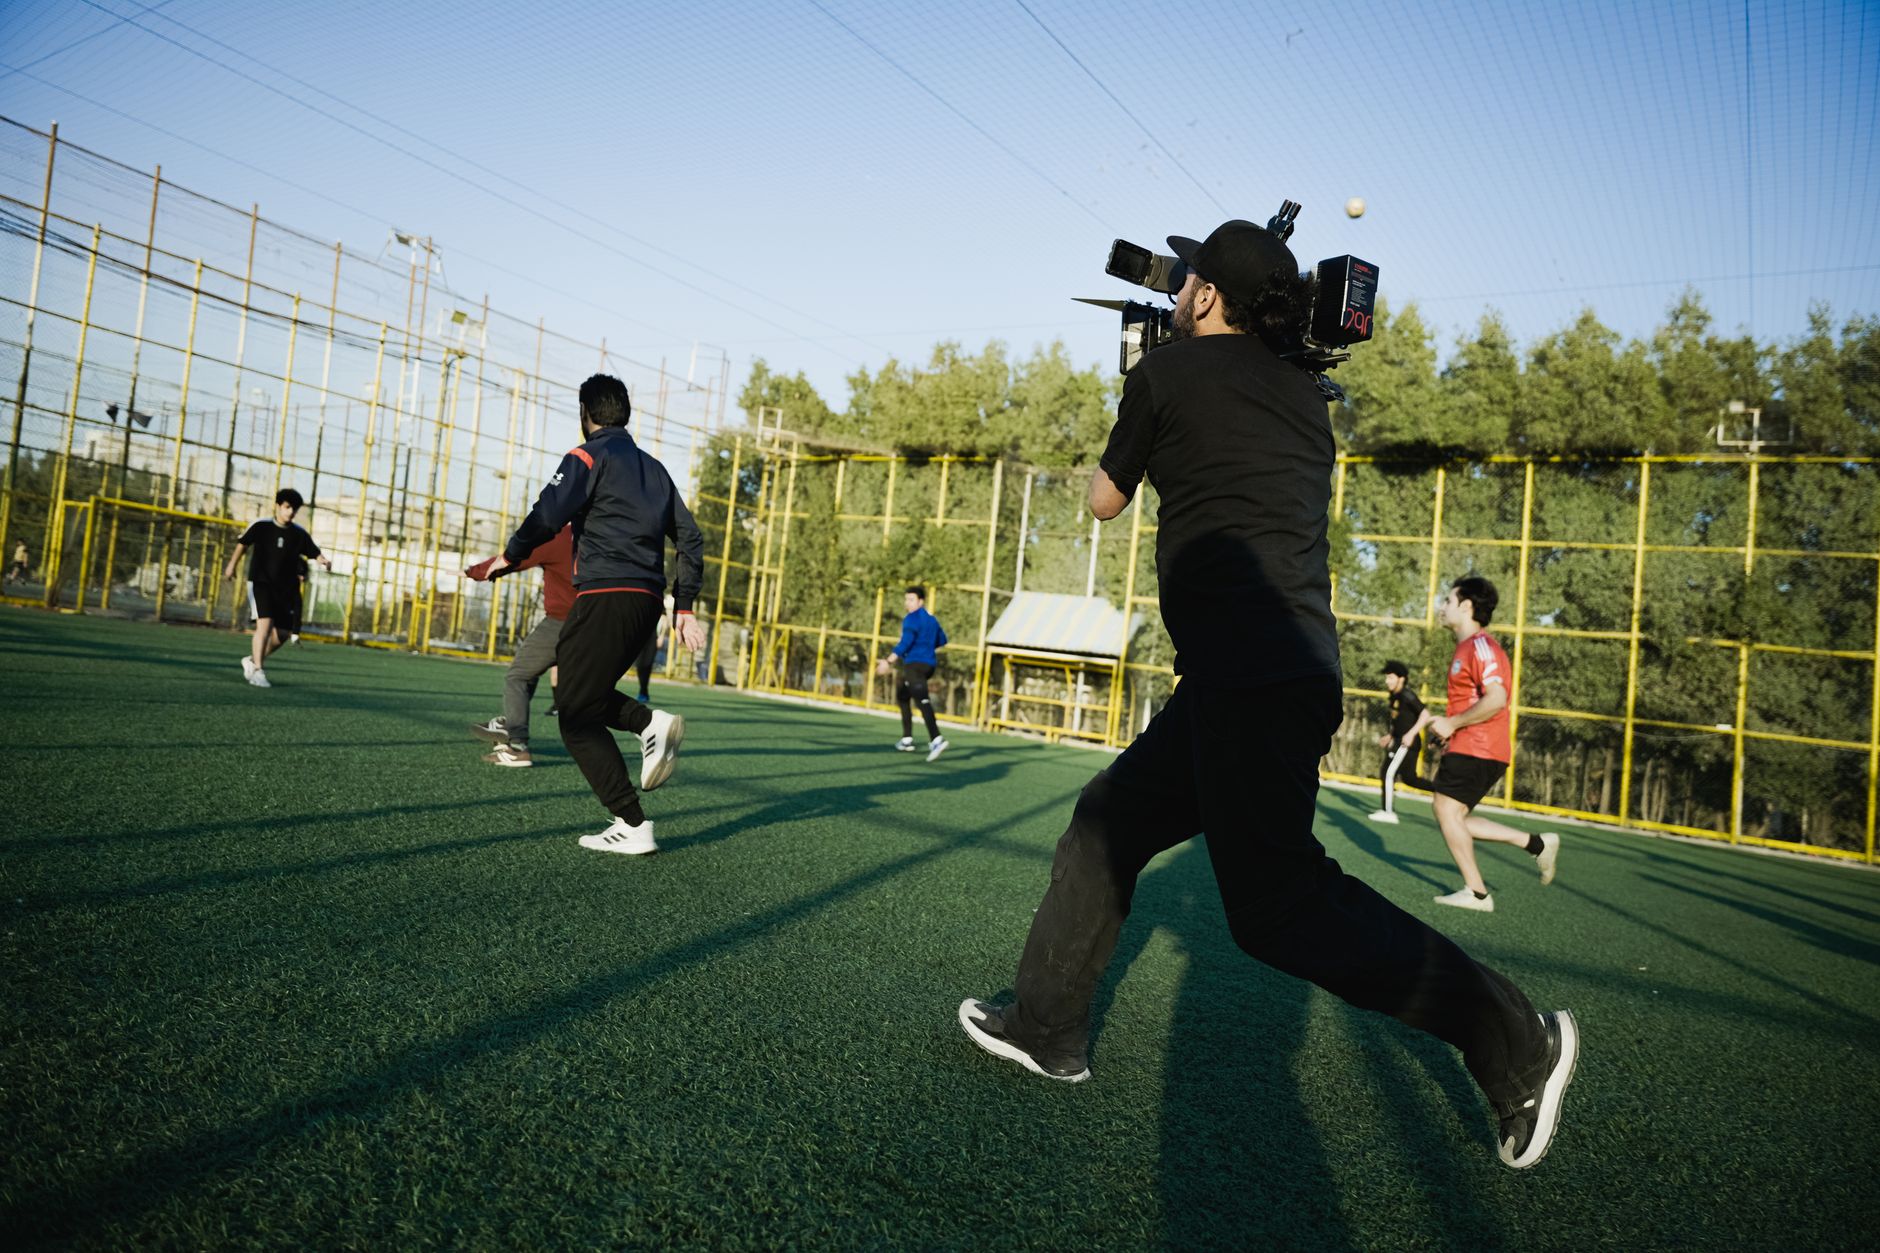
Warp Stabilizer struggles with extreme shake, motion blur, or rolling-shutter footage from fast pans. For those, enable the Rolling Shutter Ripple reduction in the Advanced settings, or stabilize in After Effects, which offers more powerful tracking tools.
Stabilized footage paired with a clean cut and a confident color grade instantly looks more professional. Just remember: stabilization is a rescue tool, not a replacement for a steady shot.
Stabilize Only Part of a Clip
Sometimes only a few seconds of a shot are shaky. Rather than stabilizing — and cropping — the whole clip, split out just the rough section first.
- Use the add-edit shortcut (Ctrl/Cmd + K) to split the clip at the start and end of the shaky part.
- Apply Warp Stabilizer to that middle piece only.
- Leave the steady sections untouched so they keep their full resolution.
This keeps the crop and any subtle warping confined to the frames that actually need help.
Prevent Shake When You Shoot
Stabilization always costs a little quality, so the best fix is steadier footage in camera. A few field habits make a big difference:
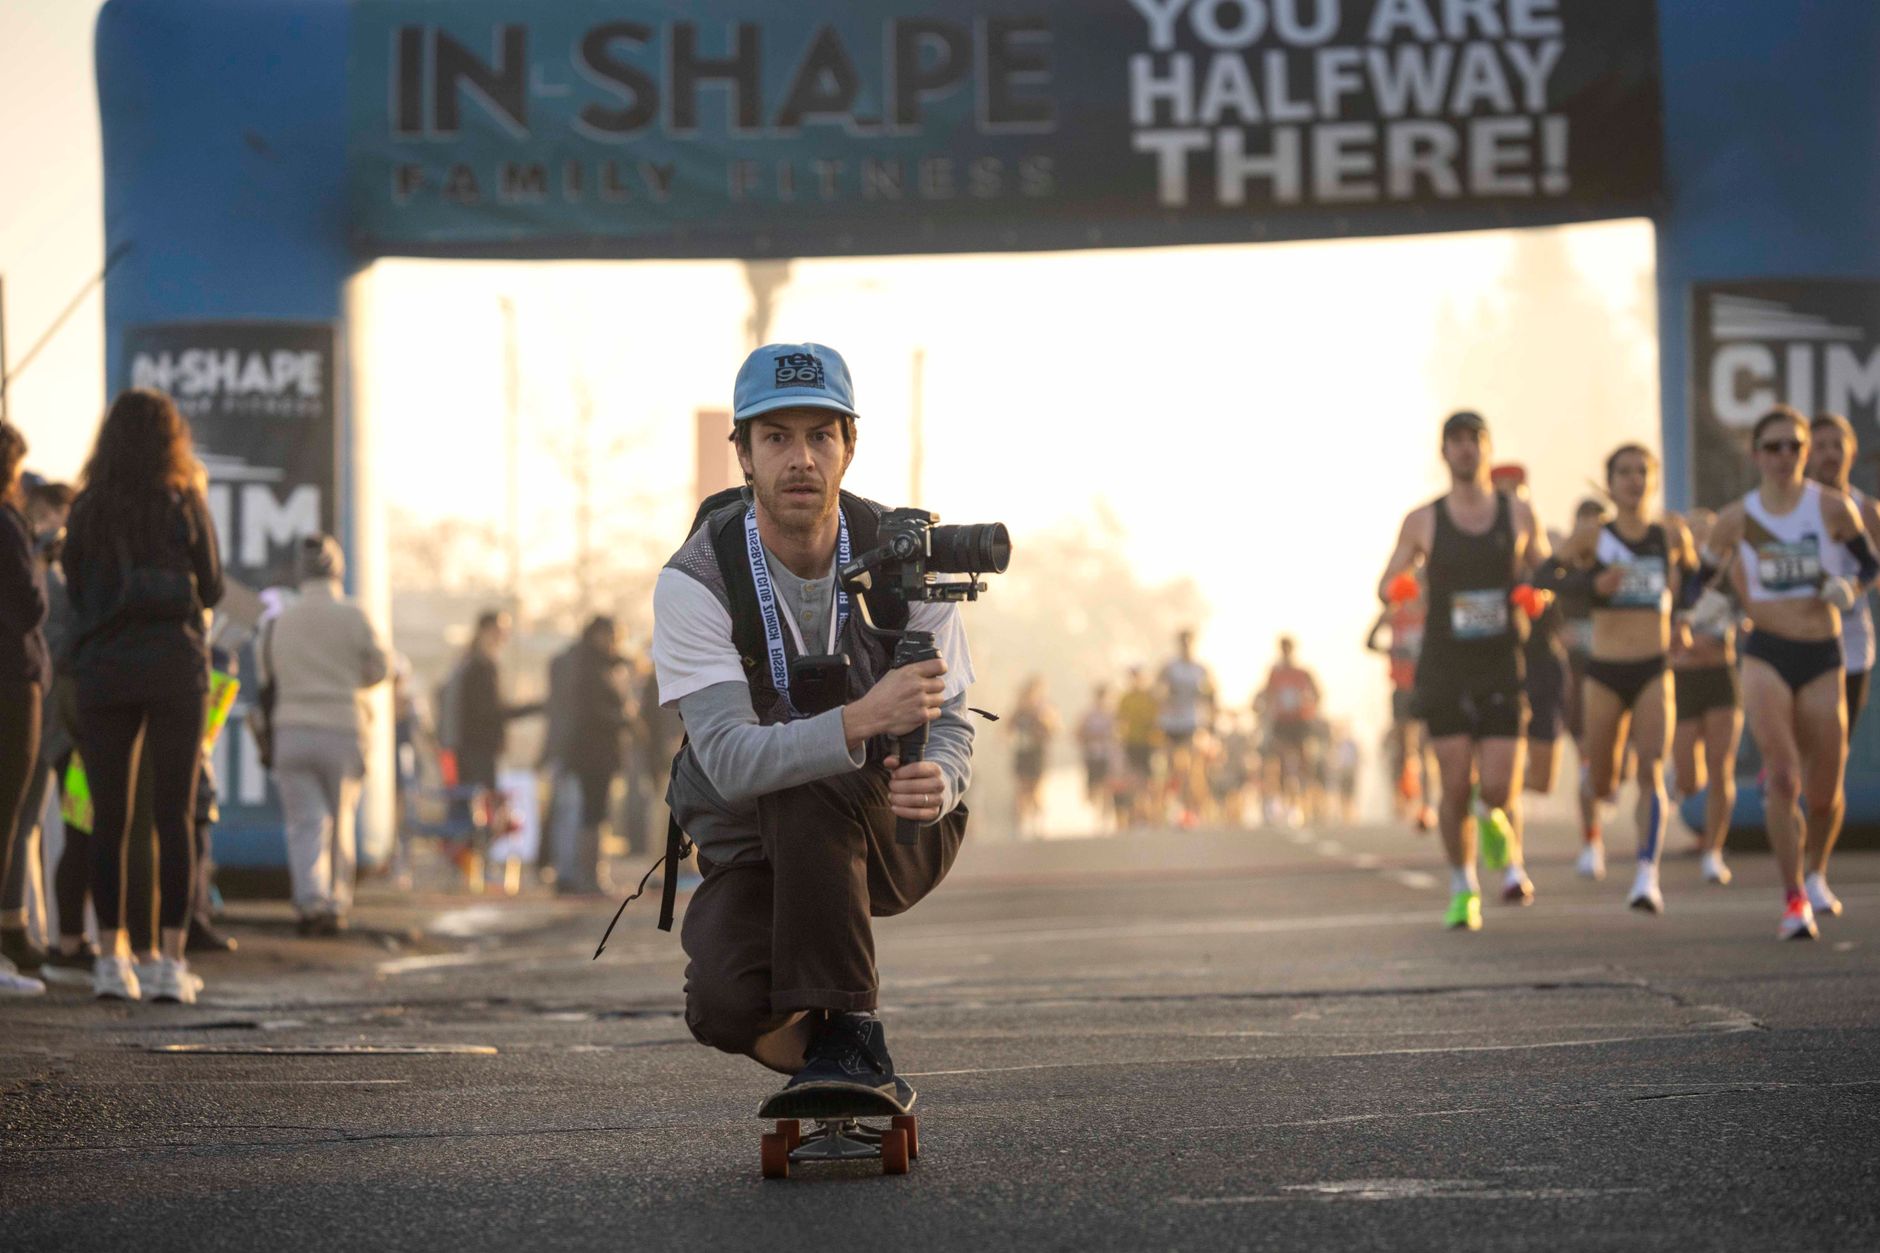
- Use a gimbal, tripod, or even a monopod whenever possible.
- Shoot at a higher resolution than you’ll deliver, giving Warp Stabilizer room to crop without softening the final image.
- Use a faster shutter speed to reduce motion blur, which stabilizers handle poorly.
- Brace your elbows against your body and move smoothly rather than walking with the camera.
How Warp Stabilizer Analyzes Motion
It helps to know what’s happening under the hood. In the first pass, Warp Stabilizer tracks hundreds of points across your frame to map exactly how the camera moved. In the second pass, it calculates a smoother virtual camera path and warps each frame to match it.
Because it needs to track features, the effect works best on footage with clear detail and texture. Flat skies, heavy motion blur, or fast whip-pans give it little to lock onto — which is why those shots produce the most warping. Clean, detailed footage stabilizes almost invisibly.
Stabilizing Vertical and Social Video
Vertical footage for Reels and TikTok stabilizes the same way, but the narrow frame leaves less room to crop. Shoot vertical clips at the highest resolution your camera allows so Warp Stabilizer has pixels to spare when it zooms in to hide the shake.
If you’re reframing horizontal footage to vertical, stabilize first and reframe second, so the crop and the stabilization don’t fight each other. Keeping your subject slightly off-center also gives you breathing room to reposition without the stabilizer pushing them out of frame.
Render to Lock In Your Stabilization
Stabilized clips are processor-intensive, so playback can stutter while you edit. Once you’re happy with the result, render the section (press Enter over the work area) so Premiere plays it back smoothly in real time.
Rendering also lets you spot any subtle warping at full quality before you commit. With your shot steady and rendered, finish it with a confident color grade and the right export settings for a clean, professional result.
When to Stabilize and When to Reshoot
Warp Stabilizer is powerful, but it is not magic, and knowing its limits saves you from wasting time on footage that cannot be saved. Stabilization is the right call for moderate handheld shake, walking footage with a gentle bounce, and slow drifting movements you want to smooth out.
It struggles, however, with violent shake, severe motion blur, and heavy rolling-shutter wobble from fast pans. In those cases the effect either fails or crops and warps the image so aggressively that the result looks worse than the original. If a shot is critical and badly shaken, a different take will almost always beat hours of fighting the footage.
As a rule of thumb: if you can still clearly see the subject and the movement is rhythmic rather than chaotic, stabilize it. If the footage is unusable to the eye, it is usually unusable to the software too.
Make Stabilization Part of Your Routine
The editors who get the cleanest results treat stabilization as a deliberate step rather than a last-minute rescue. They shoot a little wider than they need, knowing Warp Stabilizer will crop, and they isolate only the shaky portions of a clip so steady footage keeps its full resolution. A few seconds of planning at the shoot and the cut consistently beats fighting badly shaken footage in post.
Build that habit and shaky shots stop being a crisis. Combined with a clean grade and the right export, a quietly stabilized clip simply looks professional — without the viewer ever knowing you fixed it.
Stabilization works more accurately on an undistorted image, so removing wide-angle lens distortion first often improves the result.
Smooth, gliding walkthroughs are essential to real estate video editing, so stabilizing handheld moves comes first.
Smoothing handheld moves down the aisle is essential to editing a wedding film.
Key Takeaways
- Apply Warp Stabilizer from the Effects panel and let it analyze the clip.
- Tune Smoothness, and switch Method to a simpler option if you see warping.
- Split out only the shaky section so you don’t crop the whole clip.
- Shoot wide and steady whenever you expect to stabilize in post.
Frequently Asked Questions
How do I stabilize shaky video in Premiere Pro?
Apply the Warp Stabilizer effect (Effects panel > Video Effects > Distort) to the clip and let it analyze. Adjust Smoothness in Effect Controls to taste.
Why does my stabilized footage look warped or wobbly?
Subspace Warp can bend the image. Change the Method in Effect Controls to Perspective or Position, Scale, Rotation for a gentler, wobble-free result.
Why does Warp Stabilizer crop my video?
It zooms in to hide the shaky edges. Lower the Smoothness, or set Framing to ‘Stabilize, Synthesize Edges’ to fill the borders instead of cropping.
Sources: Adobe’s Warp Stabilizer documentation.
Level up your edits at Adobe Video World
Train hands-on with Adobe Certified Instructors across 100+ Premiere Pro & After Effects sessions.



