
A workflow taught by Adobe Certified Instructors at Adobe Video World.
Color grading is what gives your footage a polished, cinematic look — and in Premiere Pro it all happens in the Lumetri Color panel. This guide walks through a repeatable color grading workflow you can apply to any project, from fixing problem footage to designing a signature look.

Color Correction vs. Color Grading
These two terms get mixed up constantly. Color correction is technical — you neutralize problems so footage looks accurate (correct white balance, balanced exposure, legal levels). Color grading is creative — you push the image toward a mood or style after it’s corrected. Always correct first, then grade.

Step 1: Open the Lumetri Color Panel
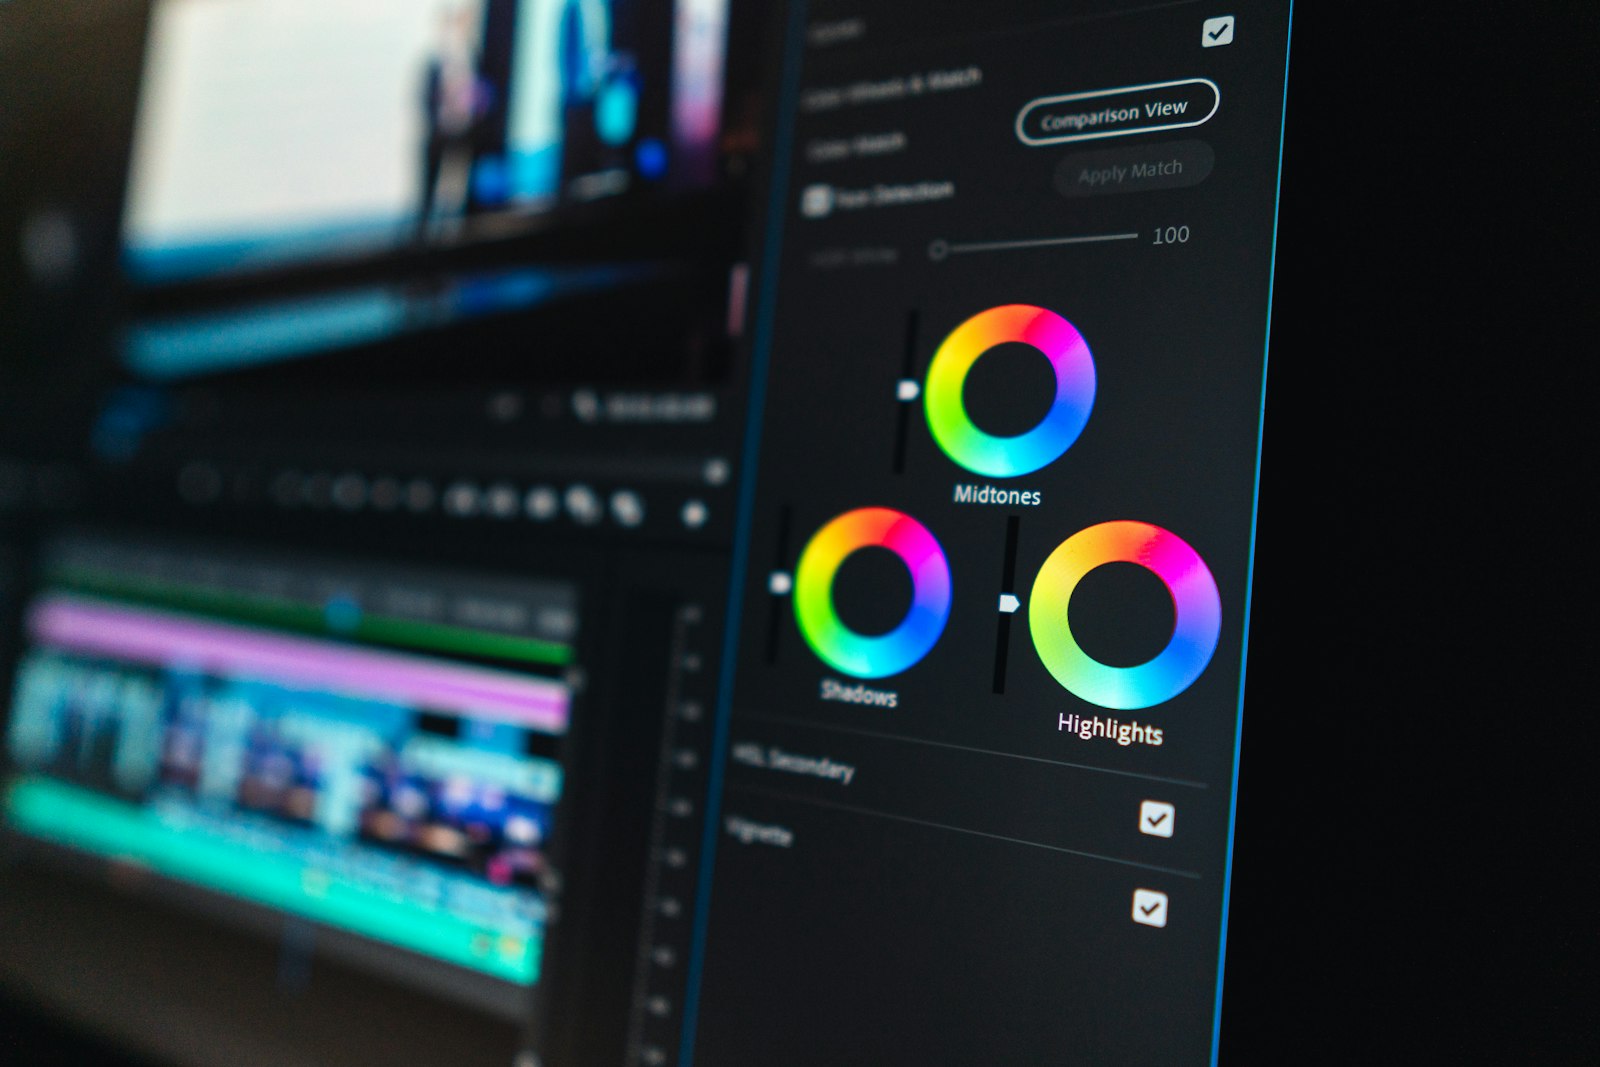
Switch to the Color workspace (Window > Workspaces > Color) or open Window > Lumetri Color. The panel is organized top-to-bottom in the order you should work: Basic Correction, Creative, Curves, Color Wheels, HSL Secondary, and Vignette.
Step 2: Fix White Balance and Exposure
In Basic Correction, use the White Balance eyedropper on something that should be neutral gray or white. Then balance the tonal range:
- Exposure for overall brightness
- Contrast to set the difference between lights and darks
- Highlights / Shadows to recover blown skies or crushed blacks
- Whites / Blacks to set your true white and black points
Watch the Lumetri Scopes (Window > Lumetri Scopes) while you work — the waveform keeps your levels broadcast-legal.
Step 3: Use Curves for Precise Control
The RGB Curves give you the most control over contrast. A gentle S-curve adds punch: lift the upper portion and lower the bottom. Use the individual red, green, and blue channel curves to remove color casts — for example, pulling blue down in the shadows adds warmth.
Hue Saturation Curves let you target one color and change it without affecting the rest of the image — perfect for making skies bluer or toning down an over-saturated shirt.

Step 4: Build a Look with Color Wheels
The three-way Color Wheels (Shadows, Midtones, Highlights) are where your creative grade lives. A classic cinematic look pushes shadows slightly toward teal and highlights toward orange. Make small moves — color grading is a game of subtlety.
Step 5: Save Your Grade as a LUT
Once you’ve nailed a look, save it so you can reuse it. In the Lumetri panel menu, choose Export .cube LUT, or right-click the clip and Save Preset. Apply it to other clips in the Creative tab and dial the Intensity slider to taste.
Pro tip: grade on an adjustment layer above your timeline so one grade affects every clip beneath it and stays fully editable.
Go deeper at Adobe Video World
Learn hands-on from Adobe Certified Instructors across 100+ Premiere Pro & After Effects sessions.
Reliable grading ultimately depends on a color-accurate, calibrated monitor for video editing, since you can only grade what you can see accurately.
Matching shots from a long day of mixed lighting is a big part of editing event footage into a polished film.
A restrained, natural grade keeps the authenticity that documentary video editing depends on.
Beyond a primary grade, HSL secondary color grading in Premiere Pro isolates a single color, like a shirt or the sky, to adjust on its own.
Sources: Adobe’s documentation on Lumetri Color and color management.



