
A workflow taught by Adobe Certified Instructors at Adobe Video World.
Wide-angle and action-camera lenses introduce barrel distortion, curving straight lines and bending the image. The Optics Compensation effect in After Effects removes this distortion to straighten your footage, or adds it for creative effects. This guide covers using Optics Compensation to fix lens distortion and correct or stylize your shots.

What Lens Distortion Is
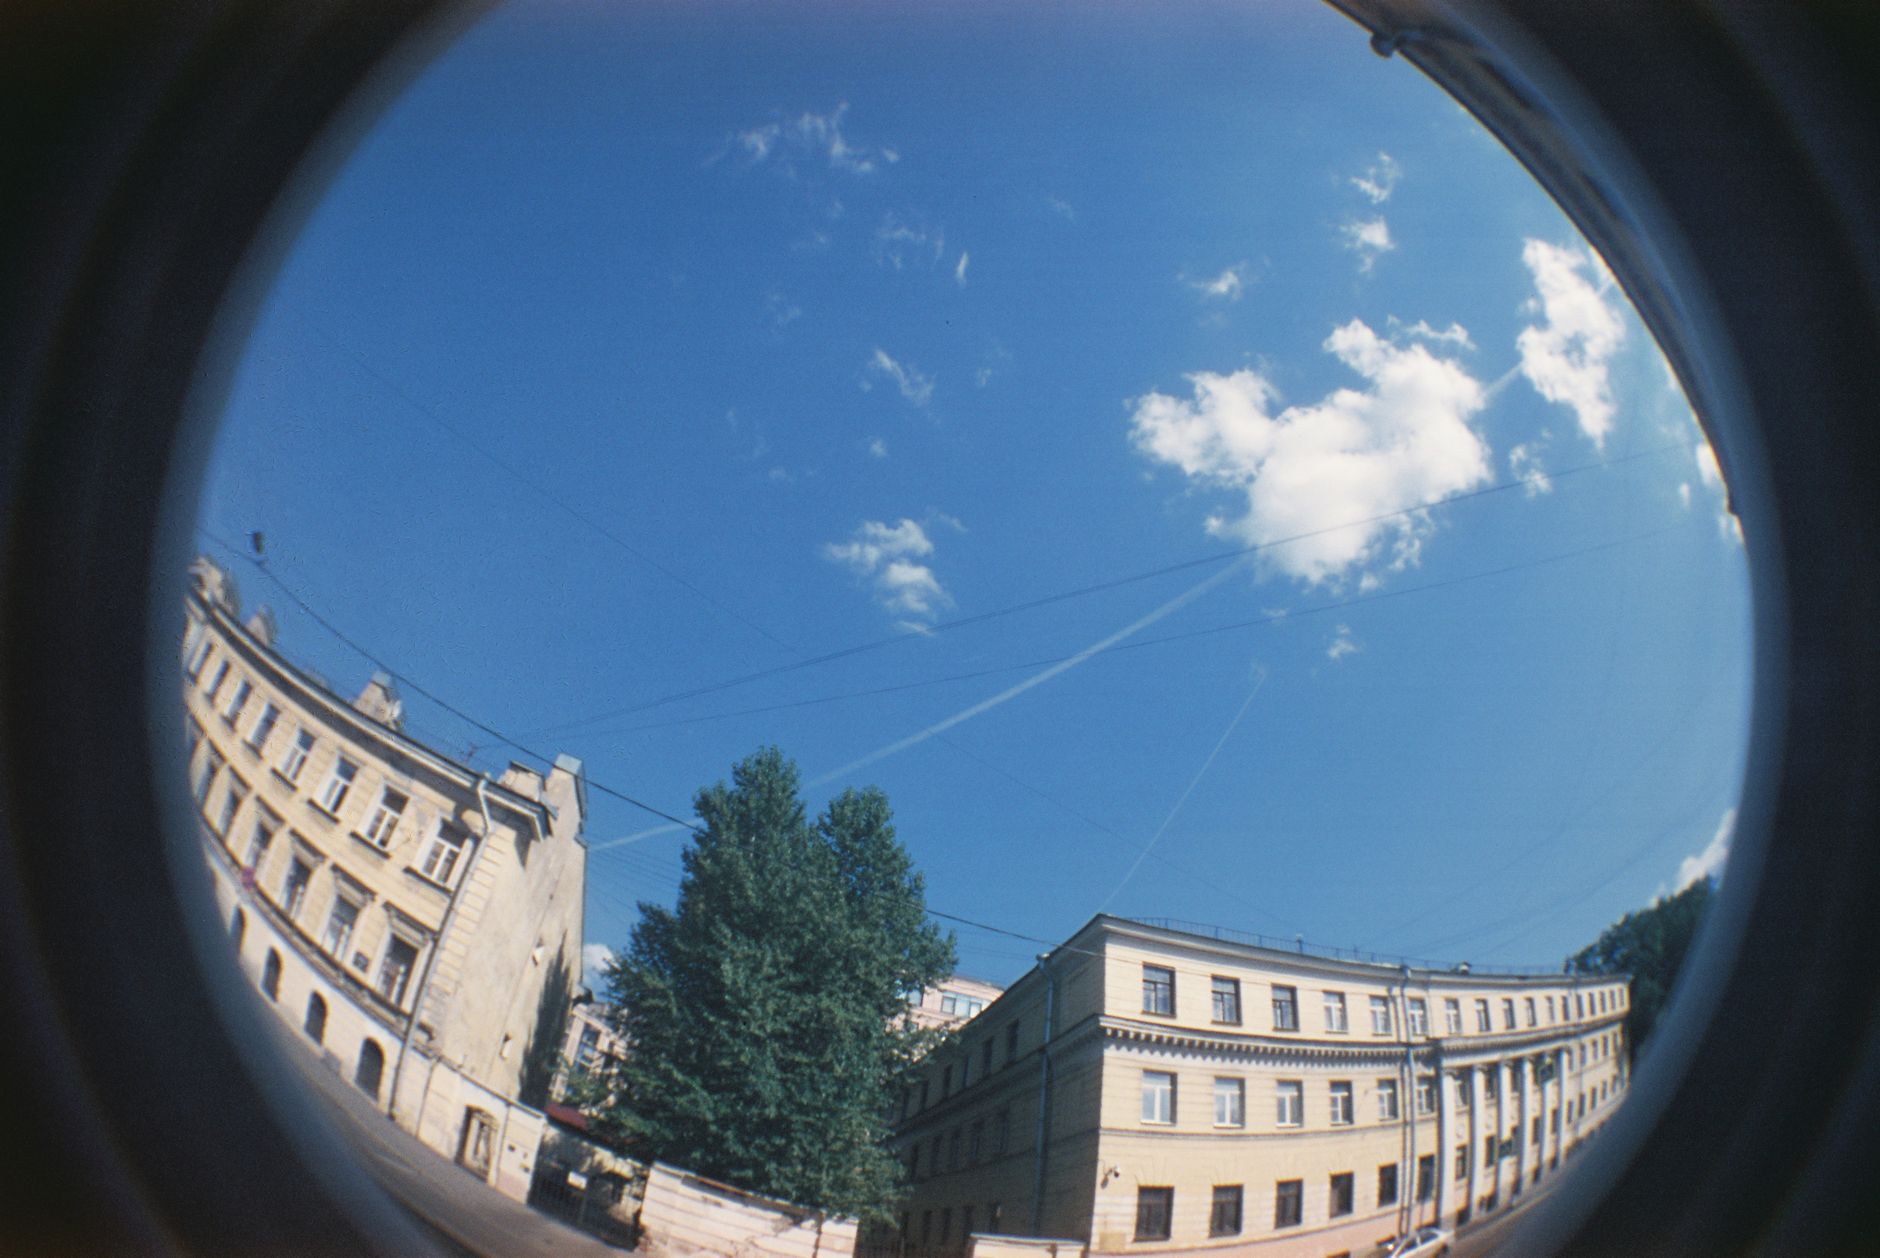
Lens distortion bends the image, most commonly as barrel distortion where straight lines curve outward, especially with wide-angle and action-camera lenses. This warping makes footage look unnatural, with bowed horizons and curved edges.
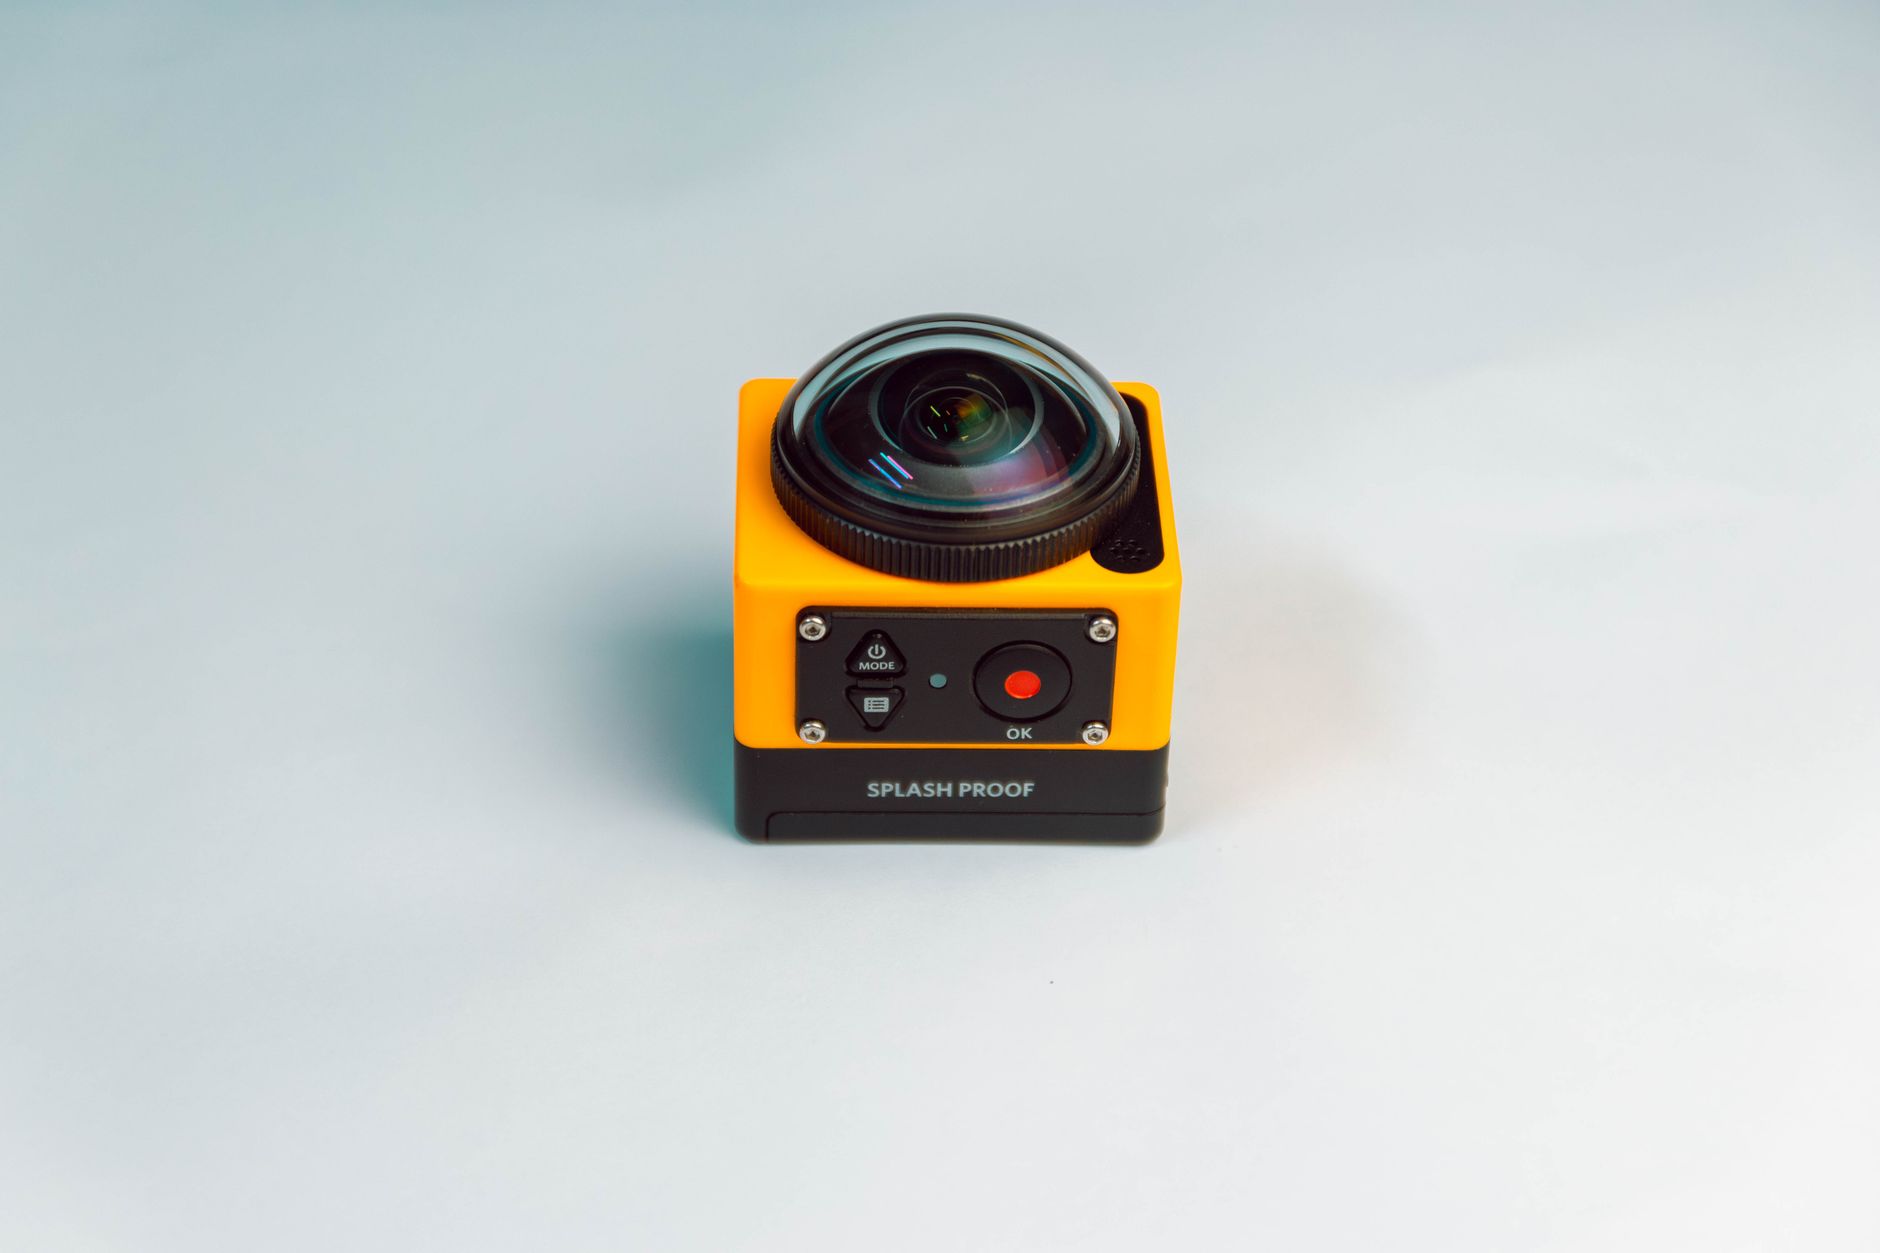
Wide lenses and cameras like action cams introduce this fisheye-like bending, which can be undesirable. Understanding that barrel distortion curves what should be straight helps you recognize when footage needs correcting, which Optics Compensation handles.
Use the Optics Compensation Effect
After Effects’ Optics Compensation effect corrects lens distortion. Applied to distorted footage, it lets you add the opposite distortion to cancel out the lens’s bending, straightening curved lines back to normal.
The effect’s Field of View control adjusts the amount of compensation, while Reverse Lens Distortion determines the direction. Tuning these to counteract your footage’s specific distortion straightens the image, correcting the lens’s warping.
Straighten Curved Lines
The goal of correction is making straight lines straight. Adjusting the Field of View while watching the curved lines in your footage — horizons, edges, architecture — until they straighten removes the barrel distortion effectively.
Using straight reference lines in the footage as a guide, you dial in the compensation until they’re truly straight. This visual approach, watching bowed lines flatten as you adjust, is the practical way to correct distortion precisely for your specific lens.

Enable Reverse Lens Distortion
To remove distortion, you typically enable Reverse Lens Distortion. This applies the inverse of the lens’s bending, canceling the barrel distortion, whereas leaving it off would add distortion instead of removing it.
Understanding this toggle is key — reversing the distortion corrects footage, while the normal direction adds it. Enabling Reverse Lens Distortion and adjusting the field of view is the standard approach to straightening distorted wide-angle and action-camera footage.

Add Distortion for Effects
Optics Compensation can also add distortion creatively. Applying barrel distortion deliberately, without reversing, creates a fisheye or wide-angle look, useful for stylistic effects, transitions, or matching footage to a distorted aesthetic.
This creative use turns the correction tool into a stylizing one. Adding distortion for a fisheye effect, or animating it for a warping transition, expands Optics Compensation beyond correction into a creative tool for stylized, bent visuals.
Handle the Edges
Correcting distortion can affect the frame edges, since straightening a bowed image may push content out or leave gaps. Scaling the footage slightly or cropping after correction handles these edge changes for a clean result.
Removing barrel distortion often slightly changes the framing, so a small scale-up fills any gaps the correction creates. Accounting for this edge effect, and adjusting the scale or crop, ensures your corrected footage fills the frame cleanly without artifacts.
Use It for Match Moving and VFX
Removing distortion is important for compositing and tracking. Undistorting footage before adding graphics or tracking elements, then re-applying distortion to the composite, ensures added elements align with the footage’s perspective.
This undistort-composite-redistort workflow is standard in professional VFX. Correcting distortion so tracked and composited elements sit correctly, then matching the distortion back, is what makes added graphics integrate believably with distorted lens footage.
Optics Compensation Best Practices
- Enable Reverse Lens Distortion to correct footage.
- Adjust the Field of View until straight lines straighten.
- Scale or crop to handle the edges after correction.
- Add distortion deliberately for fisheye effects.
Common Optics Compensation Mistakes
- Forgetting Reverse Lens Distortion, adding distortion instead.
- Over-correcting until lines bend the other way.
- Ignoring the edge changes after correction.
- Not undistorting before compositing on distorted footage.
A Real Distortion Fix Example
Picture footage from an action camera where the horizon bows dramatically and building edges curve outward. You apply Optics Compensation, enable Reverse Lens Distortion, and increase the Field of View while watching the bowed horizon until it flattens to a straight line. A slight scale-up fills the gaps the correction creates at the edges, leaving a clean, natural-looking frame.
The fisheye distortion vanishes and the footage looks like it was shot on a normal lens. That straightforward process — reverse the distortion, dial in the field of view against straight reference lines, and handle the edges — is exactly how you rescue the warped look that wide and action-camera lenses produce.
Distortion and Stabilization
Lens distortion and stabilization interact, and correcting distortion first often improves stabilization results. Warp Stabilizer and tracking work better on undistorted footage, since the bending of a distorted frame confuses motion analysis, so undistorting before stabilizing produces cleaner, more accurate results.
This ordering, correcting distortion before stabilization and tracking, mirrors professional VFX pipelines. Combined with the techniques in our stabilization guide, removing distortion early gives the motion-analysis tools a clean, undistorted image to work with, improving both stabilization and any tracked elements.
Match Distortion for Composites
When adding graphics to distorted footage, the undistort-composite-redistort workflow keeps everything aligned. You correct the footage’s distortion, add and track your elements on the clean undistorted image, then re-apply the original distortion to the whole composite so the added elements bend exactly like the footage.
This professional approach ensures tracked text, screen replacements, and effects sit perfectly in distorted lens footage. Combined with the tracking techniques in our motion tracking guide, matching distortion between footage and added elements is what makes composites on wide-angle footage look genuinely integrated rather than pasted on.
Distortion Correction and Lens Profiles
Beyond manual Optics Compensation, many workflows use lens profiles that automatically correct known distortion for specific lenses. These profiles, applied in editing or grading software, remove a lens’s characteristic distortion precisely, saving the manual adjustment Optics Compensation requires.
Understanding both approaches — automatic lens profiles and manual Optics Compensation — gives you flexibility. Profiles are fast and accurate when available for your lens, while manual correction handles any footage, including action cameras without profiles.
Knowing when distortion correction matters — for straight architectural lines, clean composites, or a natural look — guides when to apply it. Combined with the compositing and stabilization benefits of working on undistorted footage, mastering correction keeps your footage clean and your effects well-integrated.
Undistorting wide footage first makes the After Effects corner pin screen replacement track far more accurately.
Key Takeaways
- Optics Compensation fixes lens distortion like barrel bending.
- Enable Reverse Lens Distortion and adjust the Field of View.
- Straighten using reference lines, and handle the edges.
- Add distortion deliberately for fisheye effects.
Frequently Asked Questions
How do I fix lens distortion in After Effects?
Apply the Optics Compensation effect, enable Reverse Lens Distortion, and adjust the Field of View while watching curved lines in your footage until they straighten. Scale or crop slightly to handle the edge changes after correction.
What is barrel distortion?
Barrel distortion is lens distortion where straight lines curve outward, most common with wide-angle and action-camera lenses. It makes horizons bow and edges bend, giving a fisheye-like look that Optics Compensation can correct.
Can I add a fisheye effect in After Effects?
Yes. Apply Optics Compensation without reversing the distortion to add barrel distortion deliberately, creating a fisheye or wide-angle look. You can animate it for warping transitions or use it to match a distorted aesthetic.
Sources: Adobe’s documentation on Optics Compensation and distort effects in After Effects.
Straighten your shots at Adobe Video World
Train hands-on with Adobe Certified Instructors across 100+ Premiere Pro & After Effects sessions.



