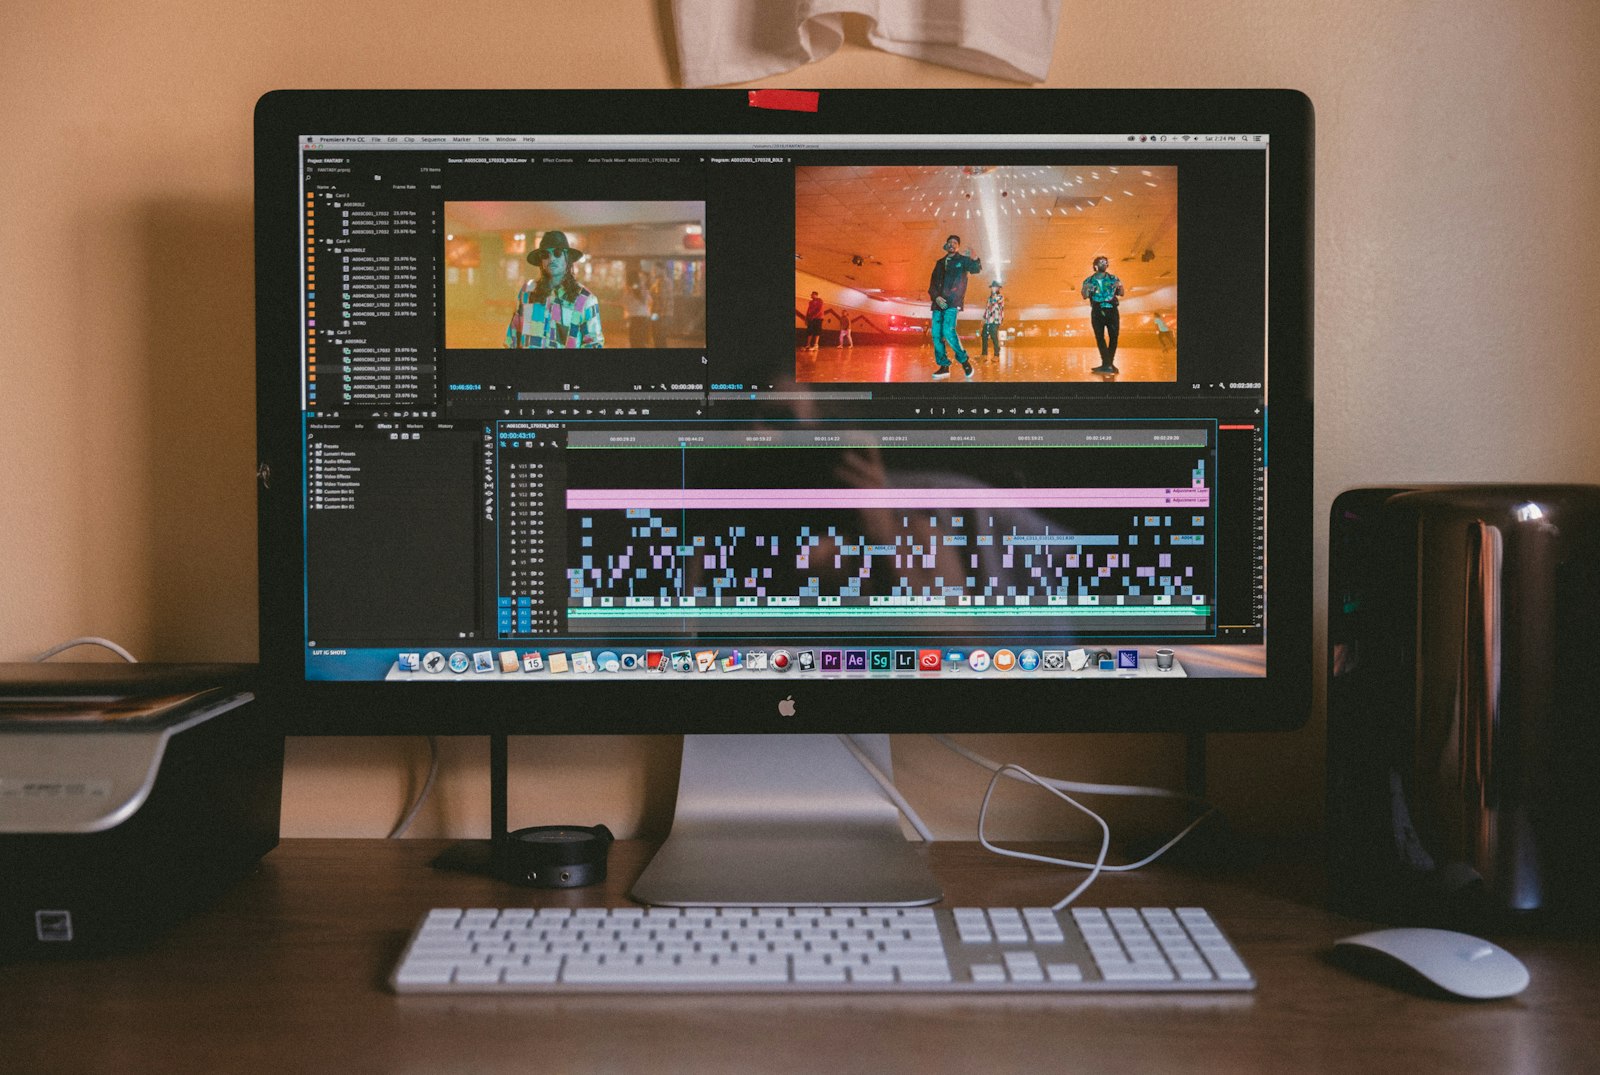
Exporting is the last step of every edit — and the one that quietly ruins more videos than any other. Pick the wrong settings and your footage turns soft, pixelated, or balloons to an unuploadable size.
This guide shows you the exact Premiere Pro export settings for sharp, professional video, the fast preset method for YouTube, and how to fix the most common export problems. Let’s get your timeline out of Premiere and onto the screen looking its best.

The Fastest Way to Export for YouTube
If you just want a clean YouTube upload with no fuss, Premiere Pro has a built-in preset that handles everything.
- Select your sequence in the timeline, then press Ctrl + M (Windows) or Cmd + M (Mac) to open the Export panel.
- Under Settings, choose the destination YouTube on the left.
- Pick YouTube 1080p Full HD (or 2160p 4K) from the preset menu.
- Check the estimated file size and duration at the bottom, then click Export.
That preset already uses the H.264 codec and YouTube-friendly bitrates, so it’s perfect when you need a reliable result quickly. For full control, build the settings yourself — that’s next.
Best Manual Export Settings in Premiere Pro
Open the Export panel and match the settings below for the best balance of quality and file size.
Format and Preset
Set Format to H.264 — this is the universal MP4 codec every platform accepts. Choosing H.264 automatically sets the container to MP4. Then start from the Match Source – Adaptive High Bitrate preset and tweak from there.
Resolution and Frame Rate
Set the frame size to 1920 × 1080 for HD or 3840 × 2160 for 4K, and keep the frame rate the same as your sequence (commonly 24, 30, or 60 fps). Never export at a smaller resolution than your timeline — that’s the number-one cause of soft footage.
Bitrate
Switch Bitrate Encoding to VBR, 2 Pass. Variable bitrate spends data where the image is complex and saves it where it’s simple, and two passes analyse the footage before encoding. Use these targets as a reliable starting point:
- 1080p: Target 8 Mbps, Maximum 12 Mbps
- 4K: Target 40 Mbps, Maximum 45 Mbps
Render Quality and Color
In the Effects / Video options, enable Render at Maximum Depth and Use Maximum Render Quality, and set the export color space to Rec. 709 for standard web video. These keep gradients smooth and scaling clean.

Why Bitrate Matters More Than Resolution
Most “blurry export” problems have nothing to do with resolution. Resolution sets how many pixels you have; bitrate sets how much detail each pixel keeps after compression.
Export a 1080p video at 2 Mbps and it will look like blocky LEGO bricks, even though the dimensions are correct. Push the bitrate up and the same resolution looks crisp. When quality drops, raise the bitrate before you touch anything else.

The 4K Trick for Sharper 1080p Uploads
Here’s a pro move competitors rarely mention: even if your project is 1080p, exporting at 4K can make your YouTube video look sharper.
YouTube assigns a higher bitrate to 4K uploads when it re-encodes them. Viewers watching at 1080p then see a cleaner, less-compressed image. If render time isn’t a concern, upscale a 1080p timeline to 4K on export for a free quality bump.
Best Export Settings by Platform
Different platforms expect different aspect ratios and lengths. Keep H.264 and VBR 2-pass for all of them, and change the frame size to match:
- YouTube: 1920 × 1080 or 3840 × 2160, 16:9, up to 60 fps
- Instagram Feed: 1080 × 1350 (4:5) for the most screen space
- Instagram Reels & TikTok: 1080 × 1920 (9:16) vertical
- Instagram Stories: 1080 × 1920 (9:16), keep it under 60 seconds
A polished export starts with a polished timeline — so it pays to color grade your footage with the Lumetri Color panel and clean up your audio with the Essential Sound panel before you ever open the Export window.
How to Fix a Blurry or Oversized Export
Two problems come up again and again. Here’s how to solve both fast.
Your export looks blurry or pixelated
- Raise the target and maximum bitrate (low bitrate is the usual culprit).
- Confirm the export resolution matches or exceeds your sequence resolution.
- Use VBR 2-pass instead of CBR, and enable Maximum Render Quality.
Your file is far too large
- Lower the target bitrate in small steps until size and quality balance out.
- Switch to H.265 (HEVC) for roughly half the size at the same quality — at the cost of longer encode times.
- Trim unused handles and avoid exporting at a higher frame rate than you filmed.
Frequently Asked Questions
What is the best export format in Premiere Pro?
H.264 (which outputs an MP4 file) is the best all-round choice. It’s fast to encode, universally compatible, and produces small files at high quality — ideal for YouTube, social media, and client delivery.
Why is my Premiere Pro export blurry?
Almost always a low bitrate or exporting below your sequence resolution. Increase the target/maximum bitrate, match your timeline resolution, use VBR 2-pass, and enable Maximum Render Quality.
What’s the difference between H.264 and H.265?
H.265 (HEVC) creates files about half the size of H.264 at the same quality, but takes much longer to encode and isn’t supported everywhere. For most creators, H.264 remains the safer, faster choice.
How long should a Premiere Pro export take?
It depends on length, resolution, effects, and your computer’s CPU/GPU. Heavy effects and 4K take longer; enabling hardware encoding (in Preferences) and rendering your timeline first can speed things up significantly.
Want to master the full workflow — from a clean edit to a flawless export? Our hands-on Premiere Pro training sessions are taught live by Adobe Certified Instructors, and you can decide whether to finish a project in Premiere Pro or After Effects with confidence.
Sources: Adobe’s official guide to exporting sequences and YouTube’s recommended upload encoding settings.
Master Premiere Pro at Adobe Video World
Learn editing, color, audio, and delivery from Adobe Certified Instructors across 100+ live sessions.



