A workflow taught by Adobe Certified Instructors at Adobe Video World.
Interviews are a cornerstone of documentaries, marketing, and online content, but shooting them well takes more than pointing a camera at someone. Framing, lighting, audio, and directing all matter. This guide covers the essentials of shooting a professional interview, from setup to getting a comfortable, engaging performance from your subject.
Frame Your Subject Well
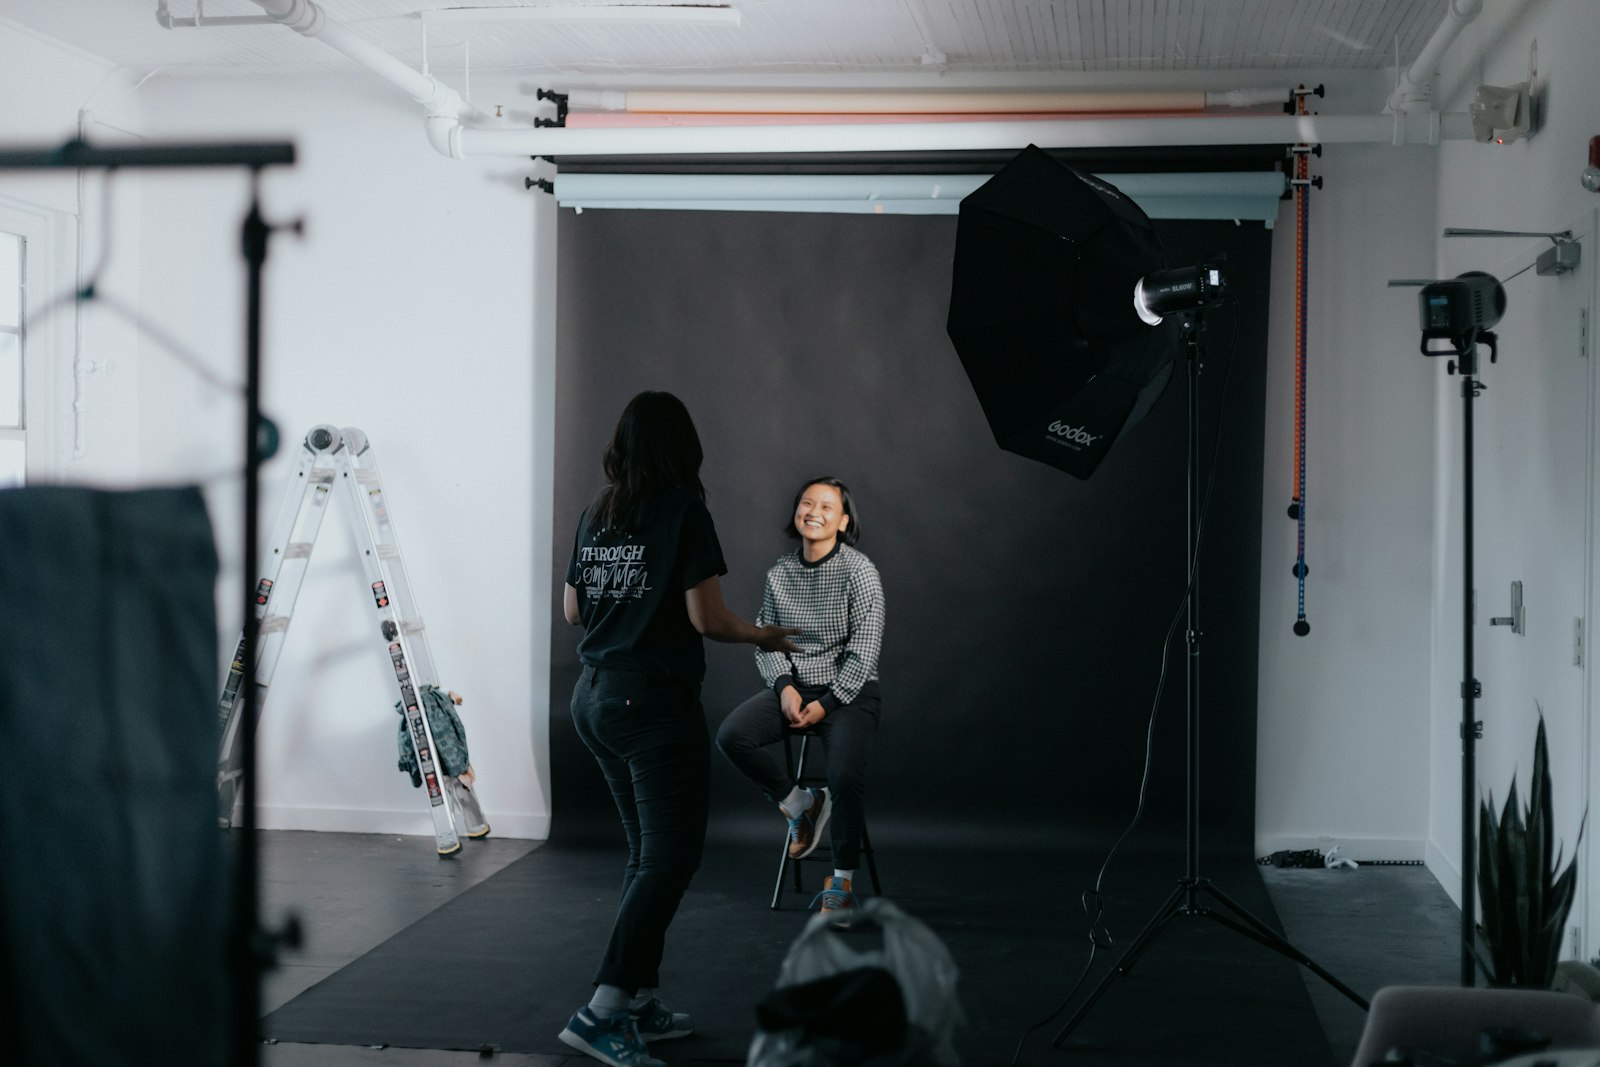
Interview framing follows composition fundamentals. Place your subject using the rule of thirds, leave appropriate headroom and looking room in the direction they face, and frame them at a flattering, eye-level angle.
Have the subject look slightly off-camera at the interviewer, not into the lens, for a classic interview look. Good framing, drawing on our composition guide, makes the subject look professional and keeps the focus on them.
Light the Interview
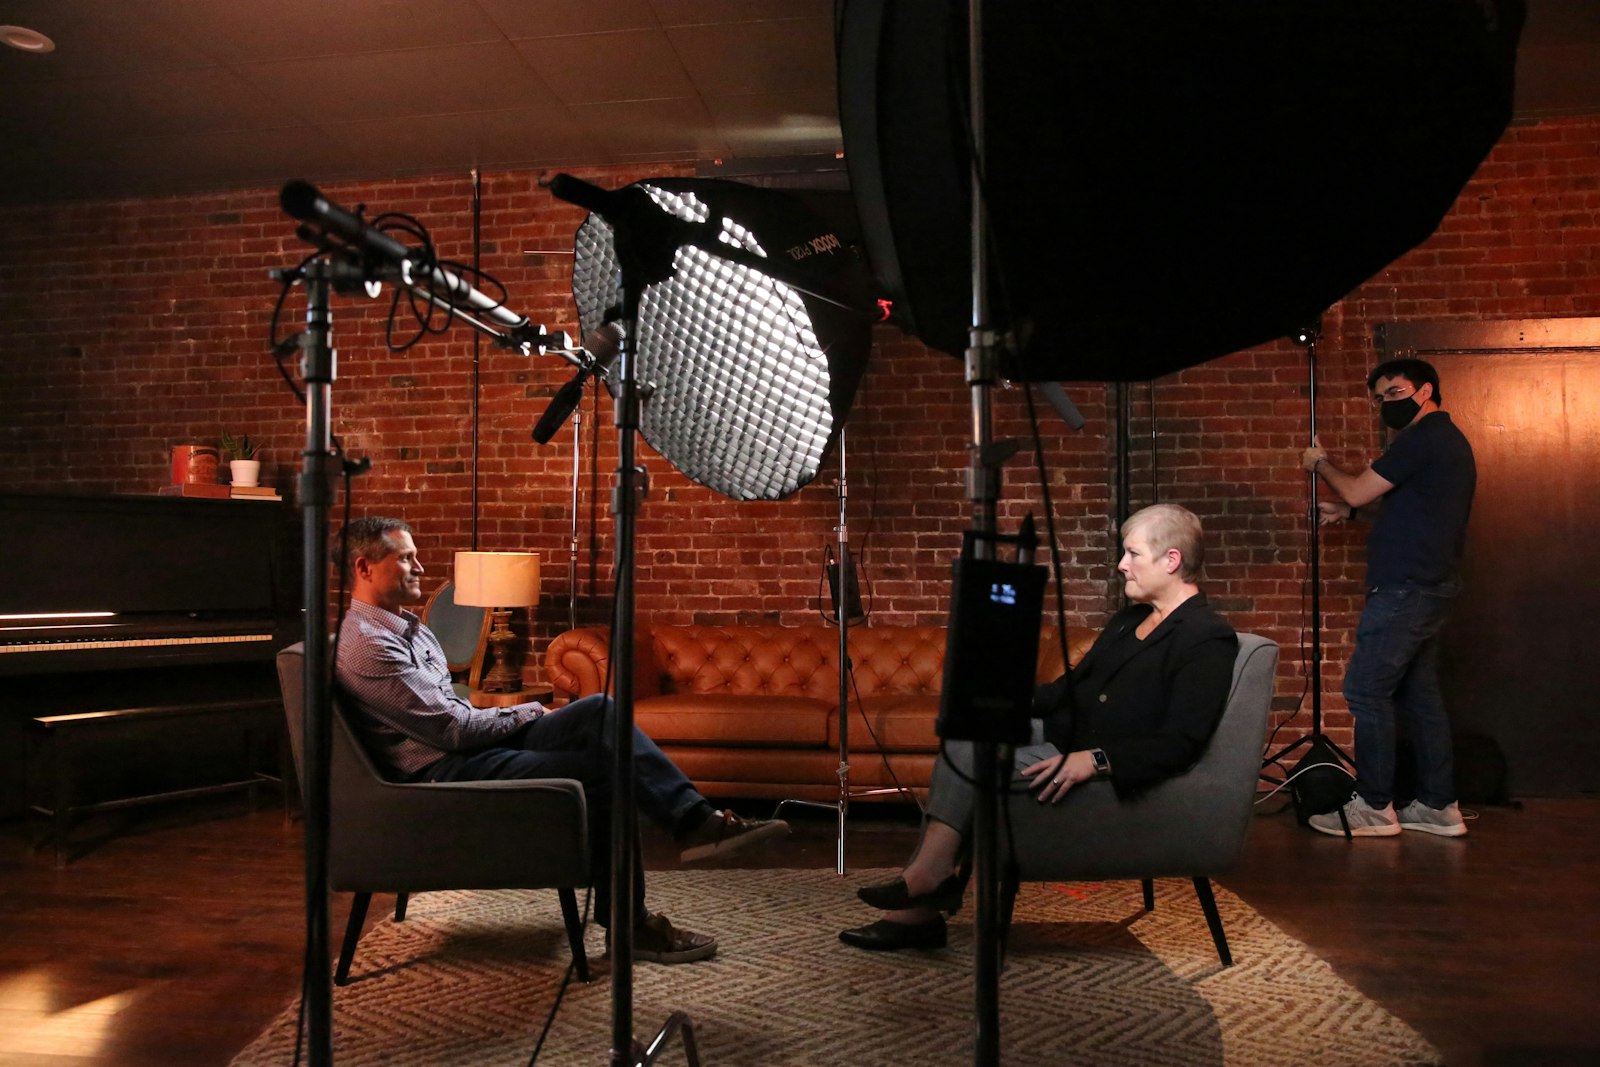
Lighting transforms interview footage. The classic three-point setup — a key light, fill, and back light — flatters your subject, controls shadows, and separates them from the background for a polished, professional look.
Soft, flattering light is the goal, as our interview lighting guide covers in depth. Even a simple setup with a soft key and a separating back light dramatically improves how professional an interview looks compared to flat, ambient lighting.
Capture Clean Audio
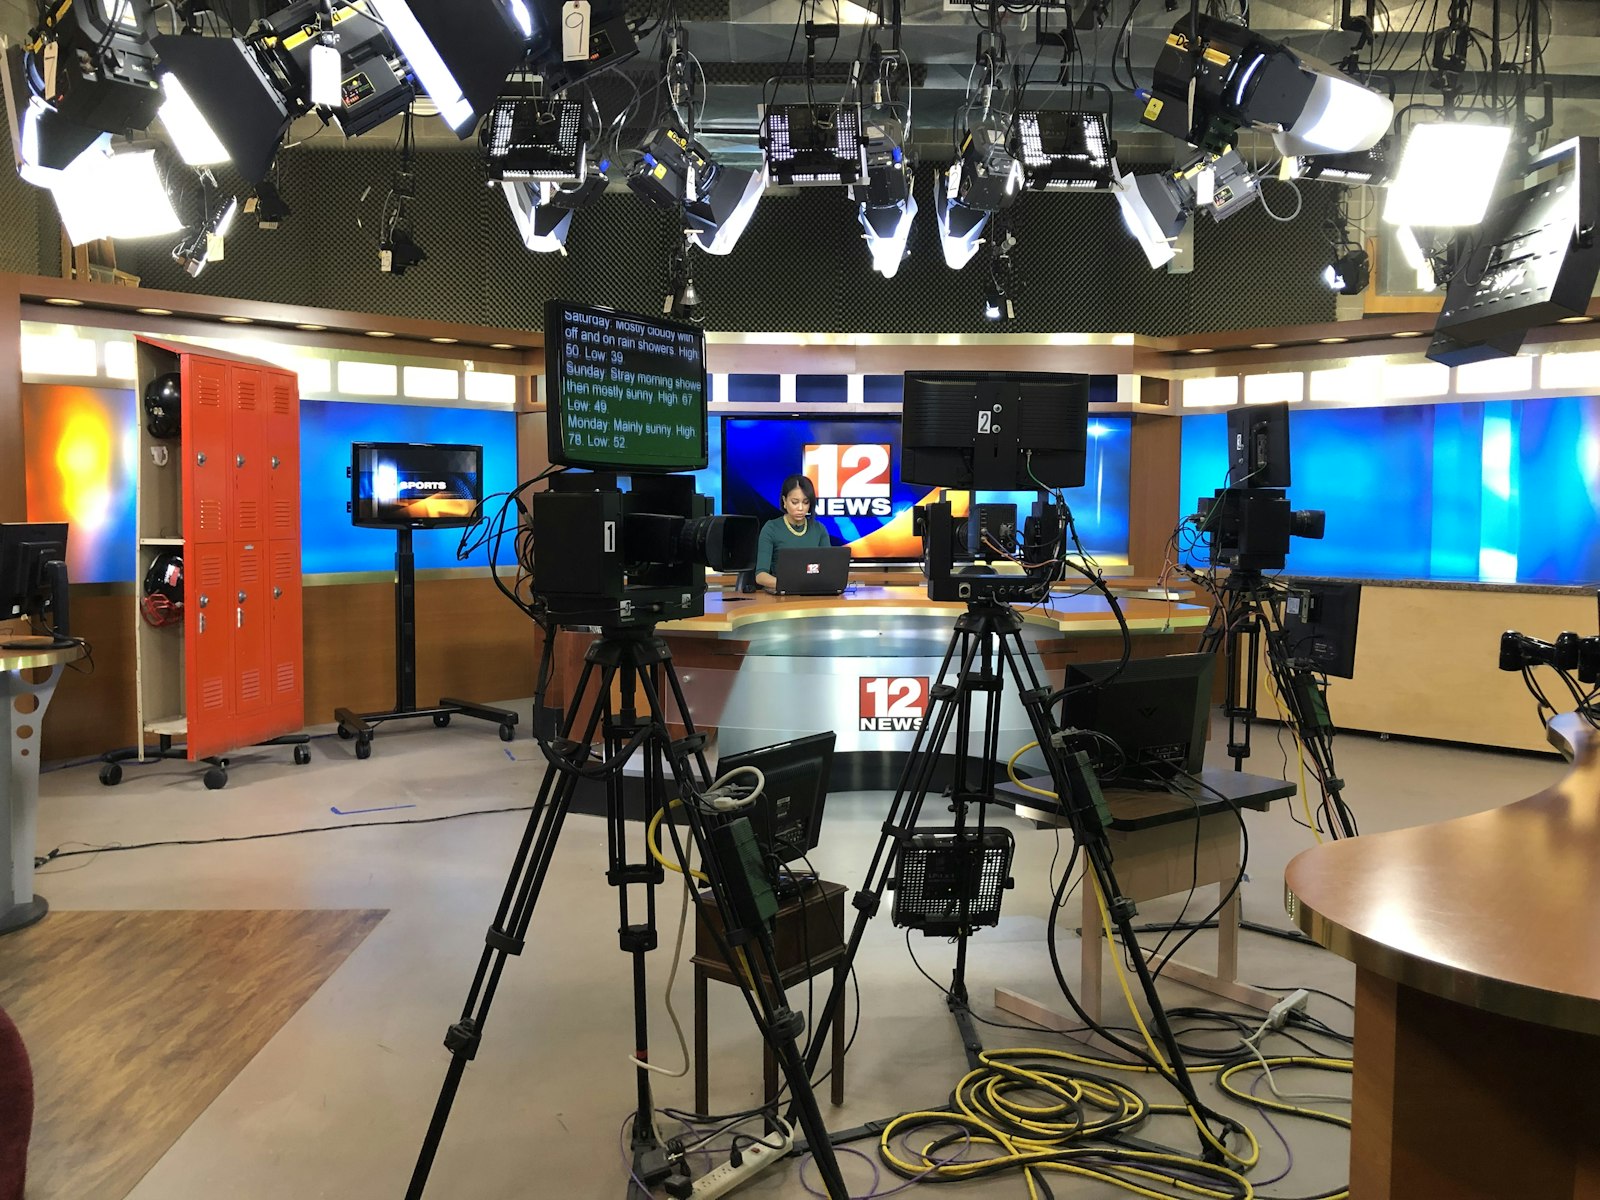
Audio is critical for interviews, where the words are everything. Use a dedicated microphone close to the subject — a lavalier clipped on or a boom mic just out of frame — to capture clear, intimate dialogue free of room noise.
Never rely on the camera’s built-in mic for an interview. Getting a quality external mic close to the subject, as our audio guide stresses, is what ensures the interview is clear and pleasant to listen to.
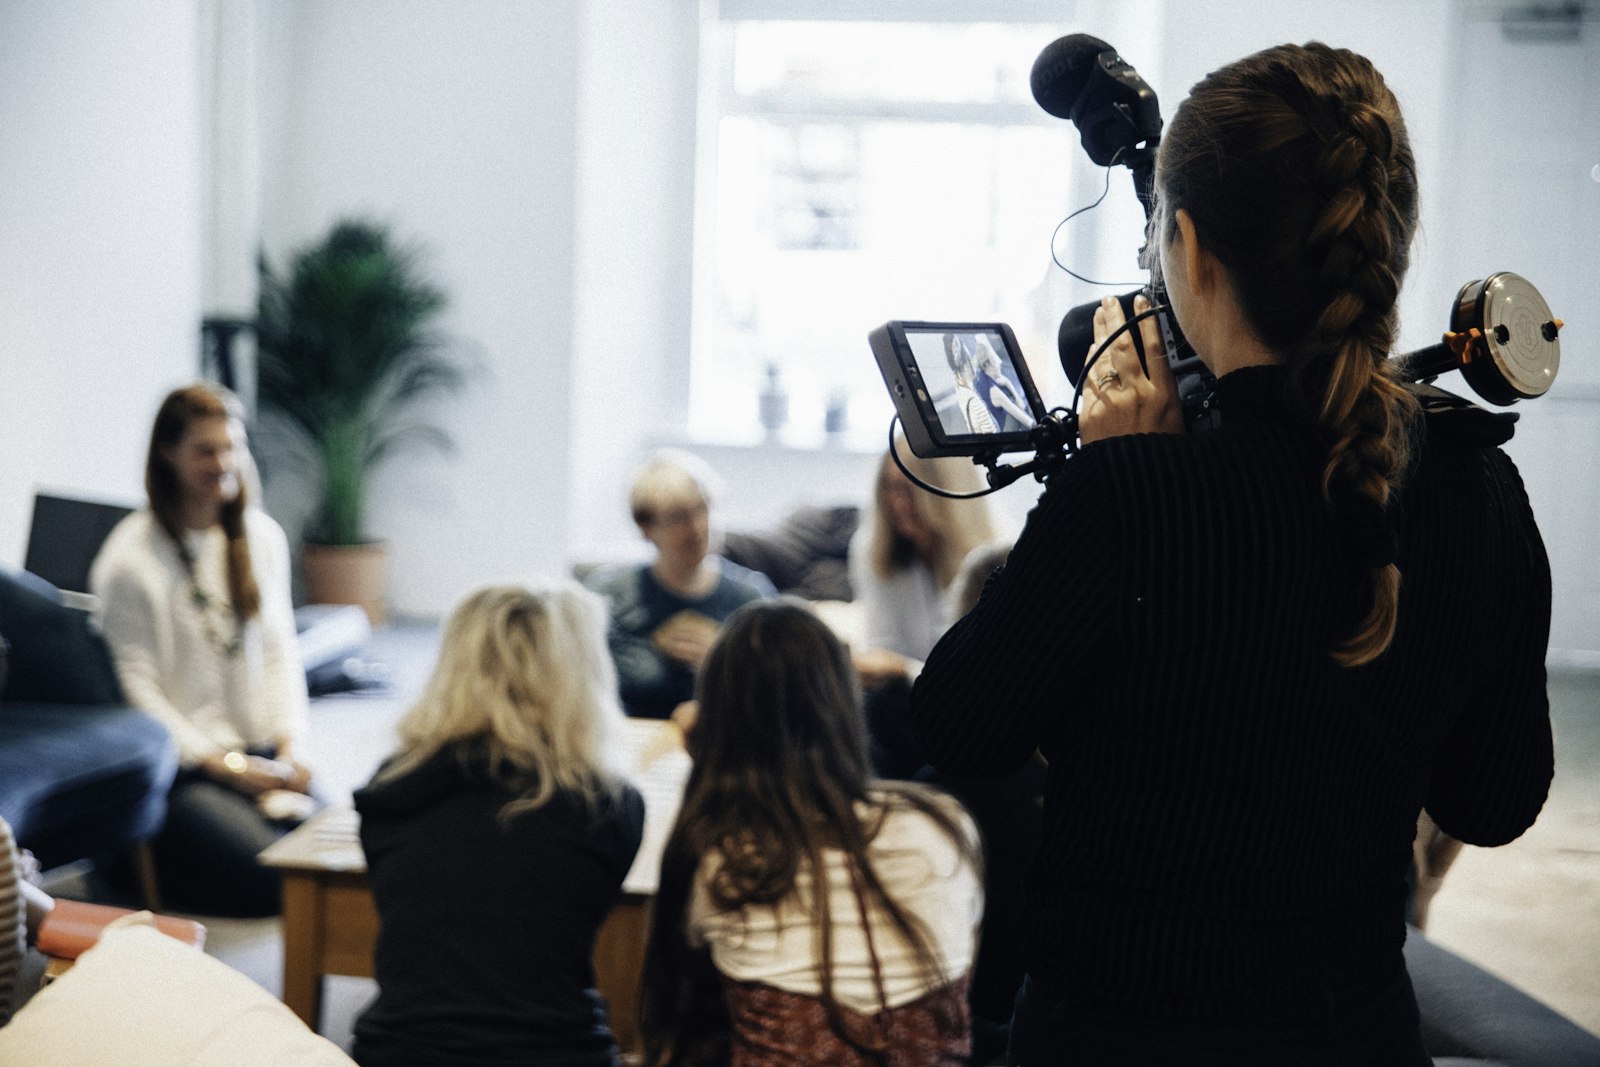
Use Two Cameras
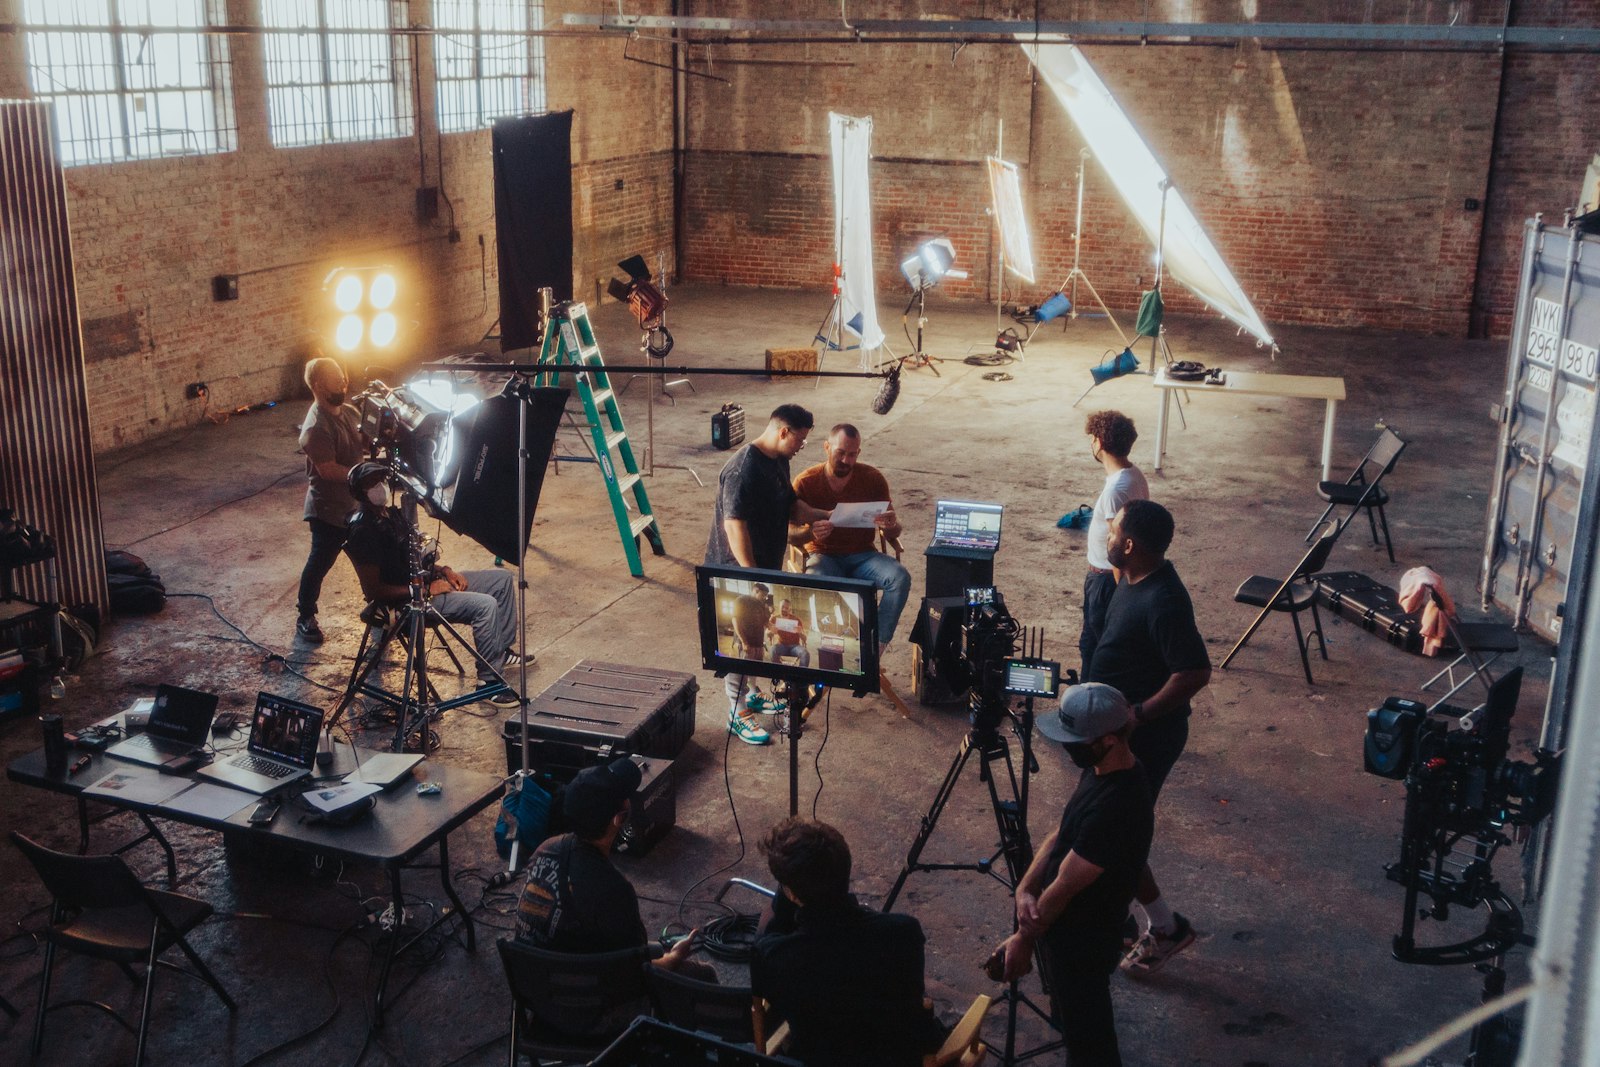
A two-camera setup elevates interviews and aids editing. A main camera on a wider shot and a second on a tighter angle let you cut between framings to hide edits and add visual interest, covering pauses and trimmed answers.
Cutting between two angles, using our multicam editing guide, makes a heavily-edited interview look seamless. Even if you only have one camera, varying your B-roll achieves some of the same flexibility in the edit.
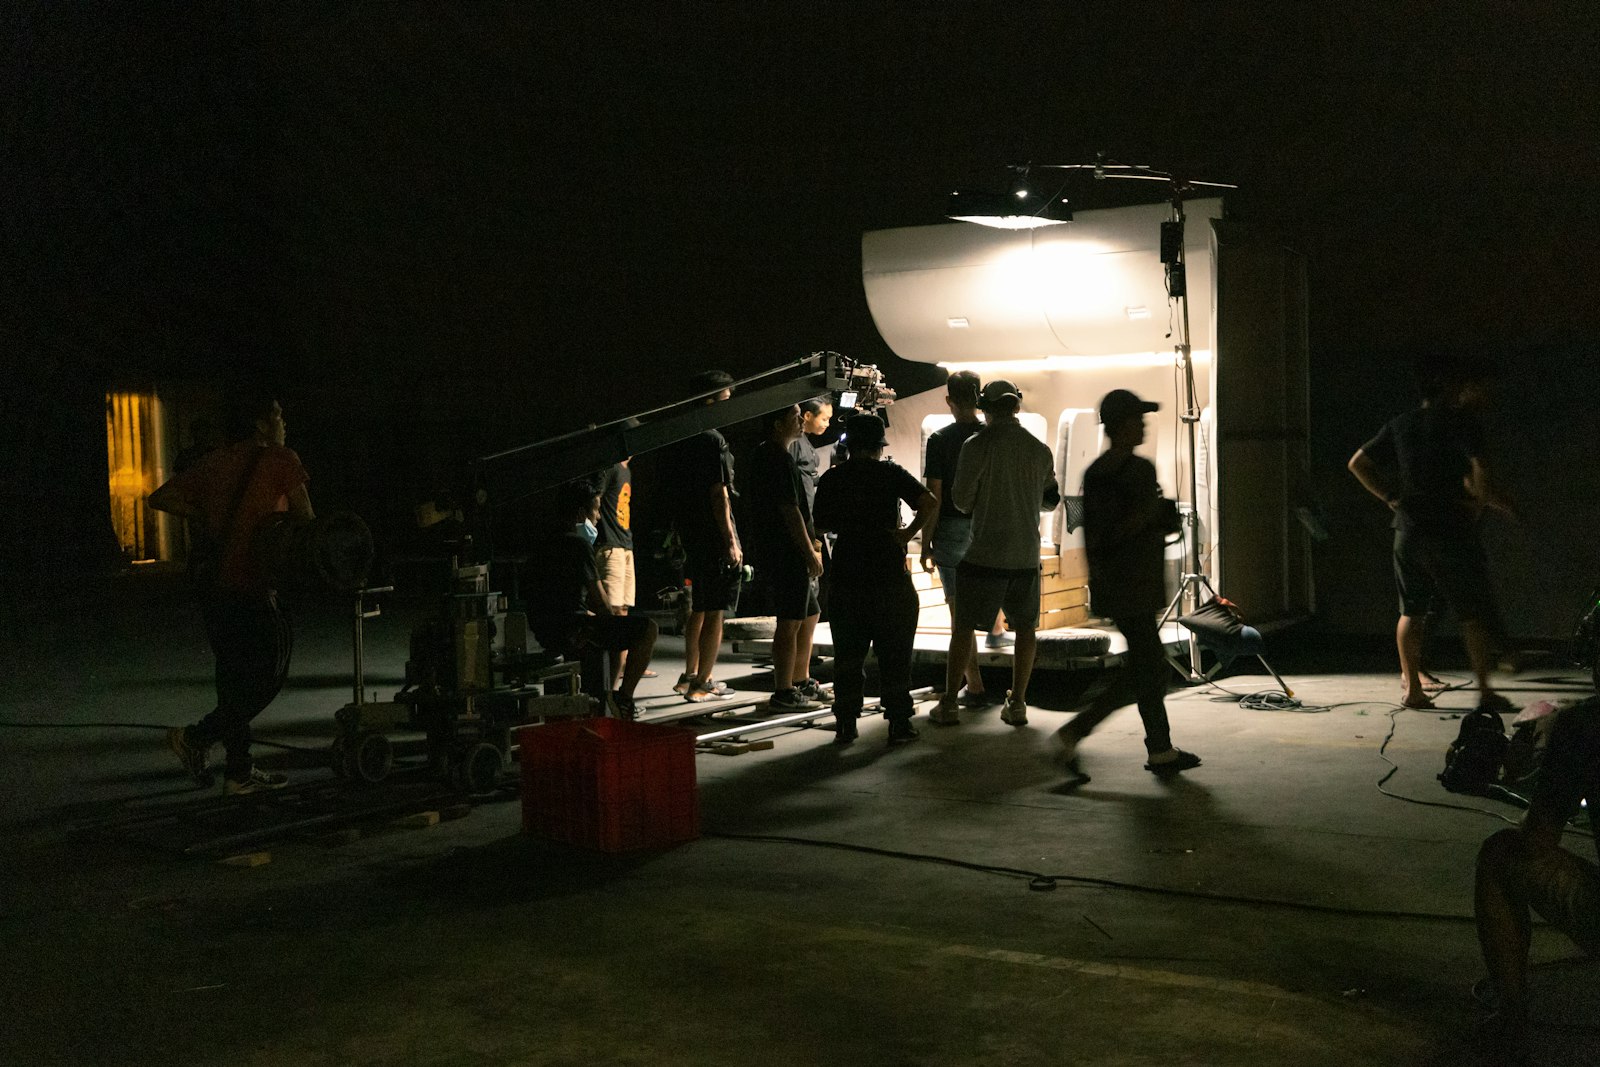
Set the Background
The background shapes the interview’s look and context. Choose a background that’s relevant, uncluttered, and visually pleasing, often with some depth and a gentle blur to separate the subject and avoid distractions behind them.
A thoughtful background — a relevant location, a clean studio, or a softly blurred environment — adds production value. Avoid busy or distracting backgrounds that pull focus, and use depth so the subject stands out clearly.
Direct Your Subject
Getting a good performance is as important as the technical setup. Make your subject comfortable, explain the process, ask open questions that invite full answers, and have them include the question in their response so answers stand alone.
A relaxed, engaged subject gives far better interviews than a nervous one. Building rapport, listening actively, and gently guiding them to speak clearly and completely is what turns raw answers into compelling, usable interview footage.
Capture B-Roll and Cutaways
Interviews need supporting footage. Shooting B-roll related to what the subject discusses lets you illustrate their words and cover edits, making the final piece visual rather than a static talking head.
Gathering relevant cutaways — the subject at work, the things they describe, their environment — gives your edit the material to stay engaging. Planning and capturing this B-roll around the interview is essential to a polished final video.
Interview Shooting Best Practices
- Frame with the rule of thirds and looking room.
- Light with a flattering three-point setup.
- Capture clean audio with a close, dedicated mic.
- Use two cameras and gather relevant B-roll.
Common Interview Mistakes
- Relying on the camera’s built-in microphone.
- Flat lighting that makes the subject look amateur.
- A distracting or cluttered background.
- A nervous subject given no direction or rapport.
A Real Interview Setup Example
Imagine shooting a customer testimonial in an office. You seat the subject on the left third looking across the empty right of the frame at you, light them with a soft key from one side, a gentle fill, and a back light to lift them off the wall, and clip a lavalier just below the frame line for clean audio.
A second camera on a tighter angle covers your edits, and a softly blurred bookshelf gives a professional backdrop. You put the nervous subject at ease with small talk first, then ask open questions. The result looks and sounds like a polished brand film, built entirely from these standard interview fundamentals working together.
Afterward you grab B-roll of the office and the subject working, giving the edit visuals to cut to. That combination of careful setup and supporting footage is what turns a simple sit-down into an engaging, broadcast-quality piece.
Prepare Your Questions and Subject
A great interview is shaped long before the camera rolls. Preparing thoughtful, open-ended questions that invite stories rather than yes-or-no answers, and sharing the general topics with your subject in advance, helps them give fuller, more confident responses on the day.
Equally important is making the subject comfortable — explaining the process, reassuring them that stumbles can be re-taken, and building genuine rapport. A relaxed subject who trusts you gives far richer answers, and that human preparation matters just as much as the lighting and audio in capturing a compelling interview.
Plan the Edit While You Shoot
The best interview shooters think like editors on set. Capturing clean room tone, getting the subject to restate questions in their answers, and shooting plenty of varied B-roll all give the editor the raw material to build a seamless, engaging piece rather than a static talking head.
Leaving pauses around answers and avoiding talking over the subject also keeps the audio clean for cutting. This editor’s mindset, combined with the trimming and B-roll techniques in our B-roll guide, ensures the footage you capture assembles smoothly into a polished final interview.
Flattering interview results come from building a video lighting kit around a key, fill, and back light.
Speeches and toasts shot like interviews slot neatly into an event video editing project.
A clean, well-framed interview setup is the foundation of editing a compelling testimonial video.
Key Takeaways
- Frame and light your subject for a flattering, professional look.
- Capture clean audio with a close, dedicated microphone.
- Use two cameras to cut between angles and hide edits.
- Direct your subject and gather B-roll to support the edit.
Frequently Asked Questions
How do I shoot a professional interview?
Frame the subject with the rule of thirds and looking room, light them with a flattering three-point setup, capture clean audio with a close dedicated mic, use two cameras for cutting, choose a good background, and direct your subject.
Should the subject look at the camera in an interview?
Usually no — have them look slightly off-camera at the interviewer for a classic interview look. Looking directly into the lens is used for direct-address pieces, but the off-camera gaze suits traditional interviews.
Why use two cameras for an interview?
Two cameras at different framings let you cut between angles to hide edits, cover pauses and trimmed answers, and add visual interest. It makes a heavily-edited interview look seamless and more dynamic.
Sources: Wikipedia’s overview of the interview.
Capture great interviews at Adobe Video World
Train hands-on with Adobe Certified Instructors across 100+ Premiere Pro & After Effects sessions.



