A workflow taught by Adobe Certified Instructors at Adobe Video World.
Audiences forgive imperfect video but quickly tune out bad audio, making sound quality one of the most important parts of any production. Recording clean audio on set beats trying to fix it in the edit. This guide covers choosing a microphone, mic placement, controlling your room, and monitoring — the habits that capture professional sound from the start.
Why Audio Quality Matters So Much
Studies and experience agree: viewers tolerate mediocre visuals but abandon videos with bad audio. Poor sound — echoey, noisy, or muffled — signals amateur production and makes content genuinely hard to watch, no matter how good the picture.
Good audio, by contrast, is often invisible; viewers simply find the video easy and pleasant to watch. Investing attention in sound is one of the highest-return choices a creator can make, which is why professionals obsess over it.
Choose the Right Microphone
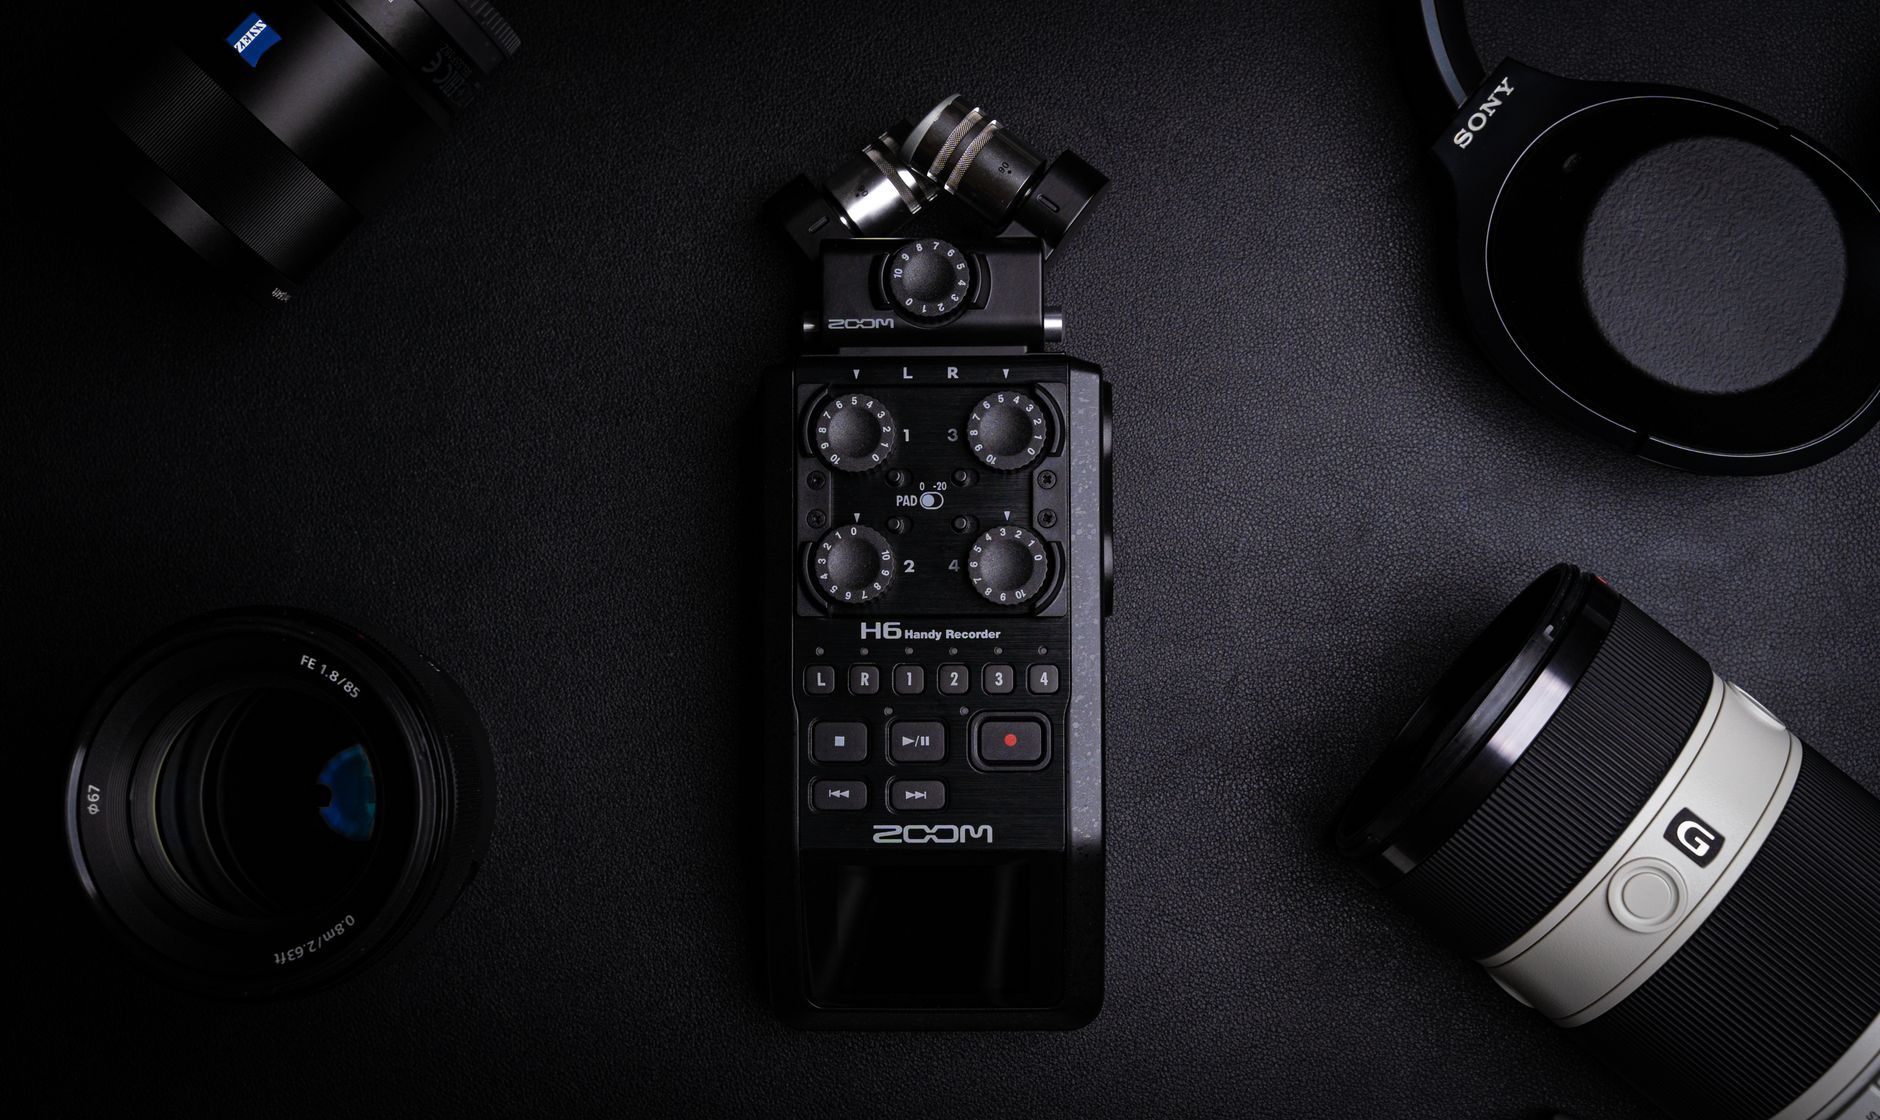
Your camera or phone’s built-in mic is rarely good enough, so an external microphone is the single biggest upgrade. The type depends on your use: a lavalier clips to a subject for interviews, a shotgun mounts on or near the camera for directional pickup, and a USB or XLR mic suits voiceover and podcasts.
Matching the mic to the situation matters more than spending a fortune. A modest dedicated microphone, used well, vastly outperforms a built-in one, so choosing the right type for how you shoot is the foundation of good audio.
Get the Microphone Close
The most important rule of recording is to get the mic close to the source. The nearer the microphone is to the speaker, the stronger and cleaner the voice relative to room noise and echo, which is why lavaliers and boom mics sit so near the subject.
Distance is the enemy of clean audio — a mic far away picks up the room more than the voice. Whenever possible, position the microphone just out of frame but close to the speaker, and your recordings will instantly sound more professional.
Control Your Recording Space
Rooms shape sound, and hard, empty rooms create echo that ruins audio. Recording in a space with soft furnishings — carpet, curtains, soft furniture — tames reflections, and even hanging blankets or recording in a smaller, softer room helps enormously.
Background noise matters too: turn off fans, air conditioning, and anything humming before you record. Controlling the space so the room is quiet and non-echoey is often more impactful than the microphone itself, since no mic fully fixes a bad room.
Set and Monitor Your Levels
Recording at the right level avoids two disasters: audio too quiet to use cleanly, and audio so loud it distorts. Set your levels so the voice peaks comfortably below the maximum, leaving headroom, and watch your meters as you record.
Crucially, monitor with headphones while recording so you actually hear problems — noise, distortion, a loose mic — as they happen. Catching an audio issue on set, rather than discovering it in the edit, can save an entire shoot, complementing the cleanup in our noise removal guide.
Record Room Tone
A professional habit is recording room tone — thirty seconds of the silent space with no one talking. This captures the room’s natural ambience, which is invaluable in editing for filling gaps and smoothing between clips so silence sounds consistent.
Without room tone, cuts between clips can produce jarring jumps from ambient noise to dead silence. That bit of captured tone, laid under your edit, keeps the audio bed seamless, a small step on set that pays off throughout the mix.
Use a Backup and Redundancy
Audio failures are catastrophic because you often can’t reshoot, so professionals record redundant audio. Capturing sound on a second device, or both a lav and a camera mic, means a single failure doesn’t ruin the take.
This redundancy is cheap insurance against the disaster of unusable audio. Even recording your camera’s mic as a backup to your main microphone gives you a safety net and a reference for syncing in the edit.
Fix It in Pre, Not Post
The overarching principle is that clean source audio always beats repairing bad audio later. While tools can reduce noise and echo, they degrade the sound and never fully restore what good recording would have captured in the first place.
Every minute spent improving audio on set saves hours of frustration and compromise in editing. Treating recording as the place to get sound right, rather than relying on post to rescue it, is what separates professional audio from a constant repair job.
Recording Audio Best Practices
- Use an external mic suited to your shooting situation.
- Get the microphone as close to the source as possible.
- Record in a quiet, soft, non-echoey space.
- Monitor with headphones and watch your levels.
Common Recording Mistakes
- Relying on a built-in camera or phone mic.
- Placing the mic too far from the speaker.
- Recording in an echoey room with background noise.
- Not monitoring, so problems are found only in the edit.
A Real Audio Setup Example
Picture filming a two-person interview in a living room. You clip a lavalier on each speaker so the mics sit inches from their mouths, draw the curtains and add a rug to soften the echo, and switch off the buzzing refrigerator in the next room. You set levels so voices peak comfortably below maximum and monitor on headphones throughout.
Before wrapping, you record thirty seconds of room tone and capture a backup track on the camera mic. The result is clean, close, echo-free dialogue with a safety net — audio that needs almost no rescuing in the edit. Those few habits, done on set, deliver sound that no amount of post-production could fully recreate from a bad recording.
Match Your Mic to Your Environment
The best microphone choice depends on where and how you shoot. A run-and-gun outdoor shoot favors a shotgun mic with a windscreen to reject wind and ambient noise, a seated interview suits discreet lavaliers, and a controlled voiceover booth calls for a large-diaphragm USB or XLR mic up close.
Using the wrong mic for the environment fights you the whole way — a sensitive studio mic outdoors picks up every gust and passing car. Matching the microphone to the conditions, then cleaning up only what’s unavoidable with our noise removal techniques, is how you capture clean sound in any setting.
Capturing ambience and effects out in the world is the focus of field recording techniques for video.
Key Takeaways
- Audio quality matters more to viewers than visuals.
- Use a suitable external mic and get it close to the source.
- Control your room for quiet, echo-free sound.
- Monitor levels on headphones and capture clean source audio.
Frequently Asked Questions
How can I record better audio for video?
Use an external microphone suited to your situation, get it as close to the speaker as possible, record in a quiet and non-echoey room, and monitor your levels with headphones to catch problems as they happen.
What microphone should I use for video?
It depends on the situation: a lavalier clips to a subject for interviews, a shotgun mounts near the camera for directional pickup, and a USB or XLR mic suits voiceover and podcasts. Any dedicated mic beats a built-in one.
Why does my audio sound echoey?
Echo comes from sound reflecting off hard surfaces in an empty room. Record in a space with soft furnishings like carpet, curtains, and furniture, or add blankets to absorb reflections, and get the mic closer to the source.
Sources: Wikipedia’s overview of the microphone.
Capture clean sound at Adobe Video World
Train hands-on with Adobe Certified Instructors across 100+ Premiere Pro & After Effects sessions.



