
A workflow taught by Adobe Certified Instructors at Adobe Video World.
Color correction and color grading are often confused, but they’re distinct steps. Correction fixes and balances your footage to look natural, while grading applies a creative, stylized look. Understanding the difference and the right order is key to professional color. This guide explains both and how they work together.
Two Distinct Steps
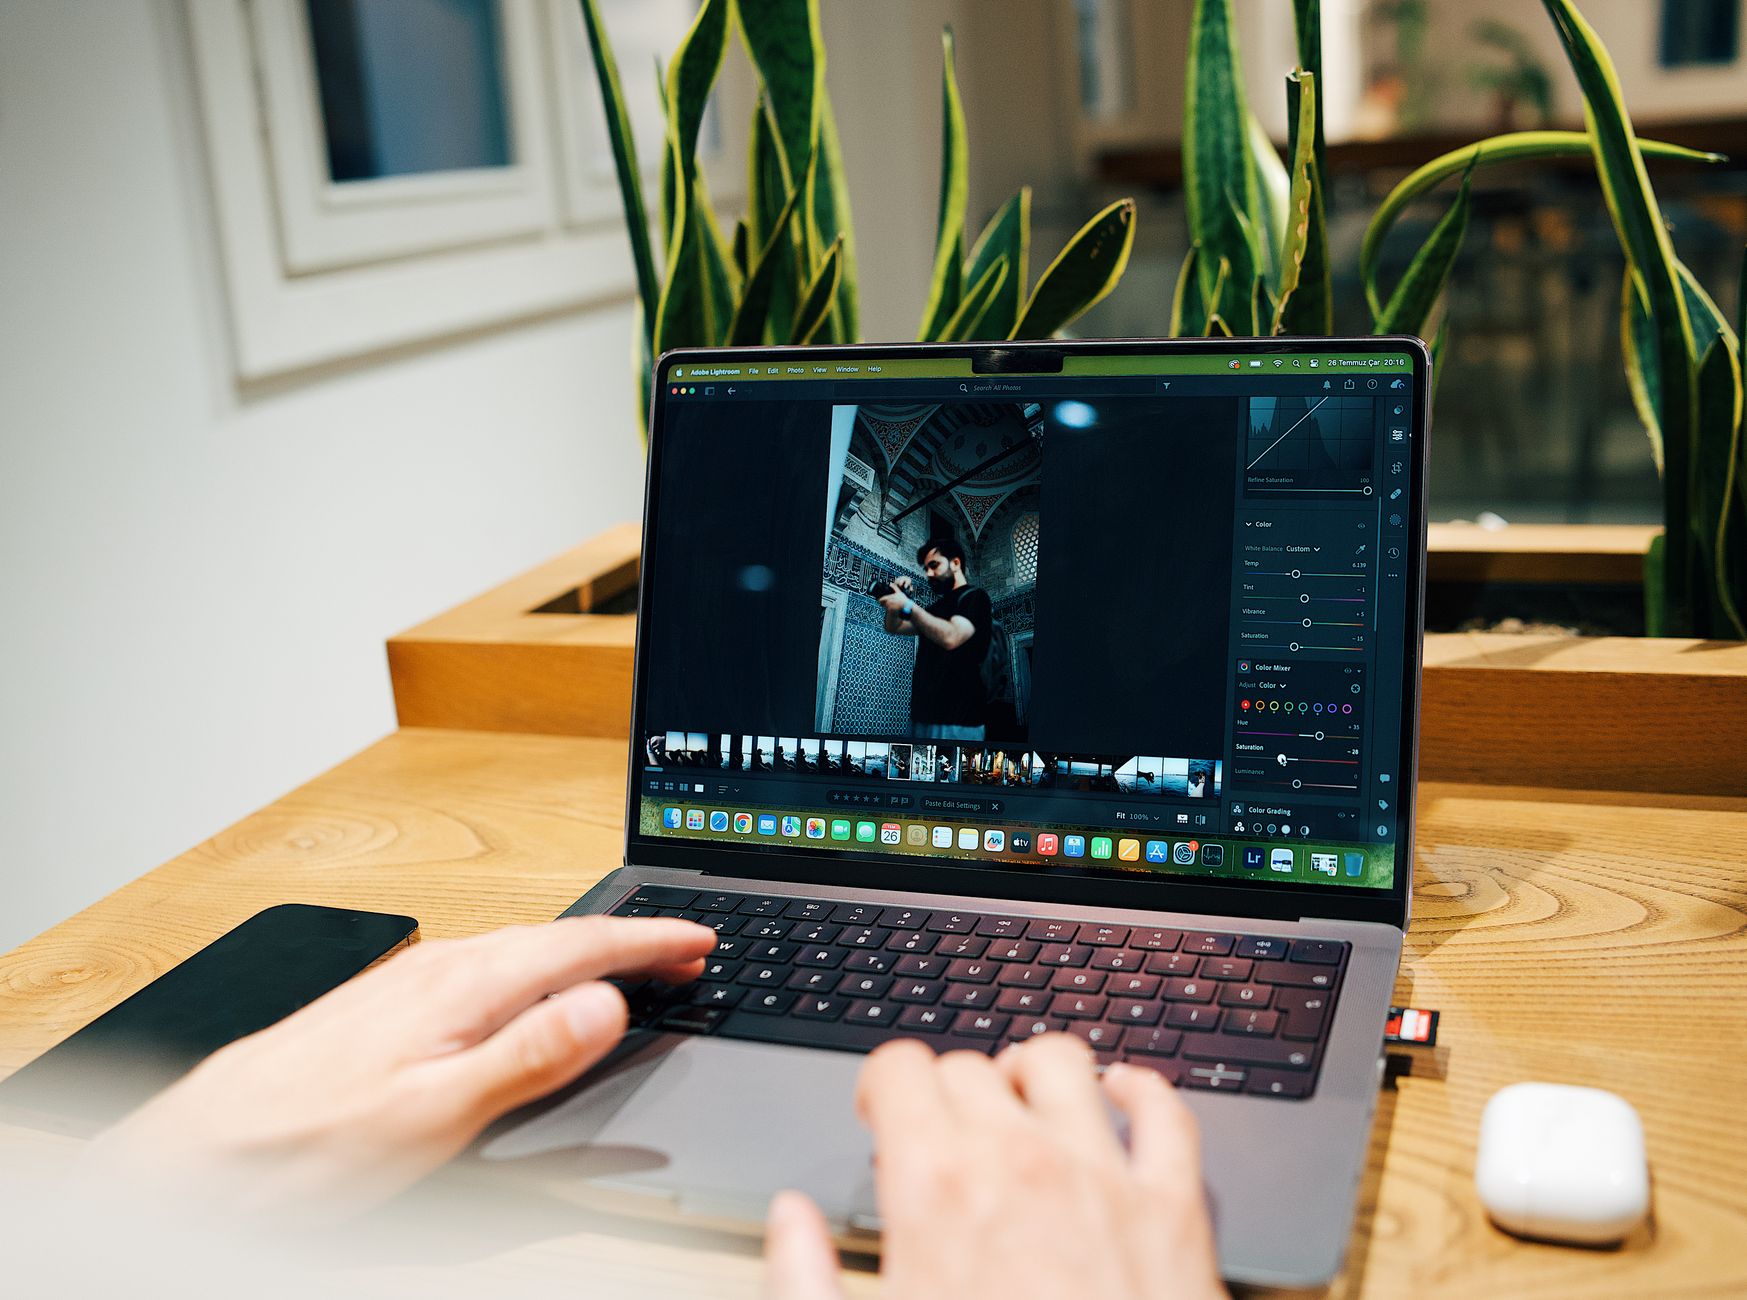
Color work has two phases. Color correction fixes and balances footage so it looks natural and consistent, while color grading applies a creative, stylized look for mood and atmosphere. They’re related but serve different purposes.
Understanding that these are separate steps clarifies the whole color process. Correction is technical and corrective, grading is creative and stylistic, and knowing which you’re doing keeps your color work organized and effective.
What Color Correction Does
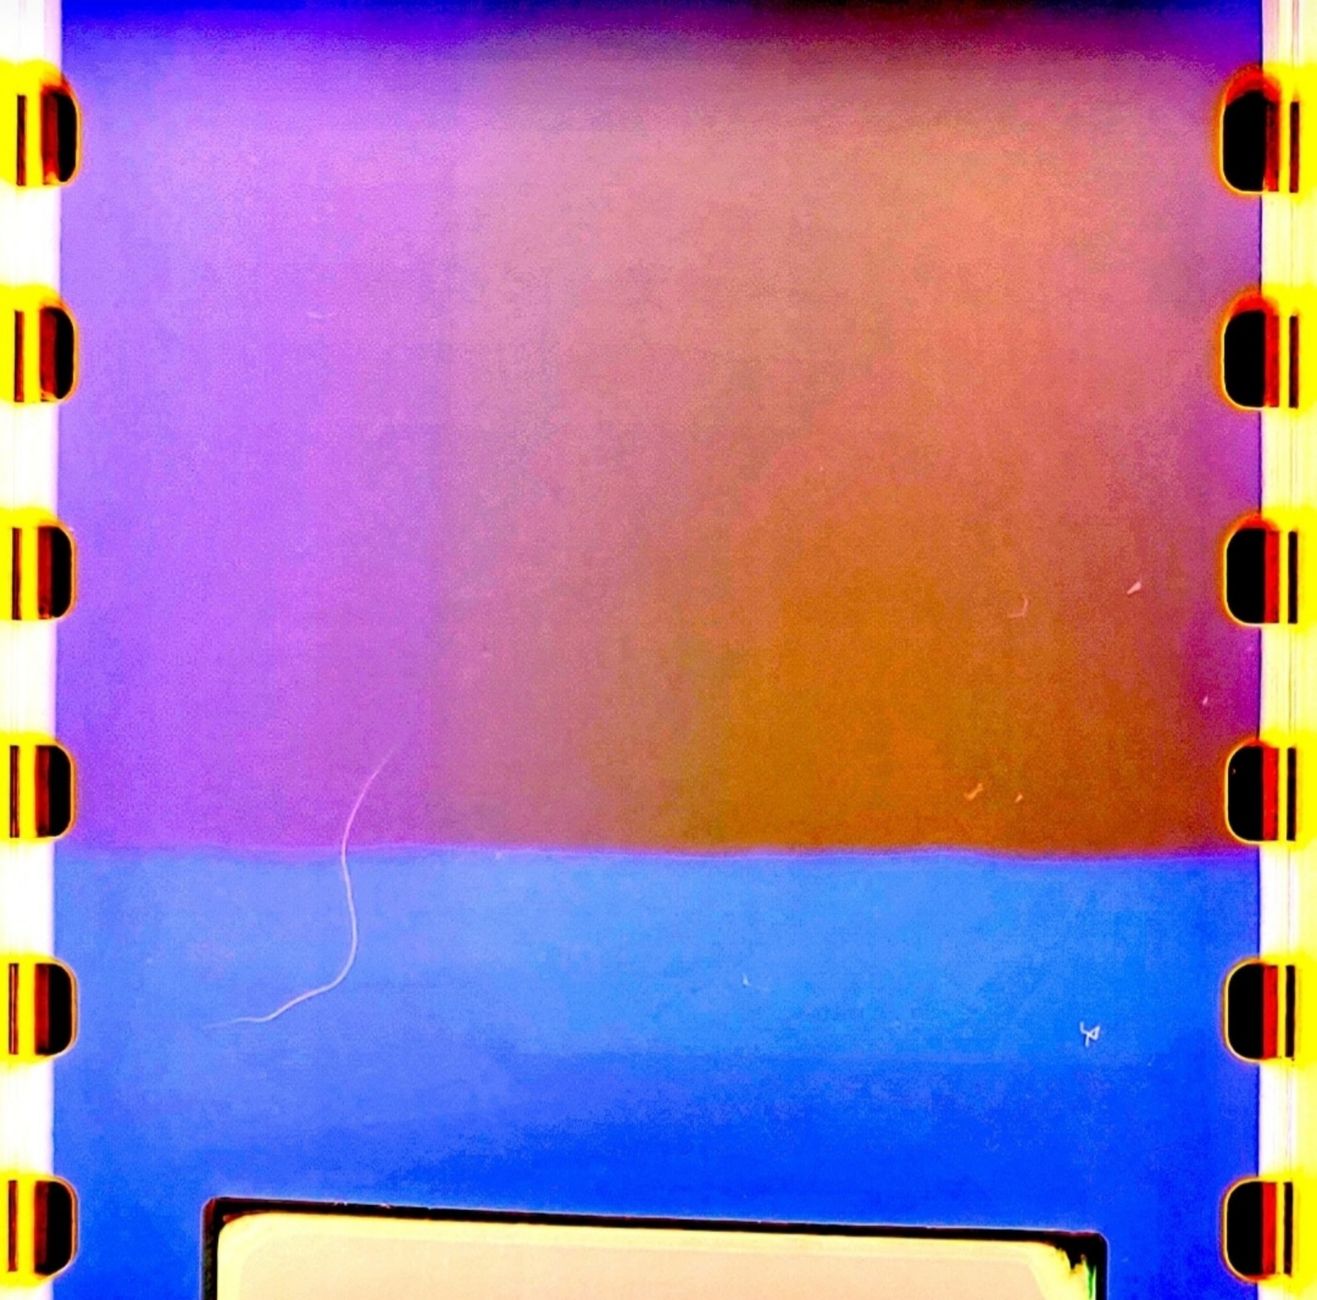
Color correction is about making footage look right and natural. It fixes exposure, balances white balance, neutralizes color casts, and ensures shots match, so the footage looks accurate, consistent, and as the eye would see it.
This corrective step addresses problems — footage that’s too dark, too blue, or mismatched between shots. The goal is clean, balanced, natural-looking footage as a foundation, not a creative statement, which comes later in grading.
What Color Grading Does
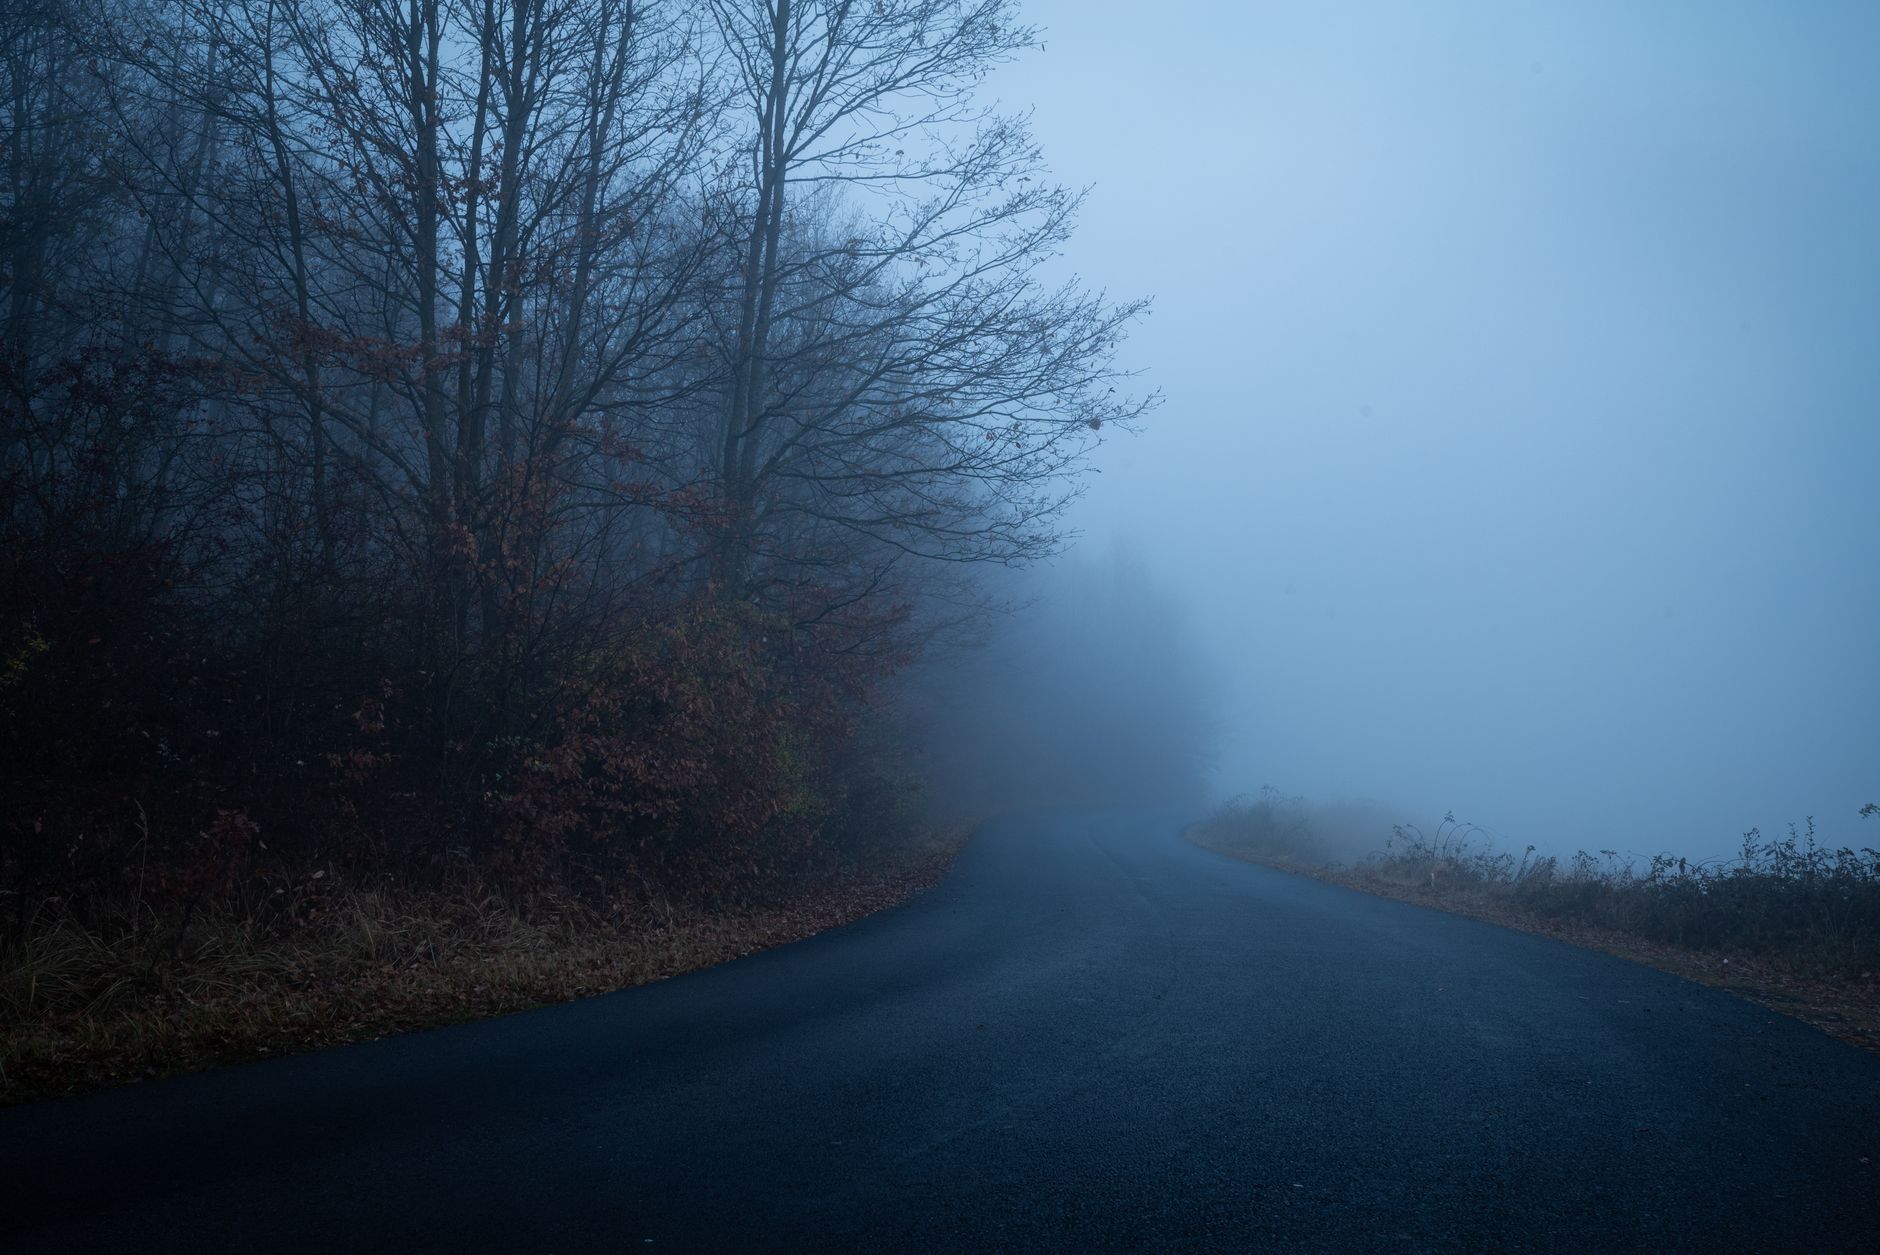
Color grading is the creative step, applying a stylized look that sets mood and atmosphere. It might push the footage warm and nostalgic, cool and tense, or toward a signature look like teal and orange, shaping how the footage feels.
Grading is where you craft the emotional and aesthetic quality of your footage, using color theory to support the story. It’s the artistic layer applied after correction, transforming balanced footage into something with a distinct, intentional style.
Why the Order Matters
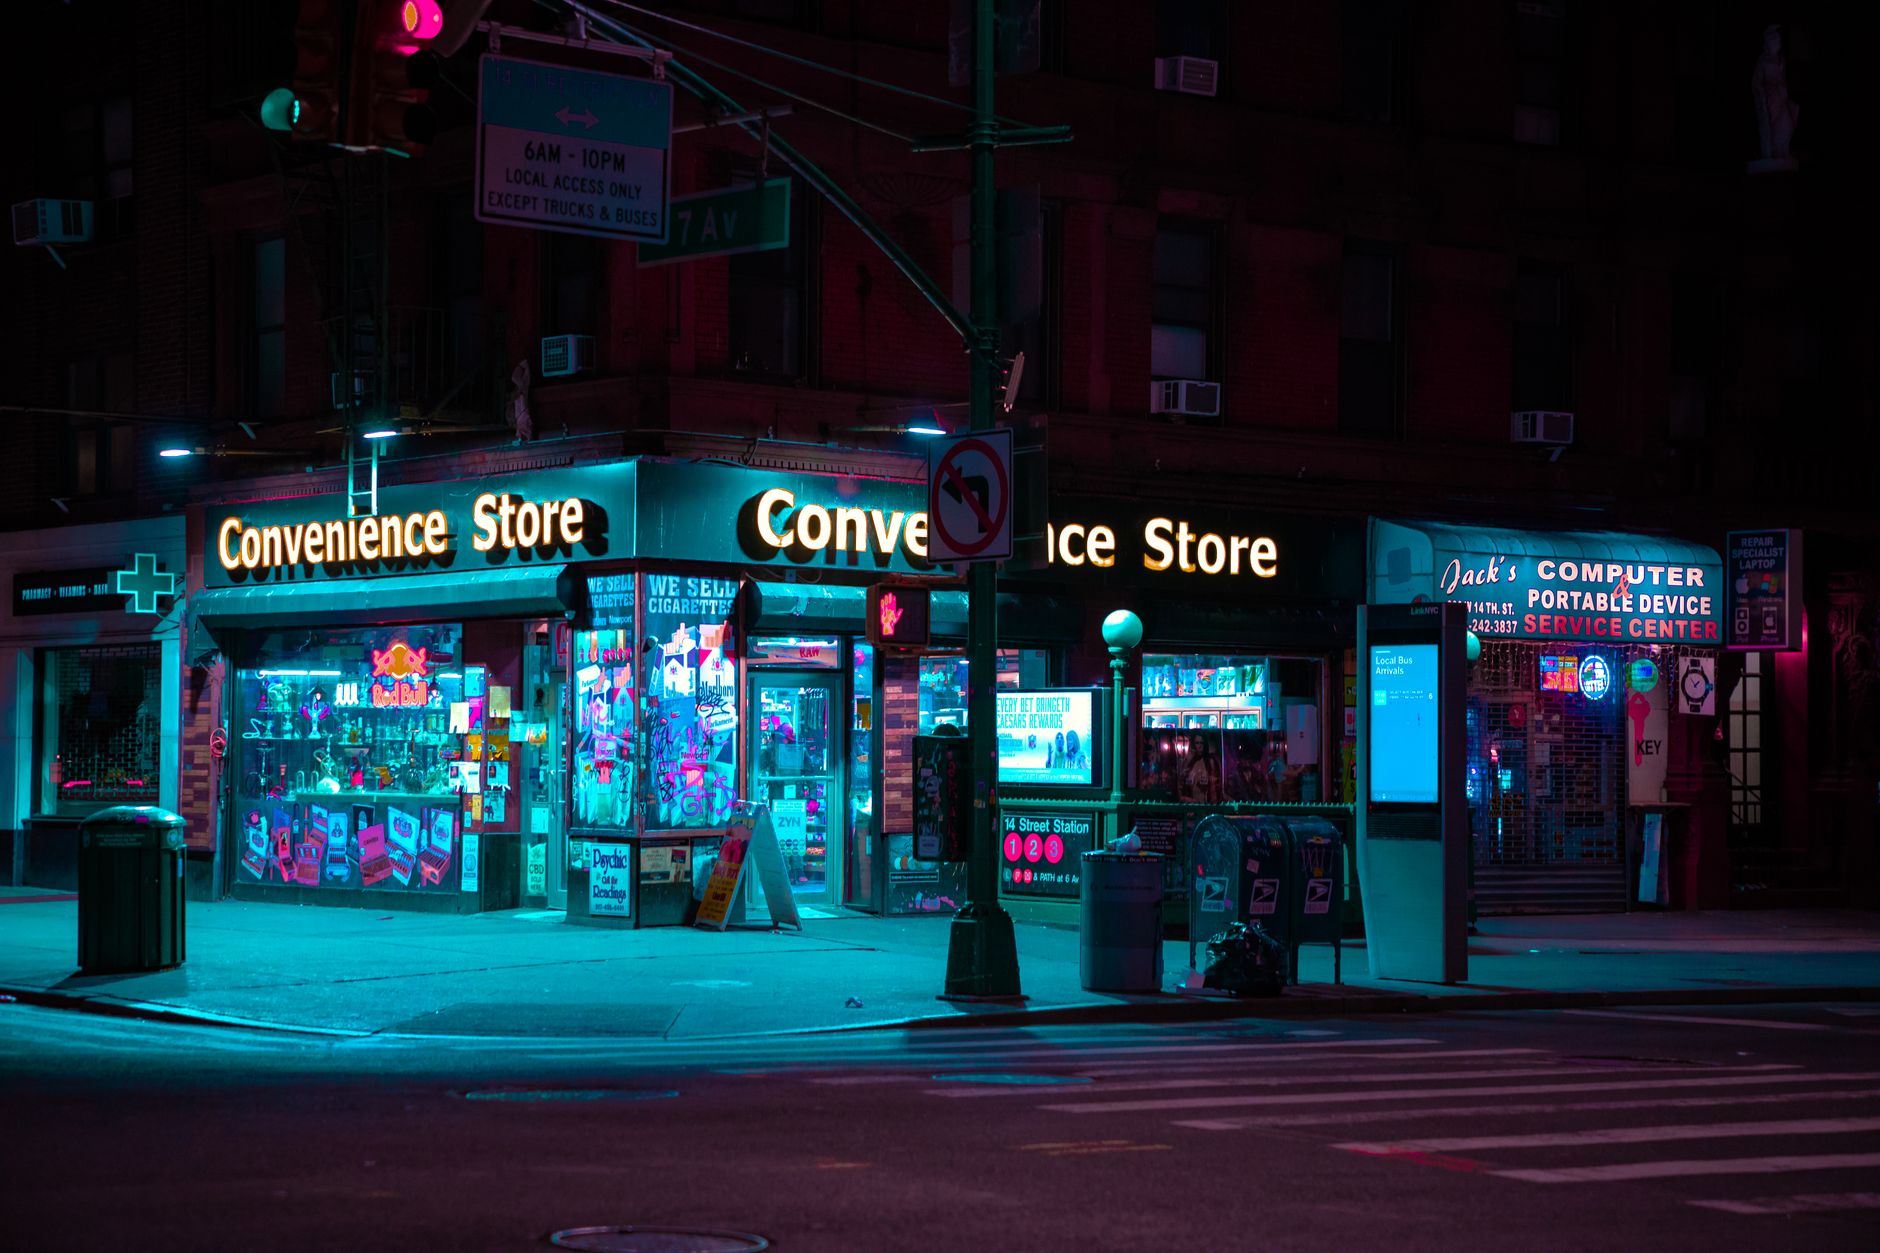
Correction comes first, grading second, and this order matters. Correcting the footage to a clean, neutral, consistent starting point first means your creative grade is applied to balanced footage, producing predictable, reliable results.
Grading uncorrected footage means building a look on an unbalanced foundation, which gives inconsistent results across shots. Always correcting first — balancing and matching — then grading creates a solid base for your stylized look to sit on.

Correction Techniques
Correction uses tools to balance the image. Adjusting exposure and contrast, setting white balance, neutralizing casts with the color wheels, and matching shots with the help of scopes brings footage to a clean, consistent baseline.
These corrective adjustments aim for natural, accurate, matched footage. Using the scopes for objective balance, and matching every shot in a scene, produces the consistent, neutral foundation that correction is meant to deliver.
Grading Techniques
Grading uses similar tools creatively. Pushing colors with the color wheels and curves, applying LUTs, and crafting a palette shapes the stylized look, often building toward a specific mood or cinematic style.
Where correction neutralizes, grading deliberately colors. Applying creative color choices — warming highlights, cooling shadows, building a signature palette — on top of corrected footage is how grading transforms natural footage into something with intentional style and emotion.
How They Work Together
In practice, correction and grading form one workflow: correct first to balance and match, then grade to stylize. Many editors use adjustment layers or nodes to keep them separate, correcting on one and grading on another for organized, flexible color.
This separation lets you adjust the look without disturbing the correction, and vice versa. Treating color as these two distinct but connected steps — fix, then style — is the professional approach that produces consistent, beautiful, intentional color.
Color Correction and Grading Best Practices
- Correct first to balance, neutralize, and match footage.
- Grade second to apply a creative, stylized look.
- Use scopes for objective correction.
- Keep correction and grading on separate layers for flexibility.
Common Color Mistakes
- Grading before correcting, on an unbalanced foundation.
- Skipping correction and applying a look to raw footage.
- Inconsistent correction, so shots don’t match.
- Confusing the two steps and mixing them together.
A Real Correction-Then-Grade Example
Picture an interview clip that’s slightly underexposed with a cool cast. First you correct it: lift the exposure, neutralize the blue cast with the color wheels until whites read white, and match it to the other camera using the scopes. Now the footage looks clean, natural, and consistent — a neutral, balanced foundation with no creative styling yet.
Then you grade: on a separate adjustment layer you warm the highlights, cool the shadows slightly, and lift the blacks for a soft filmic fade, building the mood the scene calls for. Because you corrected first, the grade applies predictably and matches across every shot. That fix-then-style workflow is the professional backbone of beautiful, consistent color.
Why Separating the Steps Helps
Keeping correction and grading on separate layers or nodes gives you enormous flexibility. If a client wants a different look, you can swap the creative grade without touching the careful correction underneath, and if a shot’s balance was off, you can fix the correction without rebuilding the style on top of it.
This non-destructive separation, central to professional color pipelines, keeps your work organized and adjustable. Combined with the tools in our Lumetri curves guide, treating correction and grading as distinct, independent layers lets you iterate on the look freely while preserving the clean, matched foundation that makes any grade sit well.
Use LUTs Within the Workflow
LUTs fit naturally into the correct-then-grade workflow. Applying a creative LUT during the grading stage, on top of corrected footage, gives a quick stylized starting point you then refine, while applying one to uncorrected footage produces inconsistent, unpredictable results.
This is why understanding the two stages matters even when using LUTs — correct first for a clean foundation, then add the LUT as a grade and adjust to taste. Treating LUTs as a grading tool applied after correction, not a one-click fix, is how they deliver consistent, professional looks.
Correction and Grading on Adjustment Layers
A clean way to keep correction and grading separate in Premiere is using adjustment layers. Placing your correction on one layer and your creative grade on another lets you adjust each independently, swapping the look without disturbing the balance underneath or vice versa.
This non-destructive structure mirrors the node-based workflow of dedicated grading software, keeping your color work organized and flexible. Building correction and grading as distinct layers, as our color grading guide covers, is the professional approach that makes iterating on a look fast and safe.
Leaving shots unmatched in color is another of the frequent editing errors that make a video look unprofessional, which a careful correction pass avoids.
A flawless, consistent grade is non-negotiable in editing a commercial, where the product must always look its best.
Giving each location a distinct, evocative look is one of the joys of editing travel footage.
Once your correction is balanced, the HSL secondary tools in Premiere Pro let you push a specific color for a stylized grade.
Key Takeaways
- Correction fixes and balances; grading stylizes.
- Correct first, then grade, for predictable results.
- Use scopes for objective correction.
- Keep the two steps separate for flexible, professional color.
Frequently Asked Questions
What’s the difference between color correction and color grading?
Color correction fixes and balances footage to look natural and consistent — adjusting exposure, white balance, and matching shots. Color grading applies a creative, stylized look for mood and atmosphere. Correction is technical; grading is artistic.
Which comes first, correction or grading?
Correction first, grading second. Correcting footage to a clean, neutral, consistent starting point means your creative grade is applied to balanced footage, producing predictable, reliable results across all your shots.
Do I need to do both correction and grading?
For professional results, yes. Correction ensures your footage looks natural, balanced, and matched, while grading gives it an intentional style and mood. They work together as one workflow — fix the footage, then style it.
Sources: Wikipedia’s article on color grading.
Understand color at Adobe Video World
Train hands-on with Adobe Certified Instructors across 100+ Premiere Pro & After Effects sessions.



