A workflow taught by Adobe Certified Instructors at Adobe Video World.
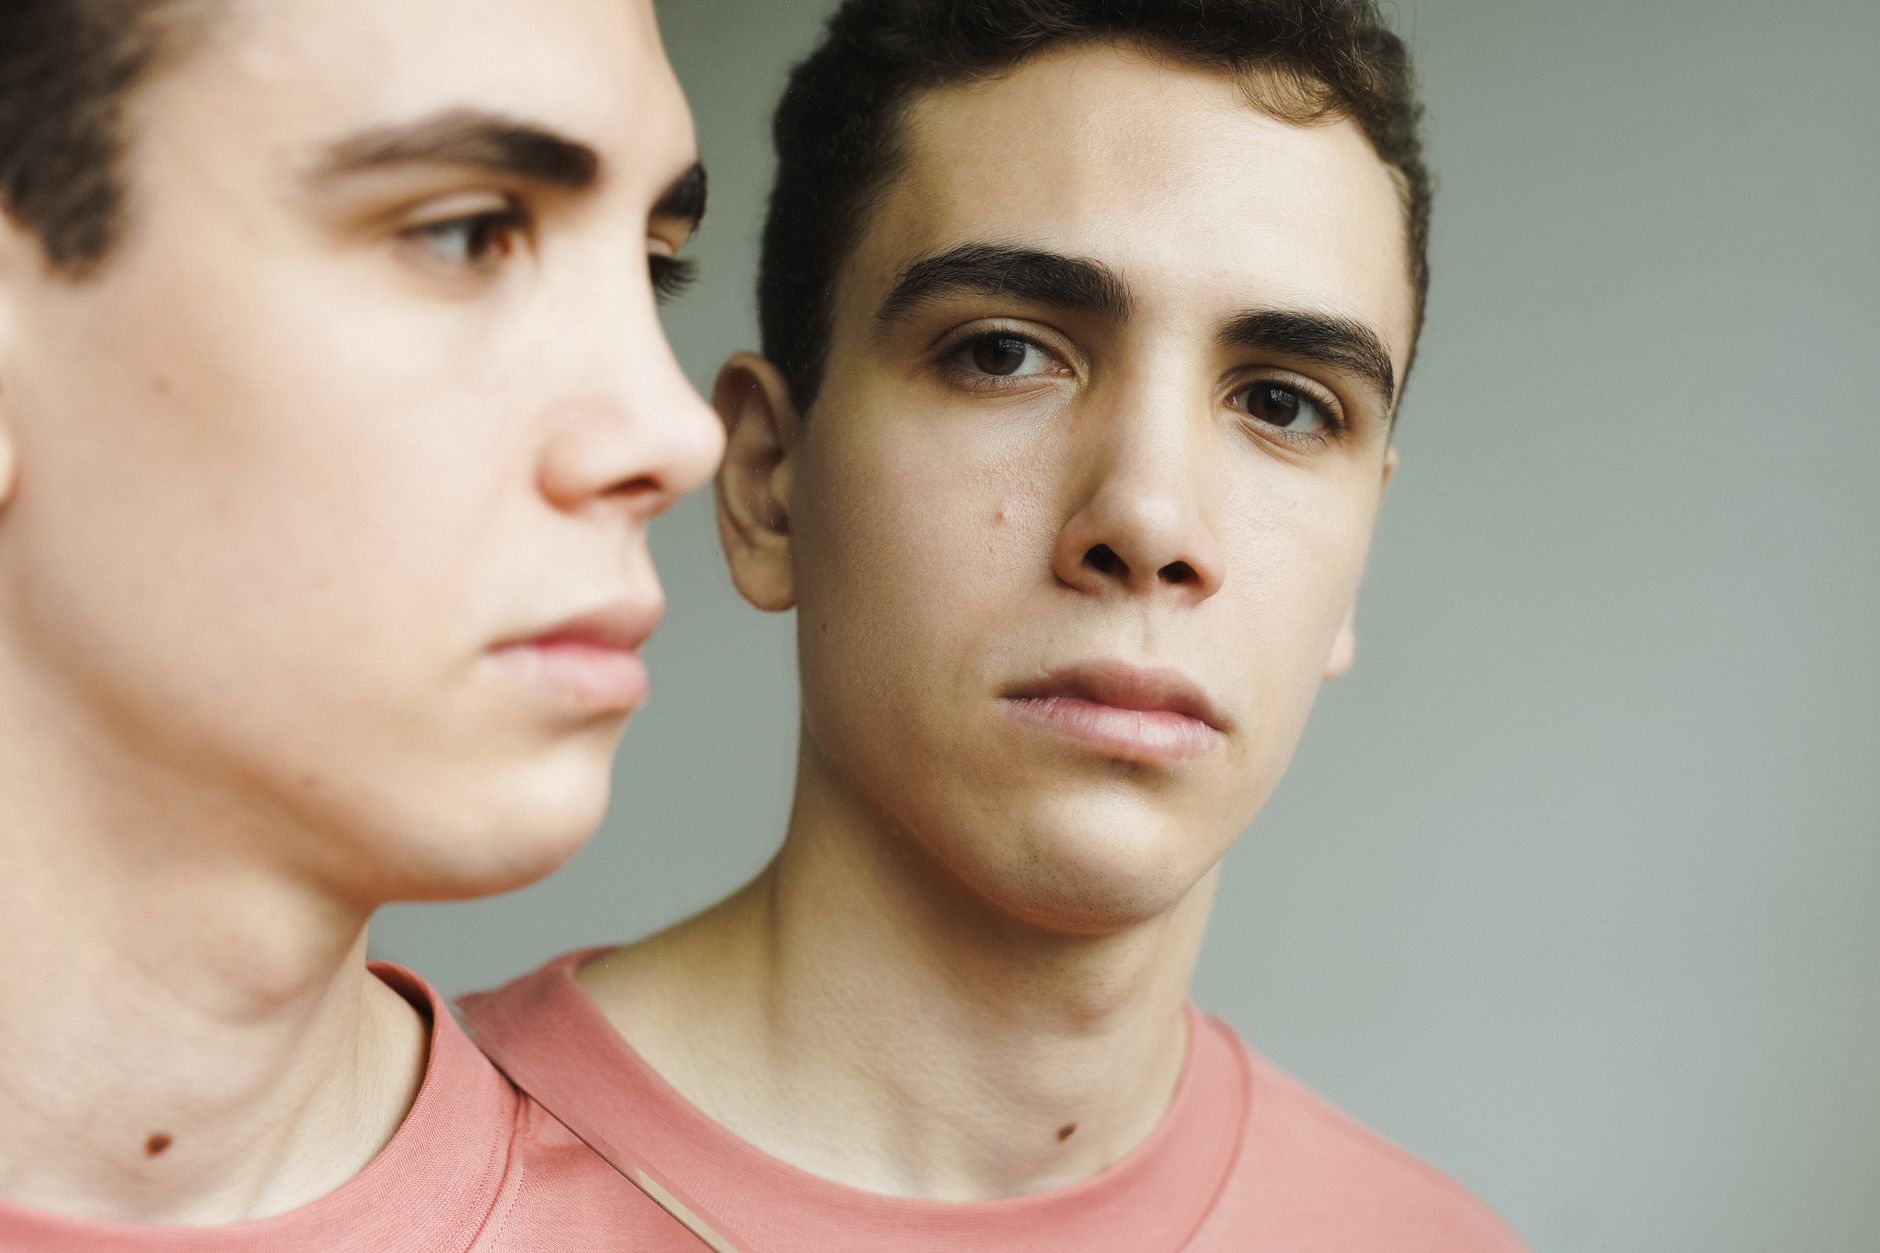
The clone effect makes the same person appear twice in one shot — talking to themselves, interacting, or filling a scene with copies. It’s a classic, impressive effect that’s surprisingly achievable. The secret is in the filming and a simple mask. This guide covers shooting and compositing a convincing clone effect in After Effects.
How the Clone Effect Works
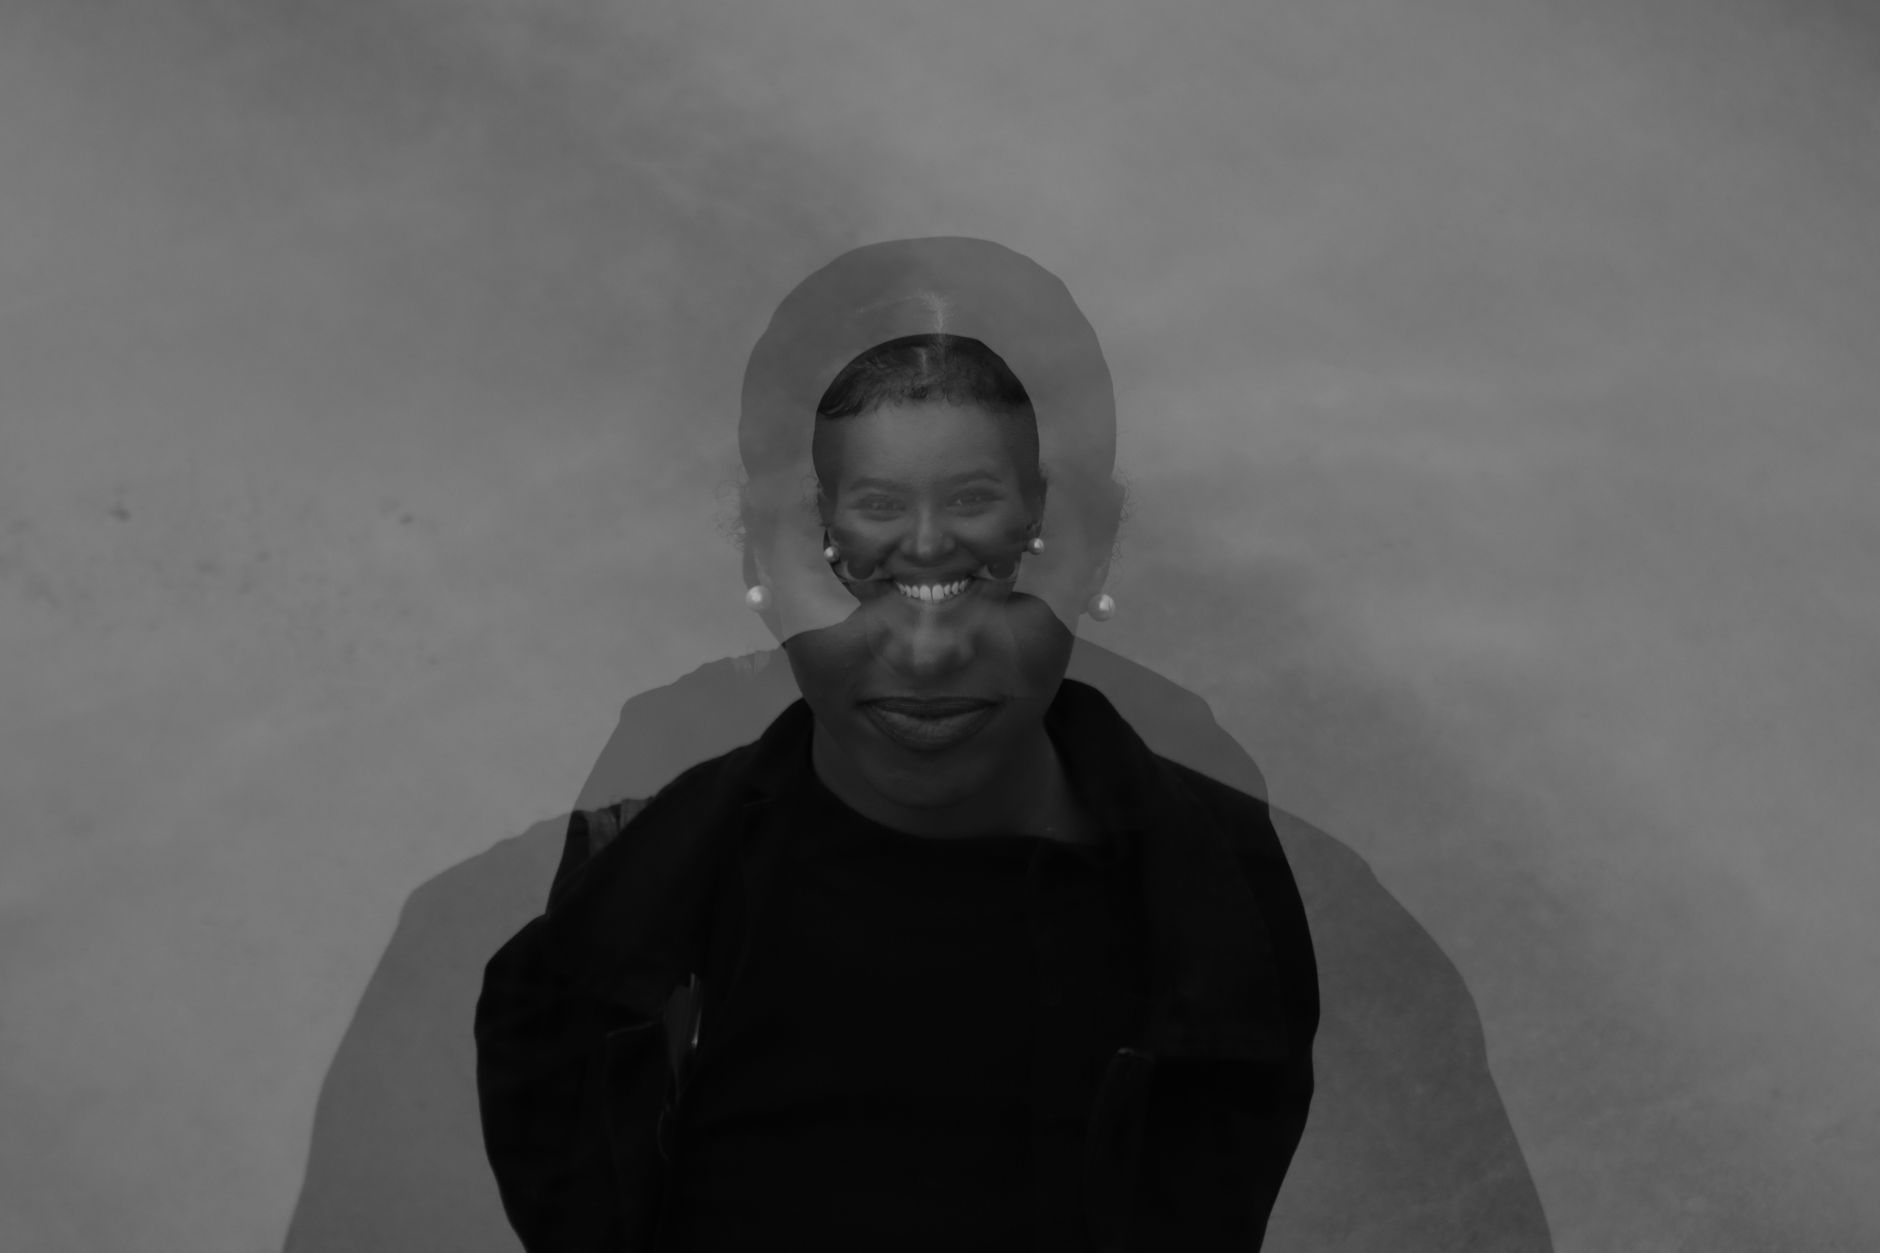
The clone effect composites two or more shots of the same person into a single frame. You film the performer in one position, then again in another, keeping everything else identical, and combine the takes so both versions appear together.
The magic is mostly in the planning and a mask that splits the frame between takes. Because the background stays the same across takes, you can seamlessly blend the two performances, making it look as if the person was duplicated.

Lock Your Camera Down
The single most important requirement is a completely static camera. Mounting the camera on a sturdy tripod and not moving it between takes ensures the background lines up perfectly, which is what makes the composite invisible.
Any camera movement between takes breaks the illusion, since the backgrounds won’t match. Locking the camera down, and ideally using manual exposure and focus so they stay consistent, is the foundation of a clean clone effect.
Plan the Performance
Plan how the clones will interact before filming. If they’ll talk or hand objects to each other, work out the timing and eyelines so the two performances align, leaving space between the clones so they don’t overlap awkwardly.
Keeping the performers on their own side of the frame, with a clear gap, makes the masking far easier. Thoughtful planning of where each clone stands and how they interact is what sells the effect as a real, single moment.
Film Both Takes
With the camera locked, film each performance in turn. Record the person on one side of the frame, then have them move to the other side and perform the second part, keeping the lighting and camera settings identical across both takes.
Each take captures one clone, performing as if the other were present. Shooting clean takes with consistent lighting and framing, and a clear separation between the clones’ positions, gives you the footage to composite into one shot.
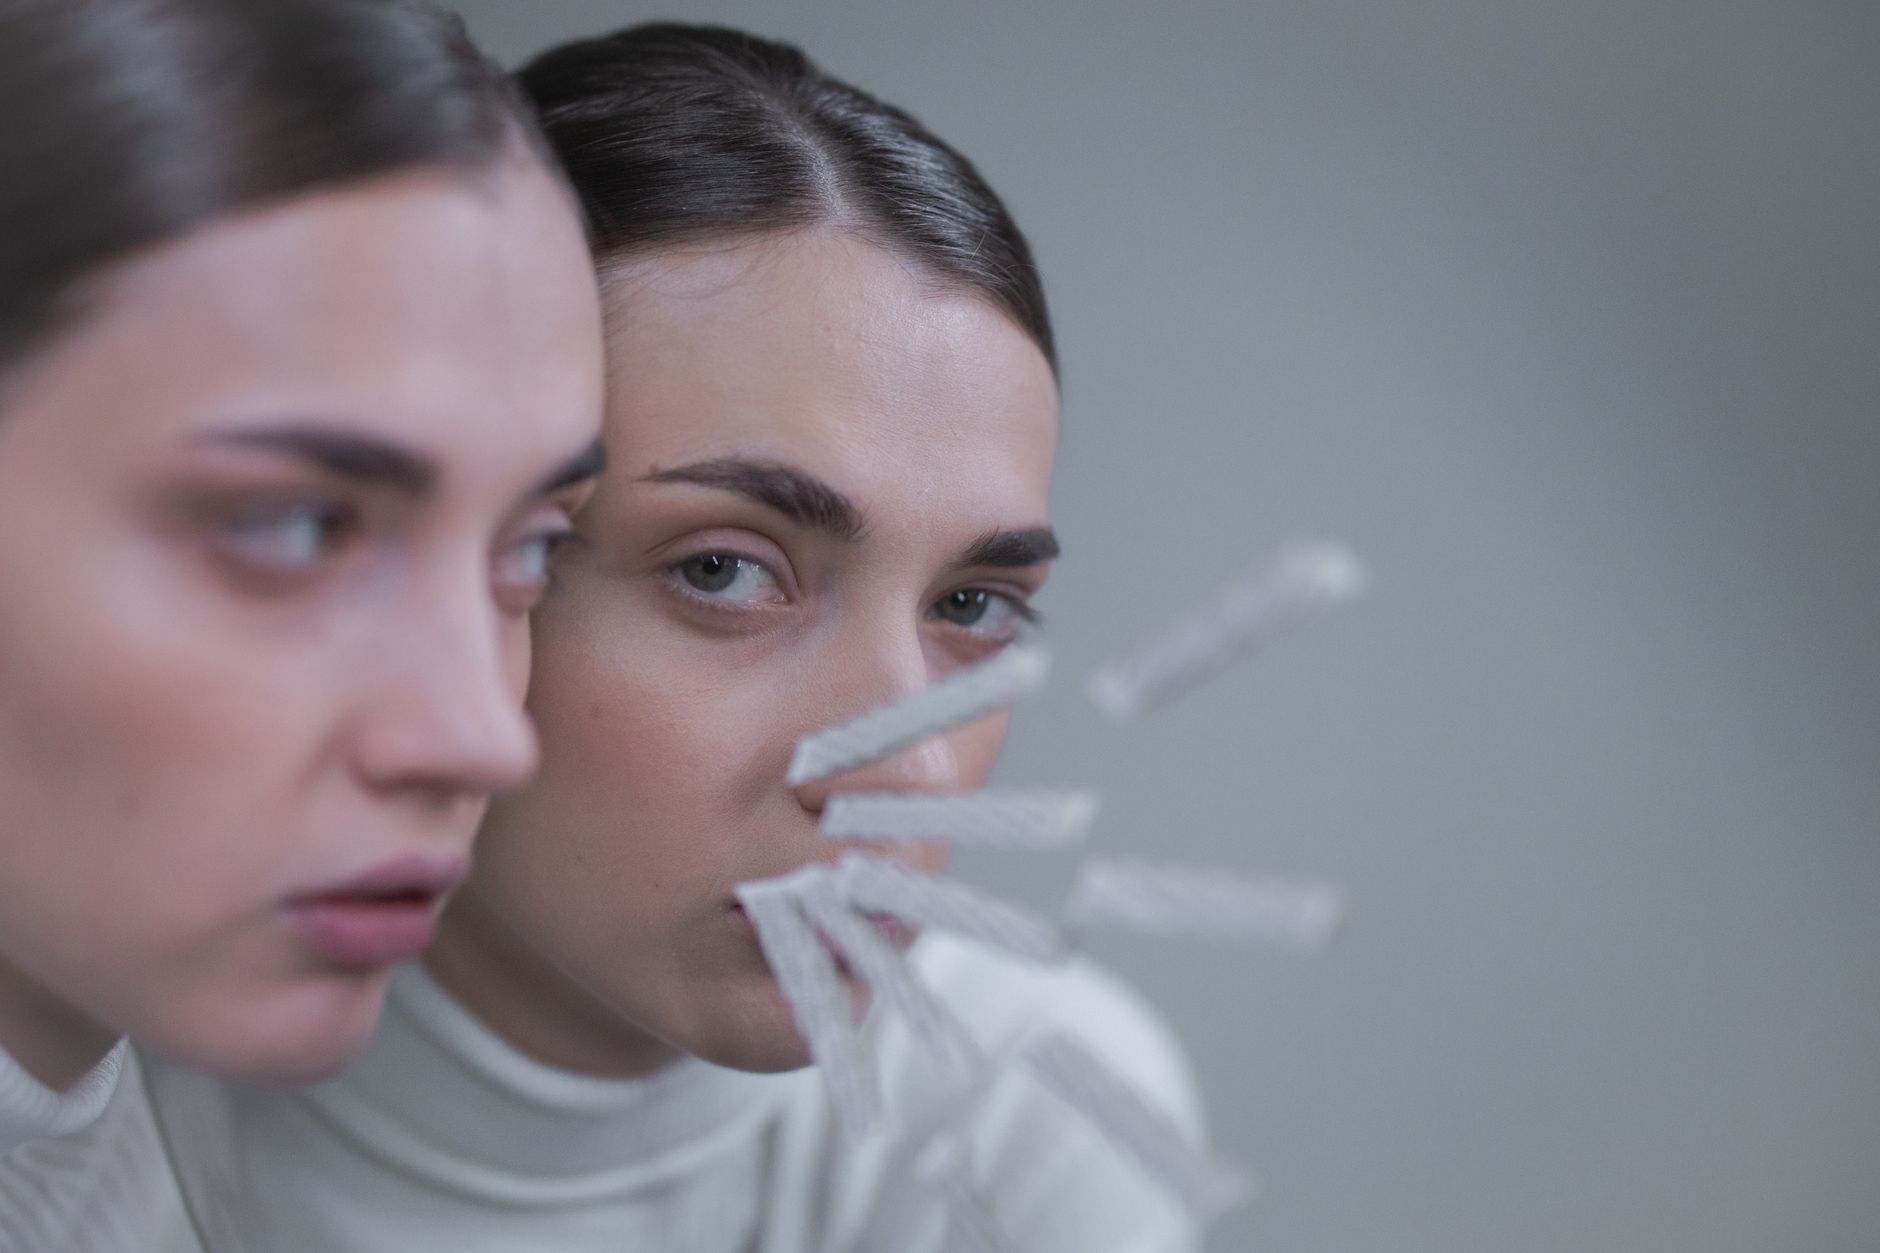
Composite with a Mask
In After Effects, stack the two takes on separate layers, then draw a mask on the top layer to reveal one clone while showing the other through. The mask runs through the gap between the clones, hiding the seam.
Because the backgrounds match, the mask edge is invisible as long as it passes through unchanging areas. Positioning the mask in the empty space between the two performers blends the takes seamlessly into a single frame with both clones.
Feather and Refine the Mask
A slight feather on the mask edge helps it blend invisibly. Softening the mask boundary, and placing it carefully through static parts of the frame, ensures the transition between the two takes is undetectable.
If a clone needs to cross the mask line — handing over an object, for instance — you animate the mask to follow the action. This careful mask work, refined frame by frame where needed, is what makes complex clone interactions convincing.
Match Lighting and Exposure
Consistency between takes is essential. If the lighting or exposure shifts between the two performances, the clones won’t match and the seam shows, so using manual camera settings and stable lighting keeps both takes identical.
Shooting both takes close together, with locked settings and unchanging light, prevents these mismatches. Where small differences slip in, a touch of color matching in post brings the two clones into line for a seamless result.
Add Interaction for Impact
The most impressive clone effects have the clones interacting — passing objects, touching, or reacting to each other. These interactions require careful planning and animated masking around the contact point, but they dramatically sell the illusion.
Starting with simple side-by-side clones builds the skill before attempting interaction. As you master the masking, having the clones genuinely engage with each other, timed precisely across takes, creates the jaw-dropping moments the effect is known for.
Clone Effect Best Practices
- Lock the camera on a tripod and never move it.
- Use manual exposure and focus for consistent takes.
- Keep the clones separated with a gap for the mask.
- Feather the mask and run it through static areas.
Common Clone Effect Mistakes
- Any camera movement between takes, breaking the seam.
- Lighting or exposure shifts that mismatch the clones.
- Clones overlapping, leaving nowhere to hide the mask.
- A hard mask edge that reveals the composite.
A Real Clone Effect Example
Picture filming yourself having a conversation with your own clone on a couch. You lock the camera on a tripod, film yourself sitting on the left delivering one side of the dialogue, then move to the right and film the response, leaving a clear gap in the middle. In After Effects you stack the takes and run a feathered mask straight down the empty cushion between you.
Because the camera never moved and the couch stayed identical, the mask edge is invisible, and the two versions of you appear to chat in one seamless shot. That whole illusion comes from a locked camera, a planned gap, and one simple mask — proof that the most impressive clone effects are built on careful filming far more than complex compositing.
Multiply Beyond Two Clones
The same technique scales to many clones in one frame. By filming the performer in several positions across the shot, each on their own side, and stacking the takes with multiple masks, you can fill a scene with copies — a choir of clones, a crowd of one person, or a team of identical selves.
Each additional clone is another locked-camera take and another masked layer, so the main limit is keeping the positions separated enough to mask cleanly. Combined with the planning that keeps each clone in its own zone, this multiplication turns the simple twin trick into elaborate, eye-catching set pieces.
Compositing a person into an impossible space, much like a clone shot, underpins creating a portal effect in After Effects.
The locked-off, masked compositing that doubles a person is exactly how the levitation effect in After Effects works.
Making someone vanish between frames is the heart of creating a teleport effect in After Effects, much like a clone composite.
Key Takeaways
- The clone effect composites two takes of one person into a shot.
- A locked-down camera and consistent settings are essential.
- Separate the clones and mask through the gap between them.
- Match lighting and animate the mask for interactions.
Frequently Asked Questions
How do I make a clone effect in After Effects?
Lock your camera on a tripod, film the person on one side of the frame, then again on the other with identical settings. Stack the takes in After Effects and draw a feathered mask through the gap between the clones to blend them into one shot.
Why does my clone effect have a visible seam?
Usually the camera moved between takes or the lighting changed, so the backgrounds don’t match. Lock the camera down completely, use manual exposure and focus, and run the feathered mask through unchanging static areas of the frame.
How do I make clones interact?
Plan the timing and eyelines carefully, then animate the mask to follow the contact point where the clones touch or pass an object. Start with simple side-by-side clones before attempting interactions, which need precise frame-by-frame masking.
Sources: Wikipedia’s overview of in-camera effects.
Duplicate yourself at Adobe Video World
Train hands-on with Adobe Certified Instructors across 100+ Premiere Pro & After Effects sessions.



