A workflow taught by Adobe Certified Instructors at Adobe Video World.
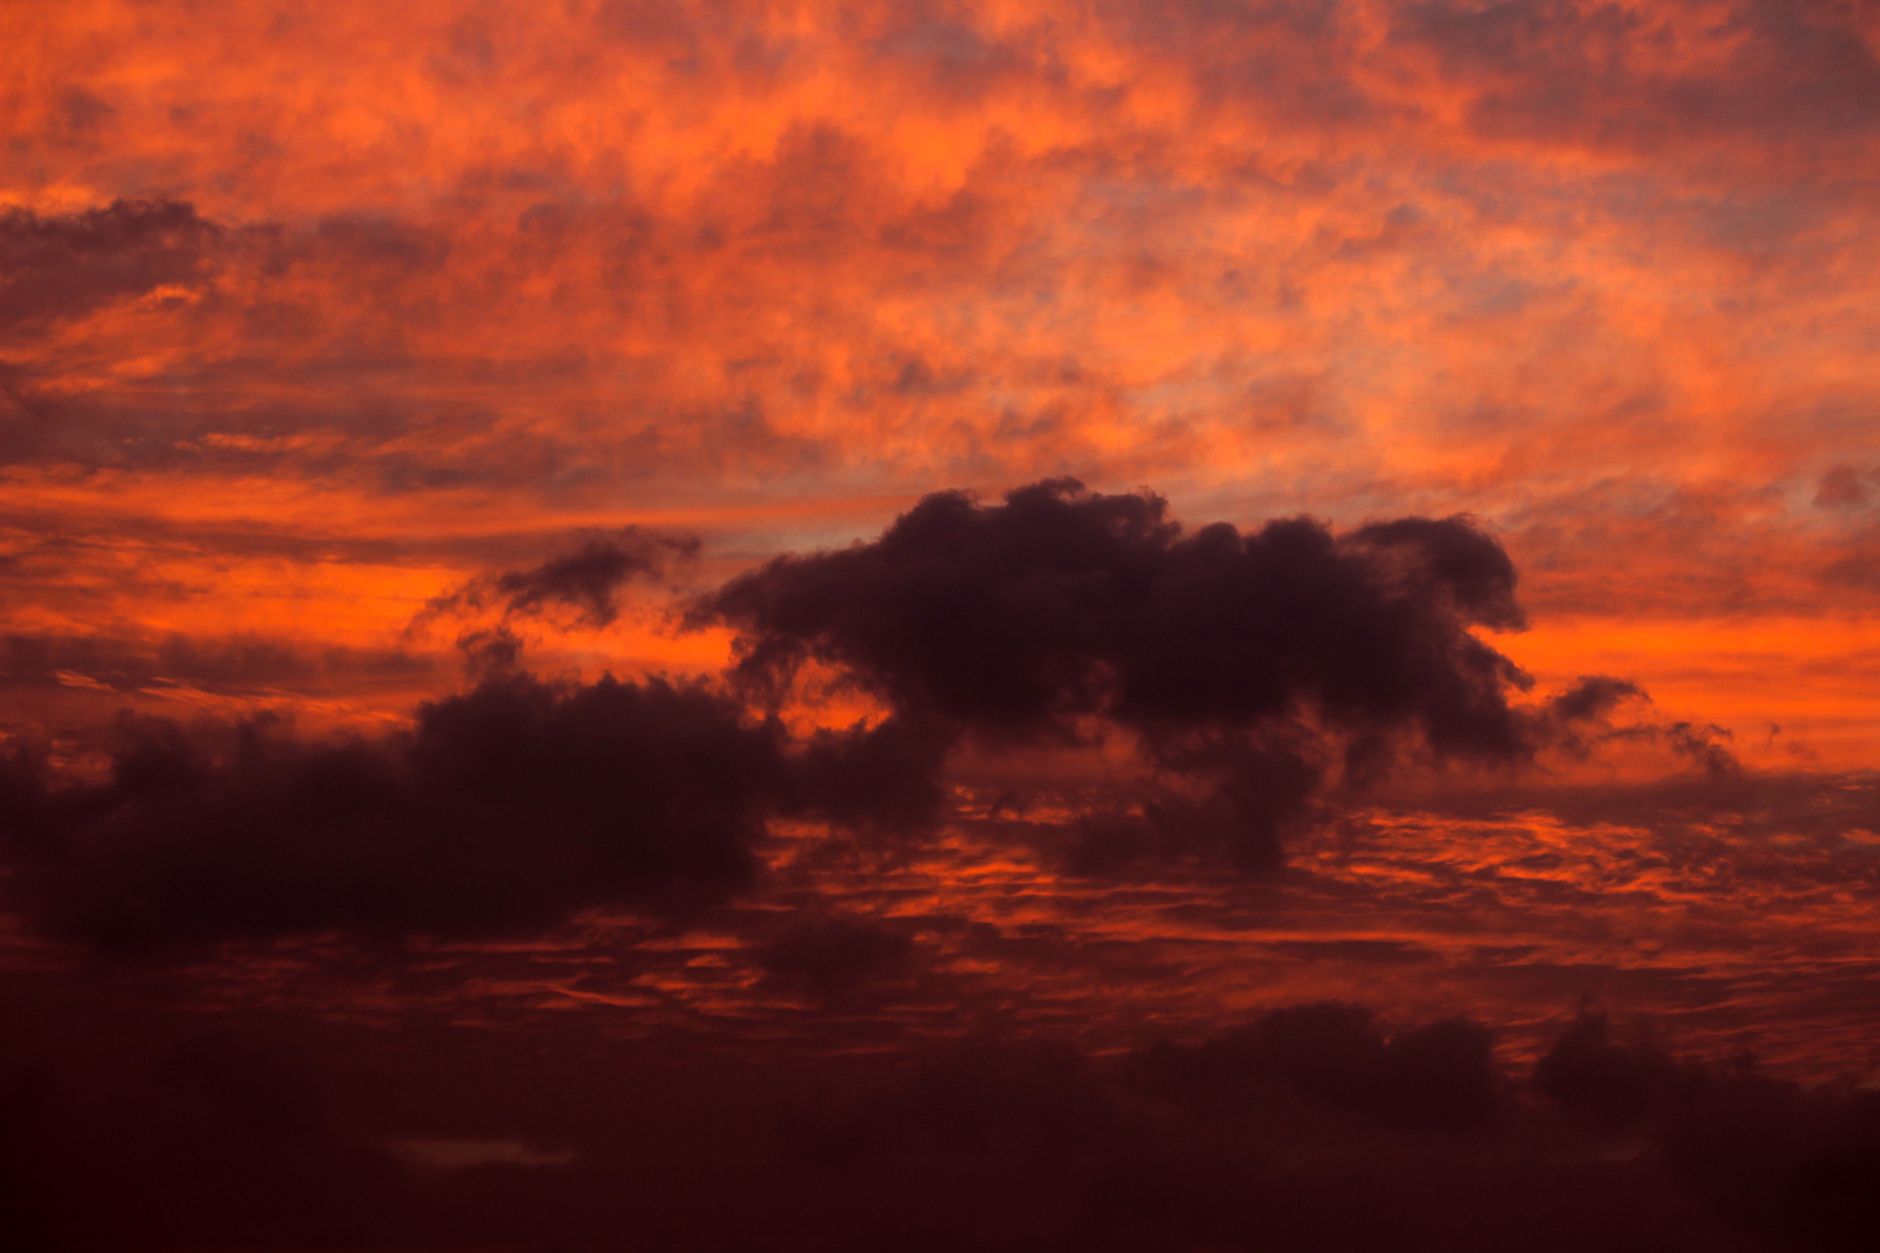
A flat, gray, blown-out sky can ruin an otherwise great shot. Sky replacement swaps it for a dramatic sunset, blue sky, or stormy clouds, transforming the mood. After Effects does it with masking or keying and careful compositing. This guide covers replacing a sky convincingly, from selection to matching the new sky to the scene.

Why Replace the Sky
Skies are often the weakest part of a shot — overcast, overexposed, or simply dull. Replacing the sky with a more dramatic or appropriate one transforms the mood and impact of the footage, turning a flat scene into a striking one.
Sky replacement is common in real estate, landscape, and cinematic work, where the sky sets the tone. A vivid sunset or moody clouds can completely change how a shot feels, which is why this technique is so widely used to rescue and elevate footage.
Select the Sky
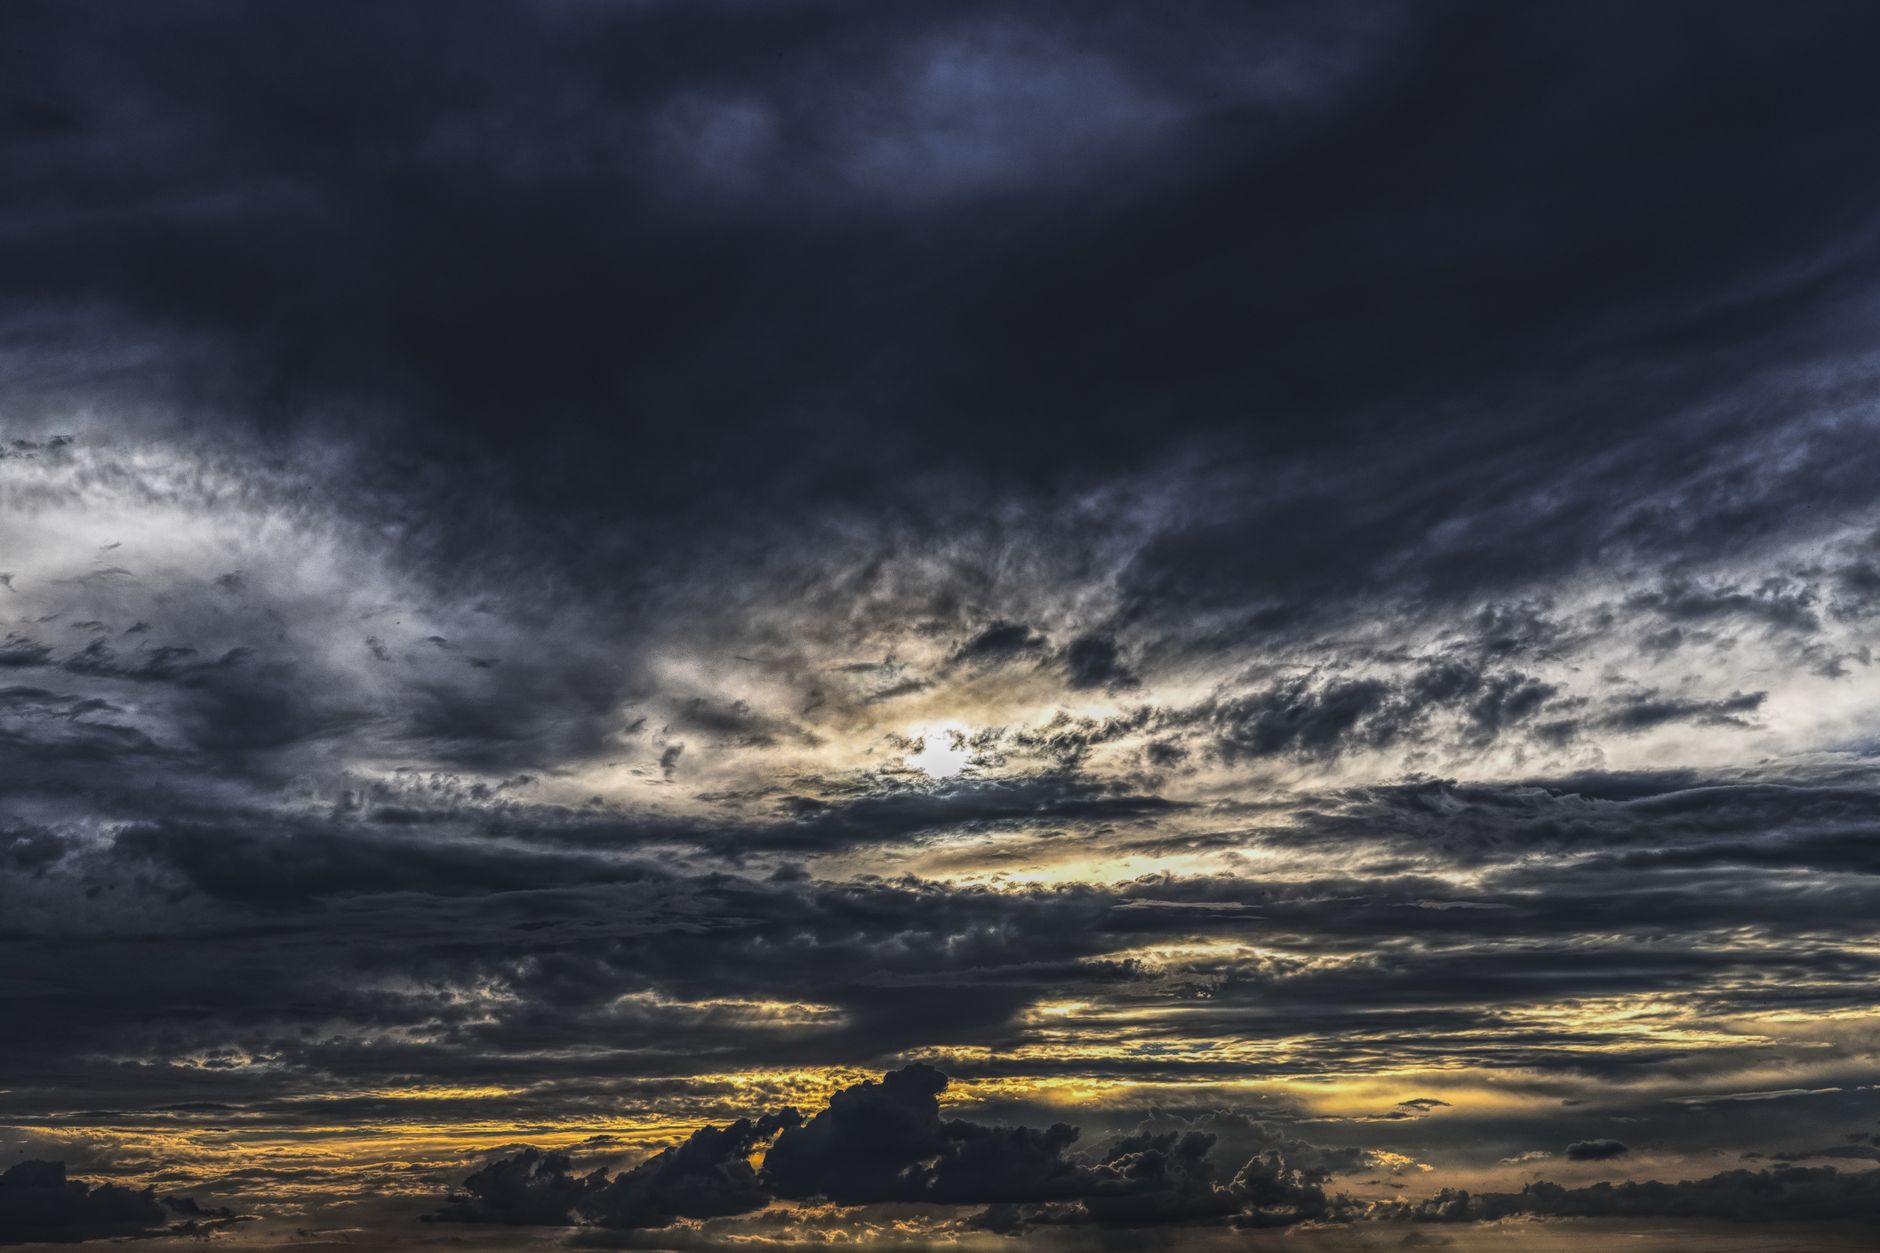
The first step is isolating the existing sky. For a clean horizon, a mask along the skyline separates the sky, while for skies seen through trees or buildings, keying or the Roto Brush handles the complex edges.
Choosing the right selection method depends on the shot. A simple landscape with a clear horizon masks easily, while intricate edges like foliage need keying or rotoscoping. Getting a clean selection of the sky is the foundation of a believable replacement.

Add the New Sky
Place your replacement sky on a layer behind the masked footage, so it shows through where the old sky was removed. Choosing a new sky that suits the scene — the right time of day, mood, and perspective — is key to believability.
The new sky should match the shot’s lighting direction and atmosphere. A sunset sky on a shot lit from another direction looks wrong, so selecting a replacement consistent with the scene’s existing light makes the composite convincing.
Match the Lighting
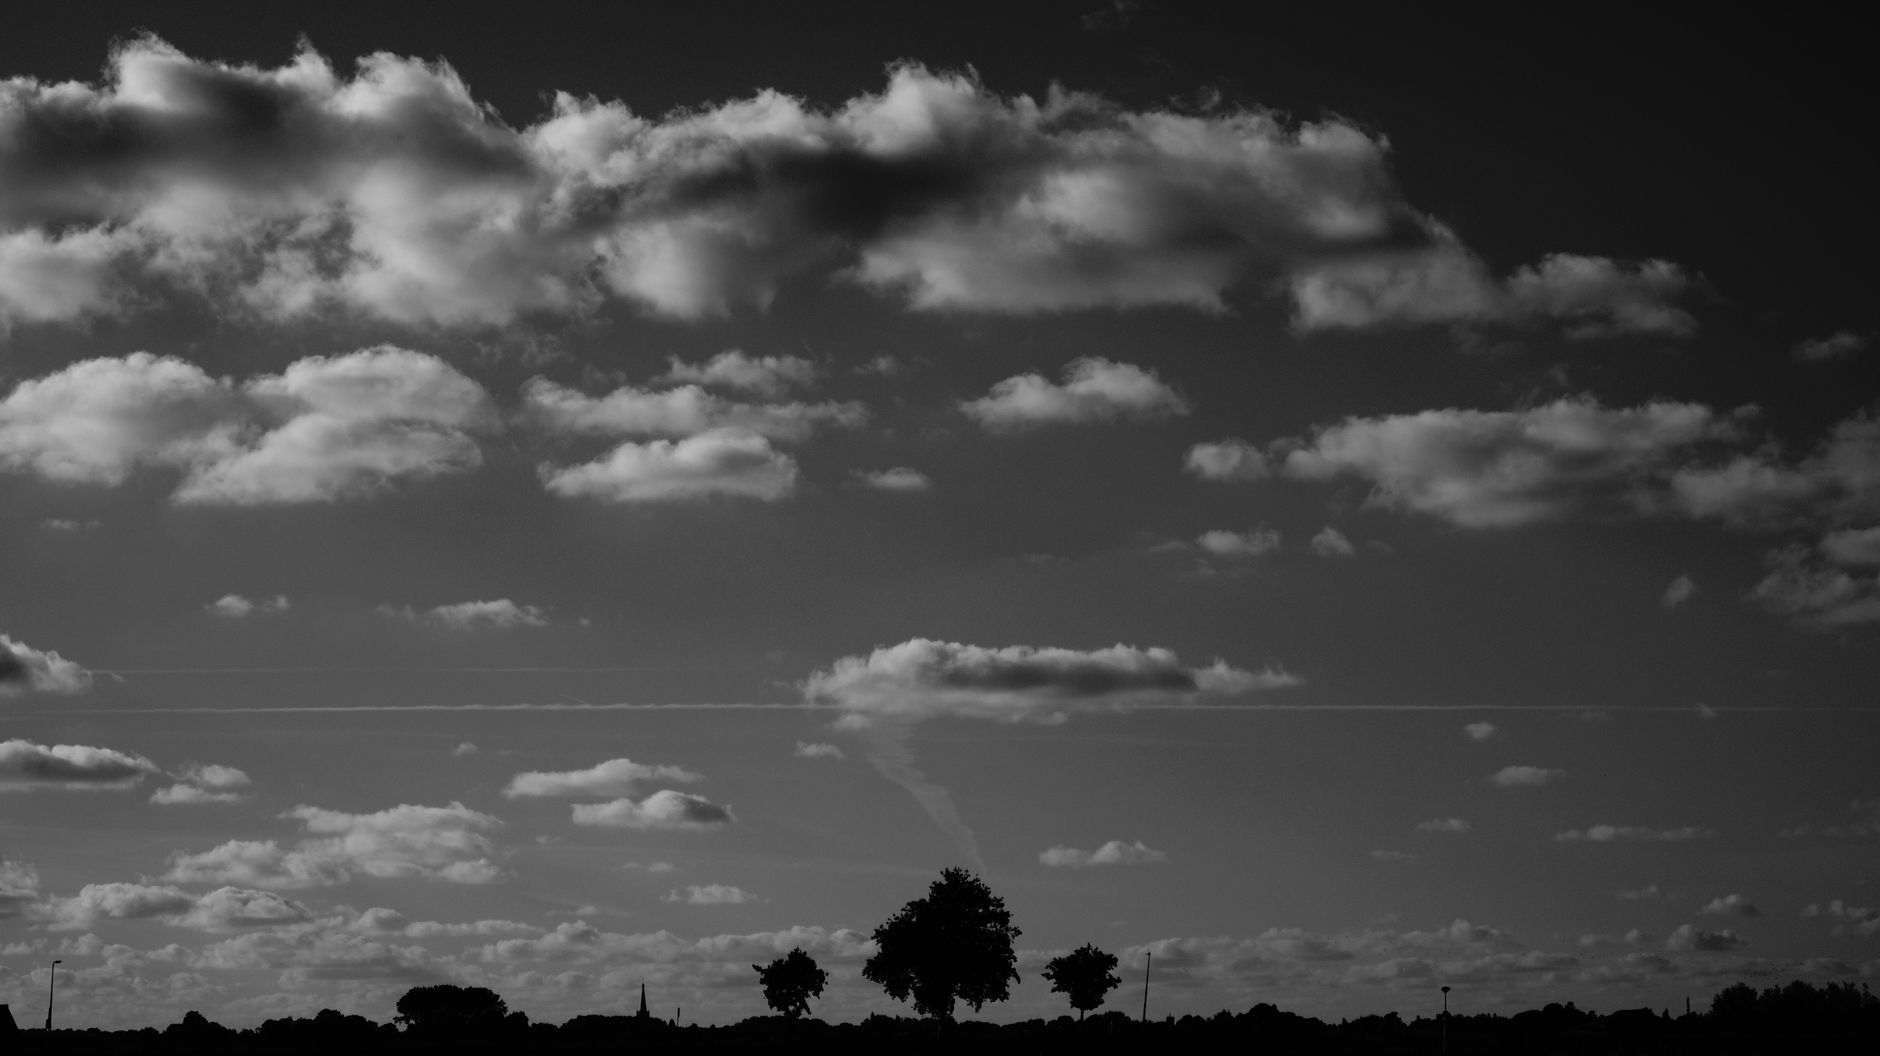
A new sky must match the scene’s lighting, or it looks pasted on. Grading the new sky to fit the shot’s color temperature and brightness, and ensuring the light direction agrees, integrates it believably with the foreground.
If the new sky is warm but the scene is cool, the mismatch is obvious. Adjusting the sky’s color and the foreground’s lighting to agree, using our grading techniques, is what sells the replacement as the real sky.
Blend the Horizon
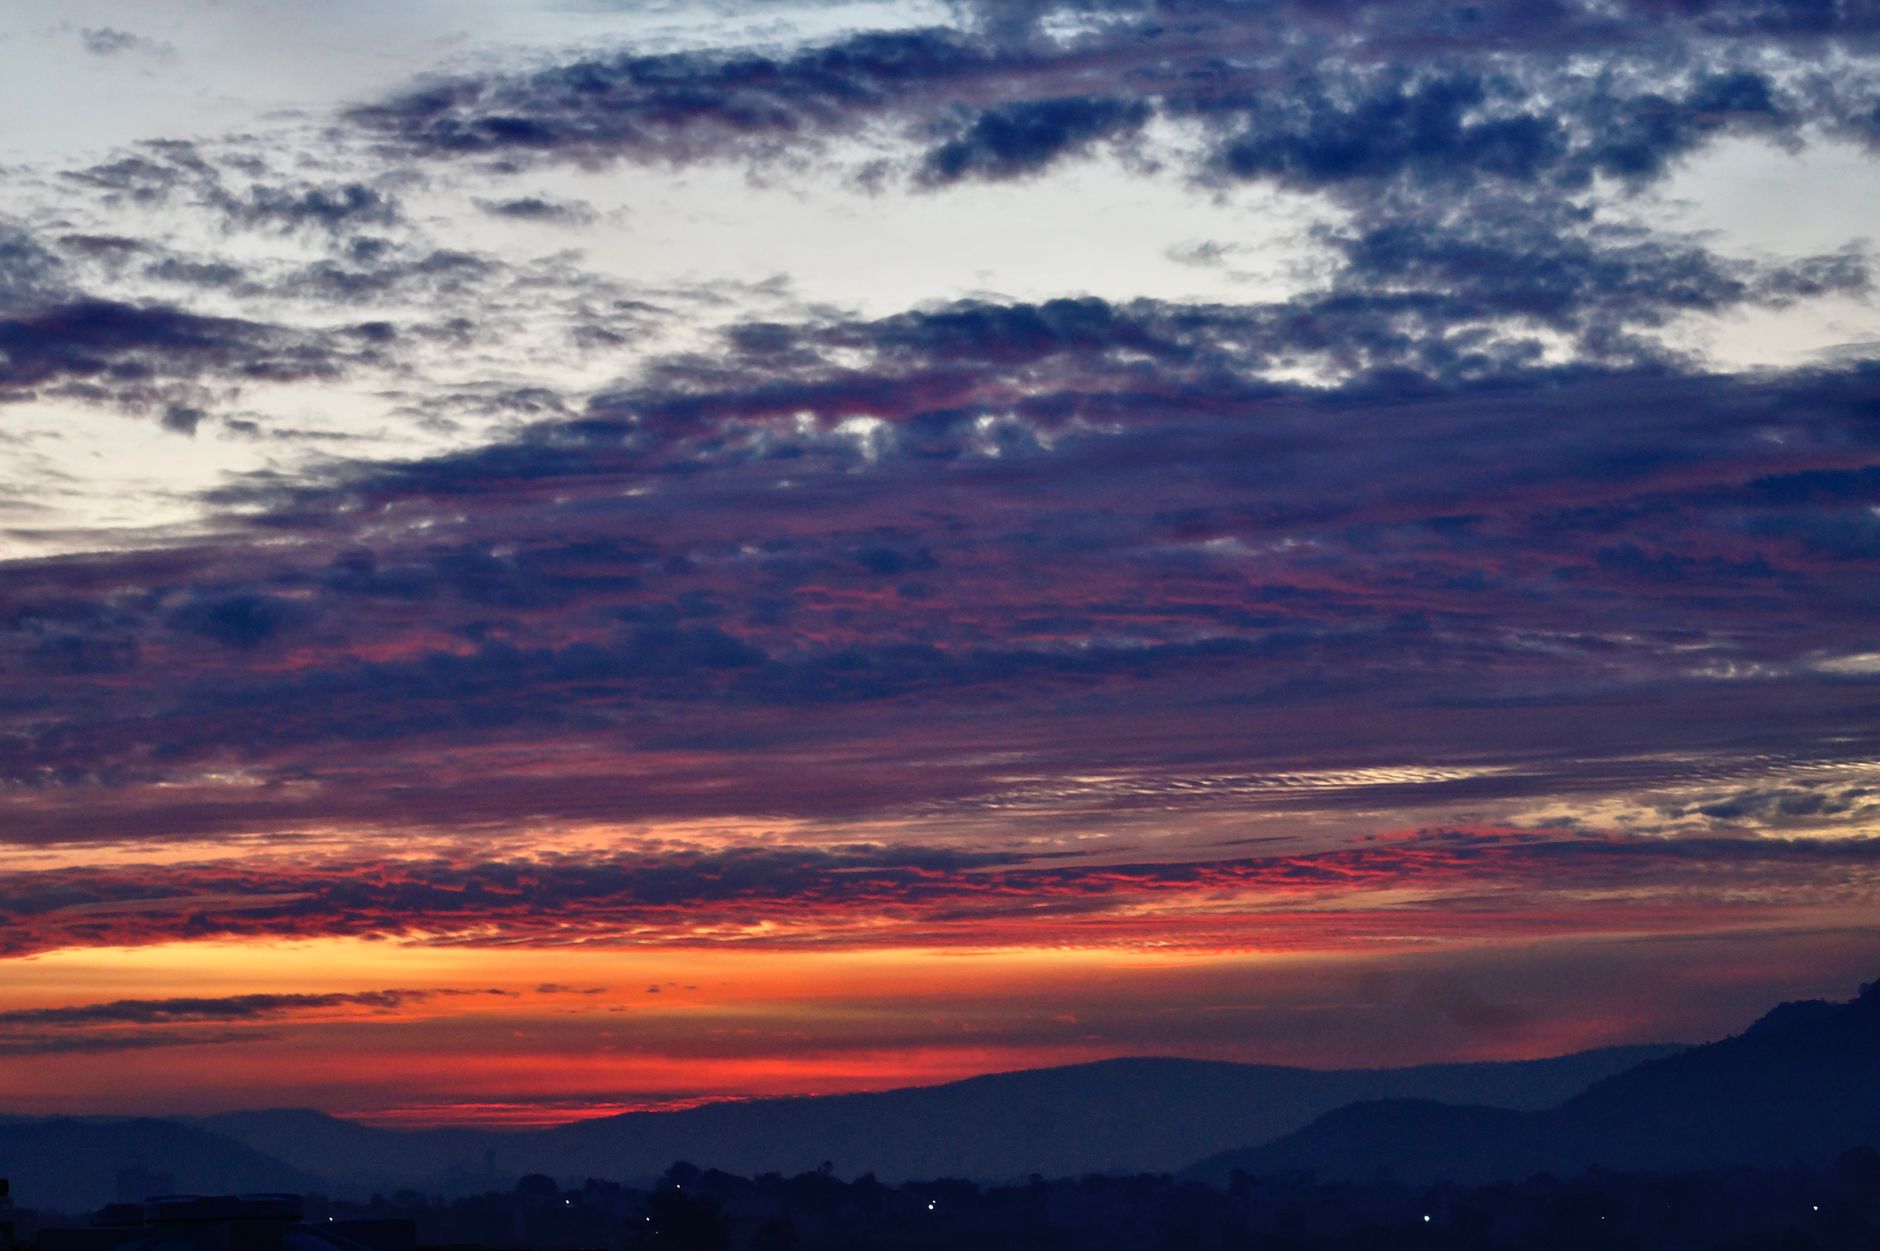
The horizon line is where replacements often fail. Adding a subtle haze or gradient where the new sky meets the landscape softens the join, mimicking the atmospheric blending that occurs at a real horizon.
Real skies fade slightly toward the horizon, so a hard line between sky and land looks artificial. Feathering the selection and adding gentle atmosphere at the horizon, blends the two convincingly, hiding the seam of the composite.
Add Movement
Static skies can look fake, especially in shots with any camera movement. Adding slow drifting motion to the clouds, or matching the sky’s movement to the camera, makes the replacement feel alive and integrated.
If the camera moves, the sky must move with it through tracking, or the illusion breaks. For locked shots, a gentle cloud drift adds life, and matching any camera motion keeps the new sky locked believably to the scene.
Track for Moving Shots
Moving shots require tracking the sky replacement to the camera. Using motion tracking to lock the new sky to the footage’s movement ensures it stays in place as the camera pans or moves, rather than sliding unnaturally.
This tracking is what makes sky replacement possible on anything but a static shot. Matching the new sky’s movement to the camera’s, so it behaves like a real distant sky, is essential for replacing skies in dynamic footage.
Refine for Realism
Final touches sell the effect. Matching grain and softness between the sky and footage, adjusting reflections if water is present, and ensuring the overall grade ties everything together complete a convincing sky replacement.
These refinements address the small inconsistencies that betray a composite. Adding matching grain, unifying the grade, and accounting for how the new sky affects the scene’s light and reflections is the polish that makes it believable.
Sky Replacement Best Practices
- Select the sky cleanly with a mask, key, or Roto Brush.
- Choose a new sky matching the scene’s light and mood.
- Match lighting, grade, and blend the horizon.
- Add movement and track the sky on moving shots.
Common Sky Replacement Mistakes
- A new sky whose light direction contradicts the scene.
- A hard horizon line with no atmospheric blend.
- A static sky on a moving shot, sliding unnaturally.
- Mismatched grain and grade that reveal the composite.
A Real Sky Replacement Example
Imagine a real estate drone shot of a house under a flat, white, overcast sky that makes the whole scene look dull. You mask along the rooftop and treeline, drop a vivid blue sky with soft clouds behind, then cool the new sky slightly and add a touch of haze at the horizon so it blends with the trees. A gentle cloud drift brings it to life.
Suddenly the property looks inviting and premium, transformed by the sky alone. Because you matched the light, blended the horizon, and added movement, the replacement reads as the real sky rather than a paste-in — exactly why sky replacement is a staple of real estate and landscape work where the sky so often lets a shot down.
Sky Replacement and Reflections
When water, glass, or wet surfaces appear in a shot, a new sky must be reflected in them too, or the illusion breaks. Adding a matching reflection of the replacement sky in a lake, a window, or a wet road, flipped and softened, ties the new sky into the scene’s physics convincingly.
Forgetting these reflections is a common giveaway, since a dramatic new sky with an unchanged reflection looks wrong. Accounting for how the sky would appear in reflective surfaces, alongside the lighting and horizon work, is the detail that separates a careful, believable sky replacement from an obvious composite.
Key Takeaways
- Sky replacement swaps a dull sky for a dramatic one.
- Select the sky cleanly and choose a matching replacement.
- Match lighting, blend the horizon, and add movement.
- Track the sky on moving shots and refine for realism.
Frequently Asked Questions
How do I replace the sky in After Effects?
Select the existing sky with a mask, key, or Roto Brush, place a new sky on a layer behind it, then match the lighting and color, blend the horizon with subtle haze, and add movement. Track the sky to the camera on moving shots.
How do I make a sky replacement look realistic?
Choose a new sky matching the scene’s light direction and mood, grade it to fit the color temperature, blend the horizon with atmosphere, add matching grain, and track it to the camera so it moves believably with the shot.
How do I replace a sky seen through trees?
Complex edges like foliage need keying or the Roto Brush rather than a simple mask, since masking intricate edges by hand is impractical. These tools handle the detailed selection to cleanly isolate the sky around trees and buildings.
Sources: Wikipedia’s overview of compositing.
Transform your skies at Adobe Video World
Train hands-on with Adobe Certified Instructors across 100+ Premiere Pro & After Effects sessions.



