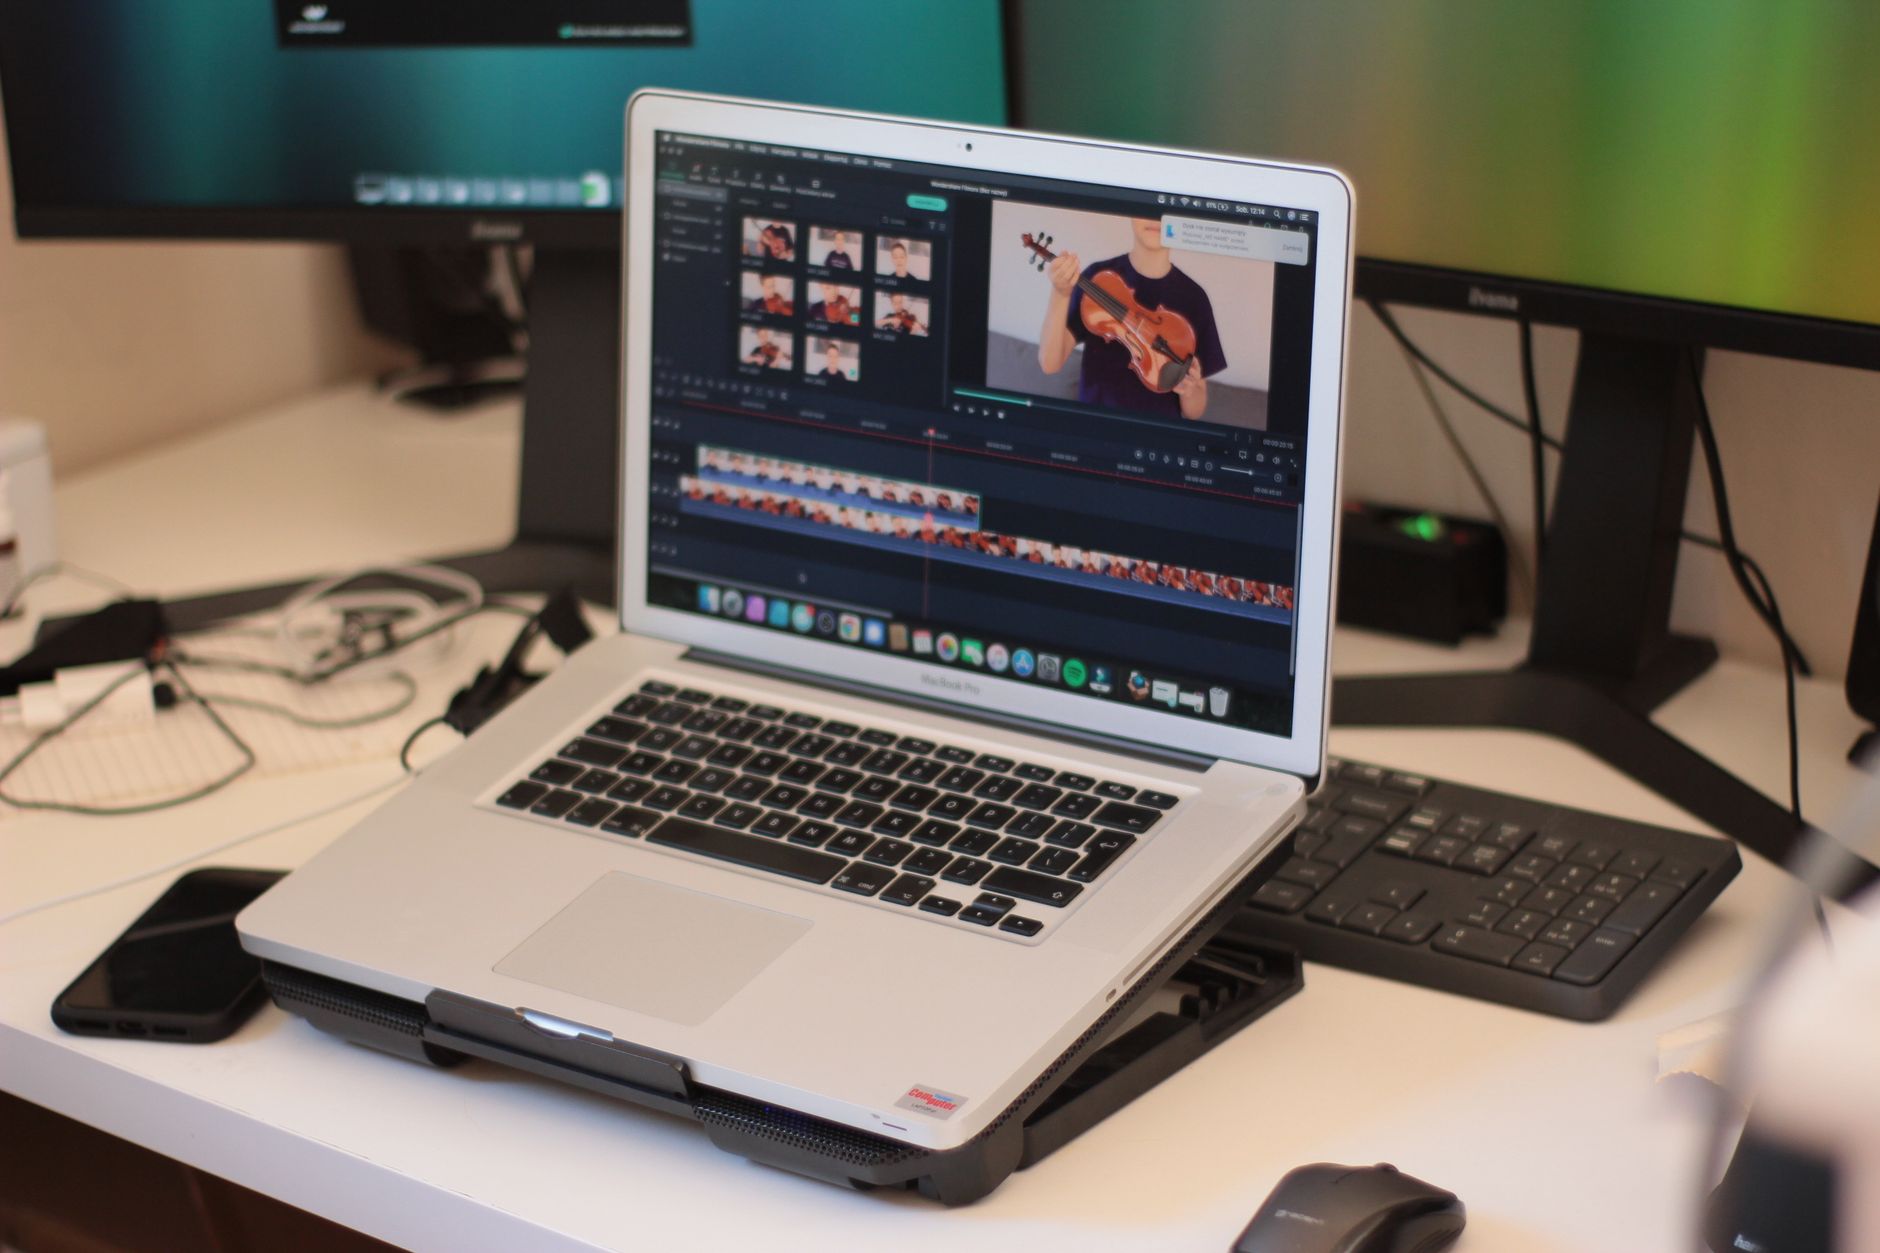
A workflow taught by Adobe Certified Instructors at Adobe Video World.
Editing YouTube videos consistently and efficiently takes a repeatable workflow — from organizing footage to assembling, polishing, and exporting. A solid process keeps your videos engaging while saving time. This guide lays out a YouTube video editing workflow that helps you produce quality content efficiently and consistently.
Why a Workflow Matters
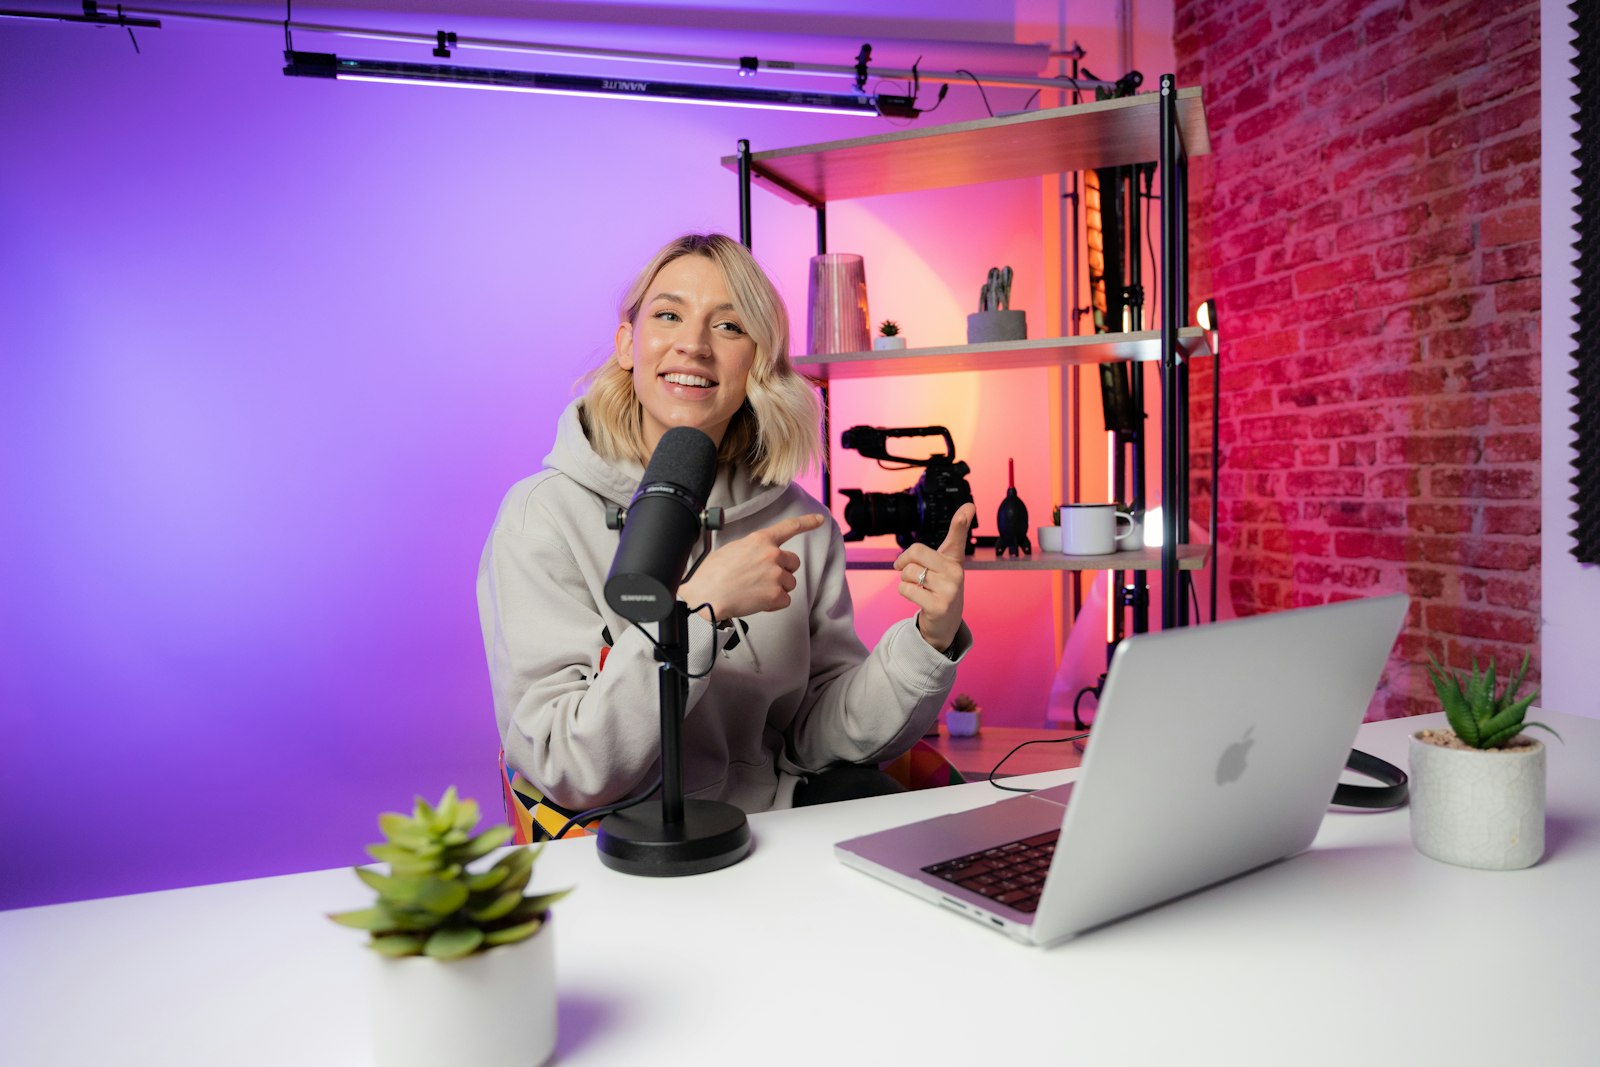
Editing YouTube videos without a process is slow and inconsistent. A repeatable workflow keeps your editing efficient, your quality consistent, and your output steady, which matters when you’re publishing regularly to grow a channel.
A defined process turns editing from a chaotic struggle into a smooth routine. Following the same logical steps each time, and refining them, lets you produce engaging videos faster and more reliably, which is essential for sustainable content creation.
Organize Your Footage
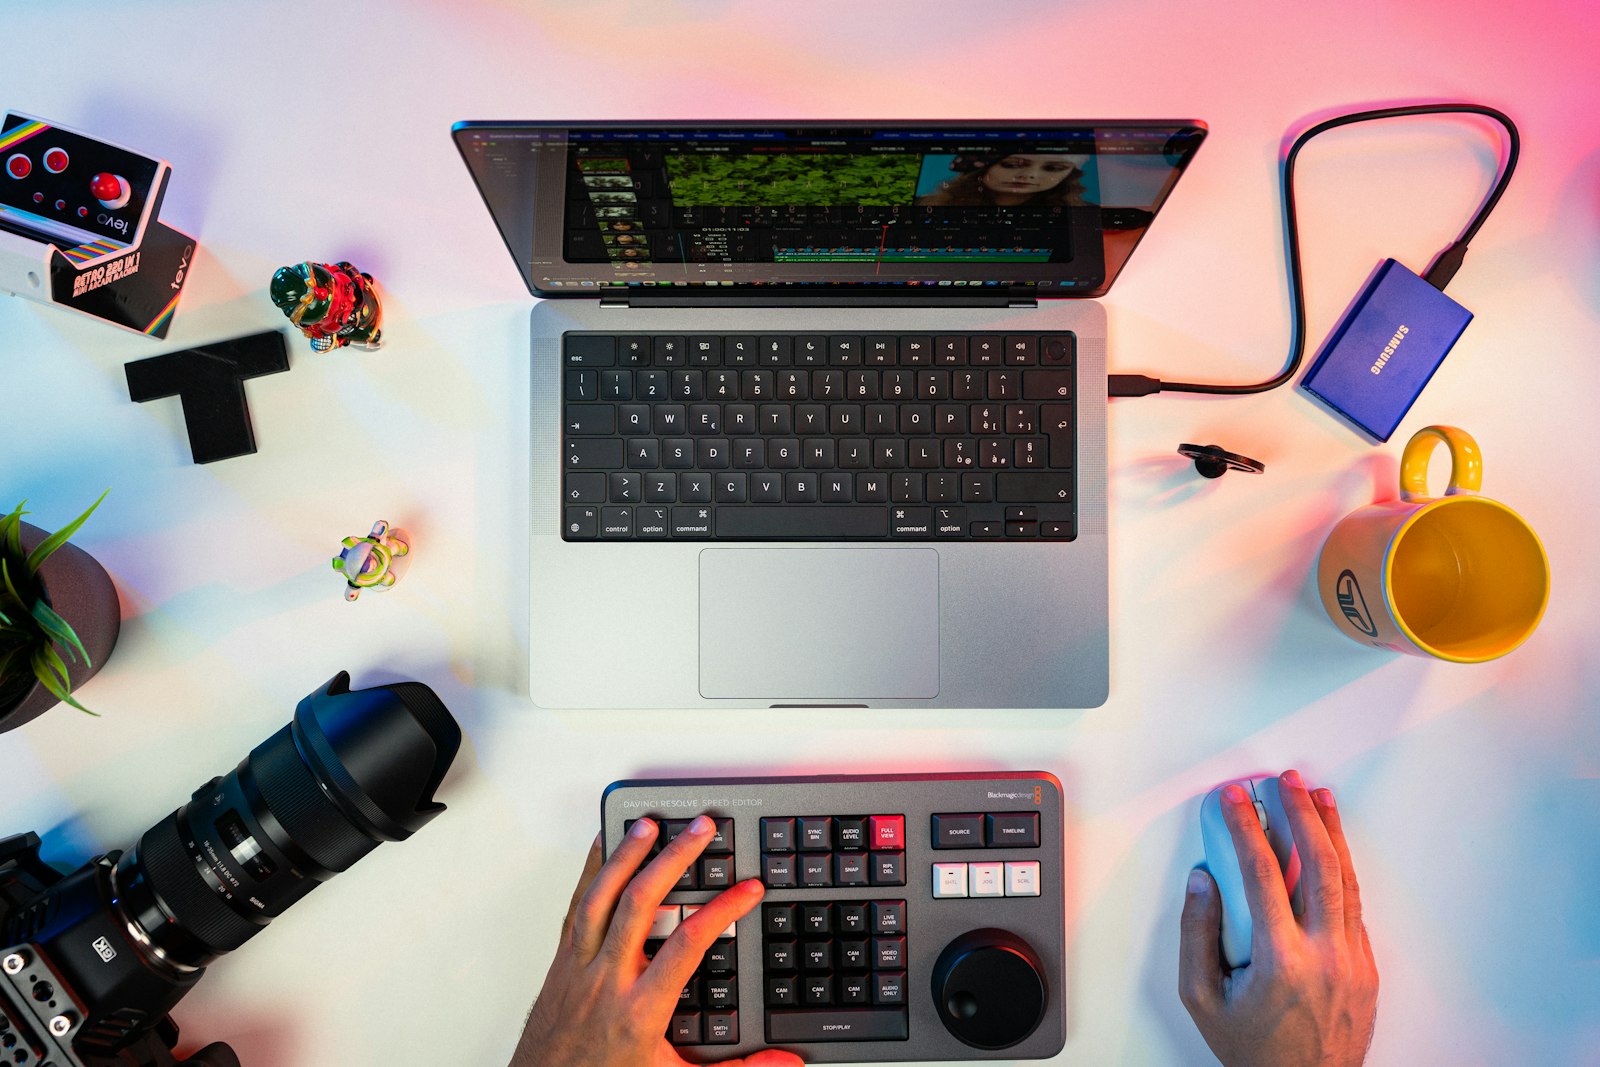
Every edit starts with organization. Importing and sorting your footage, audio, music, and assets into a clear structure, as our media management guide covers, sets you up to edit smoothly without hunting for files.
Good organization upfront saves time throughout the edit. Setting up bins, labeling clips, and arranging your media logically means everything is where you expect it, keeping your workflow efficient and your project tidy from the start.

Assemble a Rough Cut
Begin by assembling a rough cut — laying down the main content in order without worrying about polish. Getting the core structure and best takes onto the timeline first gives you the skeleton to refine, focusing on the story before the details.
This rough assembly establishes the video’s shape and length. Building the backbone first, using your script or the best content, lets you see the whole before refining, which is more efficient than perfecting each section as you go.
Tighten the Edit
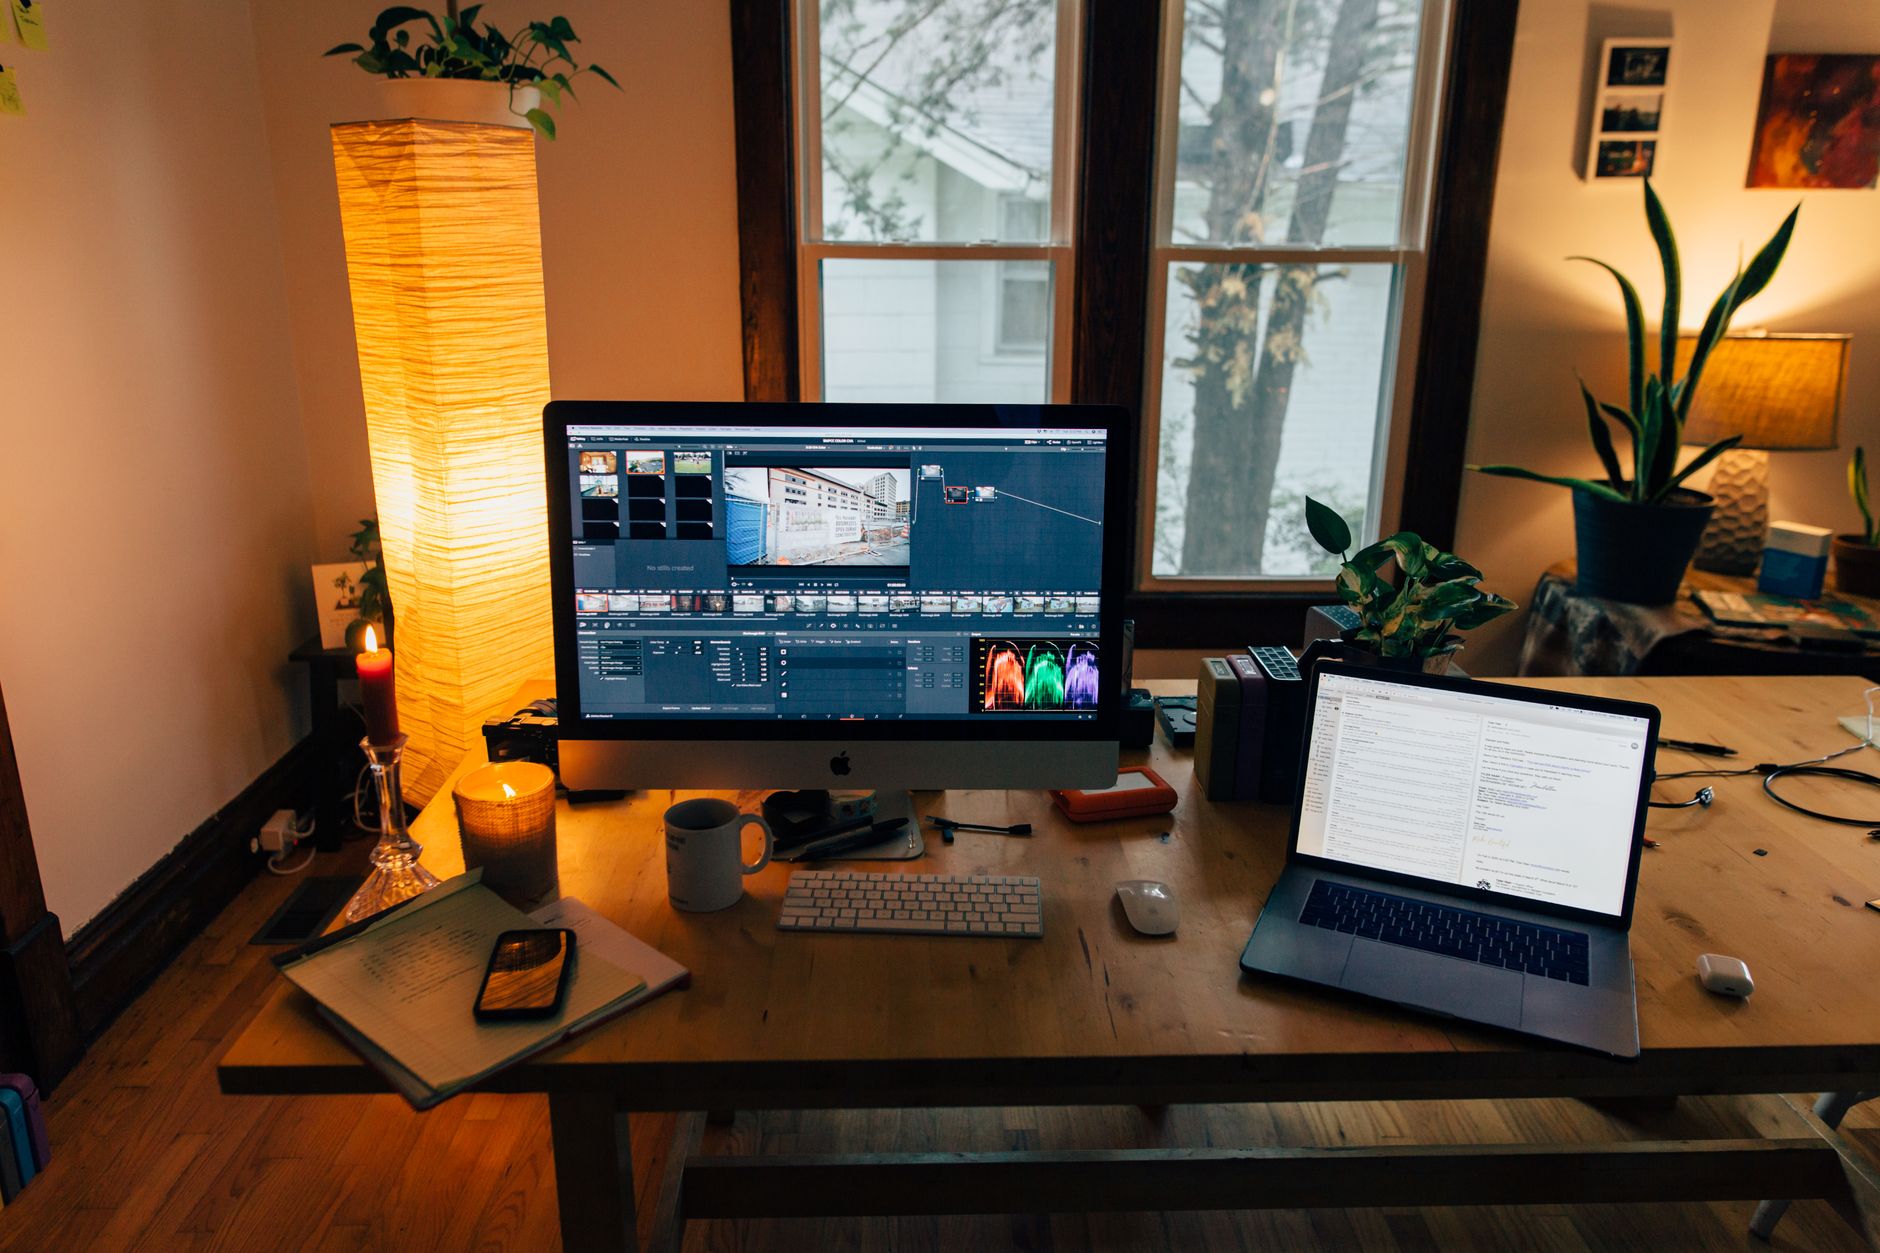
Next, tighten the rough cut. Cutting dead air, removing weak sections, and refining the pacing makes the video snappy and engaging, applying the pacing techniques that keep YouTube viewers watching.
This tightening is where a loose assembly becomes a compelling video. Trimming everything that doesn’t earn its place, especially for the crucial opening, transforms raw content into the fast-paced, engaging edit that performs on YouTube.
Add B-Roll and Visuals
With the structure tight, add visual interest. Layering in B-roll, graphics, and visual variety over your main content keeps the video dynamic, illustrates your points, and covers any jump cuts.
This visual layer is what makes a YouTube video engaging rather than static. Adding relevant B-roll, on-screen graphics, and variety, especially for talking-head content, holds attention and elevates the production value of your edit.
Add Graphics, Captions, and Music
Polish with graphics, captions, and audio. Adding titles, lower thirds, captions for accessibility and silent viewing, and a music bed under the content completes the professional feel and aids comprehension.
These elements enhance clarity and engagement. Captions reach more viewers, graphics reinforce points, and music adds energy and emotion, all contributing to the polished, complete feel that distinguishes professional YouTube videos.
Color, Audio, and Final Polish
Finish with color and audio polish. A quick color grade for a consistent look, balanced audio levels, and a final review of the whole video catch issues and elevate the quality before export.
This finishing pass ensures the video looks and sounds professional throughout. Grading for consistency, balancing the audio so the voice is clear, and watching the full video to catch any problems is the polish that completes a quality edit.
Export and Deliver
Finally, export with the right settings. Using YouTube-optimized export settings delivers the best quality at a reasonable file size, and a great thumbnail completes the package that earns clicks.
Exporting correctly ensures your hard work looks its best on the platform. Pairing the finished video with an optimized export and a compelling thumbnail, as part of a consistent workflow, is the final step in delivering engaging YouTube content efficiently.
YouTube Workflow Best Practices
- Organize footage before you start editing.
- Assemble a rough cut, then tighten the pacing.
- Add B-roll, graphics, captions, and music.
- Polish color and audio, then export optimized with a great thumbnail.
Common Workflow Mistakes
- Editing without organizing footage first.
- Polishing sections before the structure is set.
- Leaving the pacing loose, especially the opening.
- Skipping captions, color, or audio polish.
A Real YouTube Workflow Example
Imagine editing a weekly ten-minute YouTube video. You import and bin the footage, lay down a rough cut from your script, then tighten it hard — especially the first thirty seconds — cutting every pause and weak moment. You layer B-roll over the talking head, add animated callouts and captions, drop in a music bed, then do a quick grade and balance the audio.
A YouTube-optimized export and a bold thumbnail finish the package, and because you follow the same steps every week, the whole edit goes faster each time. That repeatable process is what lets creators publish consistently without burning out — the workflow does the heavy lifting so the creativity has room to shine.
Templates Speed Up Your Workflow
A major efficiency boost comes from templates. Building reusable intros, outros, lower thirds, and graphic styles once, then dropping them into each new video, saves enormous time and keeps your channel’s look consistent across every upload.
Combined with a repeatable editing process, templates let you focus your energy on the content rather than rebuilding the same elements weekly. This template-driven approach, central to producing video regularly, is how creators maintain both quality and a sustainable publishing schedule.
Review Before You Export
A final review pass catches the small issues that undermine a polished video — a missed cut, an audio dip, a typo in a graphic, a pacing lull. Watching the whole video start to finish as a viewer would, before exporting, is a simple habit that consistently raises quality.
Noting and fixing these issues, then doing a final check, ensures the version you publish is your best. This review step, built into your workflow, is the difference between a video that feels professionally finished and one that ships with avoidable, distracting mistakes.
Once the edit is locked, video SEO for YouTube decides whether anyone actually finds it.
Promo loops for social media pair well with the Premiere Pro GIF export for quick previews.
Before uploading, compressing video file size in Premiere Pro keeps quality high while shrinking the file for faster transfers.
Key Takeaways
- A repeatable workflow keeps editing efficient and consistent.
- Organize, assemble a rough cut, then tighten the edit.
- Add B-roll, graphics, captions, and music.
- Polish color and audio, then export optimized with a thumbnail.
Frequently Asked Questions
What is a good YouTube editing workflow?
Organize your footage, assemble a rough cut of the main content, tighten the pacing, add B-roll and graphics, add captions and music, polish the color and audio, then export with YouTube-optimized settings and a great thumbnail.
Why do I need an editing workflow?
A repeatable workflow keeps your editing efficient, your quality consistent, and your output steady — essential when publishing regularly to grow a channel. Following logical steps each time produces engaging videos faster and more reliably.
What’s the first step in editing a YouTube video?
Organizing your footage — importing and sorting your clips, audio, music, and assets into a clear structure with labeled bins. Good organization upfront lets you edit smoothly without hunting for files throughout the project.
Sources: Wikipedia’s overview of YouTube.
Edit YouTube videos efficiently at Adobe Video World
Train hands-on with Adobe Certified Instructors across 100+ Premiere Pro & After Effects sessions.



