A workflow taught by Adobe Certified Instructors at Adobe Video World.
Inconsistent audio levels — one clip too quiet, the next too loud — instantly mark a video as amateur. Normalizing and adjusting levels brings everything to a consistent, professional loudness. Premiere Pro offers clip gain, normalization, and loudness tools to do this precisely. This guide covers each method and how to balance dialogue, music, and effects cleanly.

Why Consistent Levels Matter
When audio levels jump around, viewers constantly reach for the volume, which is exhausting and unprofessional. Consistent loudness across every clip lets the audience settle in and listen comfortably, the way they expect from polished video.
Level consistency also matters for platforms, many of which target a specific loudness standard. Getting your levels right means your video sounds balanced everywhere it plays, rather than too quiet on one platform and blasting on another.
Understand Audio Levels and dB
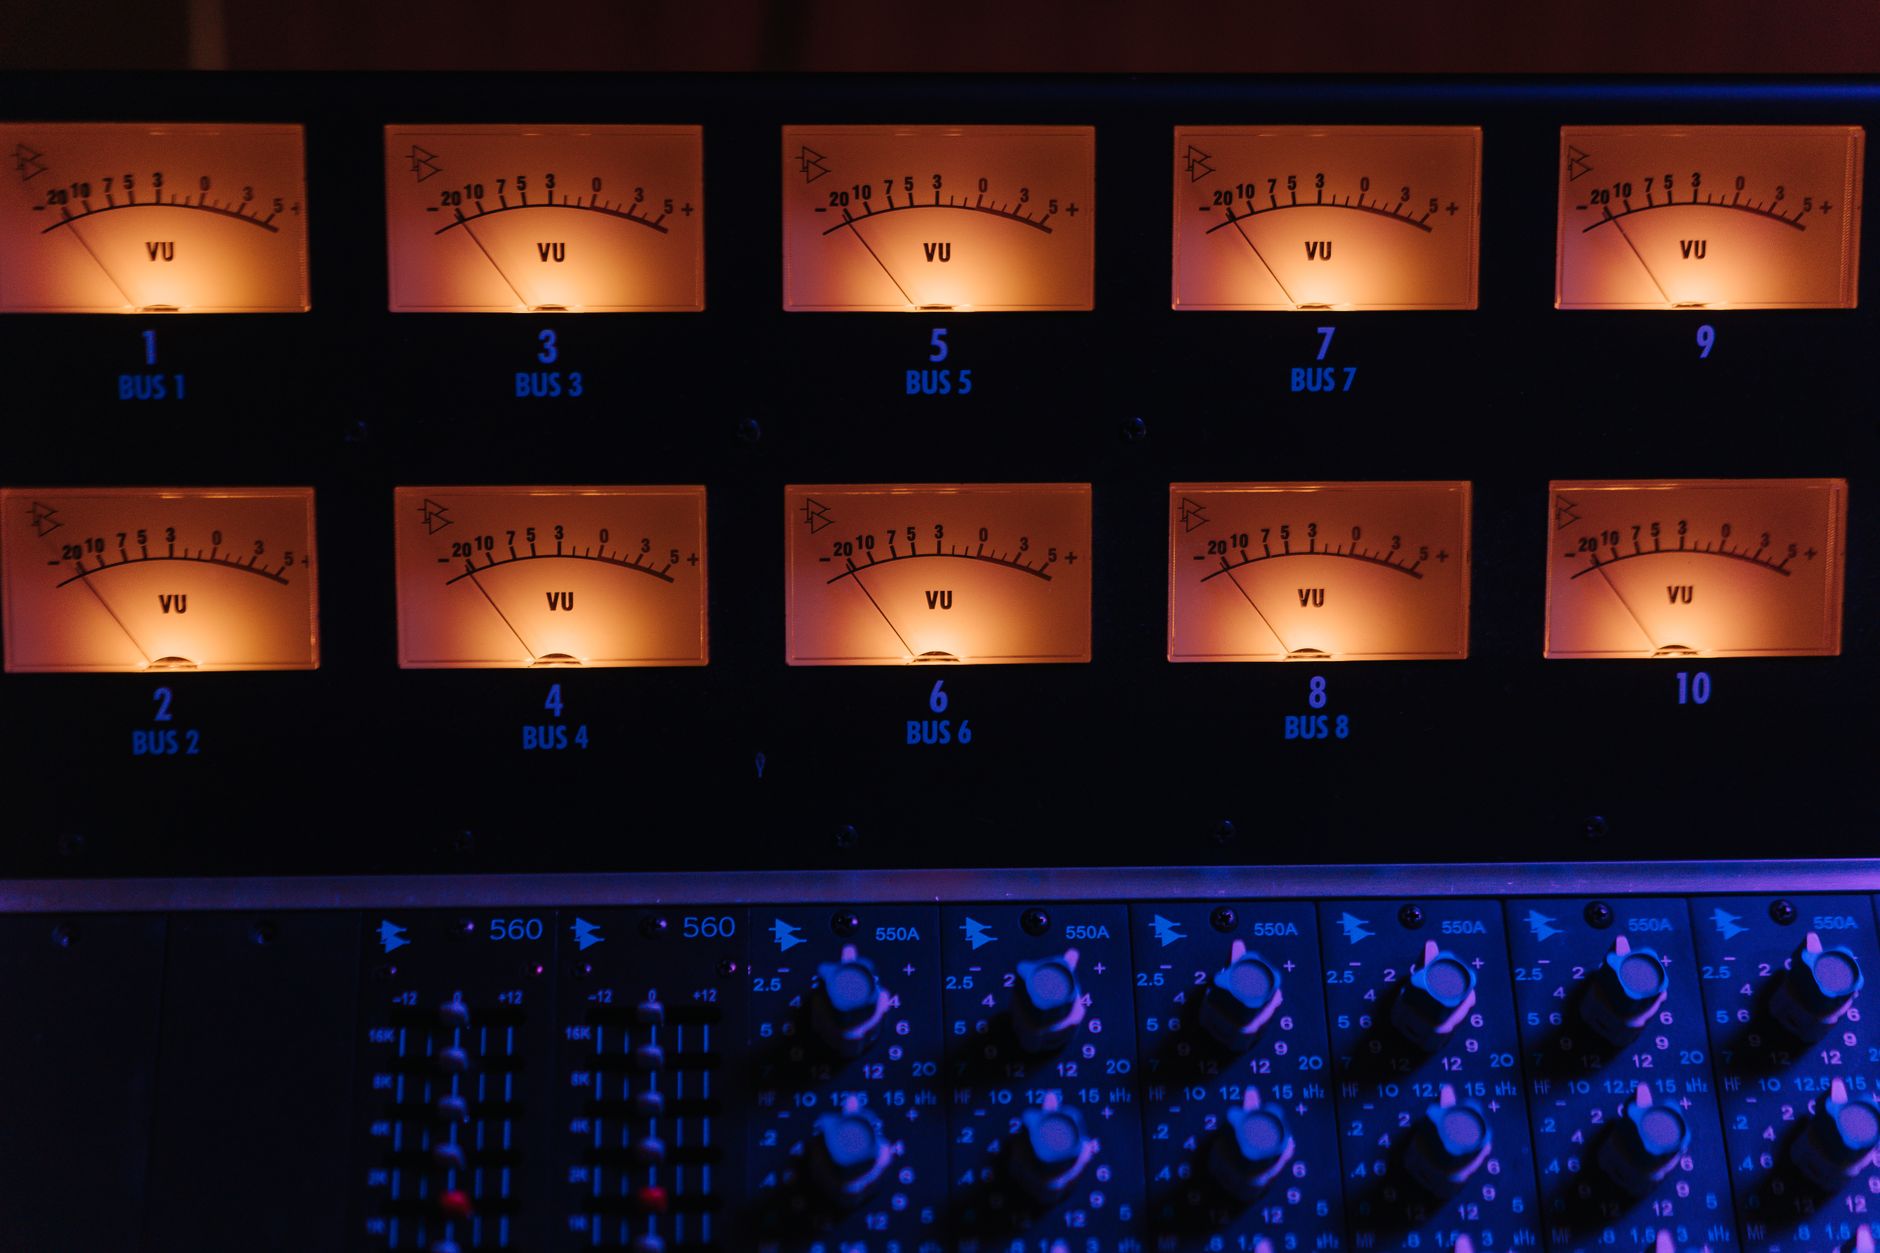
Audio is measured in decibels (dB), shown on Premiere’s audio meters. Levels peaking too high near 0 dB risk distortion and clipping, while levels sitting too low get lost, so the goal is a healthy range with headroom to spare.
Dialogue typically sits around -12 to -6 dB on the meters, with peaks staying below 0. Watching the meters as your video plays tells you instantly whether a clip is too hot, too quiet, or sitting in a comfortable range.
Adjust Clip Gain
The most direct way to change a clip’s level is Audio Gain. Select a clip, press G or right-click and choose Audio Gain, and adjust the gain in decibels to raise a quiet clip or tame a loud one before any other processing.
Clip gain is a clean, foundational adjustment applied before effects in the signal chain. Setting reasonable gain on each clip first gives you a balanced starting point, making the rest of your mixing far easier and more predictable.

Normalize Peaks
The Audio Gain dialog also offers Normalize Max Peak, which automatically raises a clip’s level so its loudest point hits a target you set. This is a quick way to bring quiet clips up to a consistent peak without guessing.
Normalizing to a peak around -3 to -6 dB gives clips a uniform ceiling with headroom. You can also normalize multiple selected clips together, which is handy for bringing a batch of similar recordings to a matching level at once.
Peak vs. Loudness Normalization
Peak normalization sets the loudest moment, but two clips can share a peak yet feel very different in loudness. Loudness normalization instead targets perceived volume, which often matters more for matching how clips actually sound to the ear.
Premiere can normalize to a loudness standard, which is what streaming and broadcast platforms care about. For dialogue consistency, loudness matching usually gives more natural results than peak alone, since it reflects how loud something feels rather than just its tallest spike.
Balance Dialogue, Music, and Effects
Beyond individual clips, a mix is about relationships. Dialogue should sit clearly on top, music supporting beneath it, and effects punching through where needed, so set each element’s level relative to the others rather than in isolation.
Ducking music under speech, as covered in our fade audio guide, keeps dialogue intelligible. The goal is a blend where every element is heard at the right moment, which is the heart of a professional mix.
Use the Essential Sound Panel
Premiere’s Essential Sound panel streamlines all of this. Tag clips as Dialogue, Music, SFX, or Ambience, and it offers tailored controls — including auto-matching loudness and ducking music — to balance your mix quickly.
Its Auto Match feature levels clips to a sensible loudness target with one click, a huge time-saver. For most editors, Essential Sound is the fastest route to consistent, professional levels without diving into manual decibel adjustments on every clip.
Meet Loudness Targets
Platforms measure loudness in LUFS, and many target around -14 LUFS for streaming. Mixing to a consistent loudness target ensures your video isn’t turned down or boosted by the platform, preserving the balance you carefully created.
You don’t need to obsess over exact numbers for casual content, but aiming for a consistent overall loudness keeps your videos comparable to professional ones. Checking your final mix against a target before export is the last step to clean, consistent audio.
Audio Leveling Best Practices
- Set clip gain first for a balanced starting point.
- Normalize peaks to a target like -3 to -6 dB for consistency.
- Match loudness, not just peaks, for natural-sounding dialogue.
- Use the Essential Sound panel’s Auto Match to level quickly.
Common Audio Level Mistakes
- Clips peaking near 0 dB and clipping into distortion.
- Inconsistent loudness that makes viewers ride the volume.
- Music drowning out dialogue in the mix.
- Ignoring loudness targets, so platforms re-level your audio.
A Real Leveling Workflow Example
Imagine a vlog cut from a quiet indoor interview, loud outdoor B-roll, and a music bed. You start by setting clip gain on each so they sit in a similar range, then normalize the interview clips together to a matching peak. The loud outdoor audio comes down, the quiet interview comes up, and the two stop clashing.
Finally you tag everything in the Essential Sound panel, let Auto Match level the dialogue, and duck the music beneath the talking. In a few minutes the mix goes from a jarring volume rollercoaster to a smooth, consistent listen — exactly the unglamorous but essential work that makes a video feel professionally finished.
Watch Out for Background Noise When Boosting
Raising a quiet clip’s gain lifts everything in it, including hiss, hum, and room tone. Push a faint recording up too far and the noise floor becomes obvious, so there’s a limit to how much you can rescue with gain alone before the background becomes distracting.
When a clip is both quiet and noisy, clean it first and then level it, rather than boosting the noise along with the voice. Pairing sensible gain with the cleanup tools in our noise removal guide keeps a boosted clip clear, so consistency never comes at the cost of an audible hiss.
Inconsistent loudness is among the video editing mistakes that lose viewers fastest, so leveling your audio is well worth the effort.
Balancing whispered vows against loud speeches is one of the trickier parts of editing wedding videos.
Leveling a single clip’s sound sometimes means first unlinking audio from video in Premiere to isolate it.
Key Takeaways
- Consistent levels are essential for professional audio.
- Use clip gain and peak normalization to set levels.
- Match perceived loudness, not just peaks, for dialogue.
- The Essential Sound panel levels a mix quickly.
Frequently Asked Questions
How do I normalize audio in Premiere Pro?
Select a clip, press G or right-click and choose Audio Gain, then use Normalize Max Peak to raise the clip’s loudest point to a target you set — around -3 to -6 dB gives consistency with headroom.
What audio level should dialogue be?
Dialogue typically sits around -12 to -6 dB on Premiere’s meters, with peaks staying below 0 dB to avoid clipping. Watch the meters as the video plays to confirm clips sit in a comfortable, consistent range.
What’s the difference between peak and loudness normalization?
Peak normalization sets a clip’s loudest moment, while loudness normalization targets perceived volume. Two clips can share a peak but feel different in loudness, so loudness matching usually gives more natural dialogue consistency.
Sources: Wikipedia’s overview of audio normalization.
Balance every level at Adobe Video World
Train hands-on with Adobe Certified Instructors across 100+ Premiere Pro & After Effects sessions.



