A workflow taught by Adobe Certified Instructors at Adobe Video World.
The VHS effect recreates the look of old analog videotape — scan lines, color bleeding, tracking glitches, and noise — for a nostalgic, retro aesthetic that’s hugely popular. After Effects builds it by layering several distortions. This guide covers the ingredients of a convincing VHS look and how to combine them for authentic analog nostalgia.
What Makes the VHS Look
The VHS aesthetic combines several analog artifacts: horizontal scan lines, color bleeding and separation, tracking distortion that warps the image, picture noise, and a slightly soft, washed-out quality. Together these evoke old videotape.
No single effect creates the look — it’s the layering of these imperfections that sells it. Understanding each ingredient lets you build the VHS effect convincingly and adjust how heavy or subtle the nostalgia is.
Add Scan Lines
Horizontal scan lines are a defining VHS feature. Creating thin, evenly spaced horizontal lines across the footage at reduced opacity mimics the way old CRT displays and tape drew the image in horizontal passes.
Animating the scan lines subtly, or adding a rolling band that drifts down the frame, enhances the analog feel. These lines, kept subtle, are one of the most recognizable cues that instantly read as old video.
Add Chromatic Aberration
Color separation, or chromatic aberration, is key to the VHS look. Offsetting the red, green, and blue channels slightly so colors bleed and fringe apart recreates the color smearing of analog tape.
This RGB split, similar to the technique in our glitch guide, gives edges the colored fringing characteristic of VHS. A subtle, constant offset, sometimes animated to shift, adds the analog color bleed that digital footage lacks.
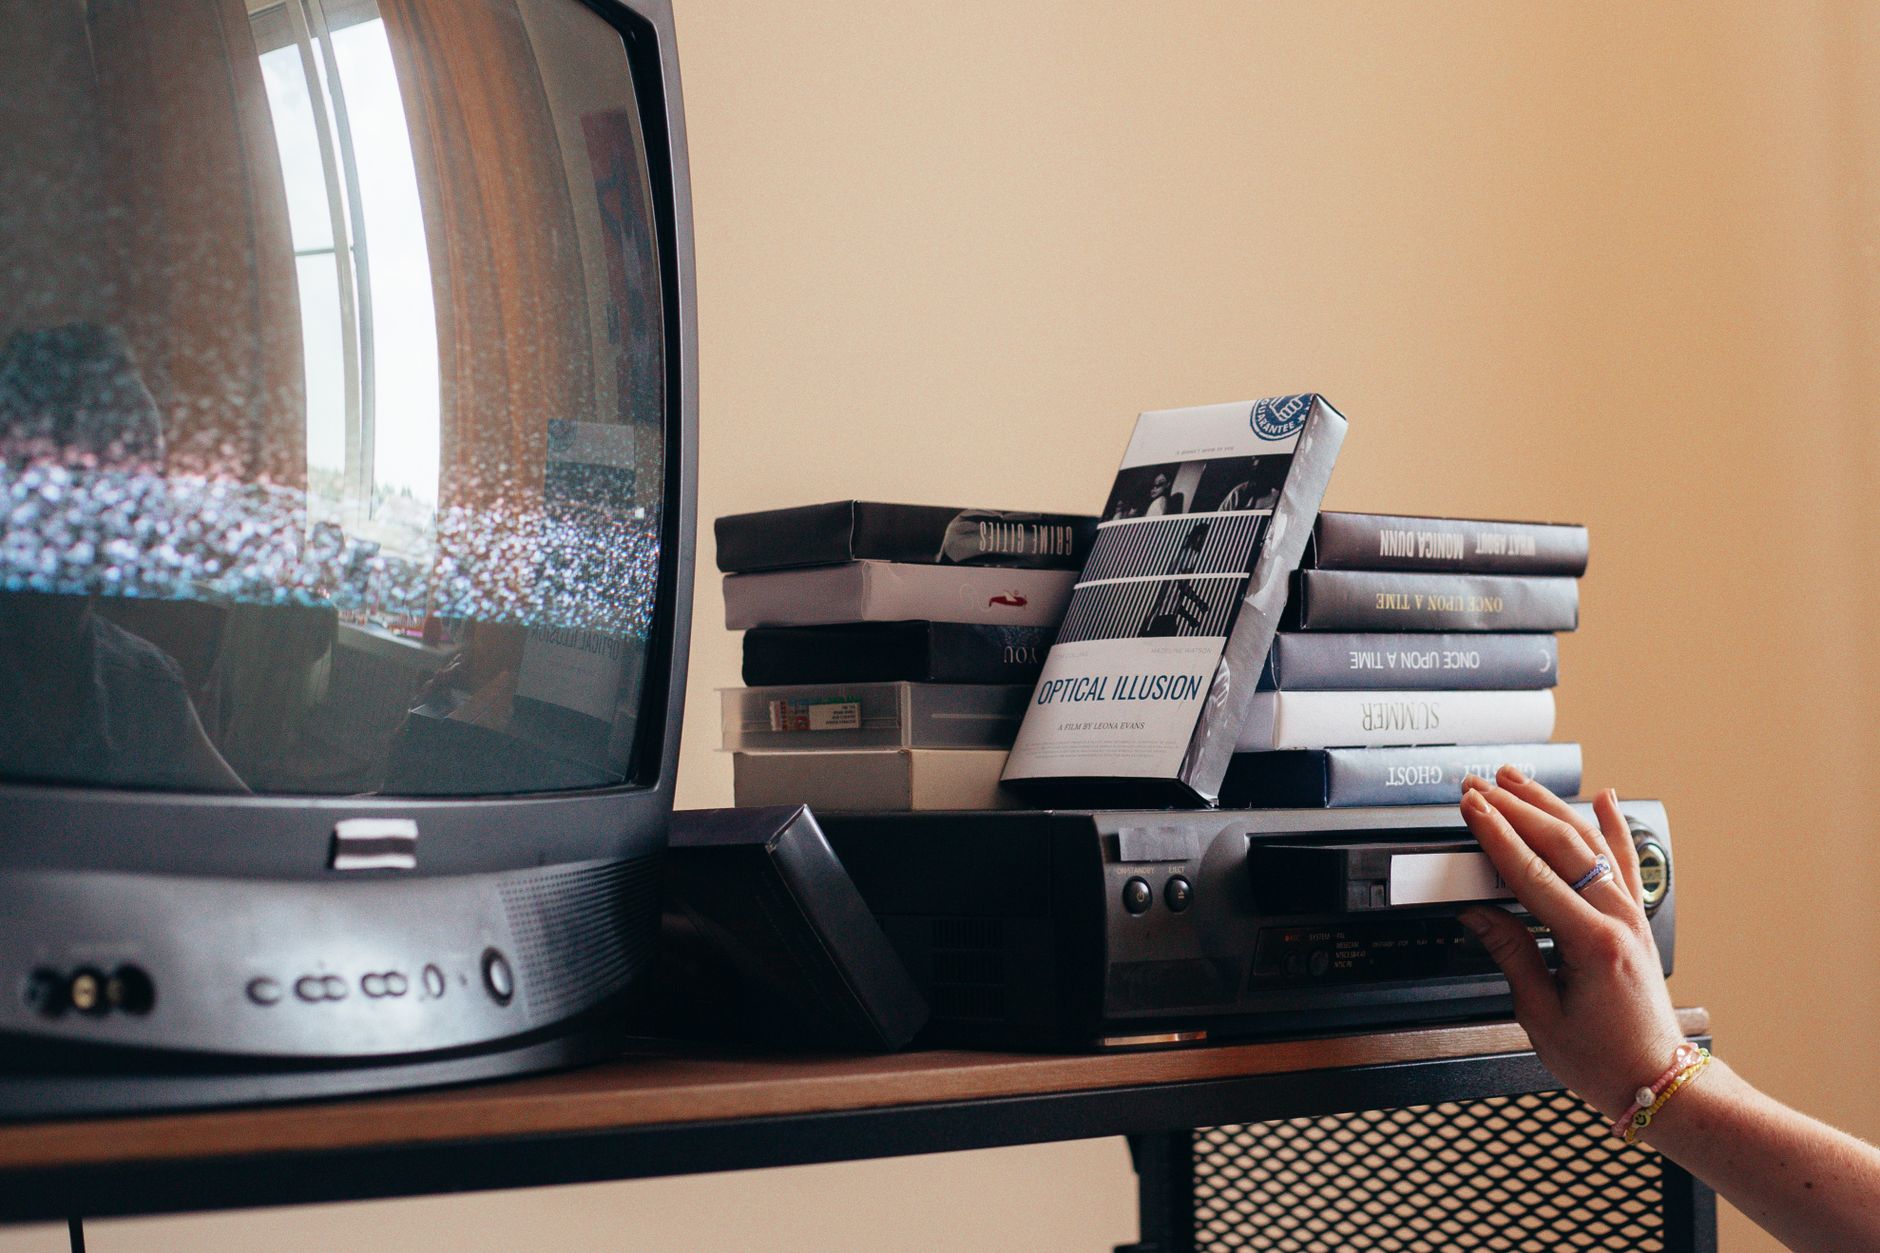
Add Tracking Distortion
VHS tapes had tracking problems — horizontal bands of distortion that warped and jittered the image. Adding occasional horizontal displacement, wavy distortion, or bands of glitching mimics these tracking errors for authenticity.
These intermittent distortions, especially a band of warping that rolls through the frame, are a hallmark of worn tape. Keeping them occasional rather than constant suggests a real, slightly damaged VHS rather than a uniform digital effect.
Add Noise and Static
Analog video is noisy, so adding picture noise and occasional static enhances the VHS feel. A layer of moving noise, plus bursts of static or dropout lines, recreates the grainy, unstable quality of old tape.
This noise should be coarser and more analog than fine film grain, matching the rougher texture of videotape. Combined with the other artifacts, it builds the degraded, lived-in look that makes VHS footage feel genuinely old.
Adjust the Color
VHS color is distinctive — often slightly washed out, with shifted hues and reduced contrast. Grading the footage to be a little faded, with a subtle color cast and softer blacks, matches the way old tape rendered color imperfectly.
Pushing the color toward a slightly degraded, retro palette, using our grading tools, reinforces the analog look. This color treatment, combined with the distortions, completes the convincing VHS aesthetic.
Add a Timestamp and UI
Authentic VHS often had on-screen elements — a timestamp, REC indicator, or play symbols from camcorders and VCRs. Adding these retro interface details in the corner, with the right font, instantly evokes a specific era of home video.
These UI touches, styled like old camcorder displays, add character and context. A blinking REC dot or a date stamp in the corner is a small detail that strongly reinforces the nostalgic, found-footage VHS feel.
Combine and Balance the Effects
The VHS look comes from layering these elements, but balance matters. Stacking scan lines, aberration, distortion, noise, and color treatment creates the effect, while keeping each subtle enough that they combine into a believable whole.
Overdoing any single element makes the effect look fake, so adjusting them together until they feel like genuine tape degradation is the goal. The art is in the combination, building authentic nostalgia from balanced imperfections.
VHS Effect Best Practices
- Layer scan lines, chromatic aberration, and tracking distortion.
- Add coarse noise and occasional static for analog texture.
- Grade the color faded with a subtle retro cast.
- Add retro UI like a timestamp, and balance all the elements.
Common VHS Mistakes
- Overdoing any single artifact until it looks fake.
- Fine film grain instead of coarser analog noise.
- Constant heavy distortion instead of occasional glitches.
- Clean, modern color that contradicts the retro look.
A Real VHS Example
Imagine creating a retro intro for a synthwave music channel. You stack subtle scan lines, offset the RGB channels for a constant color bleed, add a band of tracking distortion that rolls through every few seconds, and lay coarse analog noise over the top. A faded grade with lifted blacks and a slight green cast completes the degraded tape look.
Finally you add a blinking REC dot and a date stamp in the corner, and the clean modern footage transforms into something that looks pulled straight from an 80s camcorder. That balanced stack of artifacts — none overpowering — is what makes the VHS effect read as authentic nostalgia rather than a heavy-handed filter.
VHS for Nostalgia Marketing
The VHS aesthetic taps into powerful nostalgia, which is why it’s so popular in marketing aimed at audiences who remember the era, or younger viewers drawn to retro trends. A product reveal or title sequence wrapped in tape artifacts instantly signals a throwback theme, evoking warmth and a specific cultural moment.
Matching the degree of degradation to your goal keeps it effective — a light touch for a subtle retro hint, a heavy one for an overt 80s or 90s homage. Combined with the right music and a faded grade from our grading guide, the VHS look becomes a strong, emotionally resonant stylistic choice rather than just a novelty effect.
Build a VHS Look Library
Once you’ve assembled a VHS treatment you like, save it as a preset or a template so you can apply the whole stack of artifacts in one step. Because the look comes from many layered effects, having them bundled and adjustable saves rebuilding the scan lines, aberration, and noise from scratch each time.
Keeping a small library of retro looks — a heavy VHS, a subtle tape hint, an early-digital style — lets you match the degree of nostalgia to each project quickly. This template thinking turns a fiddly multi-effect build into a fast, reusable creative tool.
A nostalgic VHS look is even stronger with creating light leaks in After Effects layered over the footage.
For a dreamy, artistic portrait rather than a gritty tape look, creating a double exposure in After Effects layers silhouettes and scenery.
A soft, diffused overlay like the After Effects frosted glass effect can warm up an otherwise harsh retro look.
Key Takeaways
- The VHS look layers scan lines, color bleed, distortion, and noise.
- Use chromatic aberration for analog color separation.
- Add occasional tracking distortion and coarse noise.
- Grade the color faded and balance all the elements.
Frequently Asked Questions
How do I create a VHS effect in After Effects?
Layer several analog artifacts: horizontal scan lines, chromatic aberration (RGB channel offset), occasional tracking distortion, coarse noise and static, and a faded retro color grade. Balance them so they combine into a believable tape look.
What is chromatic aberration in the VHS effect?
Chromatic aberration is the color separation where the red, green, and blue channels are offset slightly so colors bleed and fringe apart. It recreates the color smearing characteristic of analog VHS tape.
How do I make a VHS effect look authentic?
Layer the artifacts but keep each subtle, use coarse analog noise rather than fine film grain, make distortions occasional rather than constant, grade the color faded, and add retro UI like a timestamp for context.
Sources: Wikipedia’s article on VHS.
Go retro at Adobe Video World
Train hands-on with Adobe Certified Instructors across 100+ Premiere Pro & After Effects sessions.



