A workflow taught by Adobe Certified Instructors at Adobe Video World.
The double exposure effect blends two images so one shows through the other — typically a portrait silhouette filled with a landscape or scene. It’s a striking, artistic look popular in titles and music videos. After Effects creates it with blending modes and mattes. This guide covers building a convincing double exposure.
What Double Exposure Is
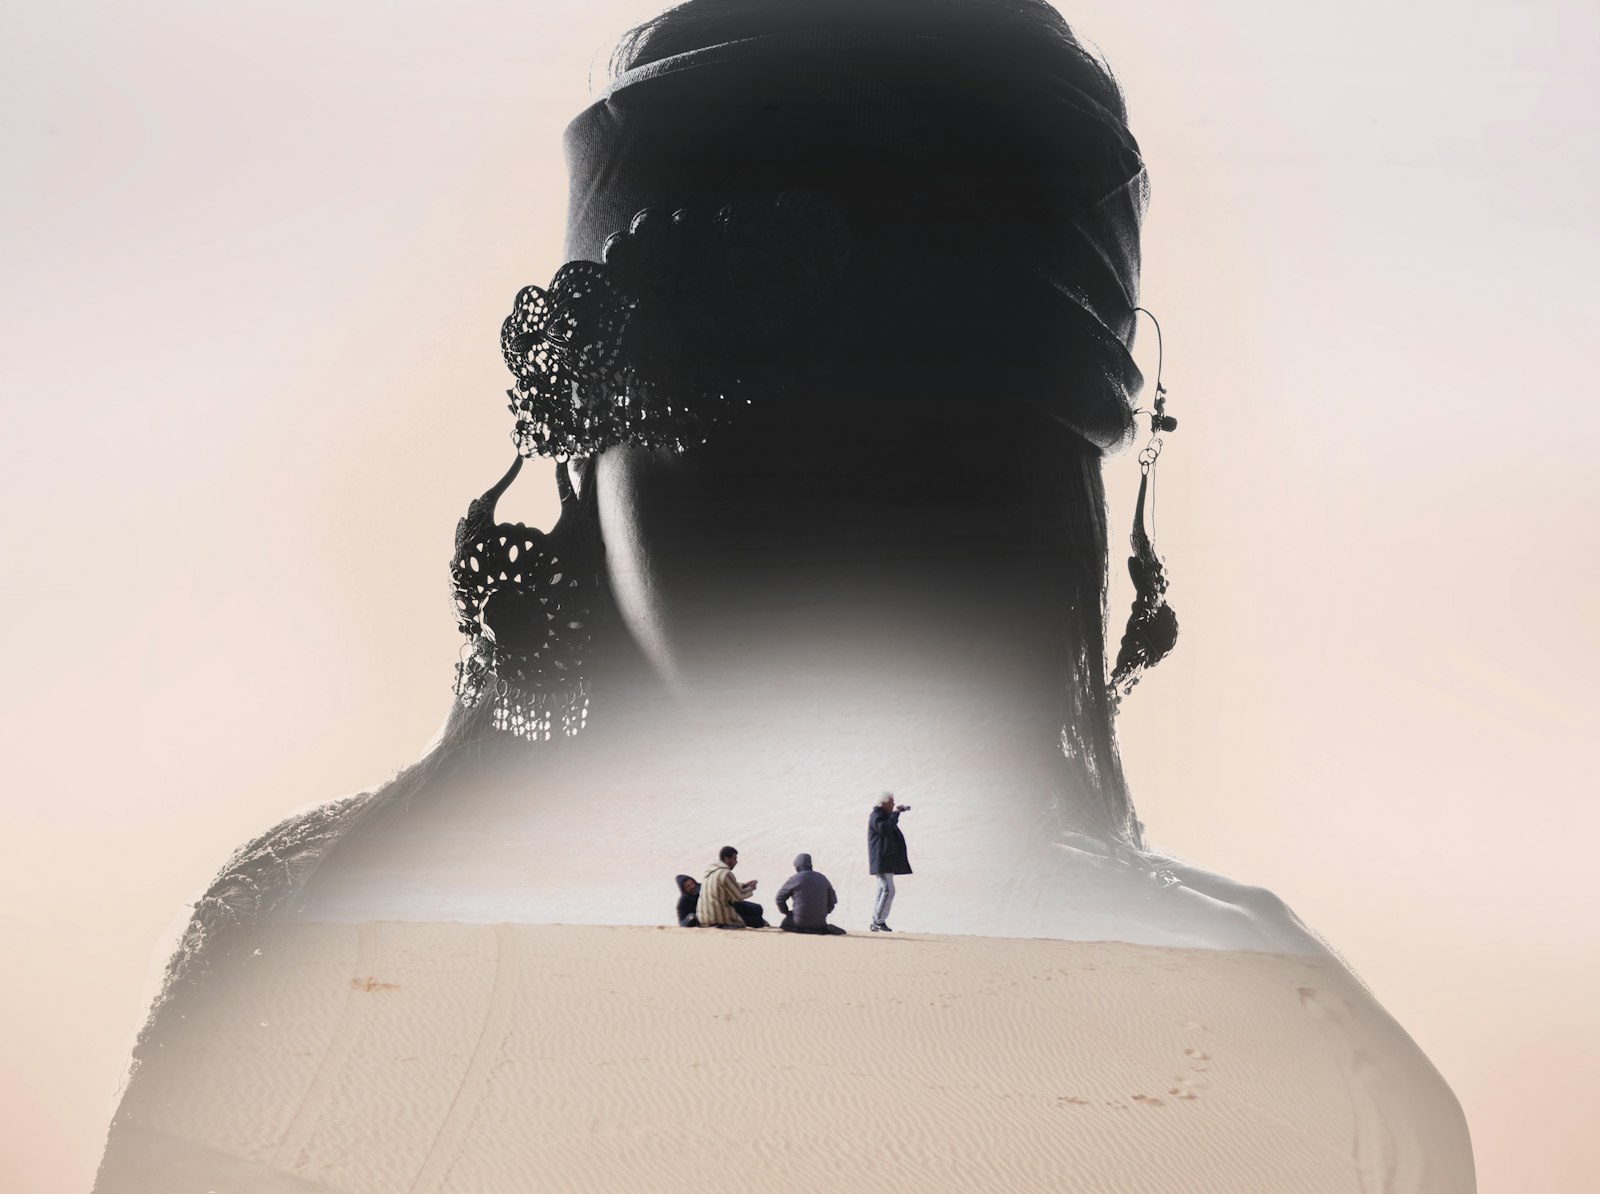
Double exposure comes from photography, where two images were exposed onto the same frame of film, blending them together. The classic look fills a person’s silhouette with a second image — a forest, a city, a sky — creating a dreamy, artistic composite.
Digitally, the effect combines two layers so they merge into one evocative image. It’s used for portraits, titles, and stylized visuals, conveying mood and storytelling through the interplay of the two blended images.
Choose Your Two Images
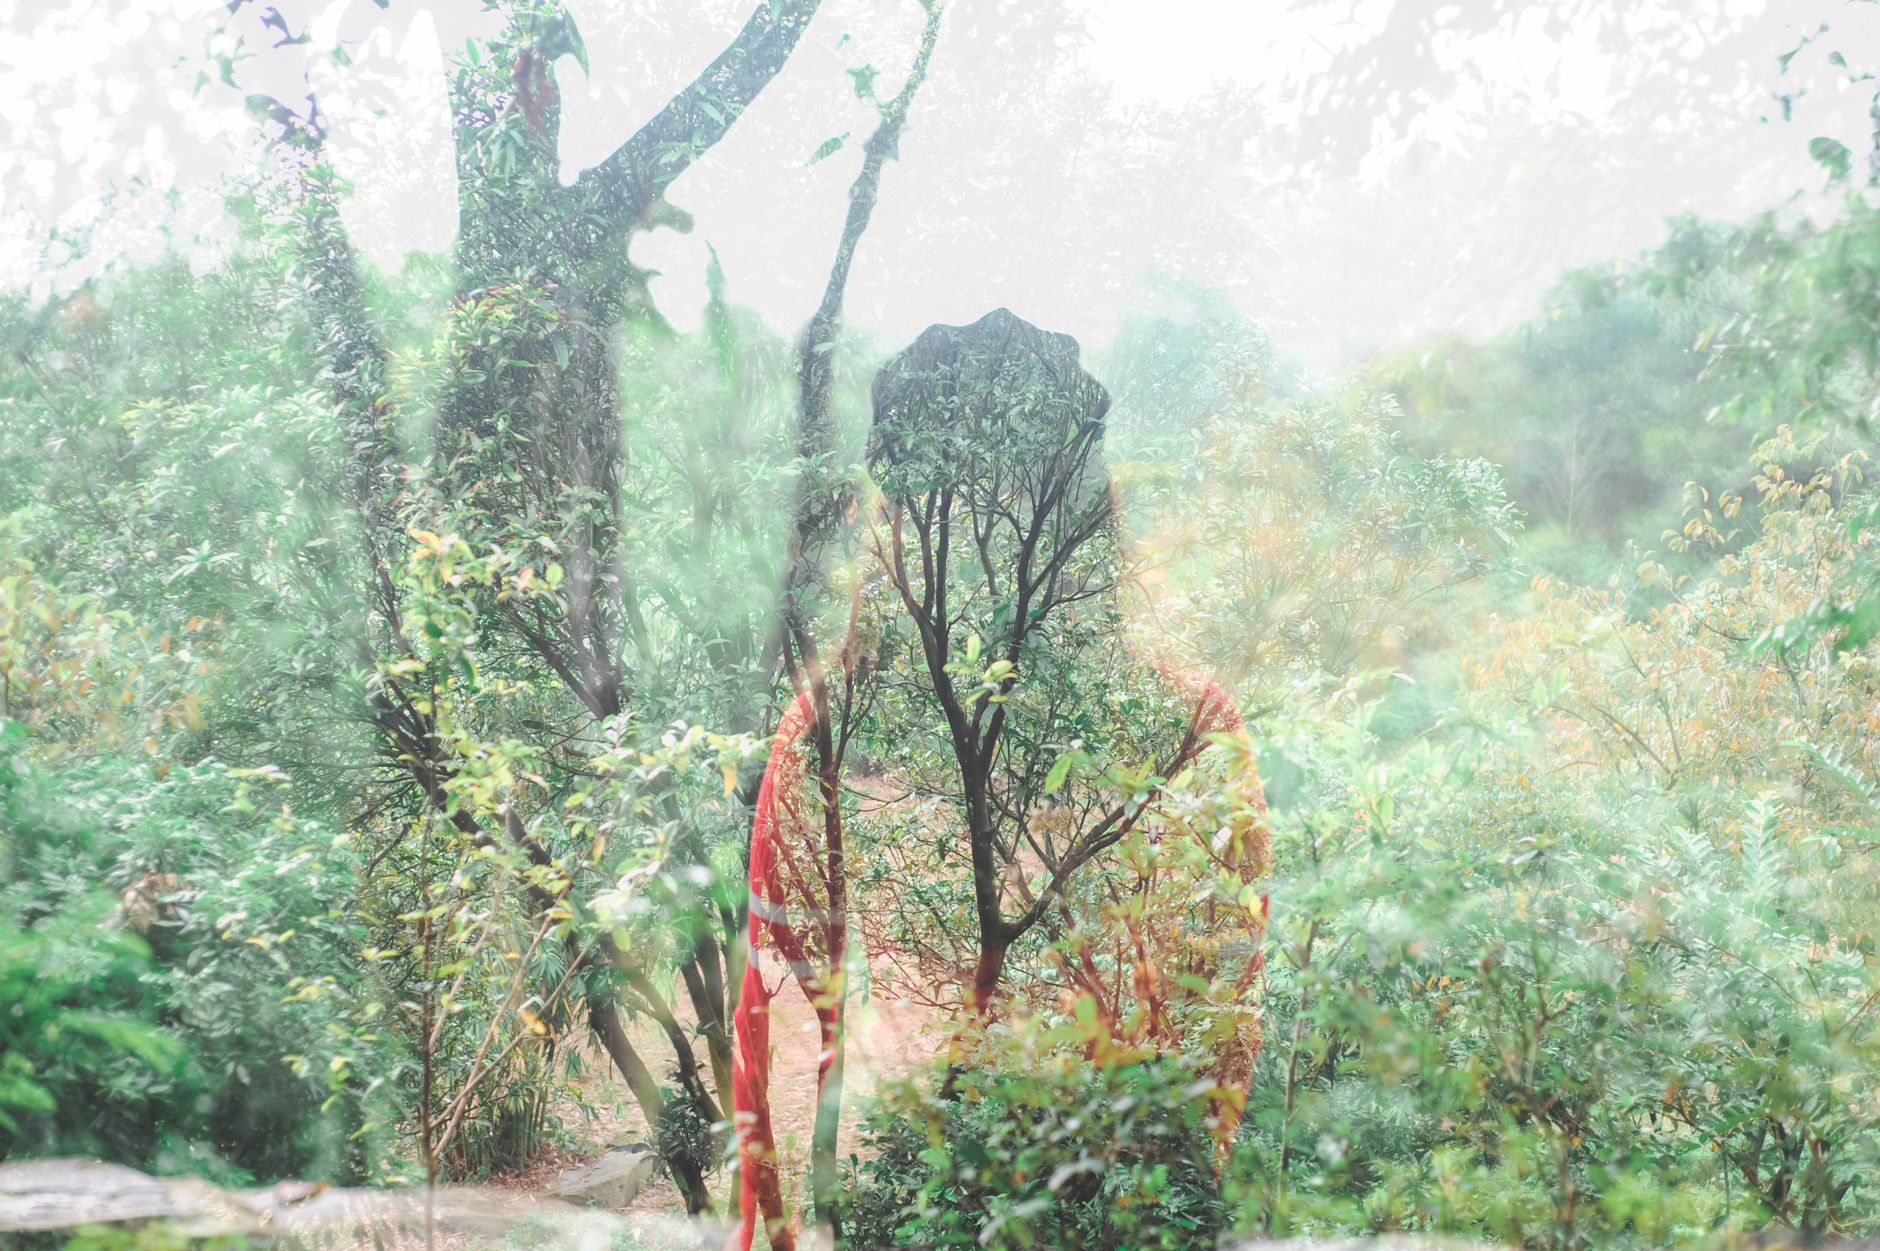
A strong double exposure starts with the right pair. Typically one is a portrait or subject with a clear shape against a clean background, and the other is a textured scene — landscape, trees, cityscape — that will fill and show through the subject.
High contrast in the portrait, with the subject distinct from its background, makes the blend cleaner. Choosing images that complement each other in mood and tone is what gives the final composite its evocative, intentional feel.
Blend with Blending Modes
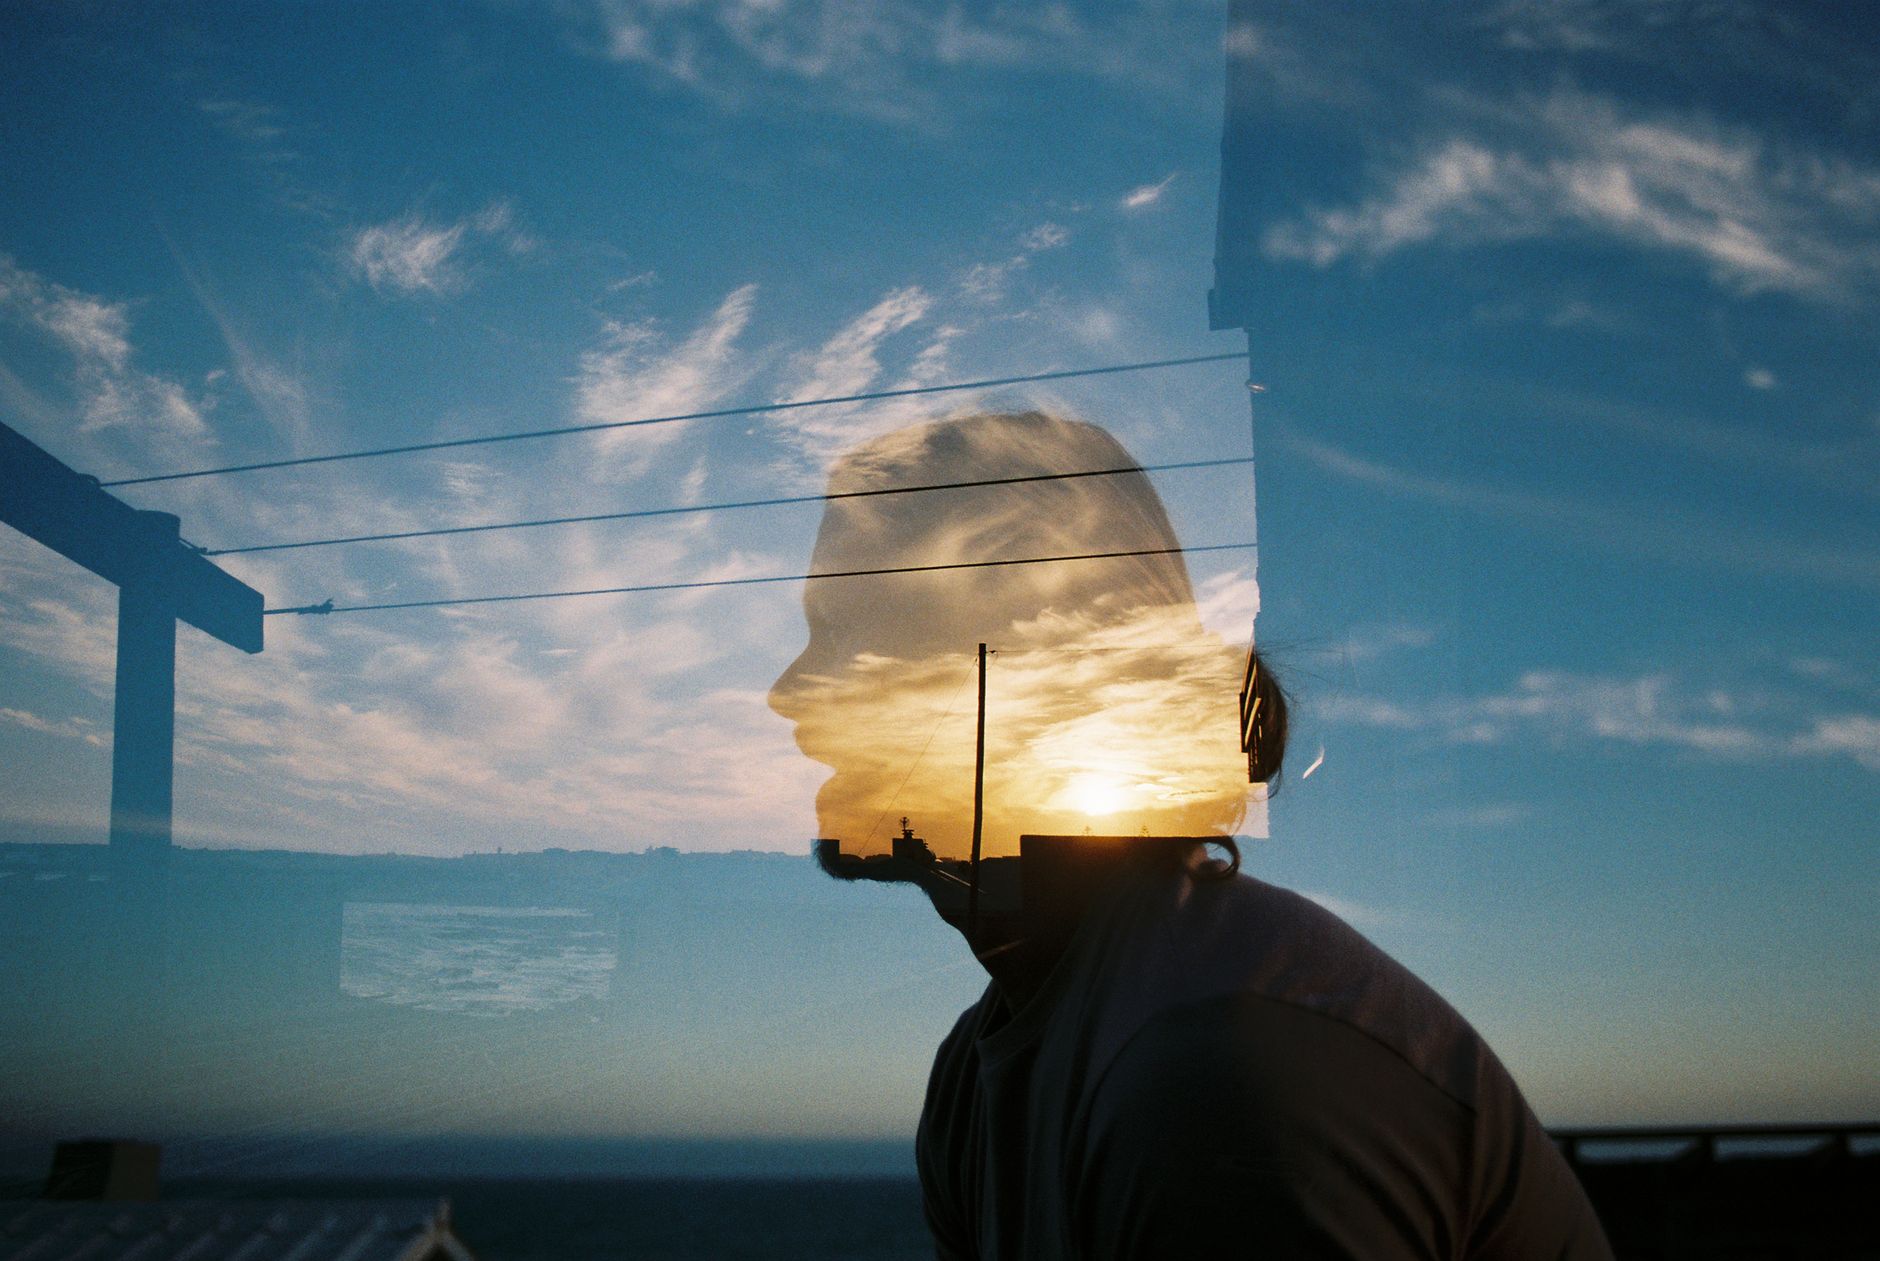
The simplest method uses blending modes. Placing the scene over the portrait and setting it to Screen or Lighten makes the scene show through the darker areas of the portrait, creating the classic blended look.
Different modes give different results, so experimenting reveals the best blend for your images. This blending-mode approach is quick and produces the dreamy, merged quality that defines double exposure, especially on a portrait against white.
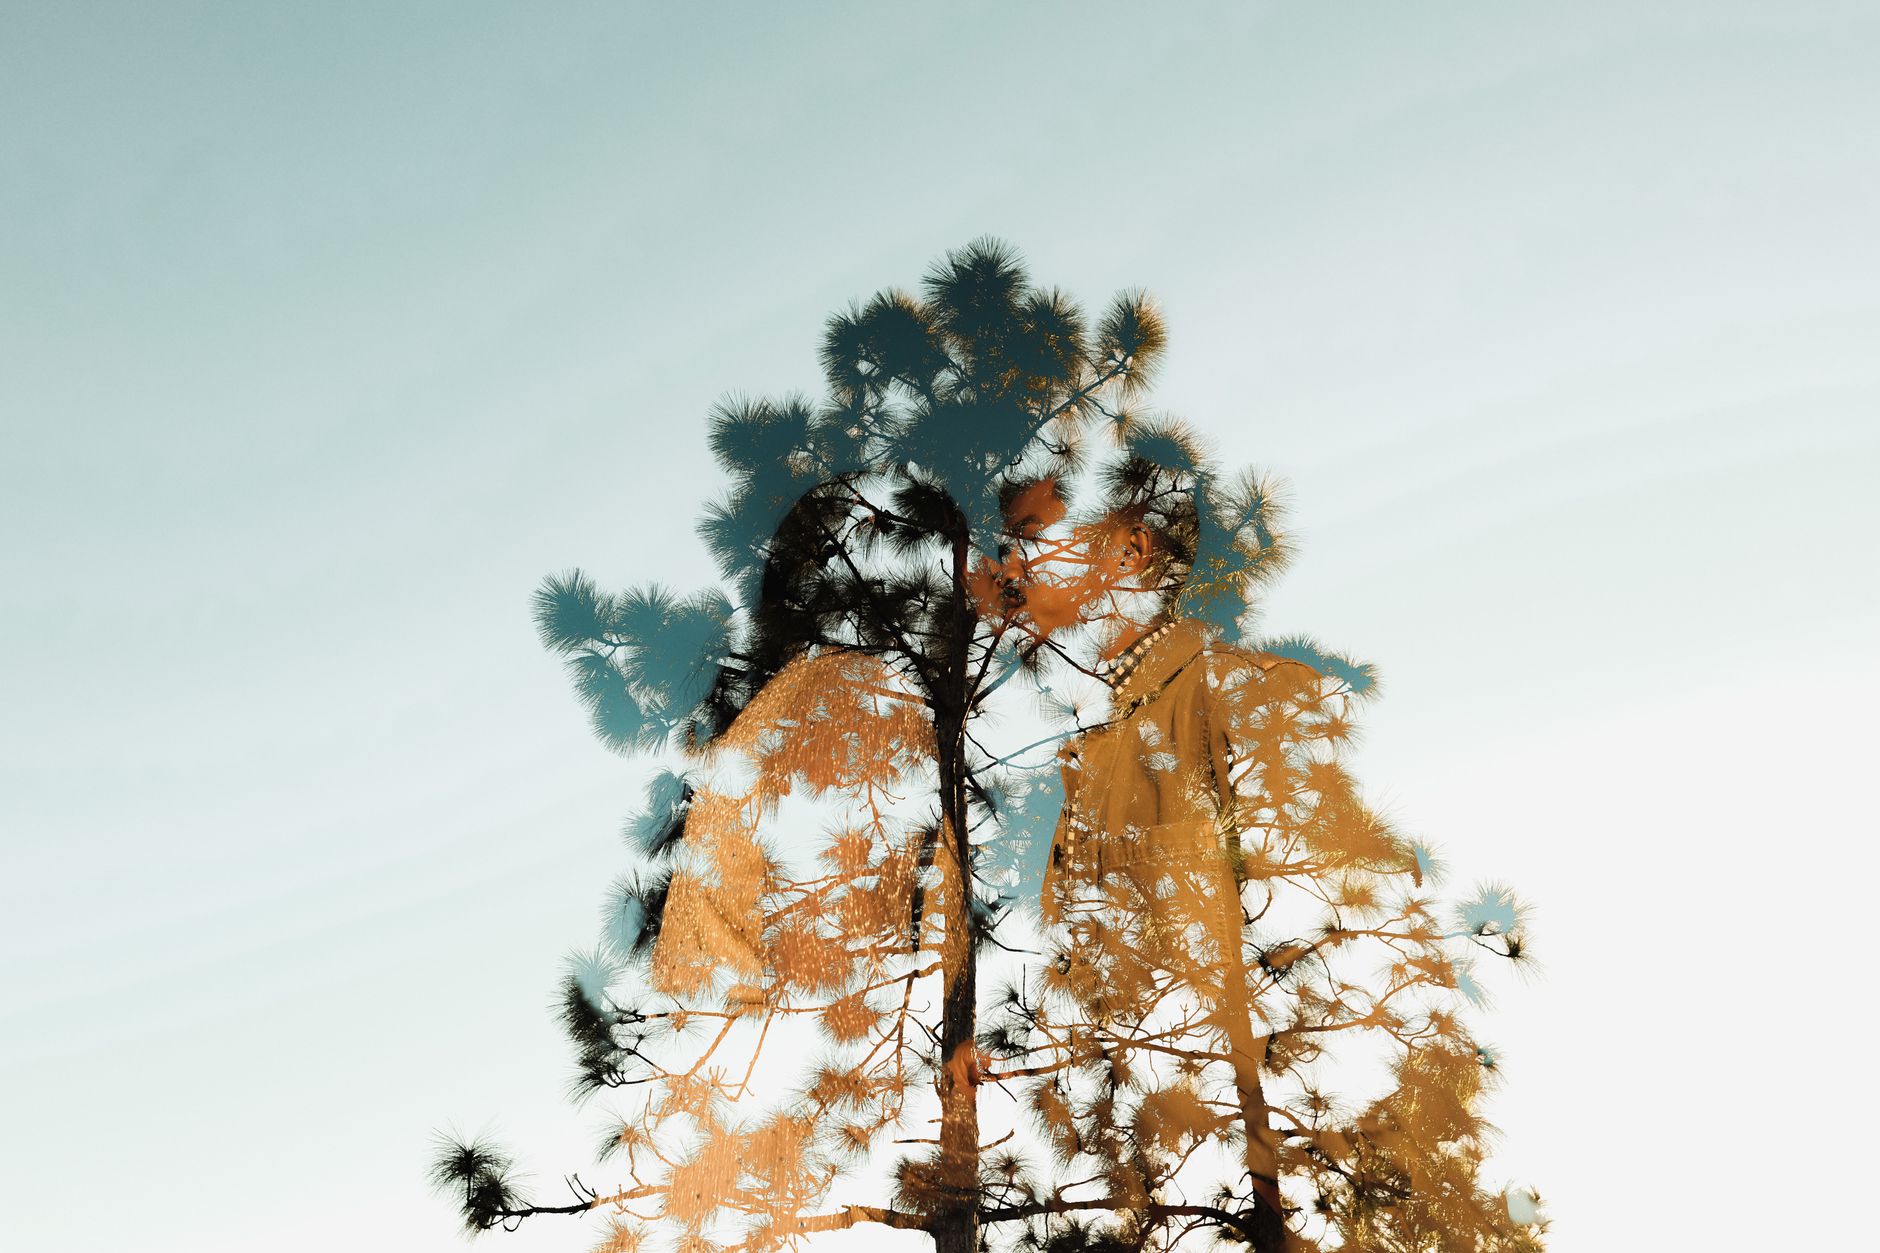
Use a Matte for Control
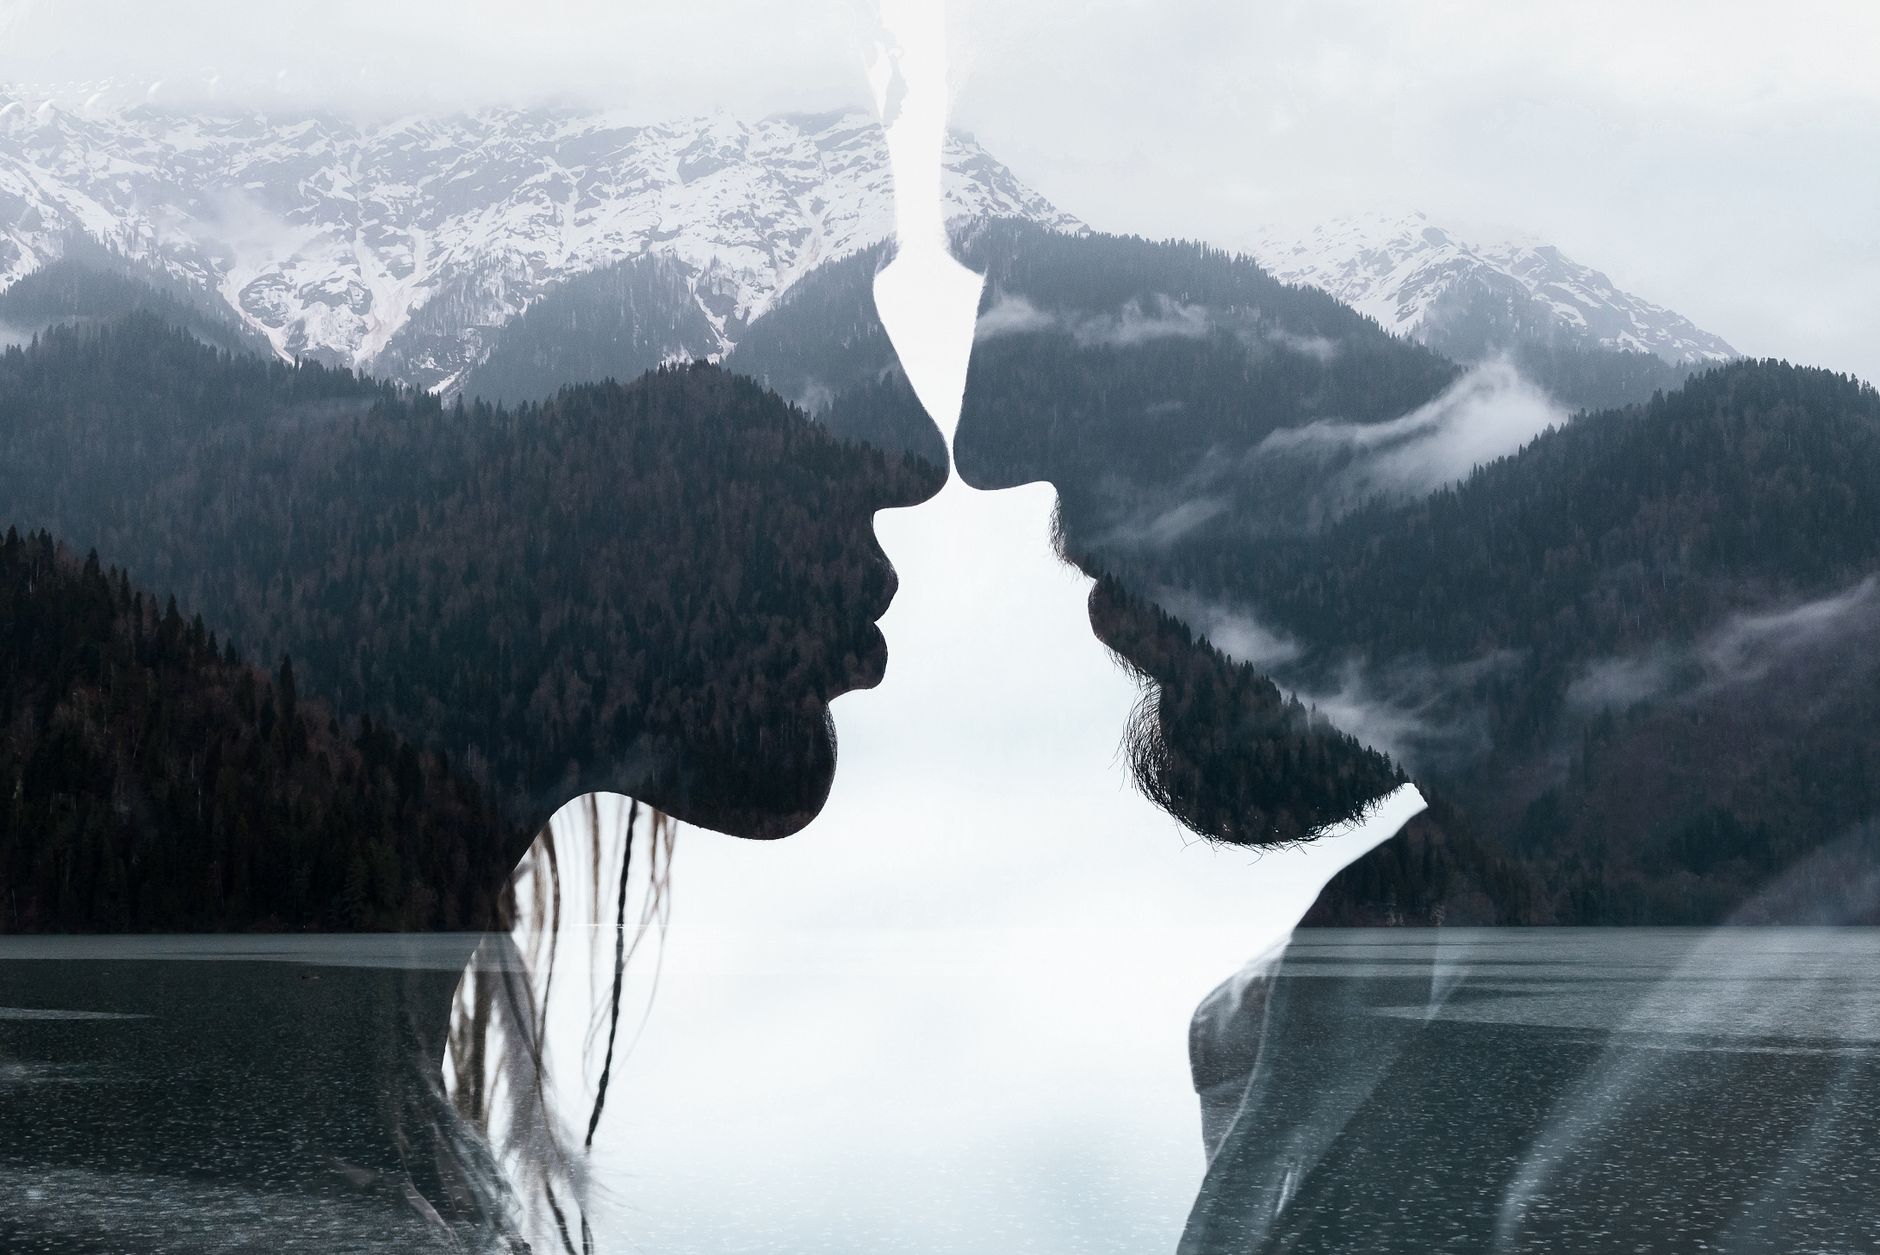
For more control, use the portrait’s silhouette as a matte to confine the scene to the subject’s shape. This fills the silhouette precisely with the second image while keeping the background clean.
Combining a matte with blending modes gives the cleanest, most controllable result — the scene contained within the subject, blended naturally. This method is how polished double exposures are built, offering precision beyond blending modes alone.
Balance the Blend
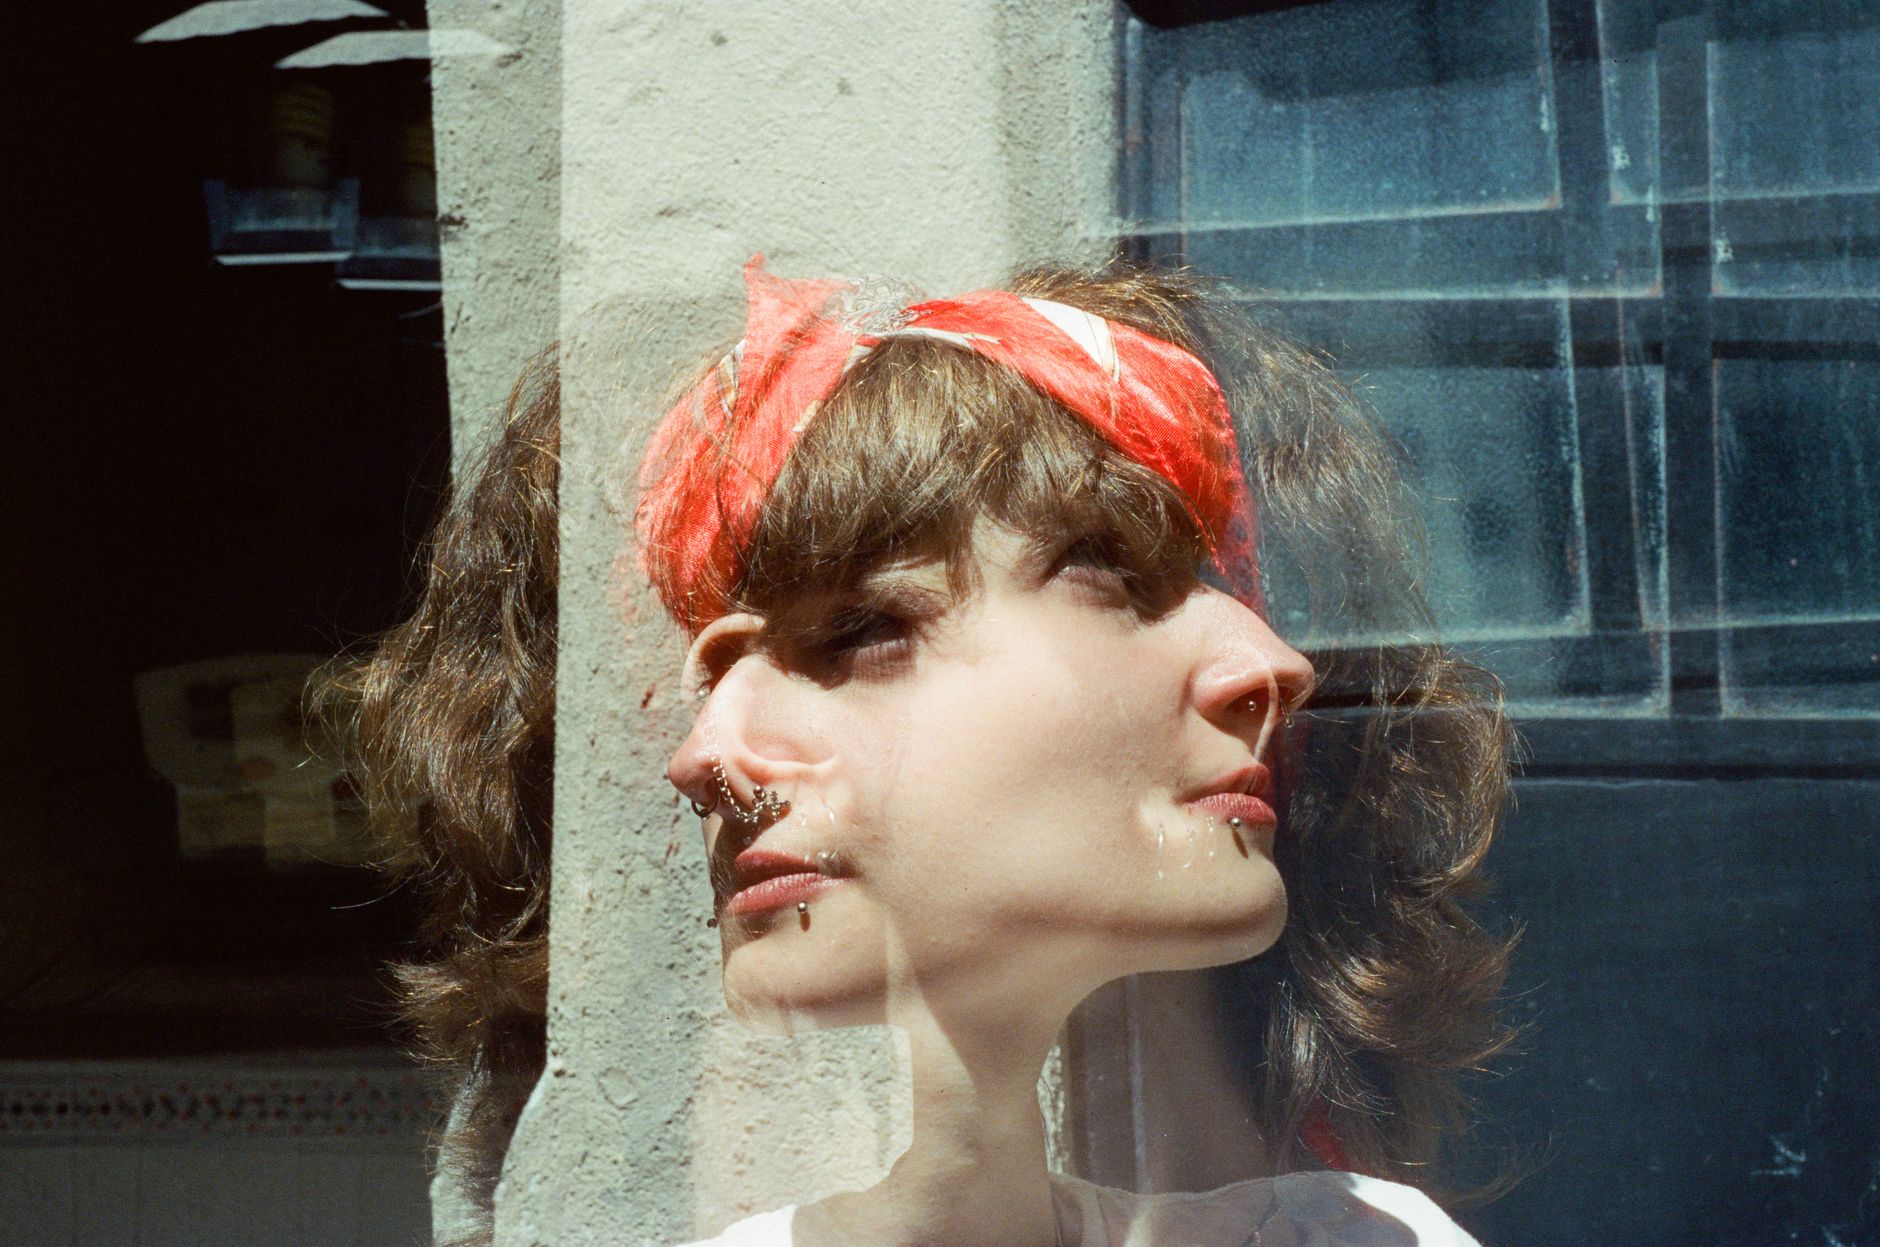
A great double exposure balances both images so neither overwhelms the other. Adjusting the opacity and levels of each layer so the portrait stays recognizable while the scene reads clearly within it is key to a successful composite.
Too much of one image loses the effect, so tuning the balance until both contribute is essential. Often you’ll mask or grade specific areas, letting the subject’s face stay clear while the scene fills the rest, for an evocative blend.
Grade for Mood
Color ties a double exposure together. Grading both images toward a unified palette — often monochrome or a duotone — harmonizes them into one cohesive piece, using our color theory for an artistic, intentional look.
A shared color treatment is what makes the two images feel like one. Whether black and white, a warm duotone, or a moody palette, grading the composite as a whole, rather than leaving the images mismatched, elevates the result.
Animate the Double Exposure
Double exposures can animate for motion graphics and titles. Using moving footage for the scene layer, or animating the blend and the images, brings the effect to life, with a landscape drifting within a portrait or the exposure forming over time.
These animated double exposures are striking in title sequences and music videos. Combining moving footage with the matte and blend, eased smoothly, creates living artistic composites that the static version can’t achieve.
Use It for Titles and Storytelling
Double exposure works beautifully for titles, where a subject’s silhouette filled with a relevant scene conveys theme and mood instantly. It’s a poetic way to combine a person with a place or idea, telling a story in a single image.
This makes it popular for film titles, documentary openers, and stylized branding. Pairing the technique with text and the right images turns a title card into an evocative, memorable visual statement.
Double Exposure Best Practices
- Choose a high-contrast portrait and a complementary scene.
- Blend with Screen or Lighten, or use the portrait as a matte.
- Balance both images so neither overwhelms the other.
- Grade toward a unified palette for a cohesive look.
Common Double Exposure Mistakes
- A low-contrast portrait that won’t separate from its background.
- One image overwhelming the other, losing the blend.
- Mismatched color that makes the images feel separate.
- A cluttered scene that obscures the subject’s shape.
A Real Double Exposure Example
Picture a documentary title blending a portrait of a sailor with crashing ocean waves. You shoot the portrait against a bright background, place the wave footage above it set to Screen, and use the portrait’s silhouette as a matte so the sea fills only his profile. Grading both toward a cool, desaturated blue ties them into one haunting image.
As the waves drift slowly within his silhouette, the composite feels alive and poetic, telling his story in a single frame. That combination of a high-contrast portrait, a matte, blending, and a unified grade is exactly what gives a double exposure its evocative, cinematic power.
Double Exposure Variations
Beyond the classic portrait-and-landscape, double exposure spans many creative variations. Blending architecture with nature, a face with a cityscape, or two moving clips together all use the same principles to create surreal, layered imagery, each combination evoking a different mood and meaning.
Experimenting with which images to pair, and how heavily each shows through, opens up endless artistic possibilities. Combined with the compositing control of track mattes, double exposure becomes a flexible storytelling device rather than a single fixed look, suited to titles, music videos, and abstract art alike.
Where double exposure blends whole images, a frosted glass effect in After Effects blurs and textures a layer into a glassy panel.
After an artistic blend, a VHS retro effect in After Effects adds nostalgic scan lines and chroma noise for an analog feel.
The transparent, additive layering behind a double exposure also builds a hologram effect in After Effects.
Layering data over footage uses the same additive blending as the After Effects HUD interface.
Key Takeaways
- Double exposure blends two images into one evocative composite.
- Use blending modes or the portrait’s silhouette as a matte.
- Balance both images and grade toward a unified palette.
- Animate it for titles, music videos, and storytelling.
Frequently Asked Questions
How do I create a double exposure in After Effects?
Place a scene image over a high-contrast portrait and set it to Screen or Lighten so it shows through the darker areas, or use the portrait’s silhouette as a matte to fill the subject’s shape. Balance both and grade to a unified palette.
What images work best for double exposure?
A portrait or subject with a clear shape against a clean, high-contrast background, paired with a textured scene like a landscape, trees, or cityscape. The contrast helps the blend stay clean and the subject recognizable.
How do I make a double exposure look cohesive?
Grade both images toward a unified palette — often monochrome or a duotone — so they feel like one piece. Balance their opacity and levels so the subject stays recognizable while the scene reads clearly within it.
Sources: Wikipedia’s article on multiple exposure.
Blend images artfully at Adobe Video World
Train hands-on with Adobe Certified Instructors across 100+ Premiere Pro & After Effects sessions.



