A workflow taught by Adobe Certified Instructors at Adobe Video World.
The glitch effect — that jittery digital distortion of split colors, displaced blocks, and static — is everywhere in modern music videos, gaming content, and title sequences. It looks complex but breaks down into a few simple techniques you can combine. This guide shows you how to build a convincing glitch effect from scratch in After Effects.

What Makes a Glitch Look Real
A convincing glitch mimics how digital signals actually fail: colors separate, blocks of the image shift, and static flickers in. The look feels chaotic, but it’s really a controlled combination of a few specific distortions layered together. Understanding those ingredients lets you build any glitch you imagine.
The three pillars are channel separation (the red, green, and blue splitting apart), displacement (parts of the image jumping out of place), and noise or static. Layer these with sharp, irregular timing and you get the unmistakable feel of technology breaking down on screen.
Split the RGB Channels
The signature glitch look is the red, green, and blue channels pulling apart. Apply the Channel > Shift Channels or a dedicated RGB-split technique, offsetting the color channels slightly in different directions so colored fringes appear around edges.
Animating this offset so it jumps abruptly rather than moving smoothly sells the digital feel. Even a small RGB split, flickering on and off, instantly reads as a glitch and is often all a subtle effect needs.
Add Displacement
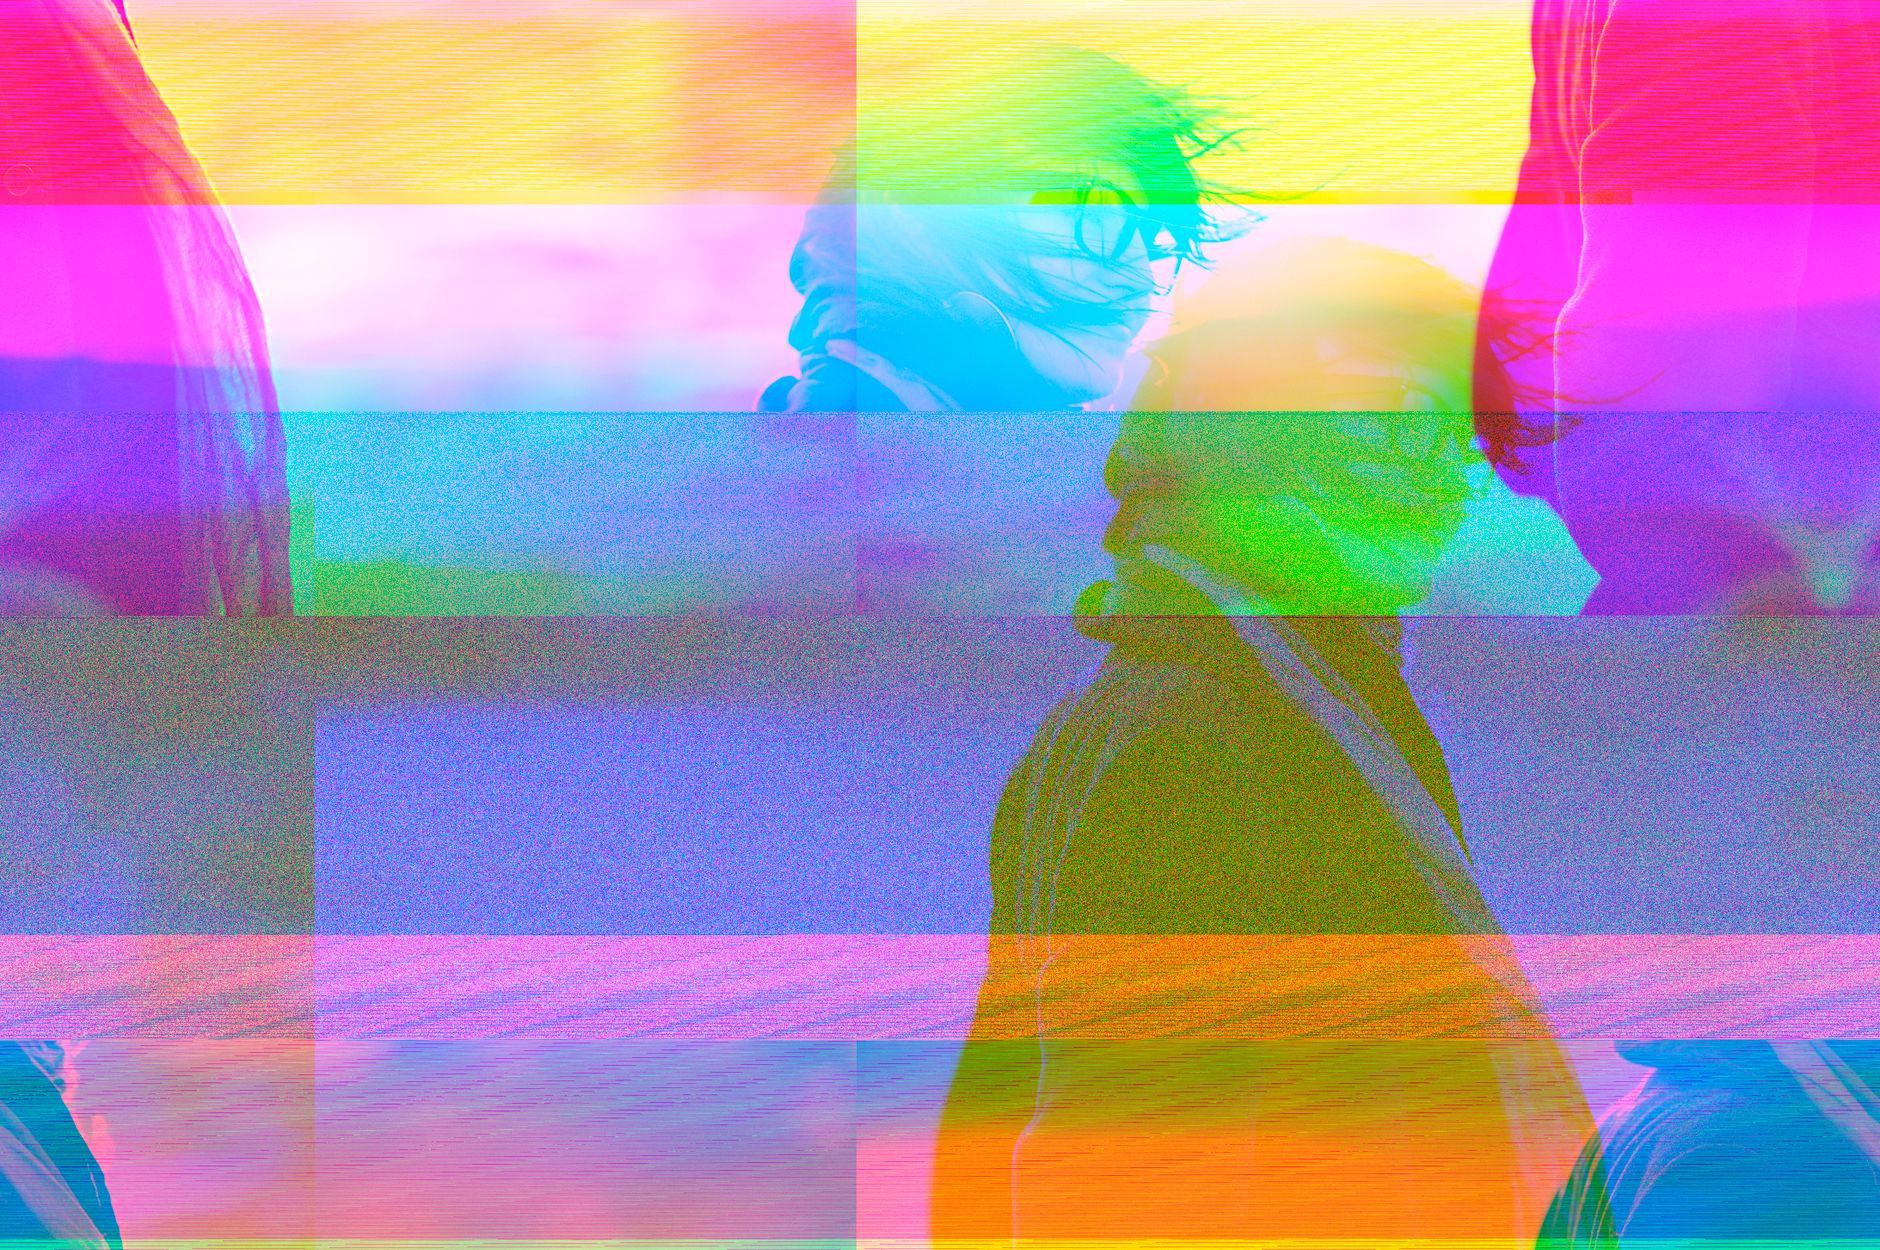
Real glitches tear the image into shifted blocks. Use effects like Displacement Map or Transform to push horizontal slices of your footage sideways, breaking the picture into offset bands that jump around.
Drive the displacement with a noise or fractal source so the shifting feels random and digital rather than smooth and organic. This block-shifting is what gives a heavy glitch its violent, broken-signal energy, and you control its intensity by how far the slices move.
Layer in Noise and Static
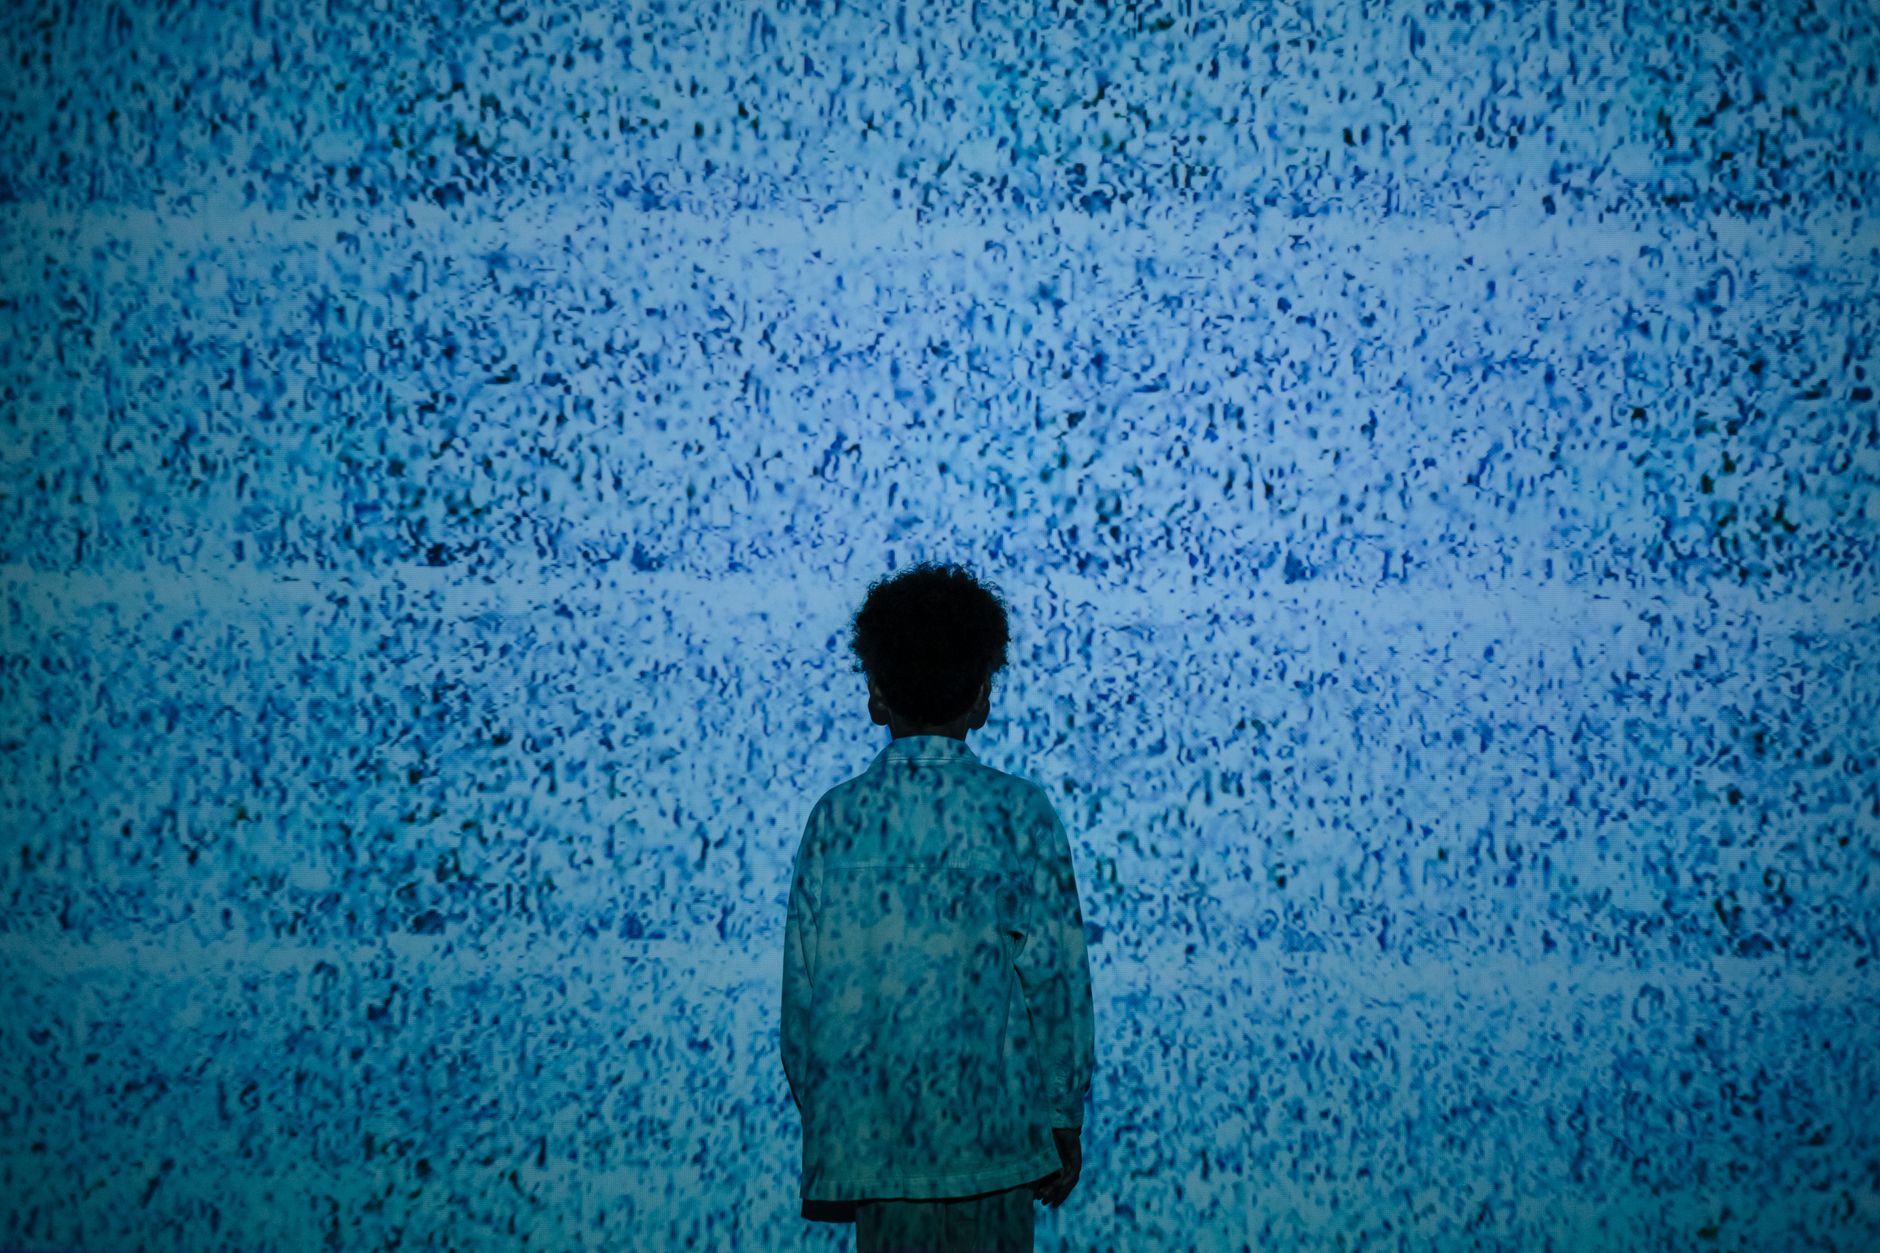
Static and digital noise tie the effect together. Add a Noise effect or a grain overlay that flickers in during the glitch moments, and consider blocky pixelation for a more compressed, corrupted feel.
Keep the noise intermittent rather than constant — a glitch is a momentary failure, not a permanent state. Flashing static in for a few frames at the peak of the glitch makes those moments hit harder and feel like the signal genuinely cut out.
Time the Glitch with Sharp Keyframes
Timing is what separates a cheap glitch from a great one. Glitches should be sudden and irregular, so use sharp, un-eased keyframes — the opposite of the smooth eased motion you’d normally aim for. Abrupt jumps feel mechanical and broken in exactly the right way.
Cluster your glitch frames into short, intense bursts with calm moments between them, rather than a constant flicker. This rhythm of sudden chaos and stillness is far more convincing than a uniform shake, and it lets you punctuate specific beats.
Use Expressions for Automatic Glitching
Hand-keyframing every jump is tedious, so let code do it. The wiggle expression on position or on an effect’s value creates constant random movement, and combining it with logic that only triggers occasionally produces automatic, organic glitch bursts.
Our expressions guide covers wiggle and the basics you’ll need. Driving displacement and RGB offsets with expressions means a glitch that never repeats and updates itself as you change your footage underneath.
Build a Glitch Transition
Glitches make striking transitions between shots. Stack two clips, and over the cut, ramp the glitch effect up to its most violent at the exact moment one clip switches to the next, hiding the cut inside the chaos.
This ‘glitch transition’ is a staple of fast-paced edits and music videos. Pre-compose your glitch elements so you can drop the whole transition between any two clips, turning a complex effect into a reusable building block for future projects.
Keep It Tasteful
The biggest glitch mistake is overusing it. A constant, heavy glitch quickly becomes exhausting and distracting, while a well-timed burst on a beat or a key word lands with real impact. Restraint makes the effect feel intentional rather than gimmicky.
Match the intensity to your project: a subtle RGB flicker suits a sleek tech intro, while heavy displacement fits an aggressive music video. Used deliberately and sparingly, a glitch adds energy and edge; overused, it just looks broken.
Glitch Effect Best Practices
- Combine RGB split, displacement, and noise for a believable glitch.
- Use sharp, un-eased keyframes for sudden, mechanical jumps.
- Cluster glitches into short bursts with calm between them.
- Drive movement with wiggle expressions for non-repeating chaos.
Common Glitch Mistakes
- Smooth, eased motion that looks organic instead of digital.
- A constant glitch that exhausts the viewer.
- Only splitting colors without any displacement or static.
- Ignoring timing, so the glitch never lands on a beat.
Glitch Presets and Plugins
You don’t always have to build a glitch from scratch. After Effects includes some preset effects, and a thriving market of plugins and templates offers ready-made glitches you can drop on and customize. These are great for learning how the look is constructed and for speeding up tight deadlines.
That said, understanding the underlying techniques — RGB split, displacement, and noise — means you’re never dependent on a preset. You can fix one that doesn’t quite fit, or build a custom glitch that matches your project exactly, which is far more valuable than collecting effects you don’t understand.
A Real Glitch Intro Example
Imagine a gaming channel intro where the logo glitches into existence. You start with the logo, apply an RGB split that flickers the channels apart, add horizontal displacement that tears the logo into shifting bands, and flash digital static across a few frames at the peak. Sharp, irregular keyframes drive the chaos.
Then you let it resolve: the distortion settles, the colors snap back together, and the clean logo holds. Adding a glitchy sound effect, as covered in our audio guide, ties picture and sound together for an intro that feels energetic and modern.
Key Takeaways
- Layer RGB channel split, displacement, and noise.
- Time glitches with sharp, irregular keyframes in short bursts.
- Use wiggle expressions for automatic, non-repeating movement.
- Build a reusable glitch transition and use the effect sparingly.
Frequently Asked Questions
How do I make a glitch effect in After Effects?
Combine three techniques: split the RGB channels so colors separate, displace horizontal slices of the image, and flicker in noise or static — then time it all with sharp, irregular keyframes for sudden digital jumps.
How do I make a glitch transition?
Stack two clips, then ramp a glitch effect to its most intense right at the cut between them, hiding the transition inside the distortion. Pre-compose it to reuse the transition between any clips.
Why does my glitch effect look fake?
Usually the motion is too smooth or the effect is too constant. Use sharp, un-eased keyframes and short bursts of intense glitching with calm moments between them for a realistic broken-signal feel.
Sources: Wikipedia’s article on glitch art.
Create cutting-edge effects at Adobe Video World
Train hands-on with Adobe Certified Instructors across 100+ Premiere Pro & After Effects sessions.



