
A workflow taught by Adobe Certified Instructors at Adobe Video World.
Whether it’s a title card, a lower third, or on-screen captions, text turns raw footage into finished video. Modern Premiere Pro makes adding text quick with the Type tool and the Essential Graphics panel. Here’s how to create, style, and reuse titles like a pro.

Add Text with the Type Tool
The fastest way to add text is the Type tool (shortcut T). Select it, then click anywhere in the Program Monitor and start typing. Premiere creates a new graphics layer on the timeline automatically.
Click and drag instead of a single click to create a text box that wraps long lines — useful for paragraphs and captions.
Style Text in the Essential Graphics Panel
Open Window > Essential Graphics and select the Edit tab to style your text. Here you control:
- Font, size, and tracking for the look and spacing
- Fill, stroke, and shadow for color and legibility
- Background — add a solid bar behind text so it stays readable over busy footage
- Align and Transform — center text or position it precisely
A drop shadow or a subtle background is the secret to text that’s readable over any shot.

Create a Lower Third
A lower third is the name-and-title graphic that appears in the bottom corner during interviews. To build one, add two text layers — a larger name and a smaller role — then add a shape or background bar behind them using the rectangle tool in the Essential Graphics panel.
Position everything in the lower-left or lower-right safe area, and keep it on screen long enough to read comfortably (around four to five seconds).
Animate and Save Title Templates
You don’t need After Effects for simple motion. Keyframe a title’s Position or Opacity in the Essential Graphics panel to make it slide or fade in. For more advanced kinetic typography, our guide to animating text in After Effects shows how text animators take it further.
Once you’ve designed a title you love, select it and choose Graphics > Export as Motion Graphics Template. It’s saved to your Local Templates so you can reuse it across every future project — a huge time-saver for branded videos.
Keep Titles Inside the Safe Margins
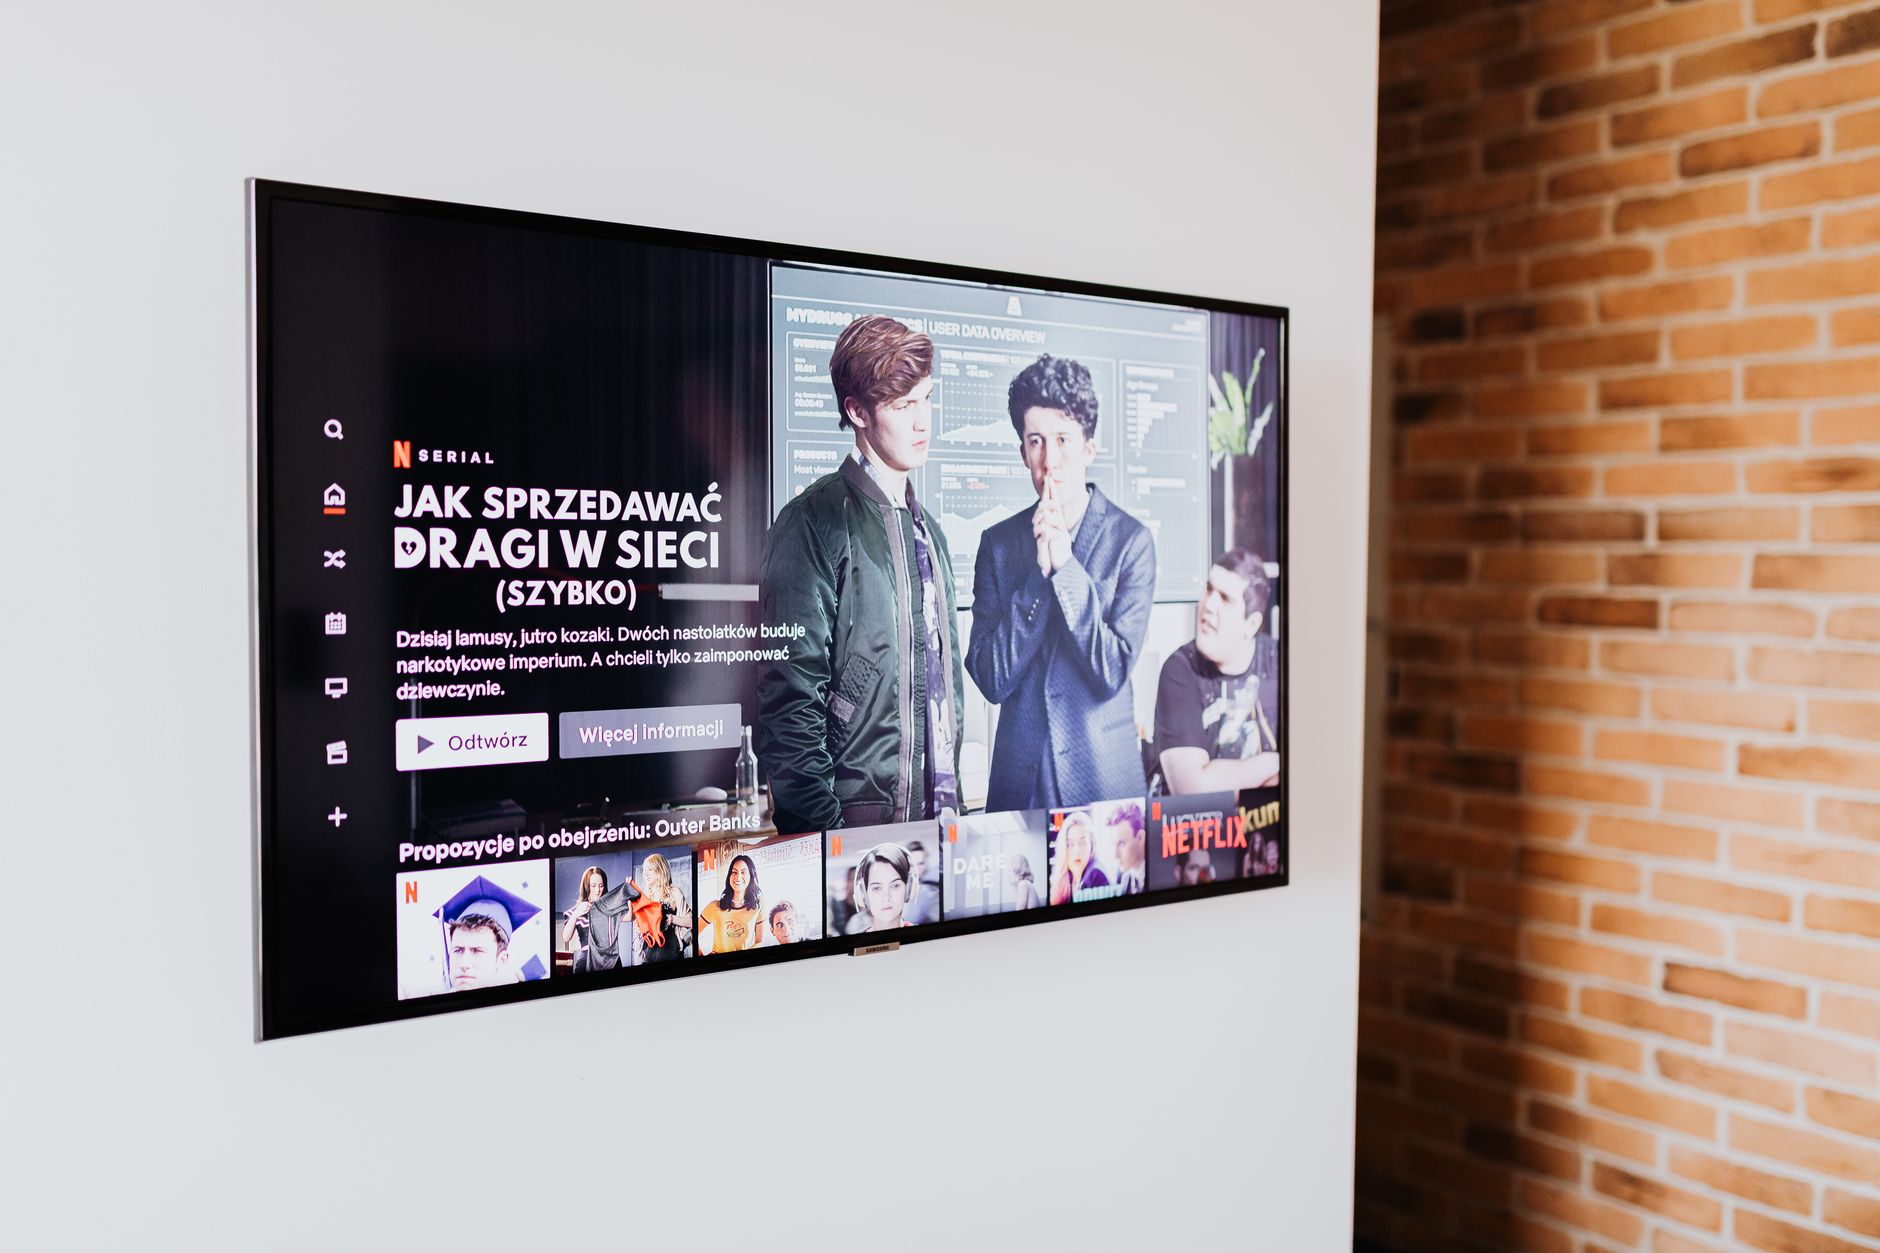
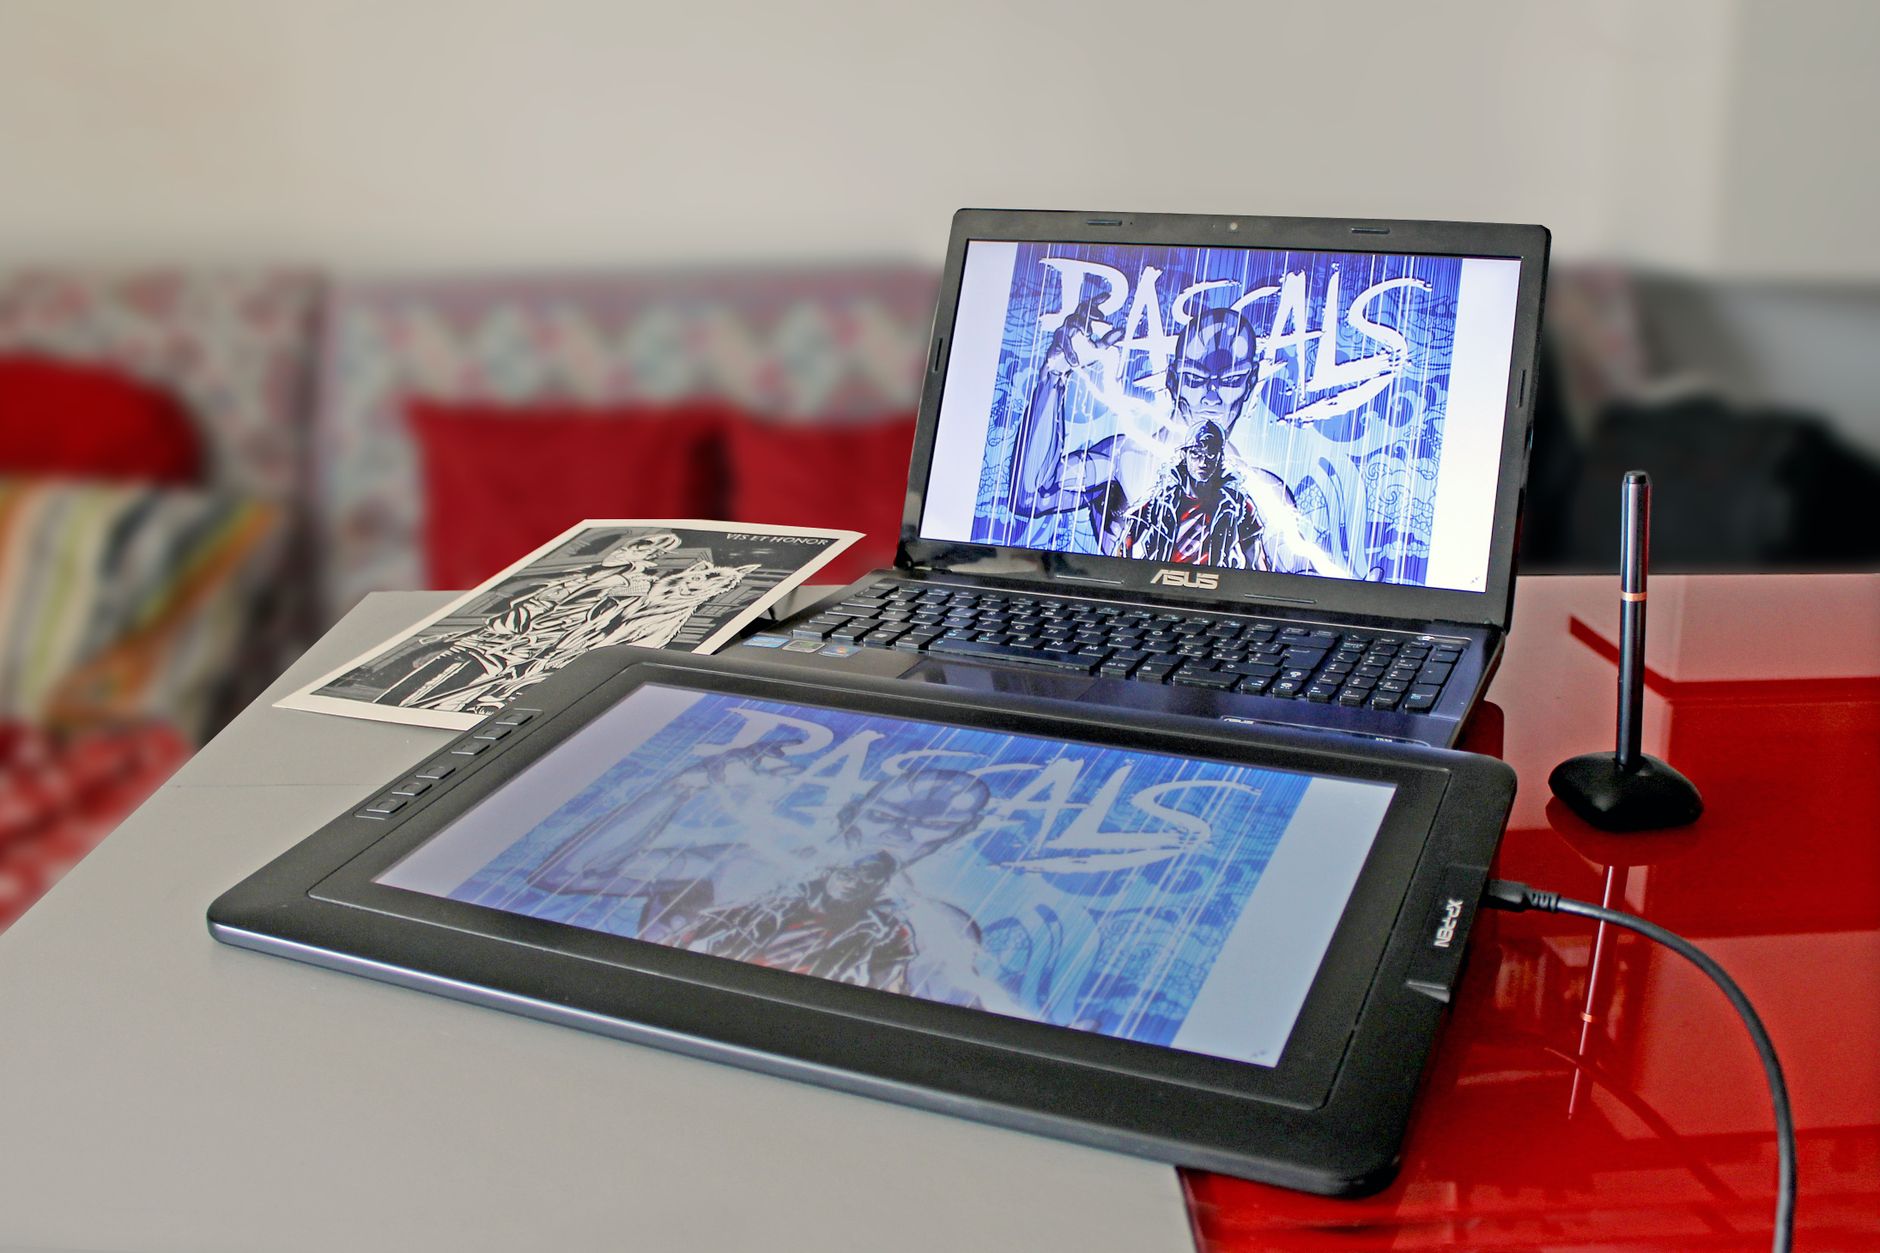
Different screens crop the edges of video differently. Enable Safe Margins (right-click the Program Monitor) and keep all important text inside the inner box so nothing gets cut off on phones or TVs.
Clean, readable, well-placed text is what separates a polished edit from an amateur one. Pair your titles with a strong color grade and balanced audio mix for a professional result.
Add Captions and Subtitles Automatically
Premiere Pro can transcribe your video and generate captions for you. Open the Text panel (Window > Text), choose the Captions tab, and click Transcribe. Premiere uses speech-to-text to create a full transcript, which you then turn into styled, on-screen captions with one click.
Captions dramatically increase watch time on social platforms, where most videos play on mute. Always proofread the auto-transcript for names and technical terms before exporting.
Common Title Mistakes to Avoid
- Hard-to-read fonts — thin or decorative fonts vanish over busy footage. Use a clean, bold typeface with a shadow or background.
- Text outside the safe area — important words get cropped on phones and TVs.
- On screen too briefly — give viewers time to read it twice.
- Too many fonts — stick to one or two for a cohesive, branded look.
Choose Fonts That Read on Any Screen
Typography makes or breaks a title. For on-screen video text, favor clean sans-serif fonts with medium-to-bold weights — they stay legible even at small sizes on a phone. Save thin, decorative, or script fonts for large, brief title cards where there’s no risk of losing readability.
Increase tracking (letter spacing) slightly for all-caps titles, and keep line length short so captions don’t sprawl across the whole frame. Most importantly, ensure strong contrast between your text and the footage behind it — white text with a subtle shadow works on almost any shot.
Add Shapes, Logos, and Backgrounds
The Essential Graphics panel isn’t just for text. Use the rectangle and ellipse tools to draw shapes for lower-third bars, callout boxes, and color blocks. You can also drop in a PNG logo by dragging it straight into the Program Monitor, where it becomes a layer you can scale and position.
Group your text and shapes inside a single graphic layer so they move together. Layering a semi-transparent background bar behind your text is the single most reliable way to keep titles readable over busy or bright footage.
Reveal Text with Track Mattes and Masks
For a more cinematic reveal, mask your text so it appears to wipe on or emerge from behind an object in the scene. Add a mask to the text layer in Effect Controls and keyframe its position to slide the reveal across the frame.
For text that interacts with your footage, the Track Matte Key effect lets one layer define the visibility of another. These reveals add a premium feel, and if you want to push typography even further, our guide to animating text in After Effects covers fully keyframed kinetic type.
Title Design Tips from the Pros
Good title design is mostly restraint. The most professional graphics tend to be the simplest, and a handful of principles will instantly raise the quality of your text.
- Establish a hierarchy — make the most important word largest and supporting text smaller, so the eye knows where to look first.
- Limit your palette — one or two colors drawn from your footage or brand keeps everything cohesive.
- Respect the rule of thirds — place titles along the grid lines rather than dead center for a more dynamic frame.
- Animate with purpose — a subtle fade or slide is elegant; a spinning, bouncing title is distracting.
Save your favorite combinations as Motion Graphics Templates so your branding stays consistent across every video you make.
To fill your titles with footage, the Track Matte Key technique for revealing video through text creates a striking, high-end look.
Clear titles and captions make editing explainer videos easy to follow from start to finish.
Animated callouts and kill-feed style titles give energy to editing gaming highlight videos.
After placing a title, text animation presets in Premiere Pro animate it on and off with a single drag.
Key Takeaways
- Use the Type tool (T) to add text, then style it in the Essential Graphics panel.
- Add a shadow or background bar so titles stay readable over any footage.
- Keep all text inside the safe margins so nothing is cropped on phones or TVs.
- Export designs as Motion Graphics Templates to reuse them across every project.
Frequently Asked Questions
How do I add text in Premiere Pro?
Select the Type tool (T), click in the Program Monitor, and start typing. Premiere creates a graphics layer automatically, which you style in the Essential Graphics panel.
How do I make a lower third in Premiere Pro?
Add a name and a role text layer, place a background bar behind them with the rectangle tool in the Essential Graphics panel, and position it in the lower safe area of the frame.
Can I reuse a title design across projects?
Yes. Select the graphic and choose Graphics > Export as Motion Graphics Template. It saves to your Local Templates for use in any future project.
Sources: Adobe’s guide to adding text and graphics.
Design better titles at Adobe Video World
Train hands-on with Adobe Certified Instructors across 100+ Premiere Pro & After Effects sessions.



