A workflow taught by Adobe Certified Instructors at Adobe Video World.
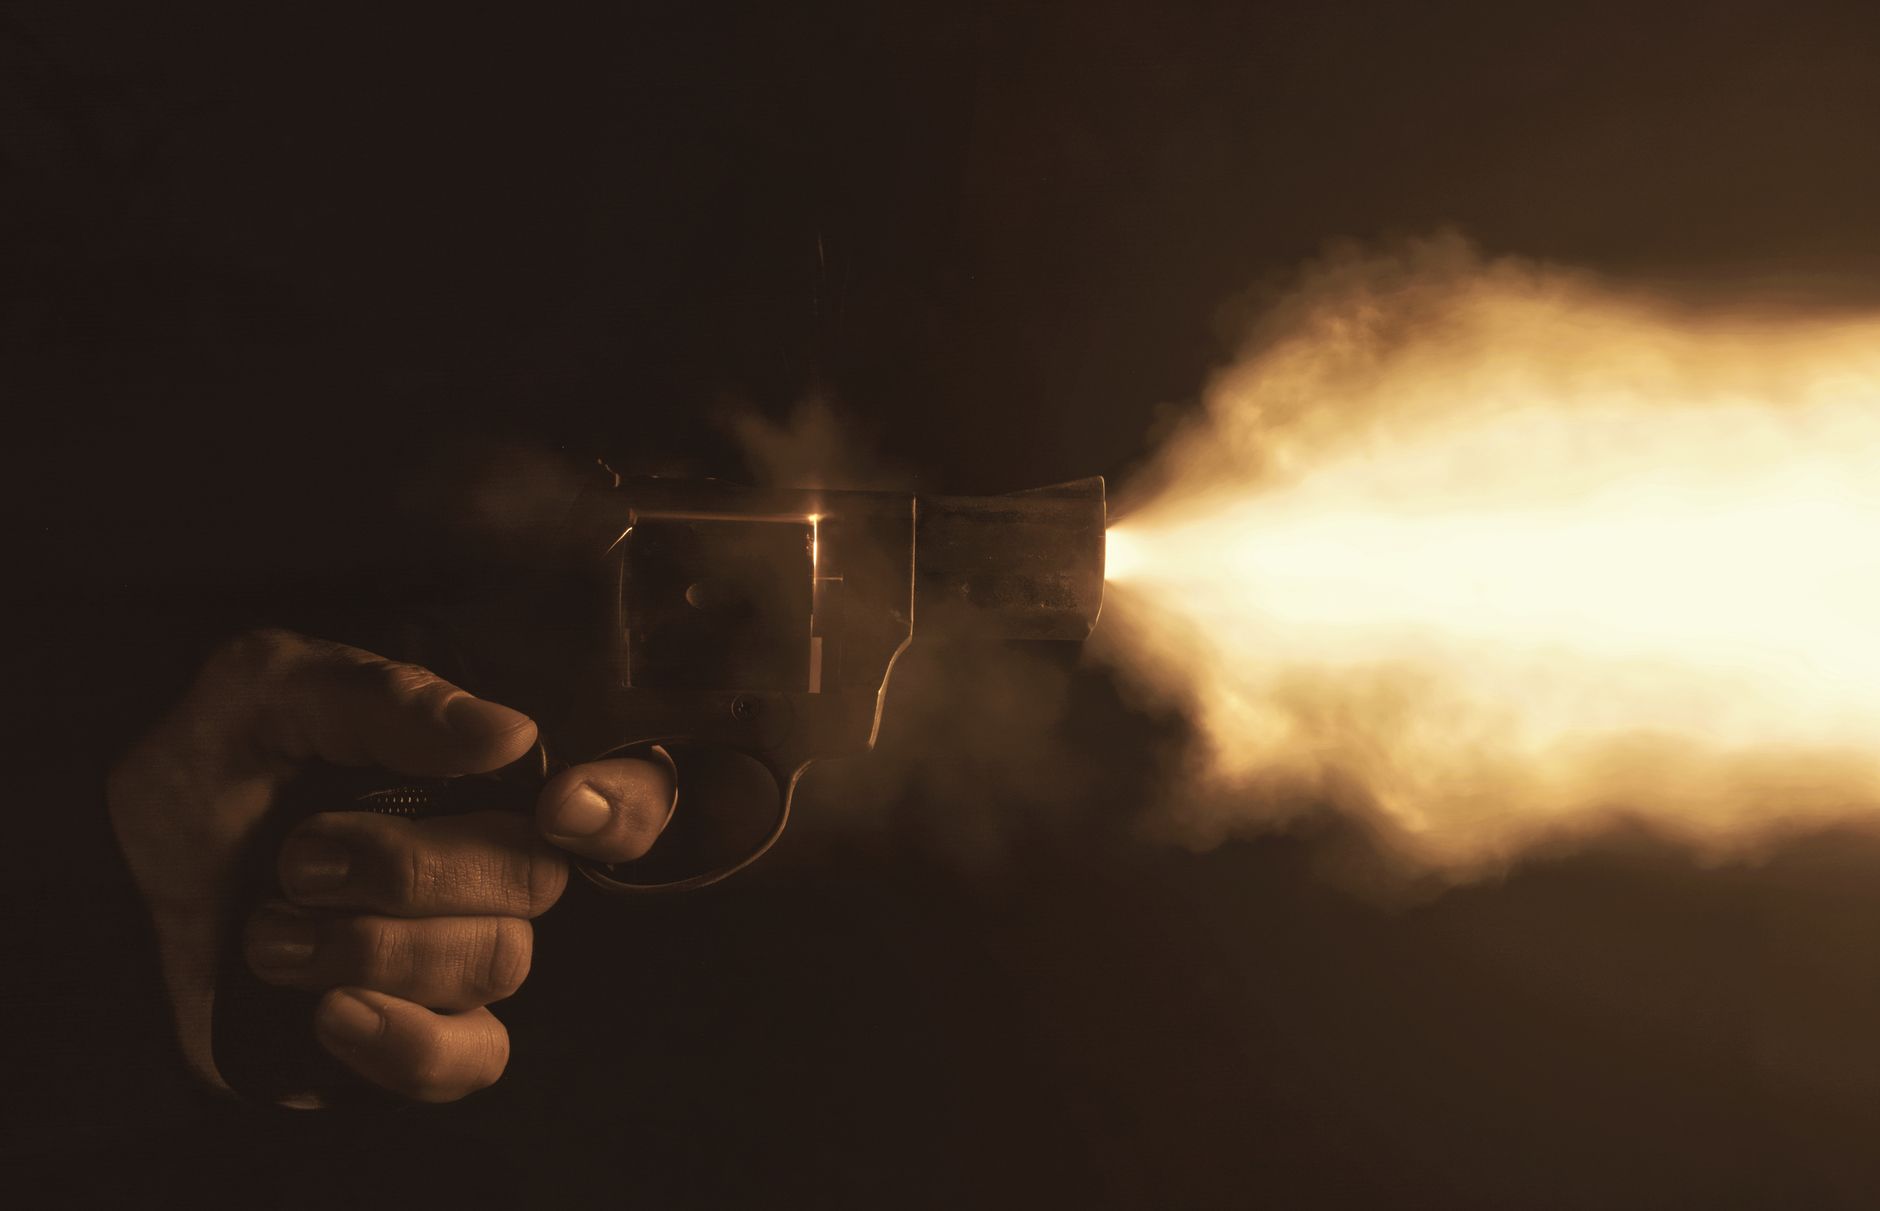
Muzzle flashes — the burst of fire from a gun barrel — are essential for action and film content using prop or replica firearms. Adding them in After Effects with light, smoke, and timing creates convincing gunfire. This guide covers building a muzzle flash effect and the elements that make firearm effects believable for film.
Why Add Muzzle Flashes in Post
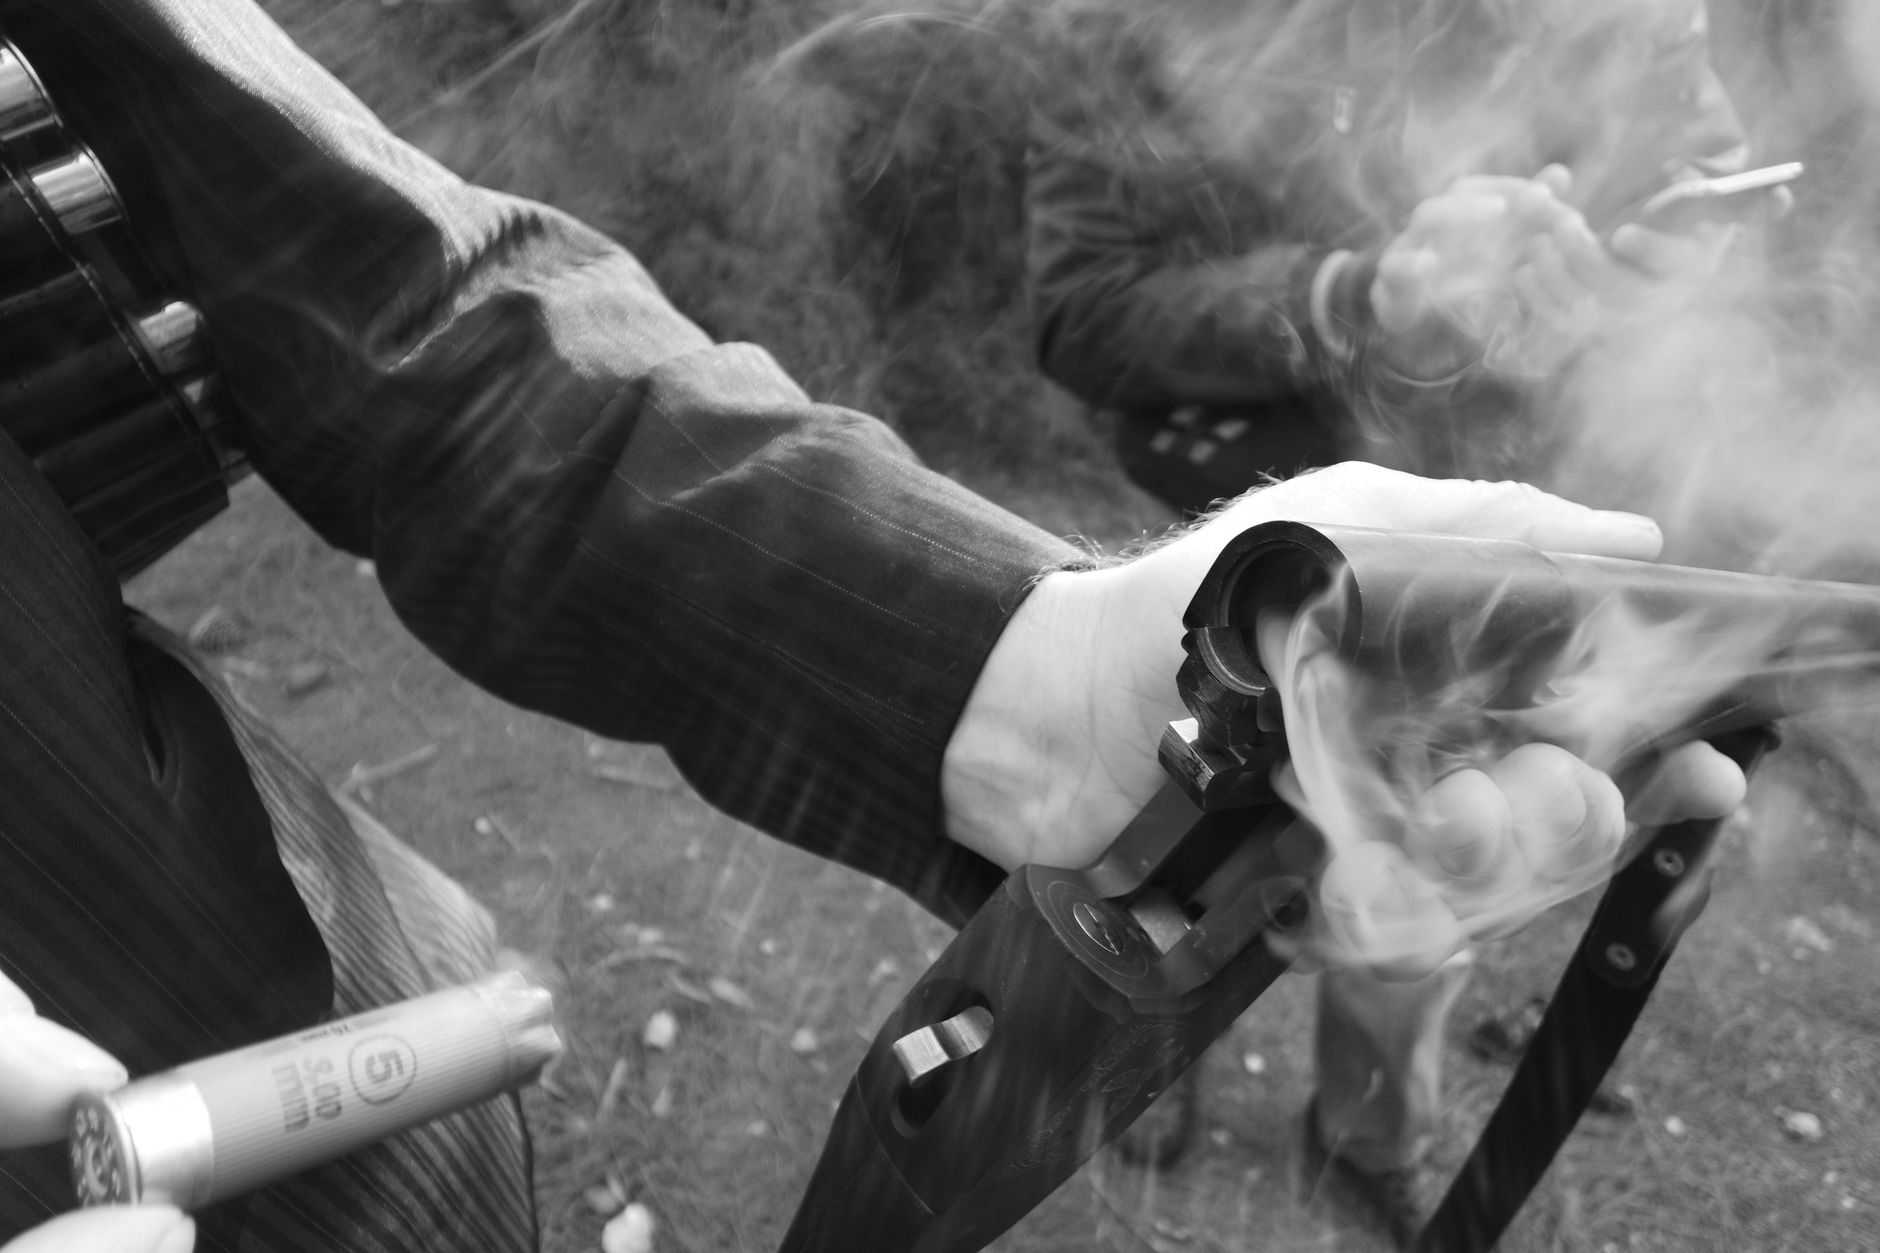
For safety and practicality, action scenes are often filmed with prop or non-firing replica firearms, with the muzzle flash added later. This avoids the dangers of blanks while giving full control over the look and timing of the gunfire in post.
Adding flashes digitally lets you craft exactly the gunfire effect you want, safely. This is standard practice in film, where the flash, light, smoke, and timing are all created or refined in post to match the action and the type of weapon.
Use Muzzle Flash Elements
The flash itself is usually a pre-made element. Muzzle flash overlays — short clips of real or rendered flashes shot against black — are widely available and dropped onto the gun barrel, set to Add or Screen so the black drops out.
These elements, blended over your footage, provide a realistic flash without animating one from scratch. Positioning the flash at the barrel and blending it with our blending modes gives you a convincing burst of gunfire to time and refine.
Position and Scale the Flash
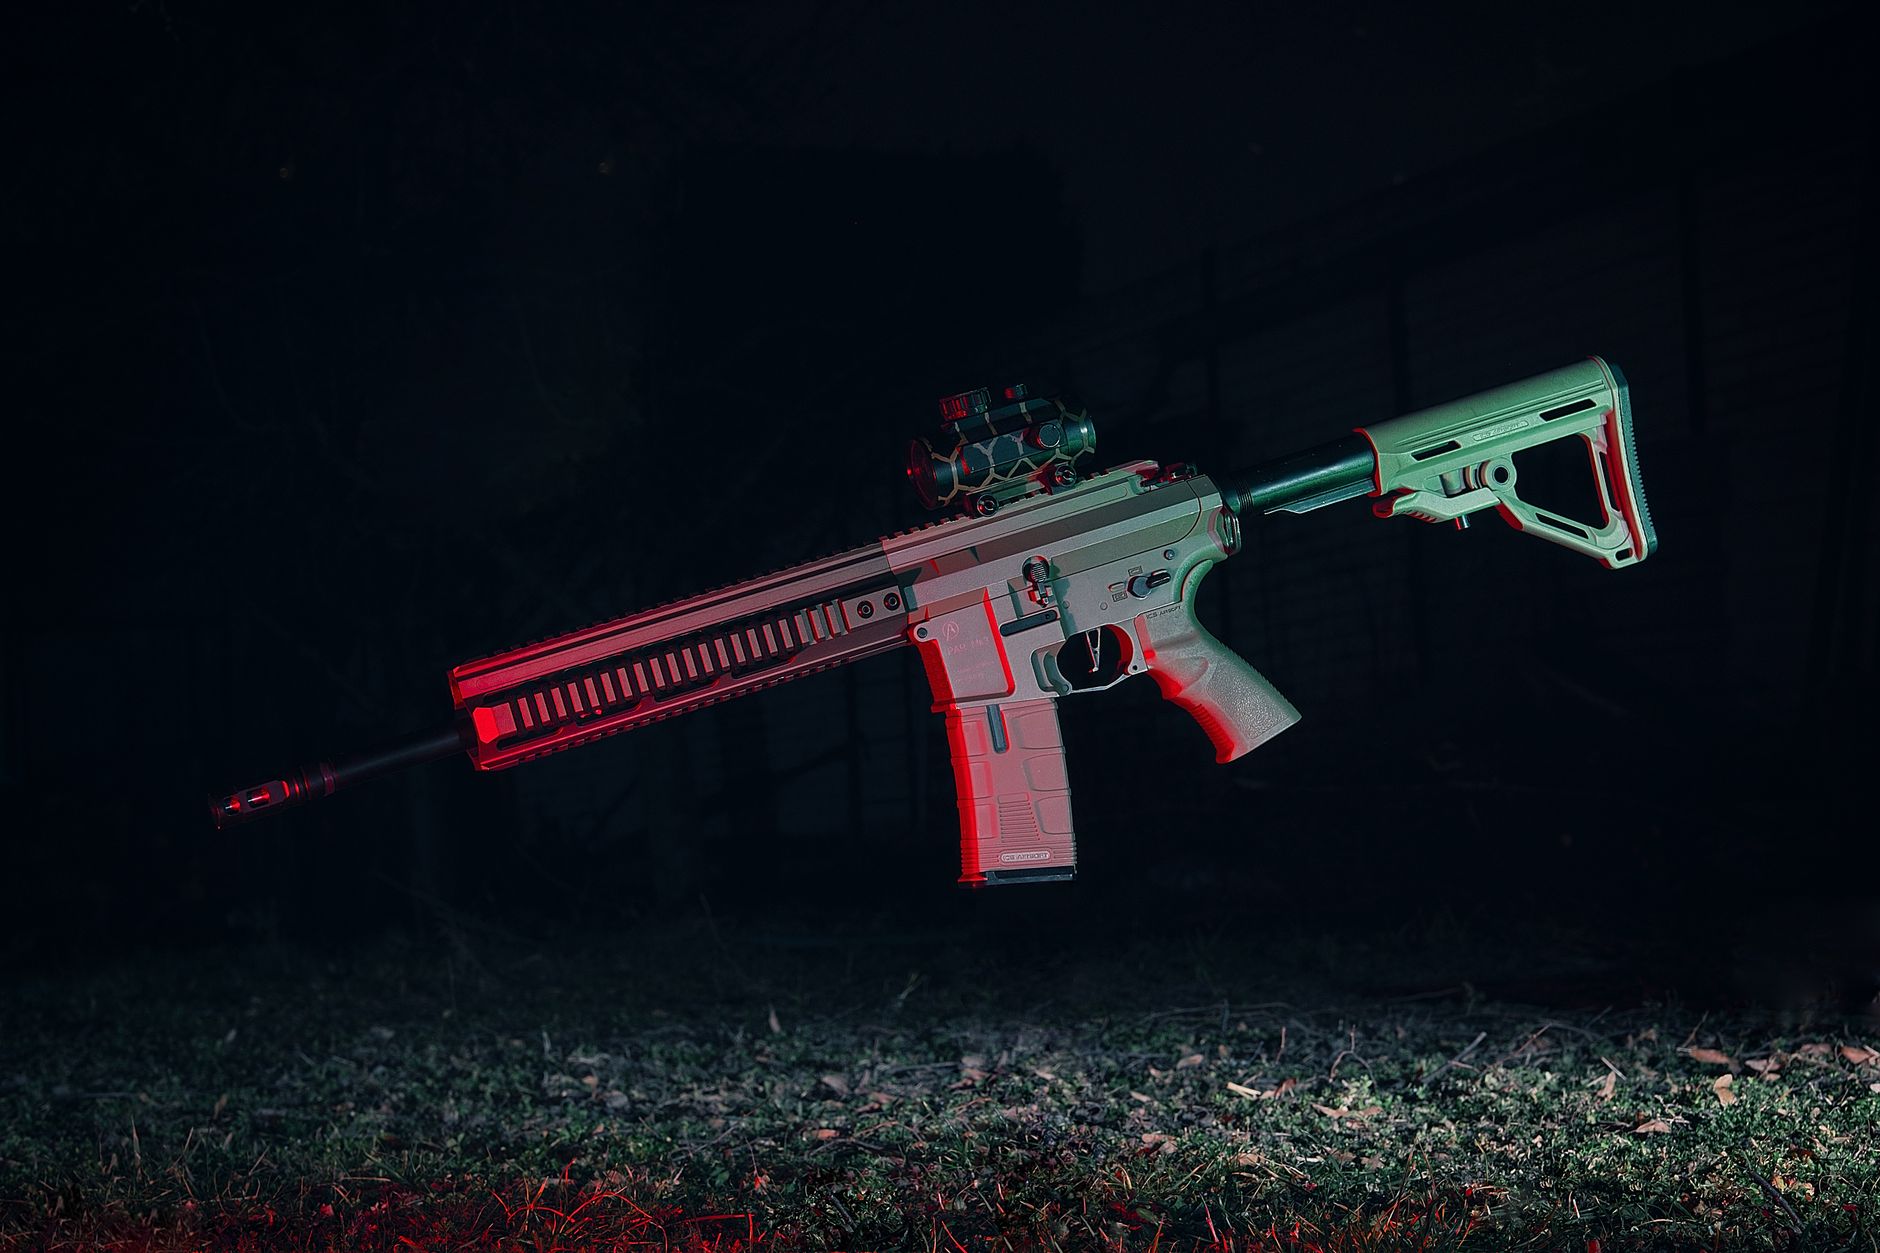
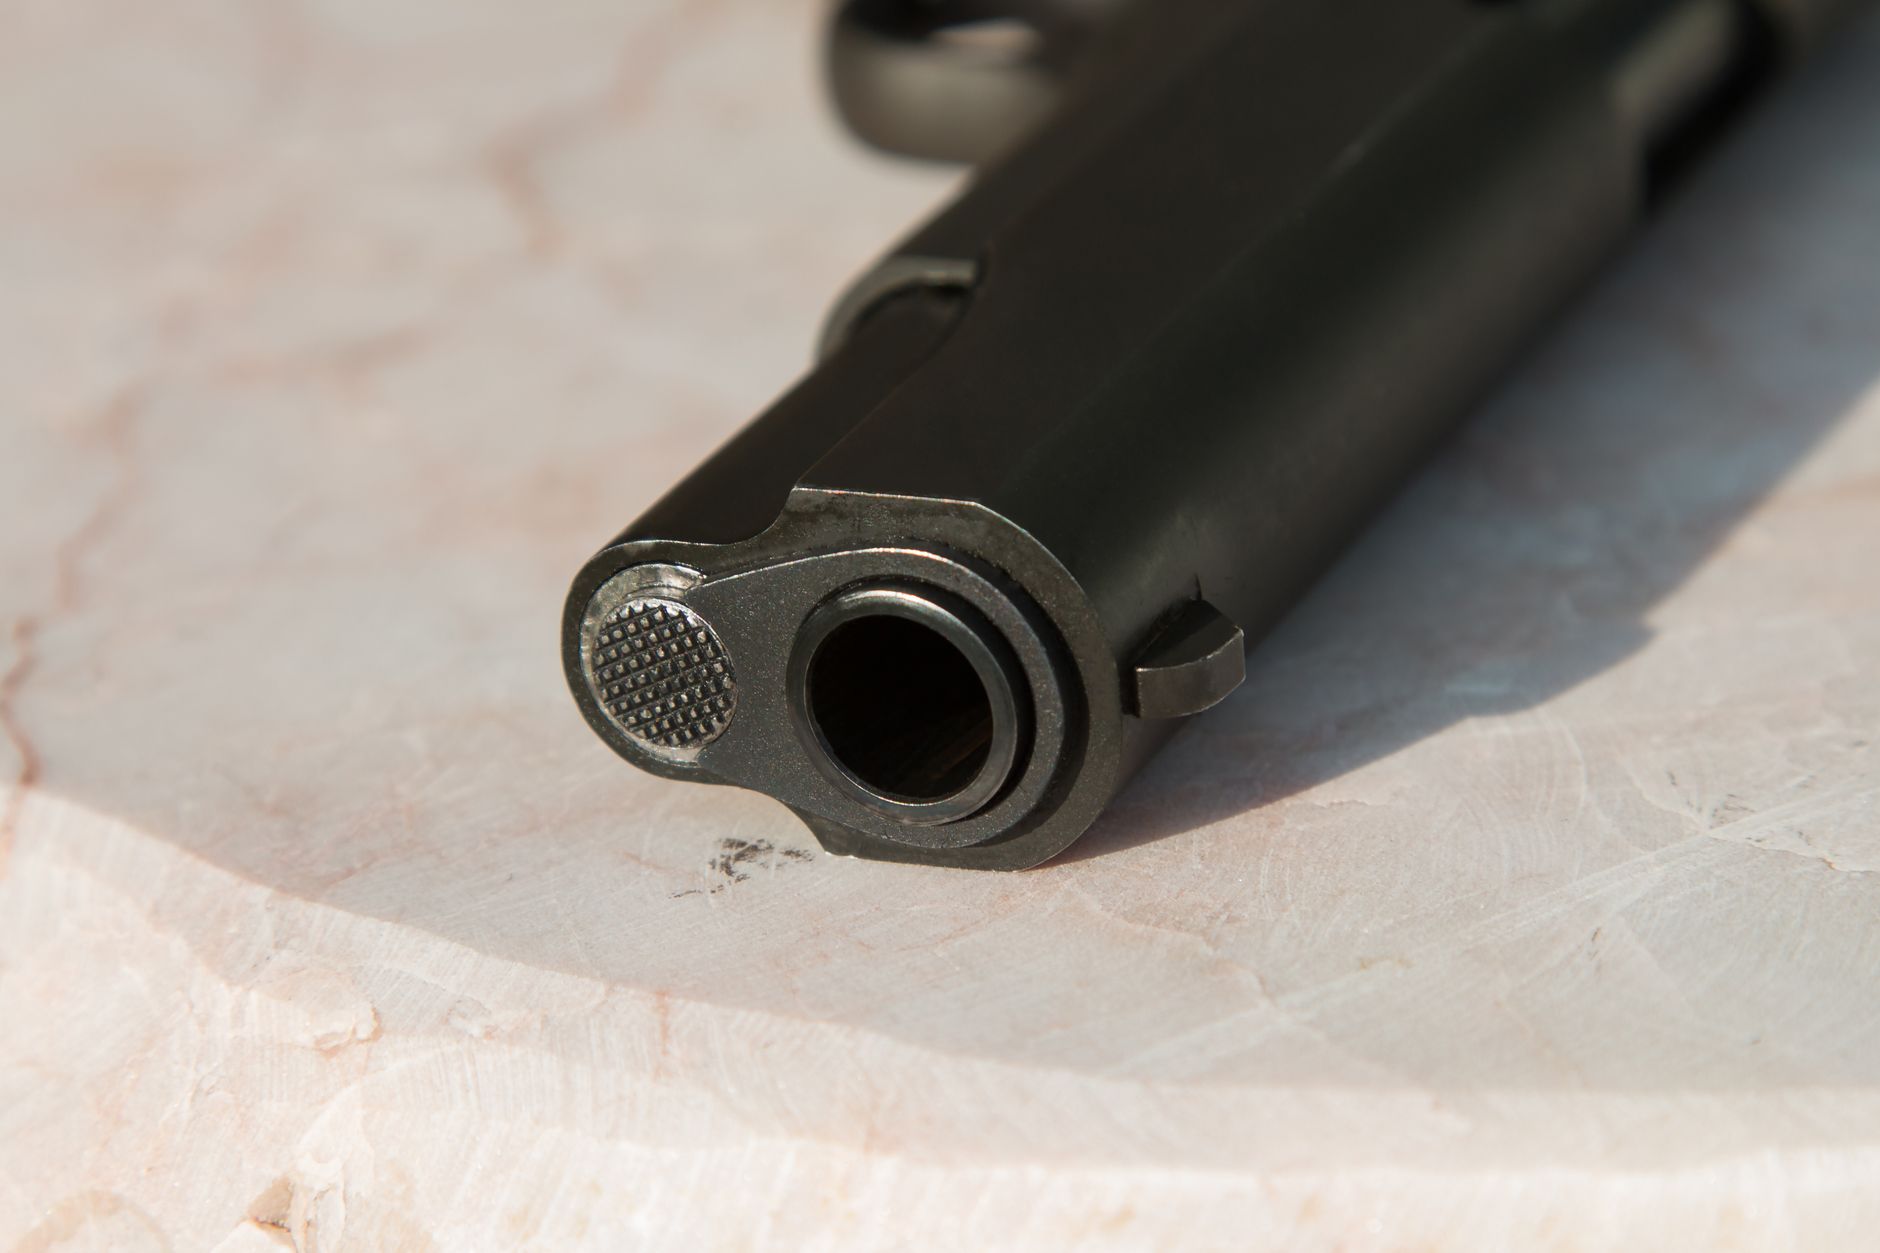
The flash must sit at the gun’s muzzle, pointing in the firing direction. Positioning, scaling, and rotating the flash element so it aligns with the barrel and matches the weapon’s size makes the gunfire look like it comes from the gun.
Matching the flash to the weapon’s scale and angle is essential, since a mismatched flash looks pasted on. Aligning each flash precisely to the barrel, frame by frame if the gun moves, grounds the gunfire convincingly in the shot.
Sync to the Action
Timing is everything with gunfire. Placing each flash on the exact frame the gun fires, matching the actor’s recoil and the rhythm of the shots, is what makes the effect believable and impactful.
A flash that’s off by even a frame from the recoil looks wrong. Carefully syncing each muzzle flash to the firing action, and to the gunshot sound, creates the tight audio-visual coordination that sells convincing gunfire.
Add Light on the Scene
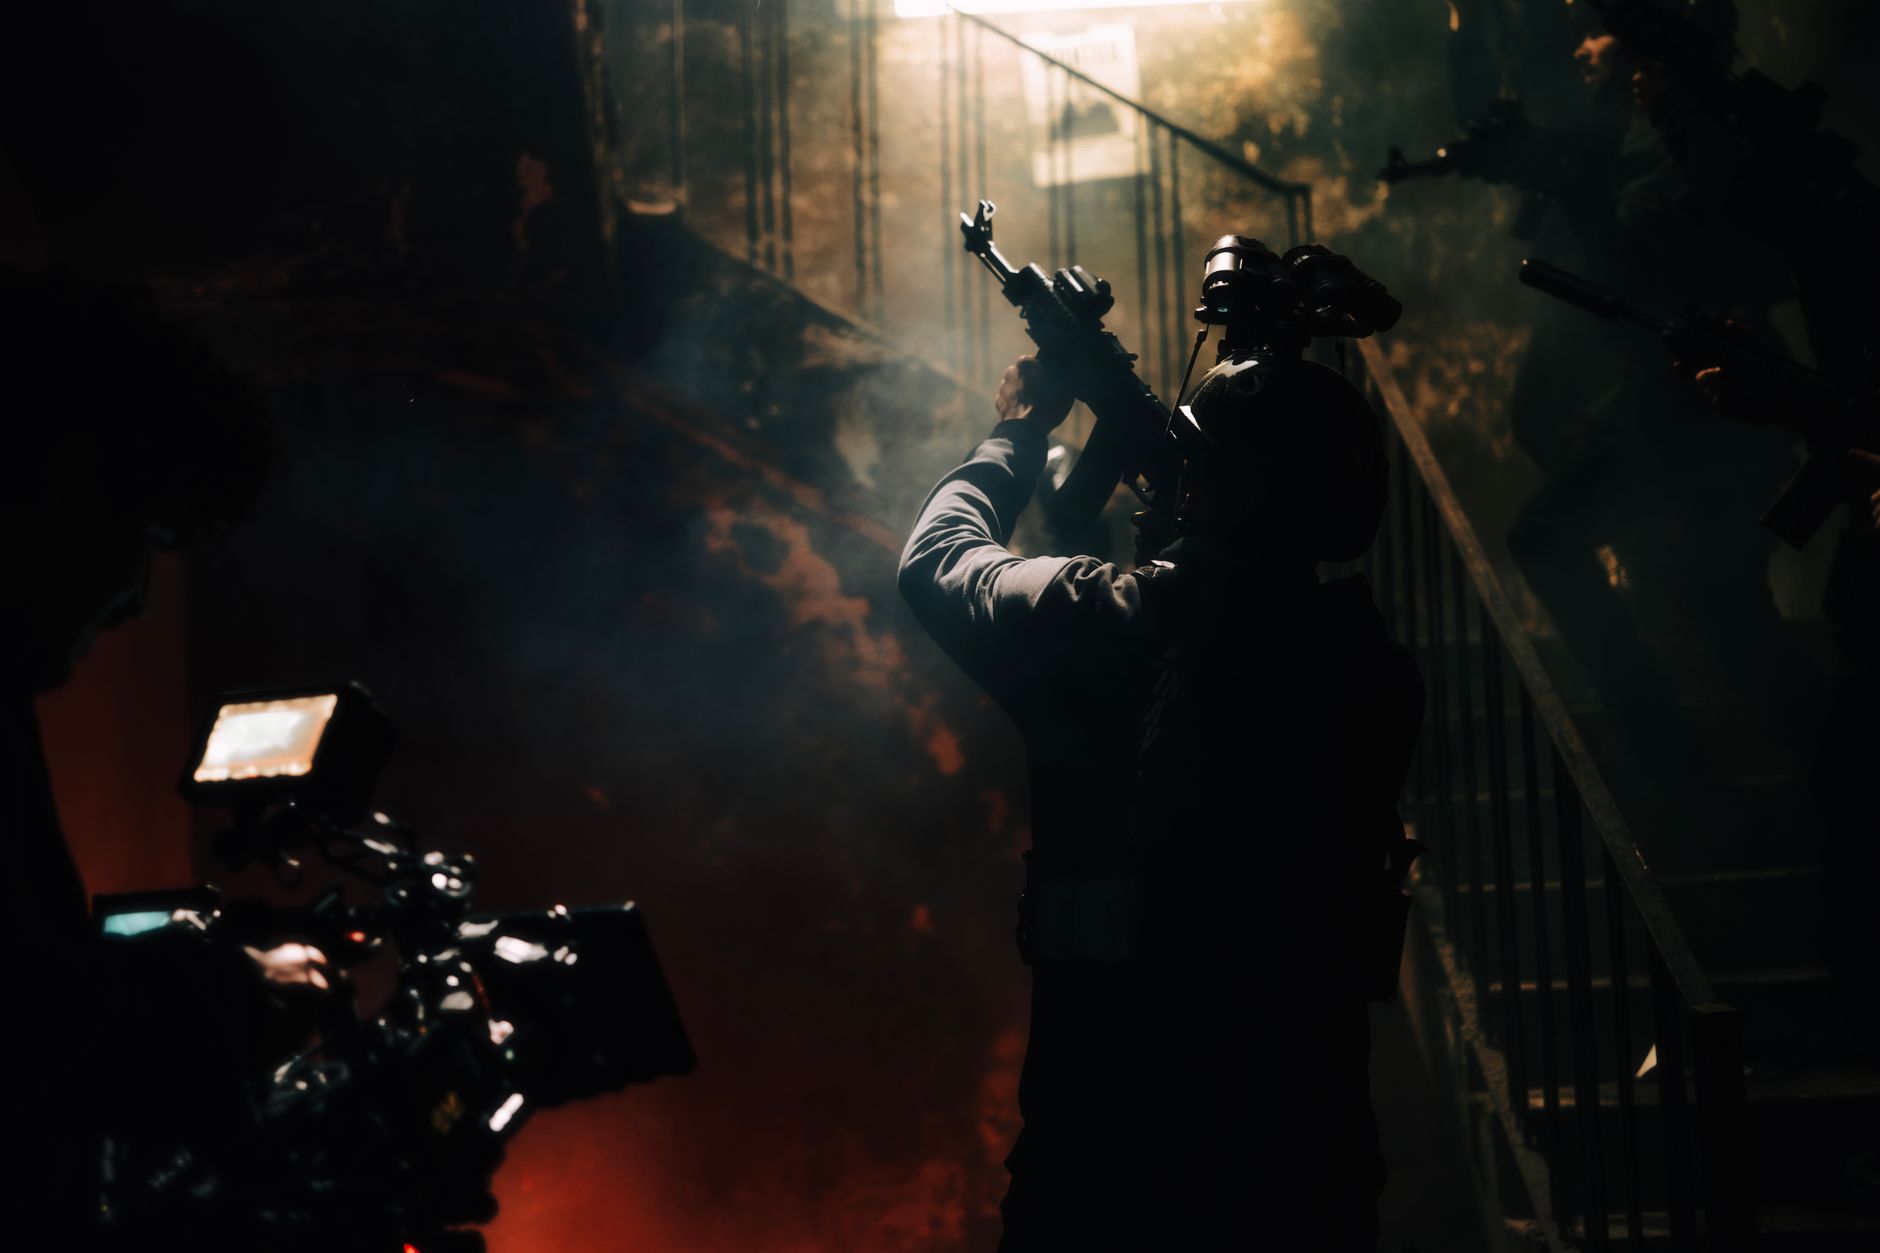
A real muzzle flash briefly lights its surroundings. Adding a quick flash of light on the shooter, the environment, and nearby surfaces, timed to each shot, makes the gunfire feel powerful and integrated rather than a flat overlay.
This momentary illumination, especially in darker scenes, dramatically boosts realism. A brief brightening synced to each flash, using a glow or light flash, mimics how real gunfire illuminates a scene, completing the effect.
Add Smoke and Shells
Extra details enhance the gunfire. Adding a wisp of smoke from the barrel, ejecting shell casings, and even bullet impacts where rounds hit builds a fuller, more believable firearm effect.
These elements add the aftermath and physicality of real gunfire. A puff of smoke after each shot, flying shells, and impact effects on surfaces, layered with the flash, create a complete, convincing depiction of a firing weapon.
Match the Weapon Type
Different weapons have different flashes. Matching the flash size, frequency, and style to the weapon — a small pistol flash versus a large rifle burst, or rapid automatic fire — keeps the effect authentic to the gun being used.
Using the appropriate flash element and timing for each weapon type sells the realism. A handgun and a machine gun fire very differently, so choosing flashes and rhythms that fit the specific firearm makes the gunfire convincing and consistent.
Sync the Gunshot Sound
Gunfire is defined by its sound, so audio is essential. Syncing a gunshot sound effect to each flash, matched to the weapon type, completes the effect, since the bang is as important as the visual flash to selling the gunfire.
The right gunshot audio, timed precisely to each muzzle flash, makes the effect land with impact. Layering appropriate weapon sounds, using our sound design techniques, gives the digital gunfire the punch that completes the illusion.
Muzzle Flash Best Practices
- Use muzzle flash elements blended with Add or Screen.
- Position and scale the flash to the barrel and weapon.
- Sync each flash precisely to the recoil and shot.
- Add light, smoke, shells, and matched gunshot sound.
Common Muzzle Flash Mistakes
- A flash off-timed from the recoil and gunshot.
- A flash mismatched in size or angle to the weapon.
- No light on the scene, leaving a flat overlay.
- Forgetting the gunshot sound that sells it.
A Real Muzzle Flash Example
Picture an action scene filmed with a non-firing replica pistol. In After Effects you drop a pistol-sized muzzle flash element on the barrel for each shot, set to Add so the black drops away, and scale and angle it to the gun. You sync each flash to the actor’s recoil, add a brief light flash on their face and the wall behind, and a wisp of smoke and an ejecting shell.
Matched to crisp gunshot sounds, the safe replica reads as live gunfire. The flash, the synced light, the smoke and shells, and the audio all working together is what sells it — proof that convincing gunfire is built from layered details and tight timing rather than any single overlay.
Muzzle Flashes for Different Scenes
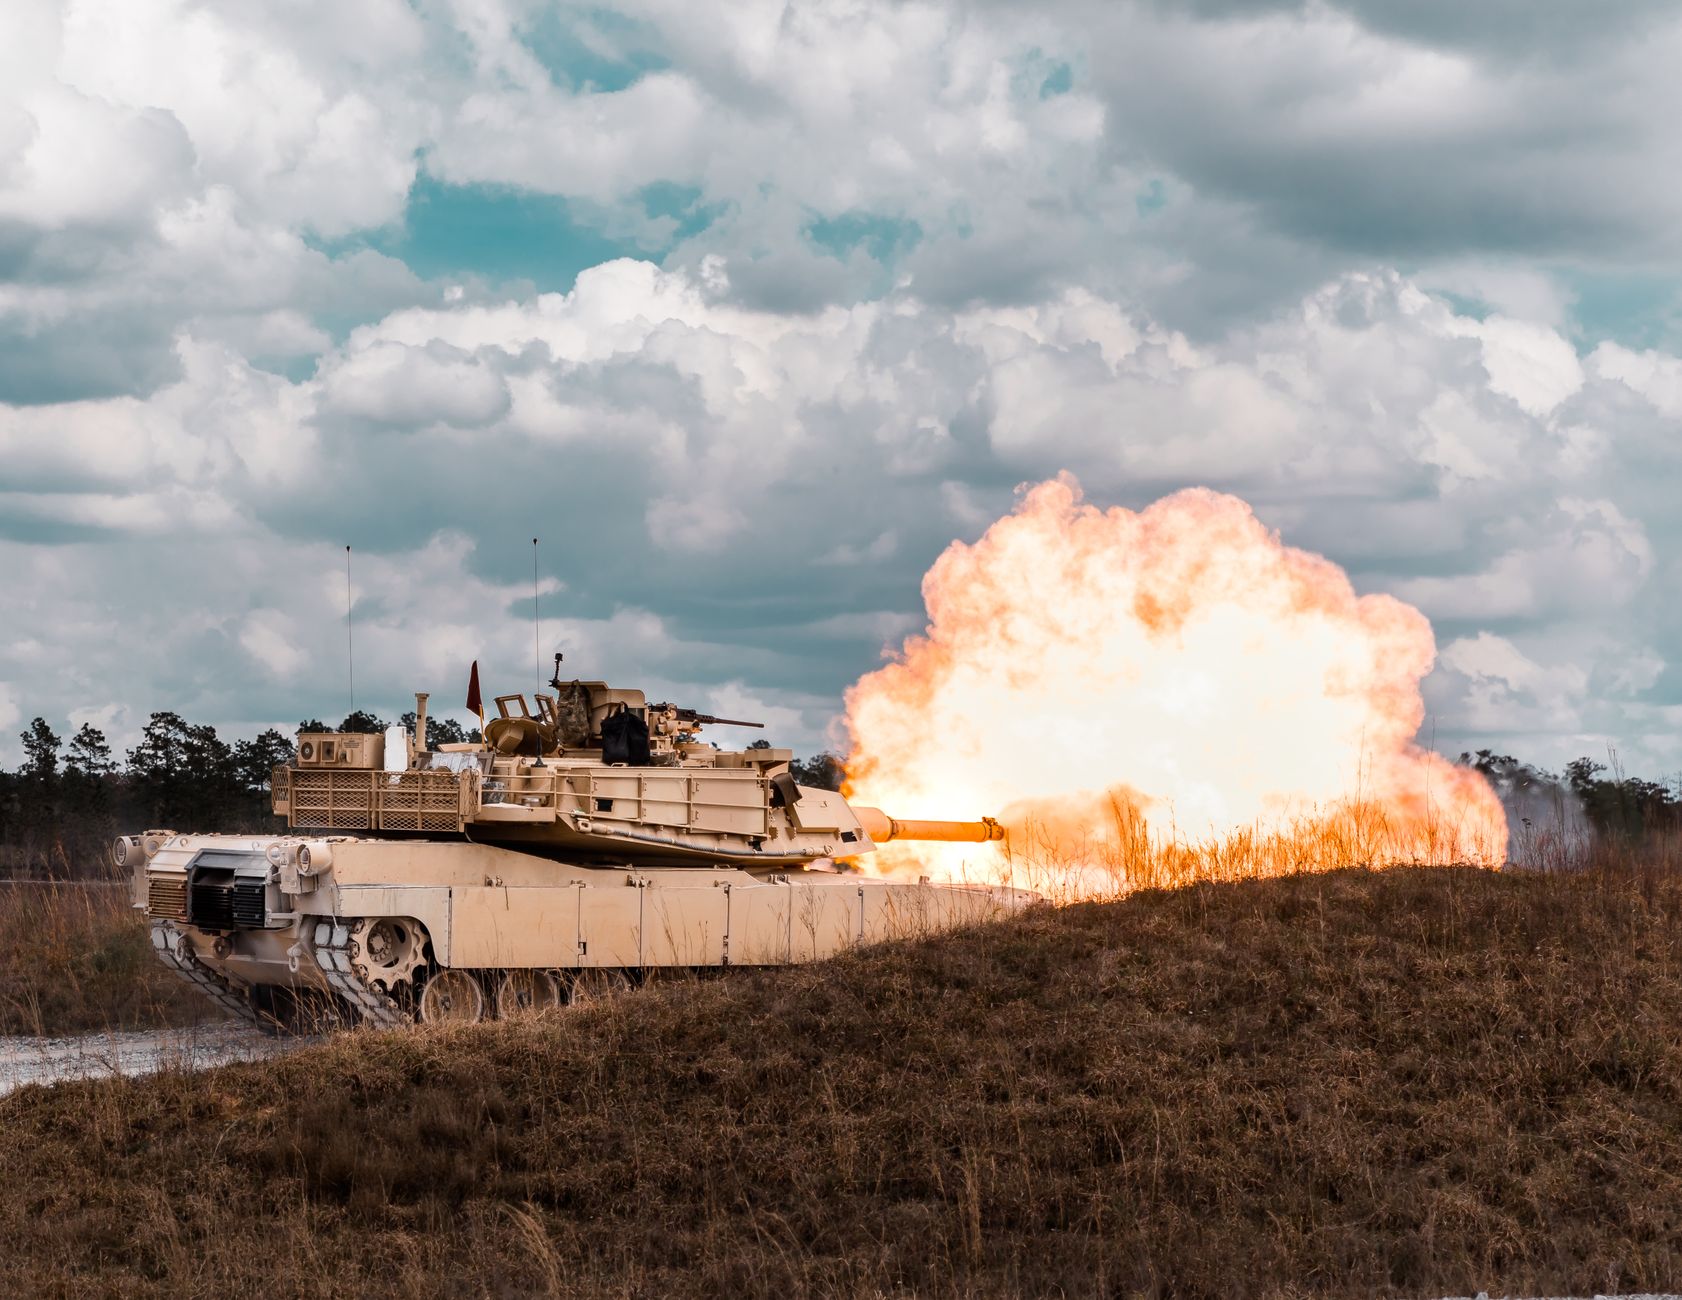
The same techniques adapt to any firearm scene, from a lone pistol shot to a chaotic firefight. Rapid automatic fire needs flashes on many frames with matching fast audio, a sniper shot wants a single large flash and a delayed report, and a shotgun calls for a wide, brief burst, each tuned to the weapon.
Matching the flash style, frequency, and accompanying smoke to the specific weapon and the energy of the scene keeps the gunfire authentic. Combined with the impact and lighting details, this attention to weapon-specific behavior is what makes action sequences feel grounded and real rather than generically loud.
Like adding a muzzle flash, selling a laser beam effect in After Effects is all about timing the effect to the action.
Key Takeaways
- Muzzle flashes are added in post for safety and control.
- Use flash elements positioned and scaled to the barrel.
- Sync each flash to the recoil, shot, and sound.
- Add light, smoke, shells, and match the weapon type.
Frequently Asked Questions
How do I add a muzzle flash in After Effects?
Use a muzzle flash overlay element shot against black, set it to Add or Screen to drop the black out, position and scale it to the gun’s barrel, then sync each flash to the recoil and gunshot. Add light on the scene, smoke, and matched sound.
Why does my muzzle flash look fake?
Common issues are timing that’s off from the recoil, a flash mismatched to the weapon’s size or angle, no light cast on the scene, or a missing gunshot sound. Sync the flash precisely and add scene lighting and matched audio.
Why are muzzle flashes added in post?
For safety and practicality — action scenes are often filmed with prop or non-firing replica firearms, avoiding the dangers of blanks, with the flash, light, smoke, and timing all created or refined digitally in post.
Sources: Wikipedia’s article on muzzle flash.
Add action effects at Adobe Video World
Train hands-on with Adobe Certified Instructors across 100+ Premiere Pro & After Effects sessions.



