A workflow taught by Adobe Certified Instructors at Adobe Video World.
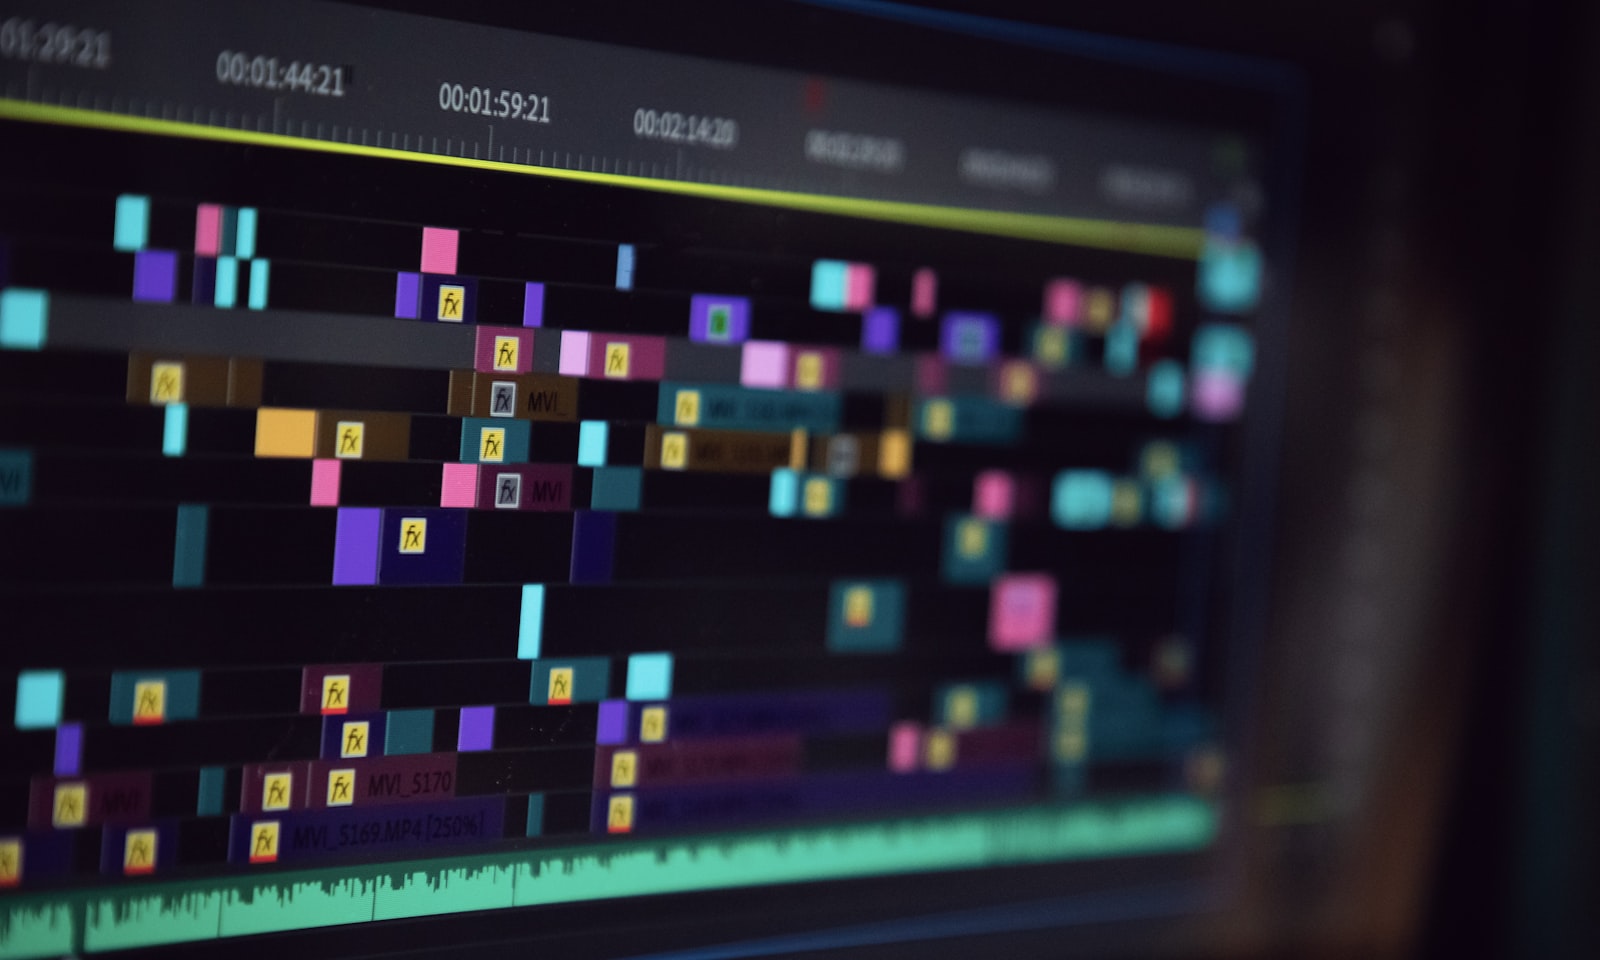
Markers are the sticky notes of your timeline — small flags that mark important moments, beats, and reminders. They’re one of the simplest tools in Premiere Pro and one of the most useful, especially for syncing edits to music and navigating long projects. Here’s how to use them well.
What Markers Are For
A marker is a colored flag you place at a specific point in time. It doesn’t change your footage — it’s purely a reference that helps you find, organize, and sync moments across your edit.
Editors use markers to flag music beats, leave notes, mark sync points, and create chapters. Once you build the habit, they become an indispensable part of staying oriented in a complex timeline.
Add a Marker
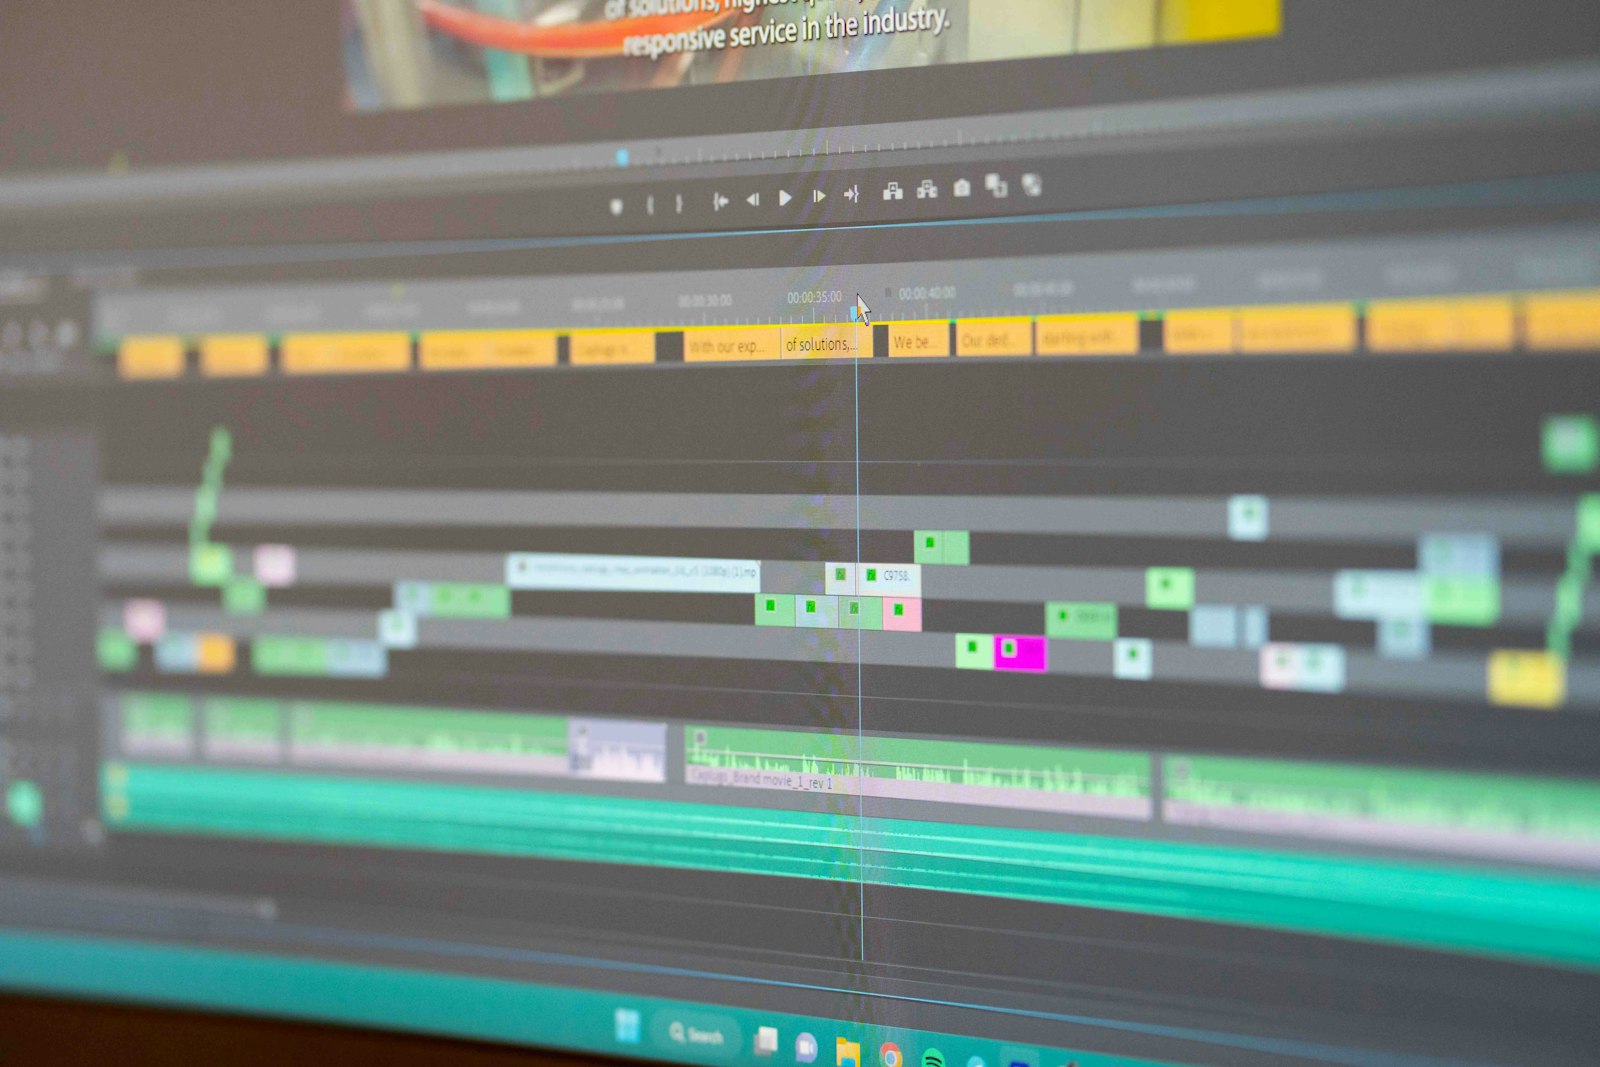
Adding a marker takes one key. Move the playhead to where you want it and press M. A marker appears on the timeline ruler at that exact frame.
You can add markers while footage plays, dropping them on the fly. This makes it easy to tag every beat of a song in real time as you listen — the foundation of music-synced editing.
Mark the Beats of Your Music
The most popular use of markers is syncing cuts to music. Play your track and tap M on each beat or downbeat, scattering markers across the timeline that map the song’s rhythm.
Then cut your footage so edits, transitions, and speed ramps land on those markers. Edits that hit the beat feel intentional and energetic — and markers make that precision effortless.
Add Comments to a Marker
Markers can hold notes. Double-click a marker to open its dialog, where you can type a comment, change its color, and set its duration.
Use comments to leave reminders (‘fix audio here,’ ‘add lower third,’ ‘client wants this cut tighter’) so nothing falls through the cracks on a long edit or when you return to a project days later.
Color-Code Your Markers
Markers come in several colors, and using them consistently turns your timeline into a readable map. You might use green for approved sections, red for problems, and blue for graphics to add.
A color system lets you scan a long timeline and instantly see what needs attention. It’s a small habit that pays off enormously on complex projects.
Navigate with Markers
Markers aren’t just for placing — they’re for jumping to. Use the marker navigation shortcuts (or Shift + M / Shift + Ctrl + M) to leap to the next or previous marker instantly.
On a long timeline, this is far faster than scrubbing. Flag your key moments, then bounce between them with a keystroke as you refine the edit.
Clip Markers vs. Sequence Markers
Premiere has two kinds of markers. Sequence markers sit on the timeline and mark moments in your edit. Clip markers attach to an individual clip and travel with it wherever you place it.
Use clip markers to flag a great moment within a source clip before you’ve even cut it, and sequence markers to organize your overall edit. Knowing the difference keeps your notes attached to the right thing.
Create Chapter Markers
For longer videos, chapter markers let viewers jump to sections on platforms like YouTube. Set a marker’s type to Chapter in its dialog, and it can be exported as a chapter point.
Well-placed chapters improve the viewing experience and can boost engagement, making your long-form content easier to navigate.
Use the Markers Panel
To see every marker at once, open Window > Markers. This panel lists all your markers with their comments, colors, and times, and lets you click any one to jump straight to it.
On a heavily marked project, the Markers panel is the fastest way to review your notes and navigate — a command center for everything you’ve flagged.
Marker Best Practices
- Tap M in real time to mark music beats as the track plays.
- Use consistent colors for a readable, scannable timeline.
- Add comments so reminders are clear when you return later.
- Use the Markers panel to review and navigate everything at once.
Common Marker Mistakes
- Never using markers and scrubbing endlessly to find moments.
- Inconsistent colors that carry no meaning.
- Confusing clip and sequence markers.
- Leaving vague or no comments on important flags.
A Real Music-Sync Workflow
Here’s how editors cut a montage to music with markers. You drop your track on the timeline, play it through, and tap M on every strong beat, leaving a trail of markers that map the song’s rhythm. Then you lay your clips so each cut, transition, and speed change lands exactly on a marker.
The result is an edit that feels locked to the music, every change punctuating a beat. Markers turn what would be guesswork — eyeballing where the beats fall — into a precise, repeatable process that gives even simple footage a polished, rhythmic energy.
Use Markers for Client Review
Markers double as a communication tool on collaborative projects. Drop comment markers wherever a client or director has notes — ‘tighten this,’ ‘wrong take,’ ‘add logo’ — and they travel with the project for whoever opens it next. Color-coding by status makes the to-do list scannable at a glance.
When you export a review copy, those comments can ride along as timeline notes, keeping feedback attached to the exact frame it refers to. It’s a simple system that prevents the confusion of notes scattered across emails and messages.
Markers vs. Subclips and Other Tools
Markers flag moments, but they’re part of a wider organizational toolkit. Subclips break a long source into named, reusable pieces; bins group your footage; and labels color-code clips by type. Each solves a different organizational problem, and together they keep a big project manageable.
Use markers for in-the-moment flags and beat-mapping, subclips to carve up long interviews, and bins to structure your media. Pairing markers with these other habits is what lets editors move fast and stay oriented even on sprawling, hours-long timelines.
Key Takeaways
- Press M to drop a marker; tap it in time with music to map beats.
- Double-click a marker to add a comment, color, or duration.
- Use clip markers on sources and sequence markers on the timeline.
- Open the Markers panel to review and navigate every flag at once.
Frequently Asked Questions
How do I add a marker in Premiere Pro?
Move the playhead to the spot you want and press M. A marker appears on the timeline. You can also tap M while footage plays to drop markers on the fly, such as on music beats.
How do I sync edits to music in Premiere Pro?
Play your music track and tap M on each beat to place markers across the timeline, then cut your footage so edits and transitions land on those markers for a rhythmic, beat-matched edit.
What’s the difference between clip and sequence markers?
Sequence markers sit on the timeline and mark moments in your edit; clip markers attach to an individual clip and move with it wherever you place that clip.
Sources: Adobe’s guide to adding markers.
Edit more organized at Adobe Video World
Train hands-on with Adobe Certified Instructors across 100+ Premiere Pro & After Effects sessions.



