
A workflow taught by Adobe Certified Instructors at Adobe Video World.
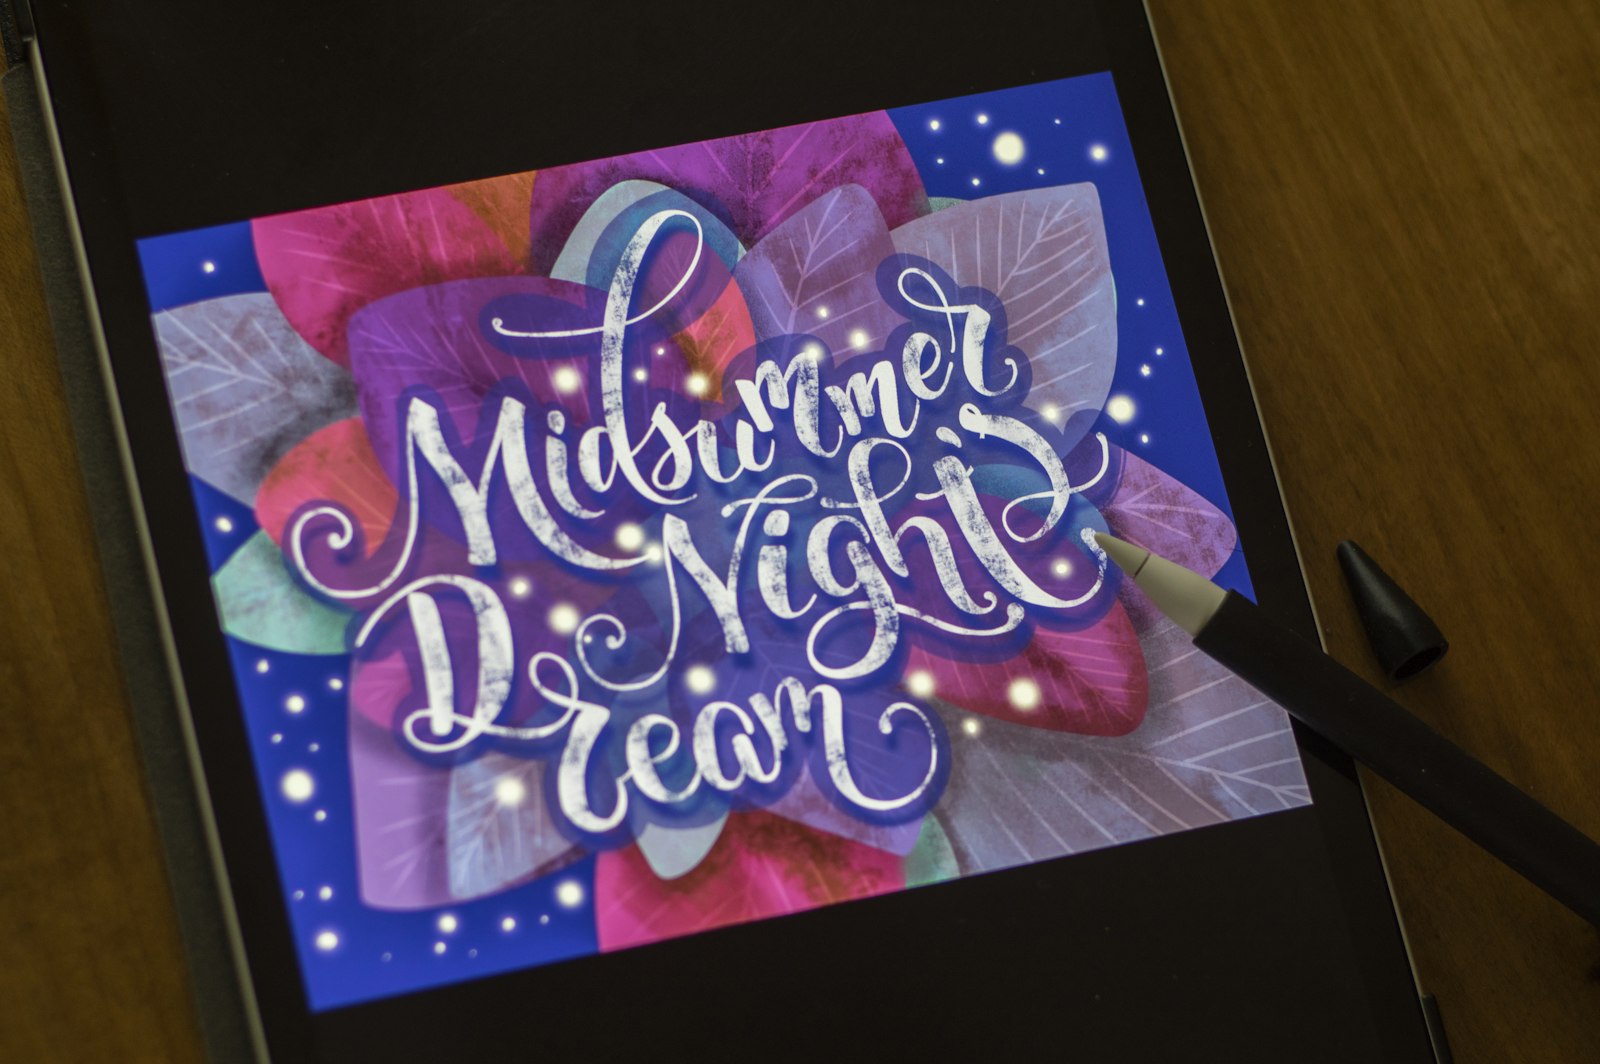
Adobe Illustrator is where much motion graphics artwork is designed, and bringing it into After Effects properly is key to clean, animatable graphics. Preparing your Illustrator files correctly saves hours of frustration. This guide covers organizing artwork, importing it, and converting it to animate vector graphics smoothly in After Effects.
Why Preparation Matters
Illustrator artwork imported carelessly into After Effects is hard to animate — elements are stuck together, can’t move independently, and don’t scale cleanly. Preparing the file properly means every piece is ready to animate separately and smoothly.
A little setup in Illustrator saves enormous time in After Effects. Organizing your artwork so it imports as separate, animatable elements is the foundation of efficient motion graphics work, turning static design into ready-to-animate assets.

Organize Your Layers in Illustrator
The key preparation is layering. In Illustrator, put each element you want to animate separately on its own layer, since After Effects imports Illustrator layers as separate, independently animatable layers.
If everything is on one layer, it imports as a single, unanimatable piece. Taking the time to separate your artwork onto individual layers — each part you’ll move, each element you’ll animate — is the most important step for a usable import.

Import as a Composition
When importing into After Effects, choose Import As: Composition rather than Footage. This brings the Illustrator file in as a composition with each layer preserved as a separate, editable layer, ready to animate.
Importing as a composition with Retain Layer Sizes keeps each element’s anchor and position correct. This is what gives you the separated, animatable layers, rather than a flattened image, so choosing the right import option is essential.
Convert to Shape Layers
For full control, convert your Illustrator layers to shape layers. Right-clicking a vector layer and choosing Create Shapes from Vector Layer turns it into native After Effects shapes that scale infinitely and offer deep animation control.
Shape layers are resolution-independent and far more flexible than imported vector footage, letting you animate paths, strokes, and fills natively. Converting your artwork to shapes unlocks techniques like Trim Paths and full vector control.

Keep Vectors Crisp
Imported Illustrator artwork can look soft when scaled unless you enable Continuous Rasterization (the sun/star switch on the layer). This keeps vector artwork crisp at any scale, since it’s redrawn from the vectors rather than scaled as pixels.
Without this switch, scaling up imported Illustrator art blurs it like any raster image. Enabling continuous rasterization, or converting to shape layers which scale natively, keeps your vector graphics sharp no matter how large you animate them.
Set Up for Animation
With separated, crisp layers, set up for animation. Adjusting anchor points so elements rotate and scale from the right pivot, and organizing layers logically, prepares your artwork for smooth, controlled animation.
Good anchor point placement is especially important, since it determines how each element transforms. Taking a moment to set anchors and organize before animating, then applying the keyframe techniques, makes the animation process smooth and predictable.
Design with Animation in Mind
The best motion graphics start with design built for animation. Thinking about how artwork will move while designing in Illustrator — separating elements, building in pieces, avoiding flattened complexity — makes the After Effects work far easier.
Designing and animating are connected, so considering the animation from the design stage pays off. Building Illustrator files with separated, logically organized, animation-ready artwork, as part of the motion graphics workflow, is the mark of an efficient motion designer.
Illustrator to After Effects Best Practices
- Put each animatable element on its own Illustrator layer.
- Import as a composition with Retain Layer Sizes.
- Convert to shape layers for full vector control.
- Enable continuous rasterization to keep vectors crisp.
Common Import Mistakes
- Artwork all on one layer, importing as one piece.
- Importing as footage instead of a composition.
- Scaling vectors without continuous rasterization, blurring them.
- Poor anchor point placement, complicating animation.
A Real Illustrator-to-AE Example
Imagine animating a logo built in Illustrator. You first separate every element — the icon, each letter group, the tagline — onto its own Illustrator layer, then import the file into After Effects as a composition with Retain Layer Sizes. Each piece arrives as its own animatable layer, exactly where it belongs in the frame.
You convert the vector layers to shape layers so they stay razor-sharp at any scale, fix each element’s anchor point, and animate them flying together with Trim Paths drawing the tagline on. Because the file was prepared properly in Illustrator, the whole animation comes together smoothly — a perfect demonstration of how good prep upstream saves hours of frustration in After Effects.
Round-Trip Between Illustrator and After Effects
The connection between Illustrator and After Effects goes both ways during a project. If you spot a needed design change, you can edit the artwork back in Illustrator and have it update in After Effects, keeping your design and animation in sync without rebuilding anything from scratch.
This round-trip workflow, where design lives in Illustrator and motion in After Effects, is central to professional motion graphics. Pairing well-prepared vector files with the animation techniques in our motion graphics guide lets you iterate on both the look and the movement freely, treating the two apps as one connected design-to-motion pipeline.
Organize Complex Illustrator Files
For complex artwork with many elements, organization in Illustrator becomes even more important. Naming layers clearly, grouping related elements, and structuring the file logically means that when it imports into After Effects, every piece is easy to find and animate, rather than a confusing tangle of generic layers.
This upfront discipline saves significant time on intricate motion graphics. A well-organized Illustrator file, with thoughtfully named and separated layers, translates directly into a manageable After Effects project, which is why preparation in the design app is the foundation of efficient animation.
Importing a layered character from Illustrator sets the stage for rigging character animation in After Effects.
Just as Illustrator art flows into After Effects, how to edit video in Photoshop shows another way the Adobe apps handle motion.
Key Takeaways
- Separate each animatable element onto its own Illustrator layer.
- Import as a composition to keep layers editable.
- Convert to shape layers for crisp, flexible vectors.
- Design with animation in mind from the start.
Frequently Asked Questions
How do I import Illustrator artwork into After Effects?
In After Effects, import the Illustrator file choosing Import As: Composition with Retain Layer Sizes. This brings it in with each Illustrator layer as a separate, animatable layer — provided you organized the artwork onto separate layers first.
How do I keep Illustrator vectors crisp in After Effects?
Enable Continuous Rasterization (the sun/star switch on the layer), which redraws the vector artwork from its paths at any scale instead of scaling it as pixels. Converting to shape layers also keeps vectors sharp natively.
Should I convert Illustrator layers to shape layers?
Yes, for full control. Right-click a vector layer and choose Create Shapes from Vector Layer to turn it into native After Effects shapes that scale infinitely and let you animate paths, strokes, and fills with deep control.
Sources: Wikipedia’s overview of vector graphics.
Bridge design and motion at Adobe Video World
Train hands-on with Adobe Certified Instructors across 100+ Premiere Pro & After Effects sessions.



