A workflow taught by Adobe Certified Instructors at Adobe Video World.
Recording audio on location — outdoors, in real spaces, away from a controlled studio — presents unique challenges: wind, traffic, unpredictable noise, and changing environments. Getting clean sound in the field takes the right gear and techniques. This guide covers location audio recording and how to capture usable, professional sound anywhere.
The Location Audio Challenge
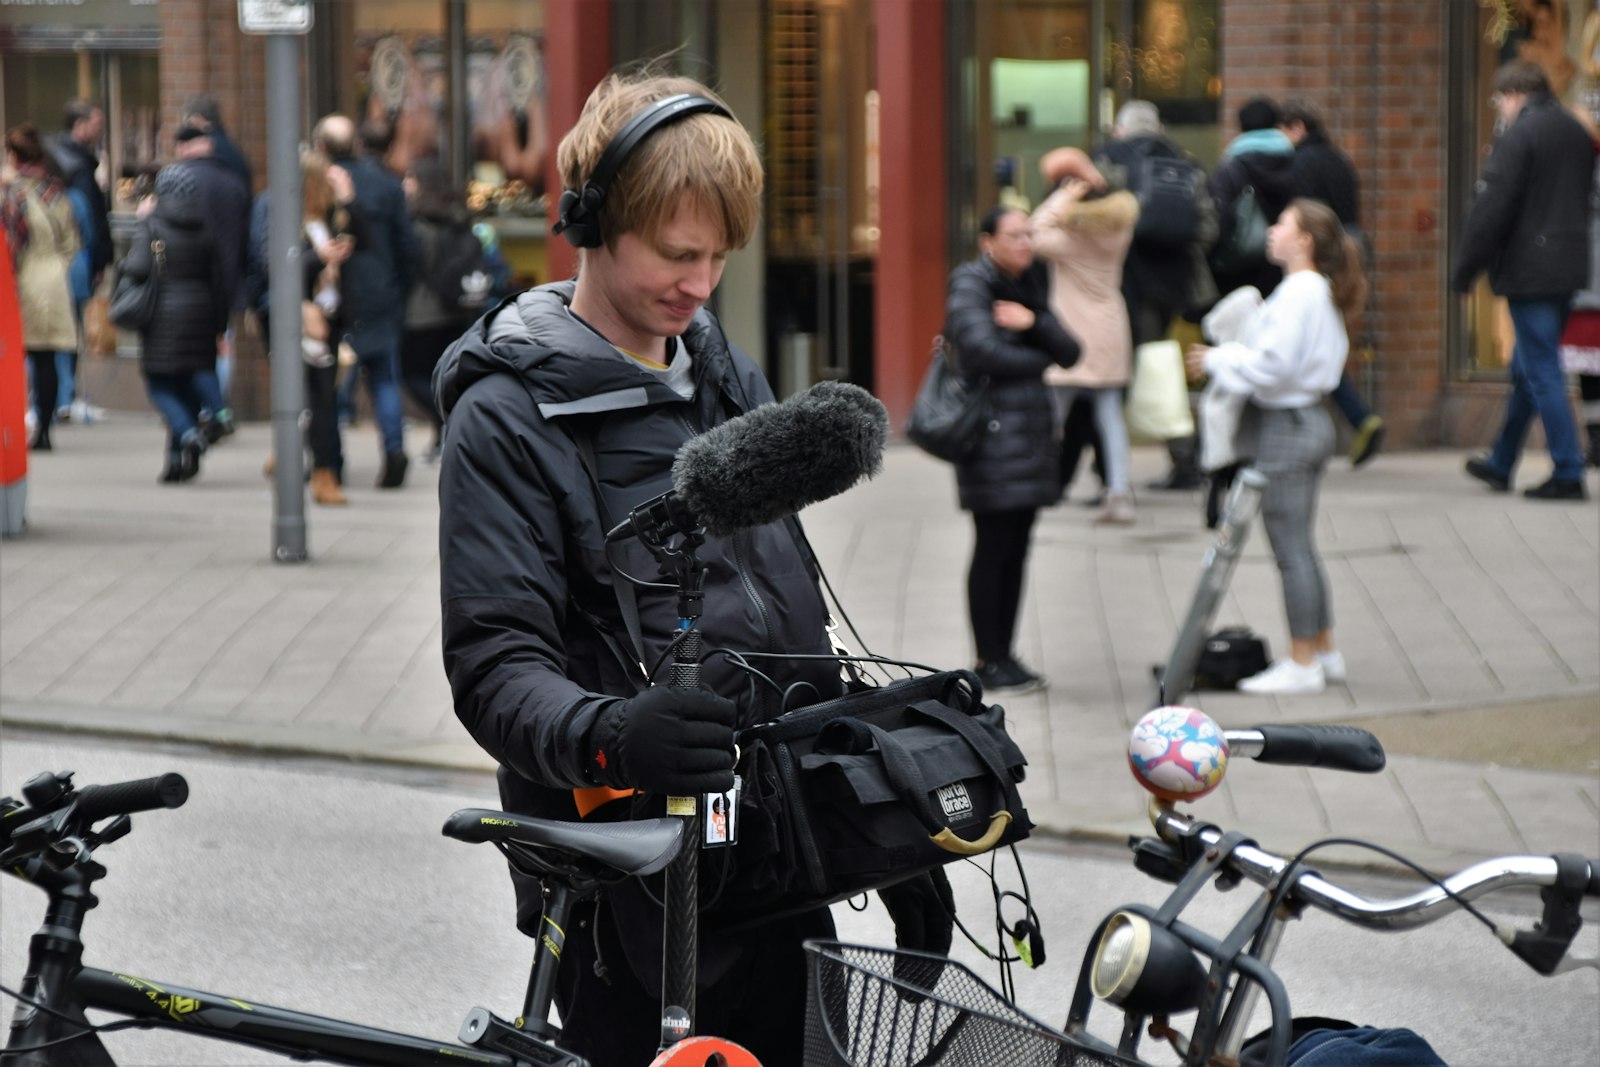
Recording in the field means dealing with uncontrolled conditions — wind, background noise, traffic, and acoustics you can’t change. Unlike a studio, you adapt to the environment, which makes capturing clean audio on location a real skill.
Good location sound requires anticipating and managing these challenges. With the right approach, you can capture clean dialogue and rich ambience even in difficult environments, which is essential for documentaries, interviews, and any video shot in the real world.

Choose the Right Gear
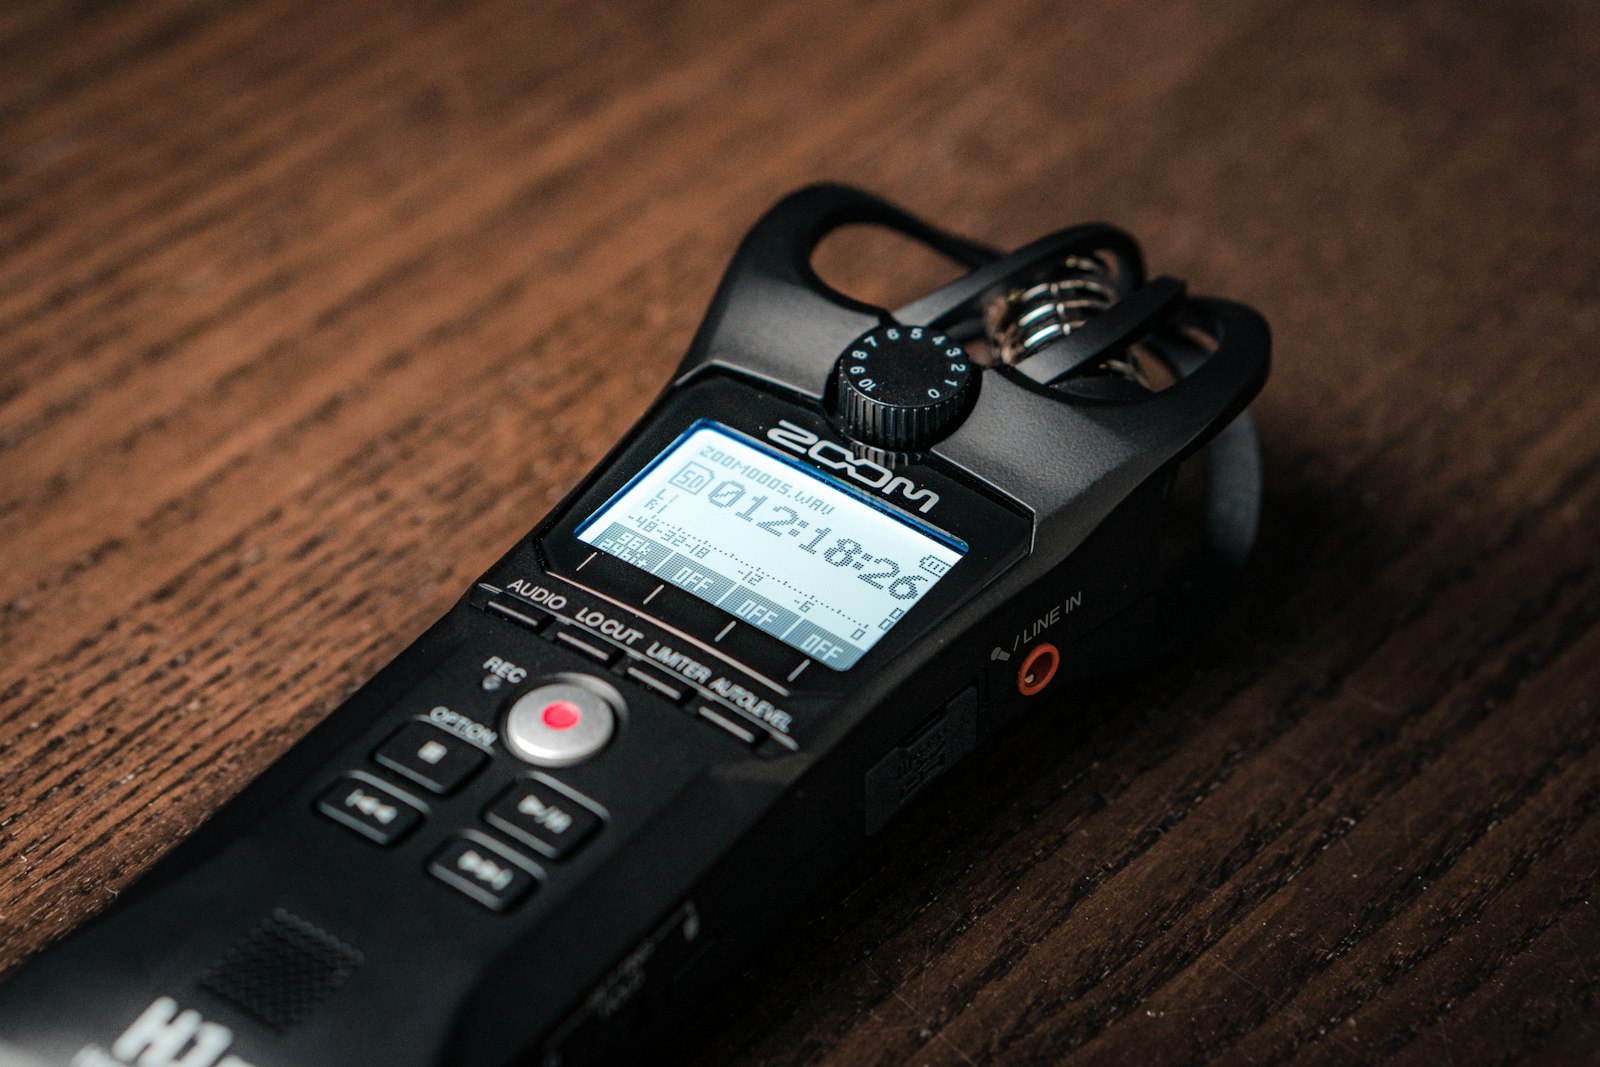
Location recording calls for appropriate equipment. A shotgun mic for directional pickup, lavaliers for subjects, a portable recorder, good headphones for monitoring, and crucially wind protection form a capable field kit.
Matching the gear to the situation, as our audio gear guide covers, is key. A directional shotgun rejects off-axis noise, lavaliers get close to subjects, and a recorder captures clean audio independent of the camera, giving you flexible, professional field sound.
Control Wind Noise
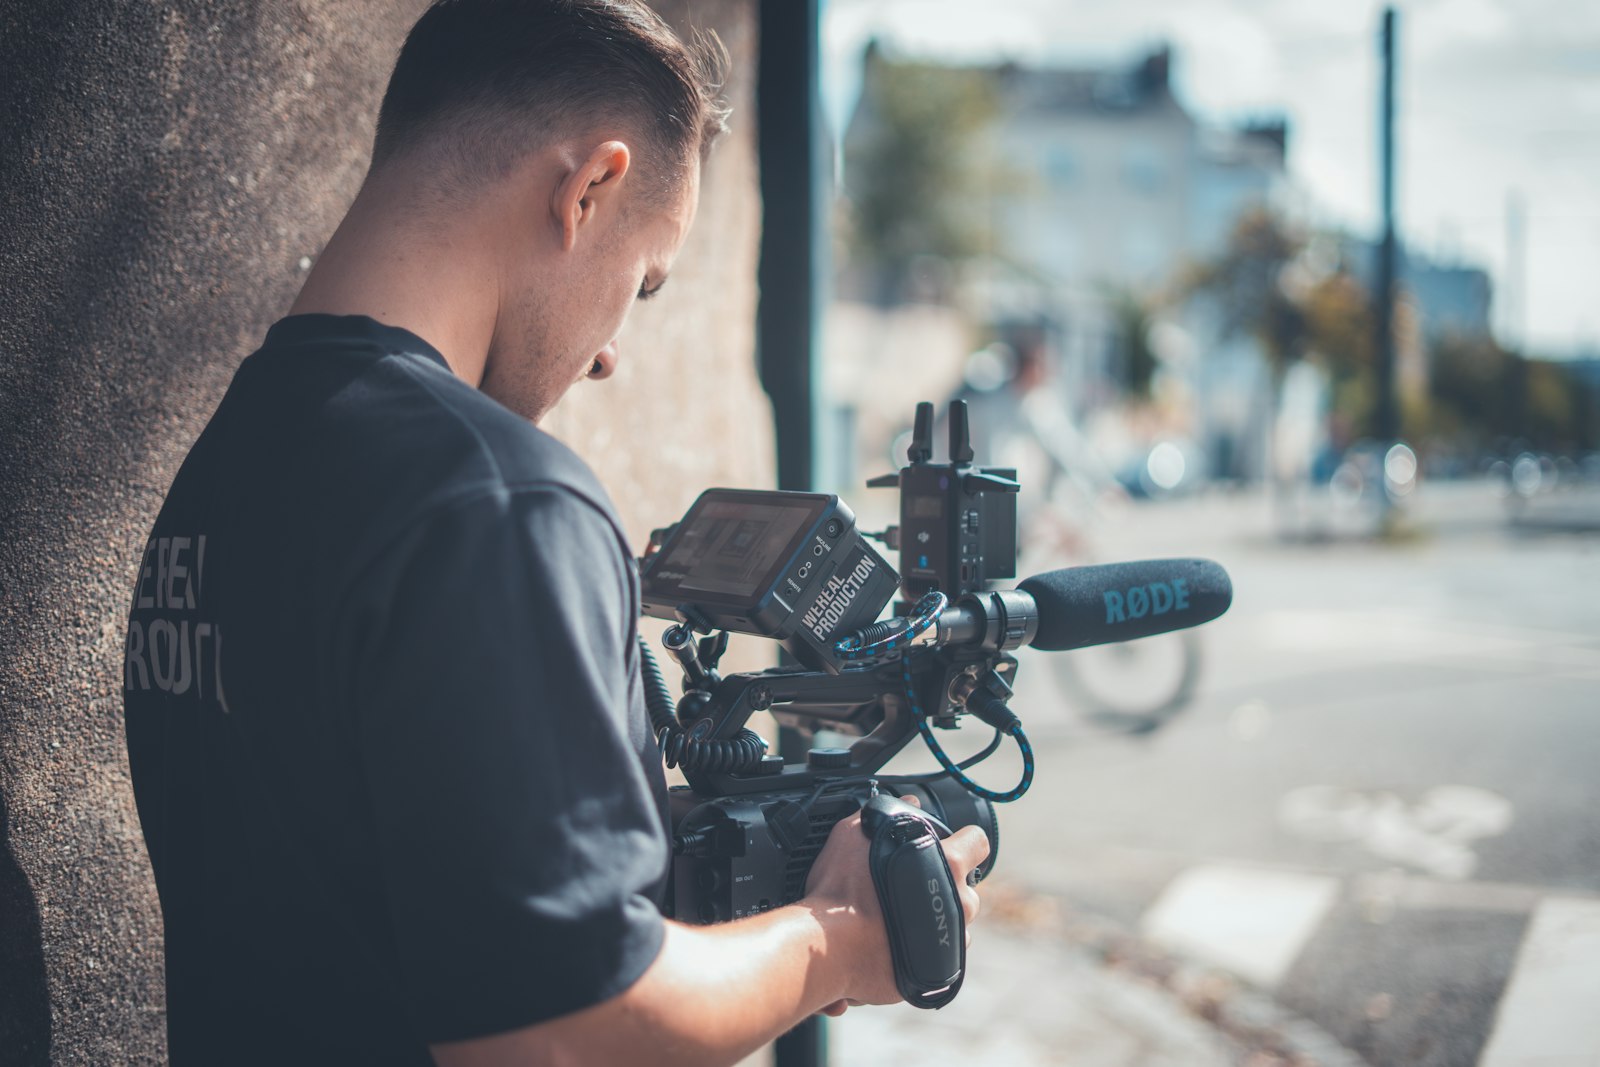
Wind is the location recordist’s biggest enemy, capable of ruining audio with rumble and distortion. Using proper wind protection — a foam windscreen, a furry windjammer (dead cat), or a blimp for serious wind — is essential outdoors.
Even a light breeze can wreck a recording without protection, so good windshielding is non-negotiable for outdoor audio. Adding the right wind protection for the conditions, and positioning to shield the mic, keeps your location dialogue clean and usable.
Get the Mic Close
The universal audio rule applies doubly outdoors: get the mic close to the source. In a noisy environment, a close mic captures a strong, clean voice relative to the background, which is the best defense against location noise.
The nearer the microphone, the more the wanted sound dominates the unwanted. Whether using a boom held just out of frame or a lavalier on the subject, getting close, as our recording guide stresses, is the most effective way to beat location noise.
Monitor and Choose Your Spot
Monitoring with headphones is vital on location, where you must hear problems — wind, noise, interference — as they happen. Always listening on headphones lets you catch issues and adjust before a take is ruined by something you didn’t notice.
Choosing your recording spot also matters. Positioning to minimize wind and background noise, finding a quieter angle, or waiting for a noise to pass all improve your capture. Actively managing the environment, not just the gear, is part of good location audio.
Capture Ambience and Room Tone
Location recording isn’t only dialogue — capturing ambience enriches your sound. Recording the natural sound of each location, plus room tone or atmosphere, gives you authentic backgrounds and material for smoothing your edit.
This ambient sound grounds your video in its real locations and fills gaps in the edit. Taking a moment at each location to record its atmosphere, alongside the dialogue, provides the authentic backgrounds that make location-shot video feel genuine.
Have a Backup Plan
Location audio is unpredictable, so redundancy protects you. Recording a backup, like the camera’s audio alongside your main recorder, or using multiple mics, means a single failure or unexpected noise doesn’t ruin an irreplaceable take.
Since you often can’t reshoot a location moment, this insurance is valuable. Capturing redundant audio, and having a plan for unexpected problems, ensures that the challenges of field recording don’t leave you with unusable sound from a one-time shoot.
Location Audio Best Practices
- Bring the right gear: shotgun, lavaliers, recorder, headphones.
- Always use wind protection outdoors.
- Get the mic close to beat background noise.
- Monitor on headphones and capture ambience and room tone.
Common Location Audio Mistakes
- Recording outdoors without wind protection.
- Mic too far from the source in a noisy environment.
- Not monitoring, so problems go unnoticed.
- No backup audio for an irreplaceable take.
A Real Location Recording Example
Picture filming a documentary interview on a windy clifftop. You fit your shotgun mic with a furry windjammer, get it close on a boom just above the frame, and put a backup lavalier on the subject under their jacket. Monitoring on headphones, you catch a gust rumbling and pause until it passes, then capture the answer clean.
Afterward you record a minute of the wind and waves as ambience to use under the edit. Despite the hostile conditions, you come away with usable, atmospheric dialogue and rich location sound — proof that good field technique, the right wind protection, and a backup mic let you capture professional audio almost anywhere.
Plan Audio Into Your Shoot
Location audio works best when it’s planned, not improvised. Scouting a location for noise sources — a nearby road, an air conditioner, a flight path — before the shoot lets you choose quieter spots or times, and bringing the right gear for the conditions means you’re never caught without wind protection or a backup.
Thinking about sound during pre-production, alongside the visual planning in our storyboarding guide, prevents the common mistake of treating audio as an afterthought. A little forethought about where and when you’ll record, and what could go wrong, is what consistently delivers clean location sound rather than leaving it to luck.
Field Audio and the Edit
Good location audio extends into the edit, where the ambience and room tone you captured prove their value. Layering natural location sound under your footage, and using room tone to smooth gaps and transitions, makes the edit feel grounded and seamless rather than sterile or disjointed.
This is why capturing more than just dialogue on location pays off. The atmosphere and tone you record give the editor material to build an immersive, consistent soundscape, so thinking about the edit while recording in the field, and gathering that extra sound, makes the final mix far richer.
Recording in a reflective space is exactly when you’ll need removing unwanted echo and reverb afterward.
Key Takeaways
- Location audio means adapting to uncontrolled conditions.
- Use proper gear and always protect against wind.
- Get the mic close to beat background noise.
- Monitor, capture ambience, and record a backup.
Frequently Asked Questions
How do I record clean audio on location?
Use the right gear (a shotgun mic or lavaliers and a portable recorder), always use wind protection outdoors, get the mic close to the source to beat background noise, monitor on headphones, and record a backup for safety.
How do I deal with wind when recording outdoors?
Use proper wind protection — a foam windscreen for light breezes, a furry windjammer (dead cat) for more wind, or a blimp for serious conditions. Even a light breeze can ruin audio without protection, so it’s essential outdoors.
Why should I record room tone on location?
Room tone and ambience capture the natural sound of each location, giving you authentic backgrounds and material to smooth gaps and transitions in your edit. It grounds your video in its real spaces and keeps the audio bed consistent.
Sources: Wikipedia’s overview of field recording.
Capture sound anywhere at Adobe Video World
Train hands-on with Adobe Certified Instructors across 100+ Premiere Pro & After Effects sessions.



