A workflow taught by Adobe Certified Instructors at Adobe Video World.
Animating a character in After Effects brings drawings to life with movement and personality. By rigging a character and animating its parts, you can create walk cycles, gestures, and expressions. It takes practice, but the fundamentals are learnable. This guide covers rigging, the puppet tool, walk cycles, and the animation principles that make characters feel alive.
How Character Animation Works
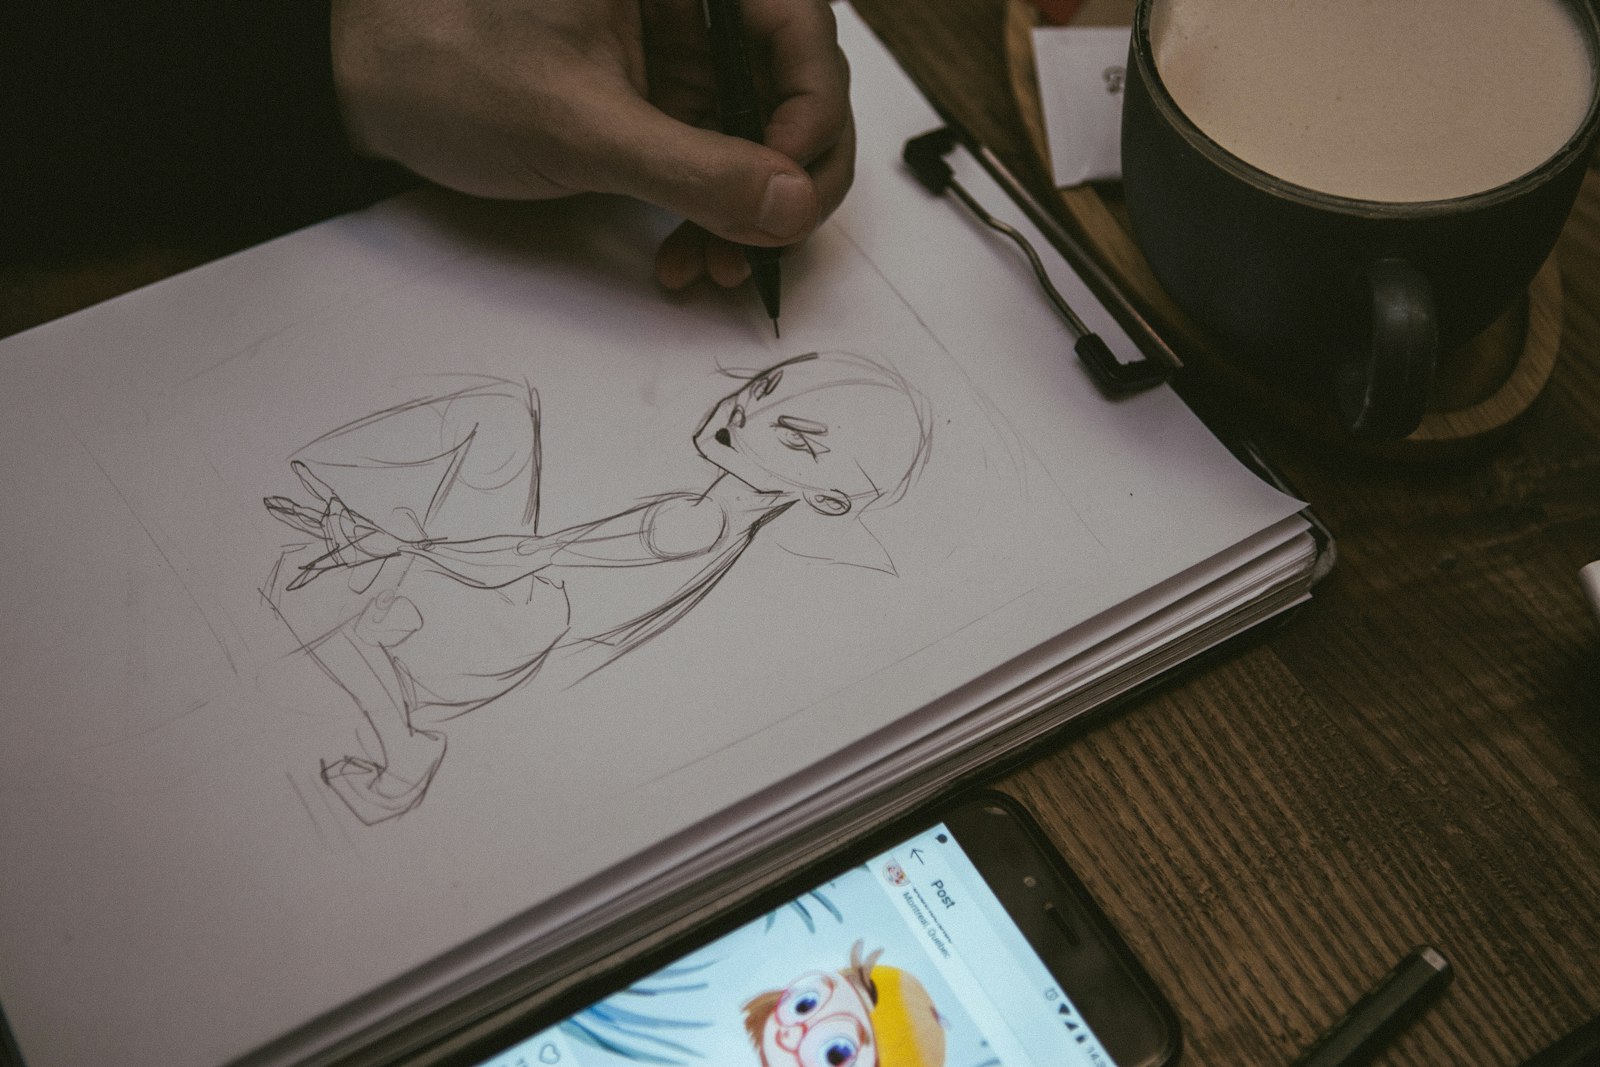
Character animation in After Effects means moving the parts of a 2D character — limbs, head, features — to create the illusion of life. Rather than drawing each frame, you build a character from layered pieces and animate those pieces over time.
This cut-out style of animation is efficient and powerful, letting you reuse a single character design across many movements. The skill lies in moving the parts believably, which is where rigging and animation principles come in.
Prepare Your Character
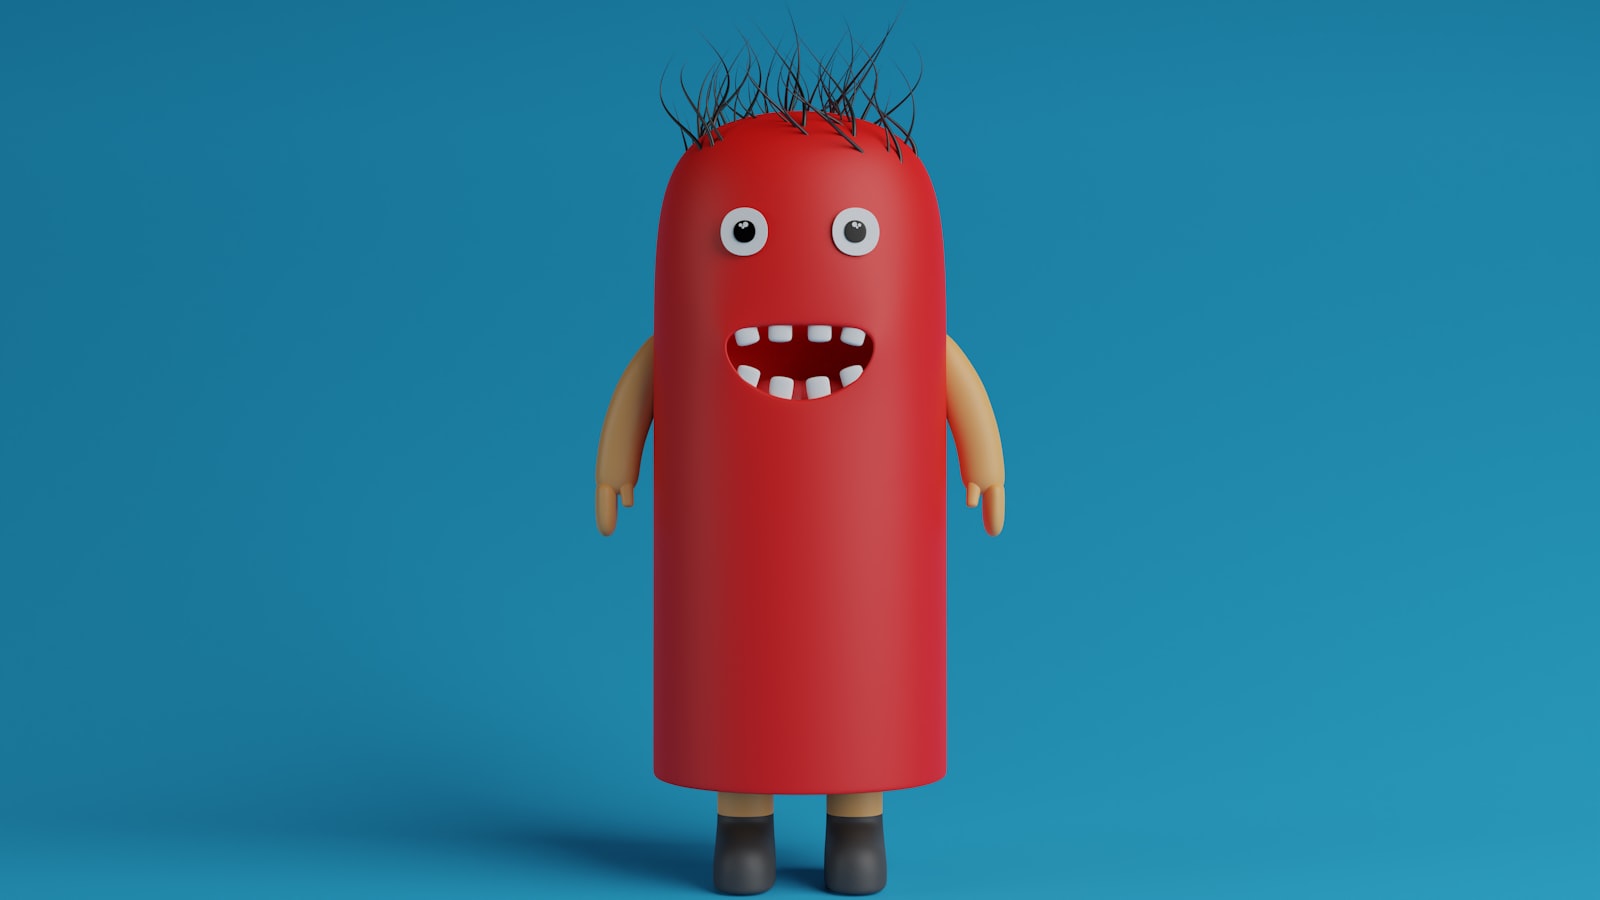
Good character animation starts with a well-built character. Separate the design into individual layers — each arm, leg, the head, the body — so every part can move independently, ideally imported from a layered design file.
Having each piece on its own layer is essential for animation, since you’ll move and rotate them separately. A character built as one flat image can’t be animated this way, so the layered preparation is a crucial first step.
Rig with Parenting
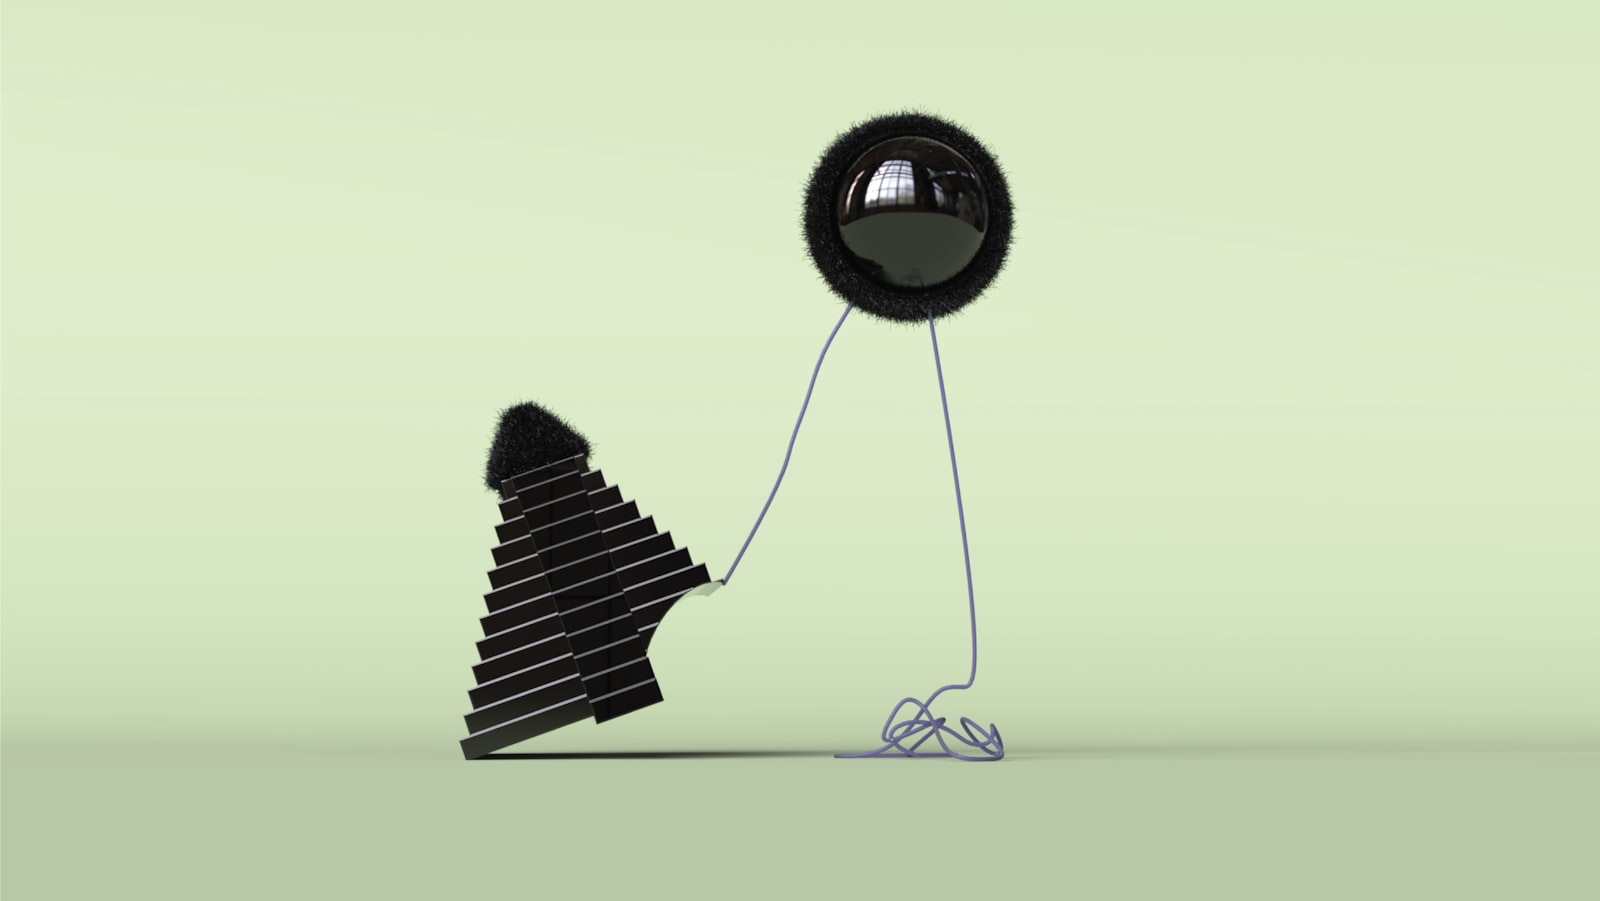
Rigging connects the character’s parts so they move naturally together. Using parenting, you link an arm to the body, a hand to the arm, and so on, creating a hierarchy where moving the body carries the limbs.
This parent-child structure mimics a skeleton, so the character moves as a connected whole rather than disjointed pieces. A solid rig, often built with null objects as controllers, is the foundation that makes animating a character manageable.
Use the Puppet Tool
For bending and deforming parts smoothly, the Puppet tool is invaluable. By placing pins on a limb and moving them, you can bend an arm or leg organically, as if it had joints, without separating it further.
The Puppet tool adds natural flex that rigid parenting alone can’t, letting limbs curve and bodies squash. Combining parenting for the overall structure with the Puppet tool for organic bending gives characters fluid, lifelike movement.

Animate a Walk Cycle
The walk cycle is a fundamental character animation exercise. You animate the legs stepping, the body bobbing, and the arms swinging in a repeating loop, which can then be cycled to make the character walk continuously.
A convincing walk has the body rising and falling, the feet contacting and pushing off, and the arms counter-swinging to the legs. Mastering the walk cycle teaches the timing and weight that underpin all character animation, and it loops endlessly once built.
Apply the Principles of Animation
The classic 12 principles of animation — squash and stretch, anticipation, follow-through, timing, and more — are what make character movement feel alive. Applying them turns mechanical motion into believable, expressive performance.
Squash and stretch gives weight, anticipation sets up actions, and follow-through adds realism as parts settle. Studying these principles, drawn from traditional animation, is the single biggest thing that elevates character work beyond stiff, robotic movement.
Add Personality and Expression
Great character animation conveys personality through how a character moves. The same walk can read as confident, tired, or nervous depending on posture, timing, and small touches like a head tilt or a bounce in the step.
Animating facial expressions and gestures, eased carefully in the graph editor, gives a character life and emotion. It’s these details of performance, not just technical movement, that make audiences connect with an animated character.
Character Animation Best Practices
- Build your character with each part on a separate layer.
- Rig with parenting and controllers for connected movement.
- Use the Puppet tool for organic bending of limbs.
- Apply the 12 principles to make motion feel alive.
Common Character Animation Mistakes
- A flat, single-layer character that can’t be rigged.
- Stiff motion that ignores the animation principles.
- A floaty walk cycle with no weight or contact.
- Movement with no personality or expression.
A Real Character Animation Example
Picture animating a simple mascot waving hello. You import the character with its arm, forearm, hand, body, and head on separate layers, parent the hand to the forearm and the forearm to the upper arm, then rotate each joint in sequence so the wave flows from shoulder to fingertips. A little overlap, with the hand lagging the arm, gives it natural follow-through.
You add a slight body lean and a head tilt as anticipation before the wave, and ease everything in the graph editor so it accelerates and settles believably. What could read as a stiff mechanical motion instead feels warm and alive — the difference made entirely by hierarchy, timing, and the animation principles working together.
Start Simple and Build Up
Character animation is daunting at first, so the fastest way to improve is to start small. Animating a simple bounce, a single waving arm, or a blinking eye teaches the fundamentals of weight and timing without the overwhelm of a full body performance. Each small exercise builds skills that transfer directly to bigger work.
From there you can progress to a full walk cycle, then gestures, then a complete performance. This gradual approach, leaning on the easing discipline from our graph editor guide, builds genuine animation instinct over time, and it’s far more effective than attempting an ambitious character piece before the basics feel natural.
Use Tools and Scripts to Speed Rigging
Rigging a character by hand with parenting works, but the After Effects community has built powerful rigging tools and scripts that automate much of the setup, adding controls for limbs, faces, and even automatic walk cycles. These can dramatically speed up the process once you understand what they’re doing under the hood.
Learning the manual approach first means these tools enhance your workflow rather than hiding how rigging works. Built on the null object and parenting fundamentals, a good rig — whether hand-built or tool-assisted — is what makes animating a character a creative joy instead of a technical chore.
Hand-drawn reveals complement a moving character, so the write-on effect in After Effects animates a signature or path stroke by stroke.
Key Takeaways
- Character animation moves the layered parts of a 2D character.
- Rig with parenting and bend limbs with the Puppet tool.
- Master the walk cycle for timing and weight.
- Apply the 12 principles and add personality.
Frequently Asked Questions
How do I animate a character in After Effects?
Build the character with each part on a separate layer, rig the parts together with parenting, use the Puppet tool for organic bending, then animate the movements applying the principles of animation for lifelike motion.
How do I rig a character in After Effects?
Use parenting to link the parts into a hierarchy — an arm to the body, a hand to the arm — often with null objects as controllers. This makes the character move as a connected whole, like a skeleton.
What is a walk cycle?
A walk cycle is a repeating loop of a character walking — legs stepping, body bobbing, arms swinging — that can be cycled to make the character walk continuously. It’s a fundamental exercise teaching timing and weight.
Sources: Wikipedia’s overview of the 12 basic principles of animation.
Bring characters to life at Adobe Video World
Train hands-on with Adobe Certified Instructors across 100+ Premiere Pro & After Effects sessions.



