A workflow taught by Adobe Certified Instructors at Adobe Video World.
Film grain is the subtle texture that gives footage an analog, cinematic feel, softening the clinical sharpness of digital video. It’s a finishing touch on countless films and music videos. After Effects adds grain with noise and dedicated effects. This guide covers adding film grain, controlling its look, and using it to make digital footage feel filmic.
Why Add Film Grain
Digital footage can look too clean and sharp, lacking the organic texture of film. Adding subtle grain introduces a fine, moving texture that softens the image and evokes the look of real film stock, giving footage a cinematic, tactile quality.
Grain also helps unify footage from different sources and disguise compression artifacts. This finishing touch is a staple of color grading and the cinematic look, making digital video feel less sterile and more filmic.
What Film Grain Looks Like
Real film grain is a fine, randomly moving texture that varies with brightness — often more visible in shadows and midtones than bright highlights. It’s subtle, organic, and constantly shifting, never a static, uniform pattern.
Understanding these qualities — fine, moving, brightness-dependent, and subtle — is key to convincing grain. Digital noise that’s too coarse, static, or uniform reads as fake, while grain that mimics film’s organic randomness feels authentic.
Add Grain with Noise
A simple method uses the Noise or Add Grain effect on an adjustment layer above your footage. This applies a moving grain texture across everything beneath, which you then refine for the right look.
Applying grain on an adjustment layer keeps it on a single, controllable layer affecting the whole scene. From there, adjusting the amount and character of the noise shapes it into convincing film grain.
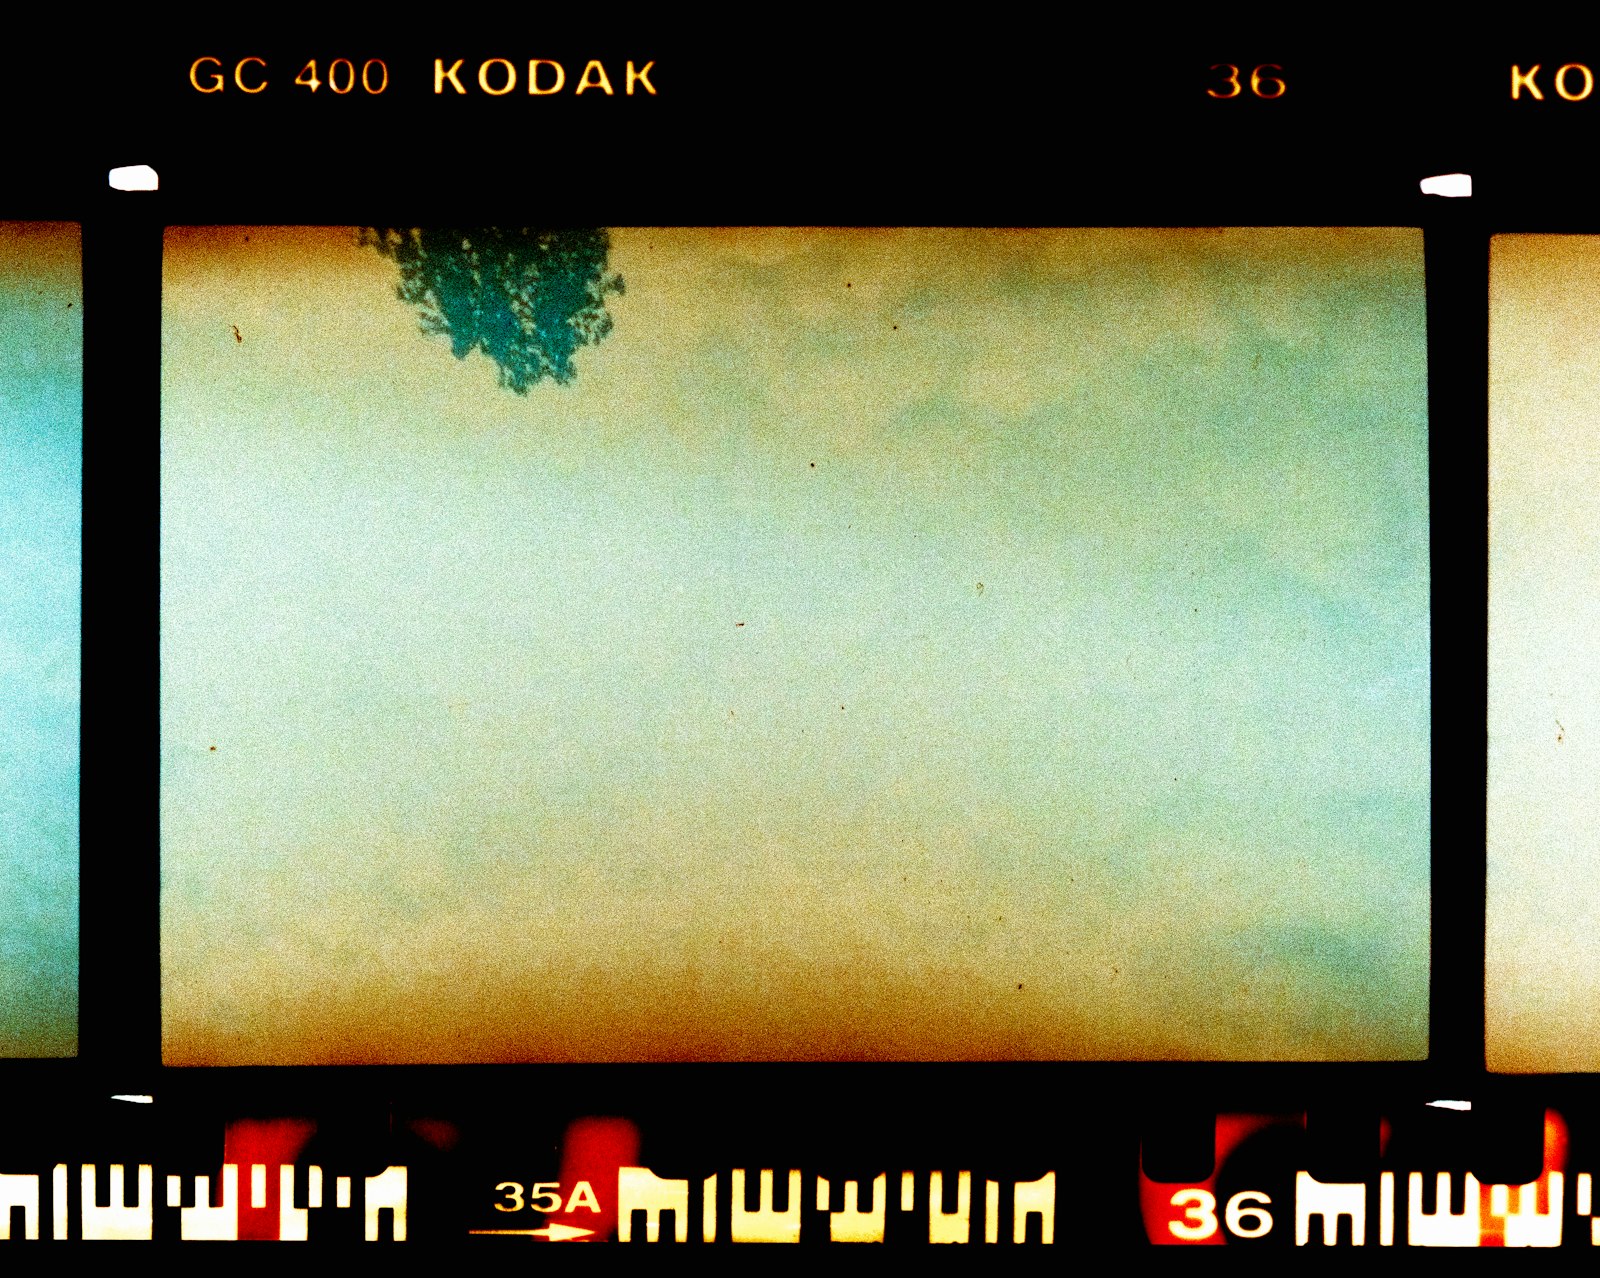
Use the Add Grain Effect
After Effects’ dedicated Add Grain effect offers realistic, controllable film grain with presets for different film stocks. It lets you control the grain’s size, intensity, color, and how it responds to the image’s brightness.
This effect is more sophisticated than plain noise, simulating actual film grain characteristics. Its controls for tonal response and softness produce more authentic results, making it the better choice when realism matters.
Control the Intensity
Subtlety is everything with grain. The intensity should be just enough to add texture and a filmic feel without being obviously noisy, so dialing the amount back until it’s barely perceptible usually gives the best result.
Heavy, obvious grain looks like a digital effect rather than film, while a light, organic texture reads as cinematic. Viewing the grain at full resolution and keeping it understated ensures it enhances the footage rather than degrading it.
Match Real Film Grain
For authenticity, match the grain to real film characteristics. Making it slightly more visible in shadows and midtones than highlights, keeping the size fine, and ensuring it moves naturally mimics how real film grain behaves.
Some artists use scanned real film grain overlays for the most authentic result, blended over the footage. Whether built with effects or real overlays, matching the brightness response and movement of actual film is what makes grain convincing.
Grain Helps Smooth Gradients
Beyond texture, grain has a practical benefit: it breaks up banding in smooth areas like skies and gradients. The fine, random texture disguises the visible steps that banding creates, tricking the eye into seeing a smooth blend.
This makes grain a useful tool for fixing banding as well as adding a filmic look. A subtle layer of grain over a banded gradient or sky smooths it visually, a clever dual purpose that professional colorists rely on.
Apply Grain Last
Grain should generally be the final layer in your process, applied on top of your color grade and effects. Adding it last ensures it sits over the finished image like real film grain, unaffected by adjustments beneath.
Placing grain at the very top, on an adjustment layer above everything, gives the most authentic result. This ordering matters because real grain is part of the film capture itself, sitting over the entire image rather than within it.
Film Grain Best Practices
- Use the Add Grain effect for realistic, controllable grain.
- Keep the intensity subtle and check it at full resolution.
- Match film’s brightness response and fine, moving texture.
- Apply grain last, on an adjustment layer over everything.
Common Film Grain Mistakes
- Grain so heavy it looks like digital noise.
- Static or uniform grain that doesn’t move organically.
- Coarse grain that’s too large to read as film.
- Applying grain beneath effects instead of on top.
A Real Film Grain Example
Picture finishing a moody short film that looks a touch too clean and digital. You add the Add Grain effect on an adjustment layer above your finished color grade, choose a fine grain that’s a little stronger in the shadows than the highlights, and dial the intensity right back until it’s barely perceptible at full resolution.
Instantly the footage softens and gains an organic, filmic texture, and a banded patch in a dark sky smooths out as the grain breaks up the steps. That subtle layer of moving texture, applied last over everything, is what bridges the gap between sterile digital video and the warm, tactile feel of real film.
Match Grain Across Your Footage
Grain is also a practical tool for unifying footage from different cameras or sources. Different cameras produce different noise characteristics, and clips can look mismatched when cut together, but applying a consistent layer of film grain over the whole sequence gives every shot the same texture, helping them feel like one cohesive piece.
This unifying effect, applied on a single adjustment layer over the entire edit, also disguises compression artifacts and smooths the transition between graded shots. Combined with the shot-matching in our color matching guide, a shared grain layer is a subtle but effective way to make mixed footage feel intentional and unified.
Cleaning footage first and adding fine grain afterward is the opposite of reducing heavy digital noise and grain, and the two techniques pair well.
Key Takeaways
- Film grain gives digital footage an analog, cinematic texture.
- Use the Add Grain effect for realistic, controllable grain.
- Keep it subtle and match film’s organic, moving character.
- Grain also smooths banding; apply it last over everything.
Frequently Asked Questions
How do I add film grain in After Effects?
Use the Add Grain effect or Noise on an adjustment layer above your footage, applied last over your color grade. Keep the intensity subtle, and match real film by making the grain fine, moving, and slightly stronger in shadows.
How much film grain should I add?
Keep it subtle — just enough to add texture and a filmic feel without looking obviously noisy. Heavy grain reads as a digital effect, while light, organic grain reads as cinematic. Check it at full resolution.
Does film grain help with banding?
Yes. The fine, random texture of grain breaks up the visible steps that banding creates in smooth areas like skies and gradients, tricking the eye into seeing a smooth blend. It’s a clever dual-purpose tool.
Sources: Wikipedia’s article on film grain.
Add cinematic texture at Adobe Video World
Train hands-on with Adobe Certified Instructors across 100+ Premiere Pro & After Effects sessions.



