
A workflow taught by Adobe Certified Instructors at Adobe Video World.
If you’ve ever copied the same effect onto twenty clips one by one, adjustment layers will change how you edit. An adjustment layer applies any effect — a color grade, a blur, a film look — to every clip beneath it at once. Here’s how to use this huge time-saver.
What an Adjustment Layer Does
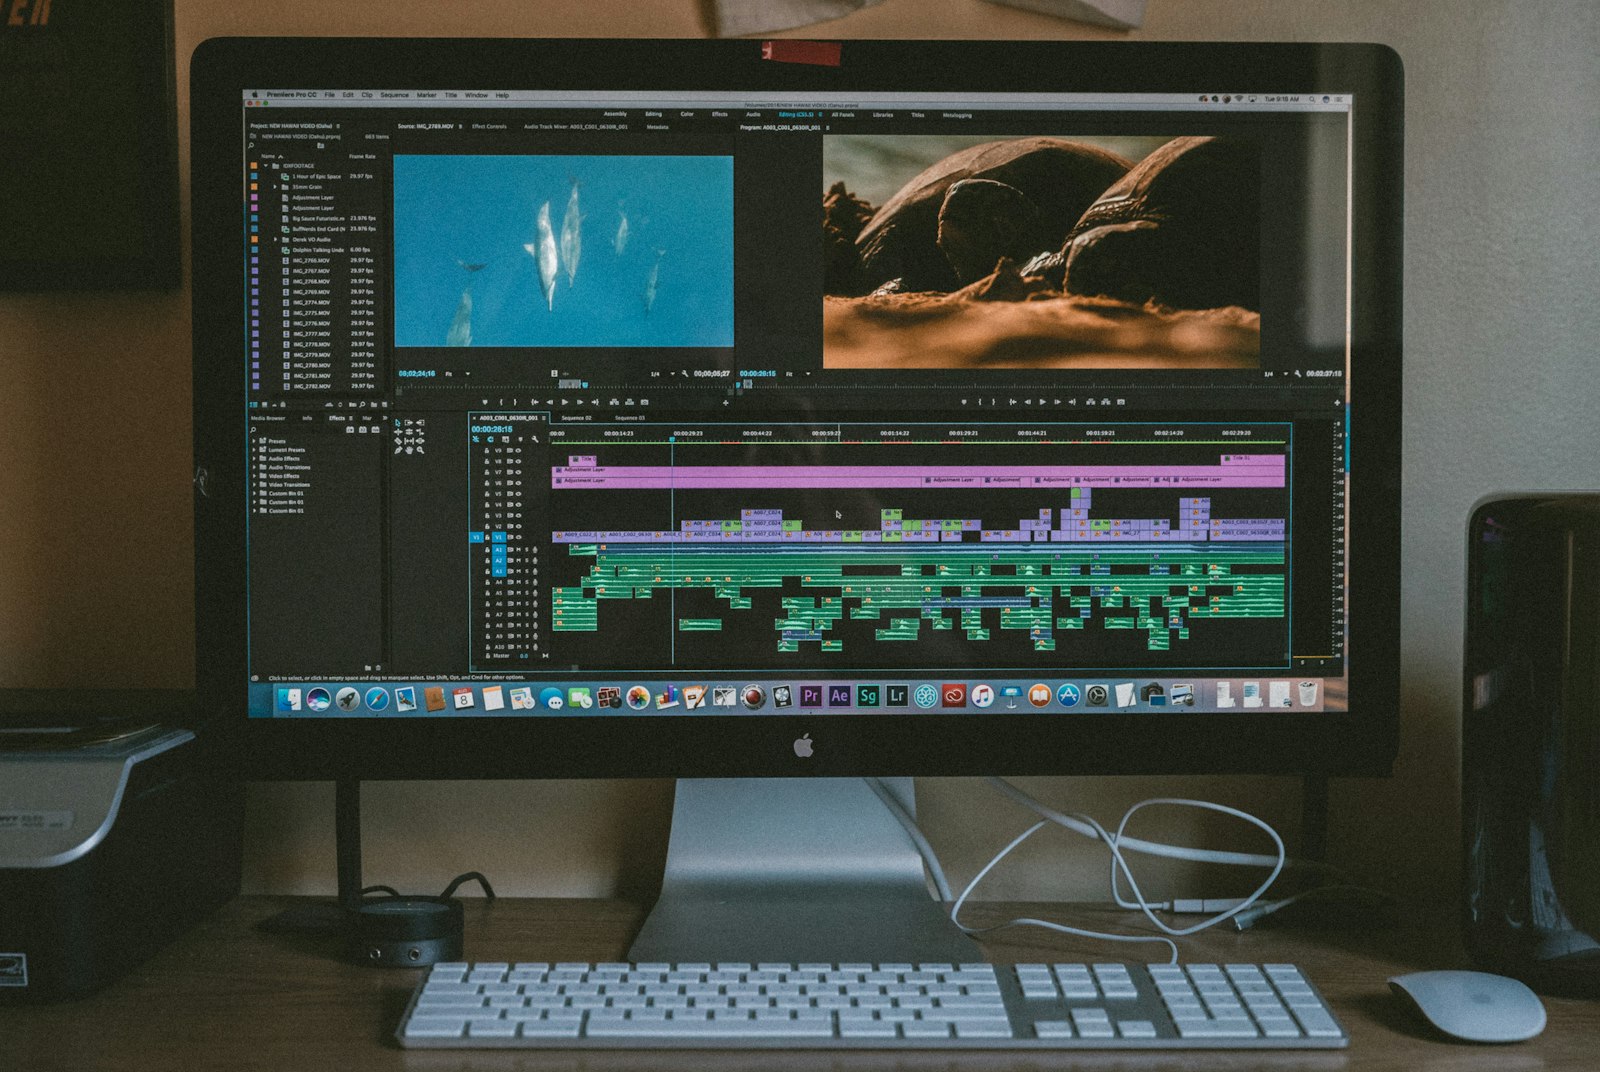
An adjustment layer is a transparent clip that holds effects. On its own it shows nothing, but any effect you put on it applies to all the footage on the tracks below it.
Change the effect on that one layer and every clip underneath updates instantly. It’s the cleanest, most flexible way to apply a look across a whole sequence.
Create an Adjustment Layer
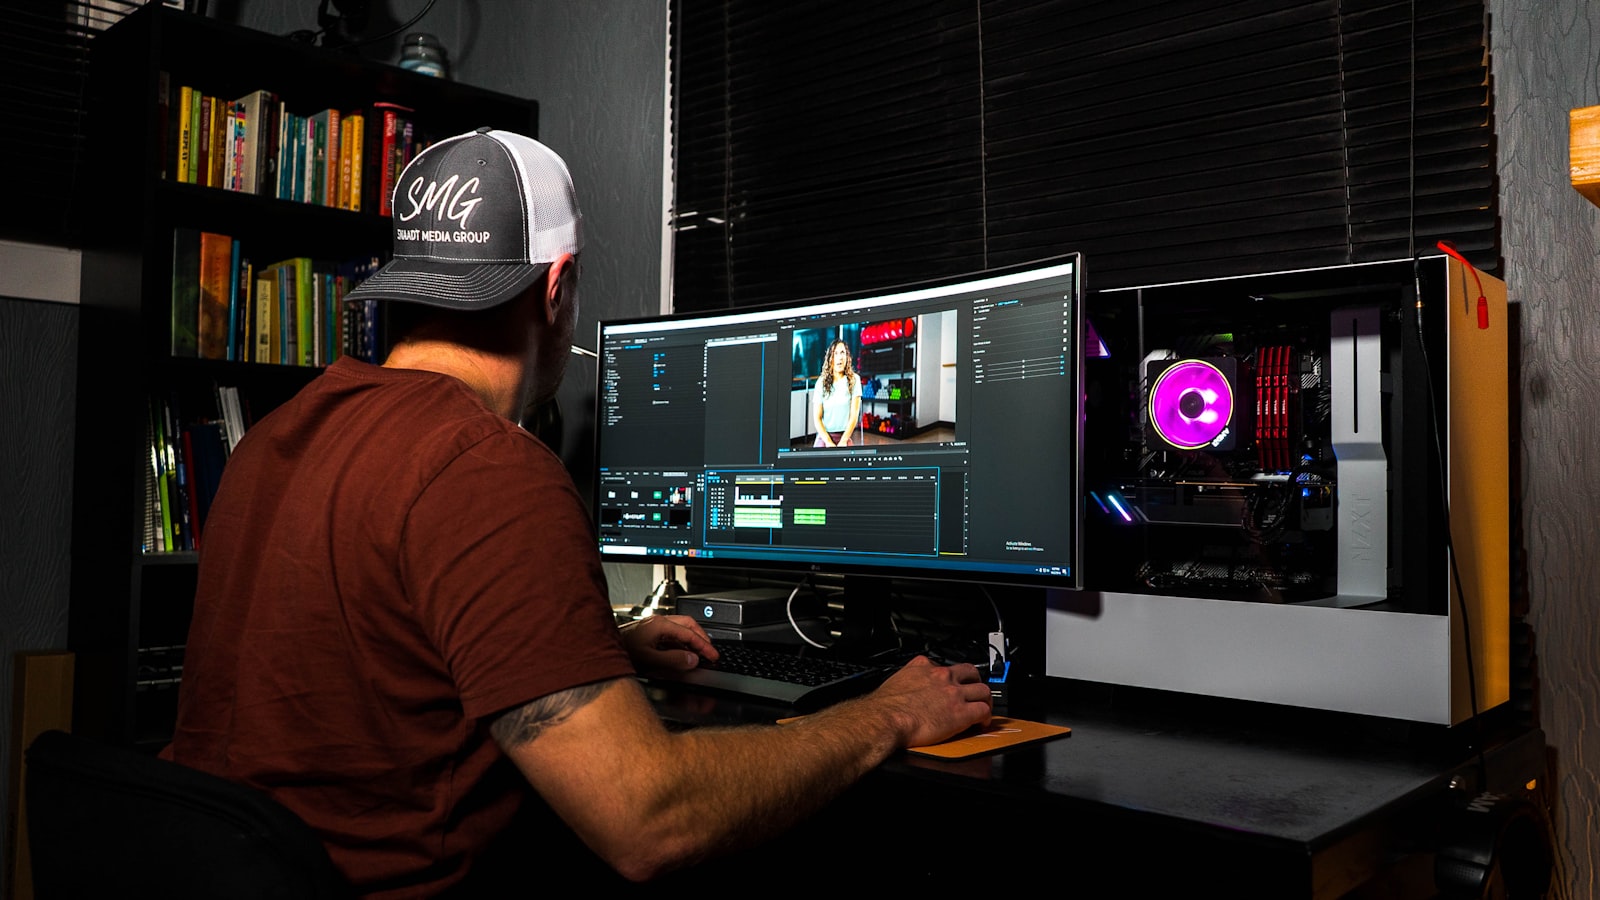
In the Project panel, click the New Item icon at the bottom and choose Adjustment Layer. A new item appears that matches your sequence settings.
Drag it to a video track above the clips you want to affect, and stretch it across as many clips as you like. Everything beneath it now lives ‘inside’ the adjustment layer’s influence.
Apply a Color Grade to Everything
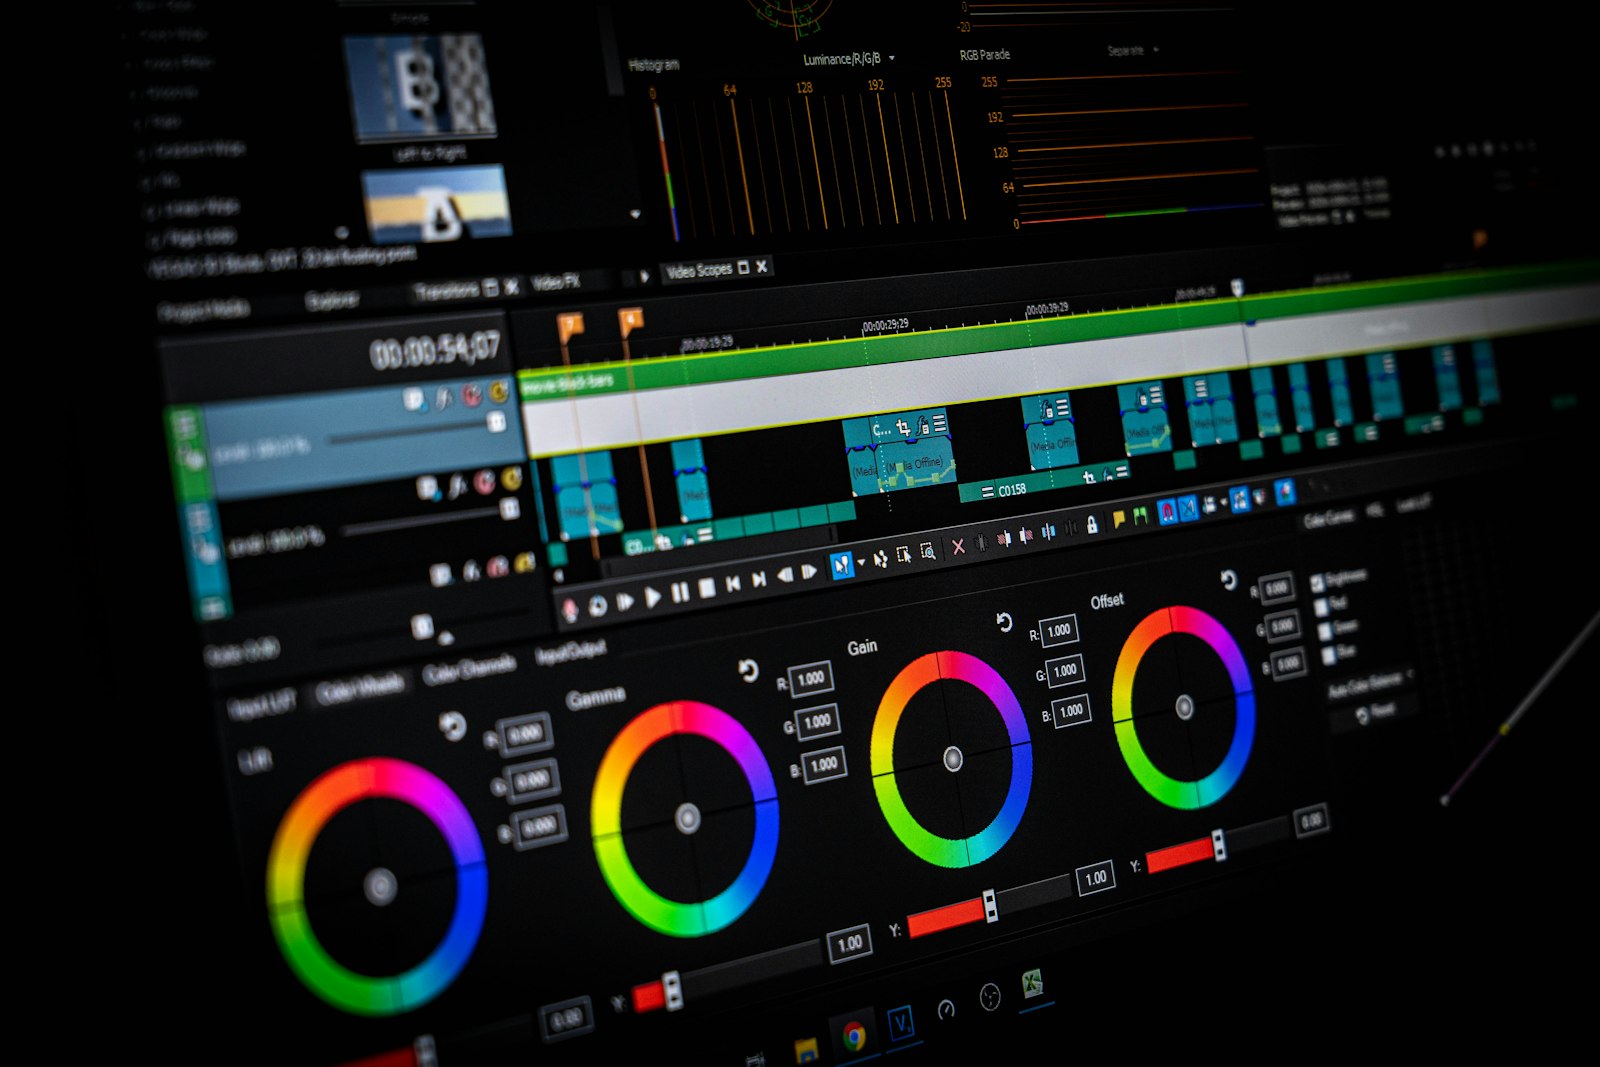
The most popular use is color. Drop a Lumetri Color effect onto the adjustment layer and grade once — the look carries across every clip below.
This keeps your grade consistent and editable in one place. For the full grading workflow, see our guide to color grading with the Lumetri panel.
Stack Multiple Effects
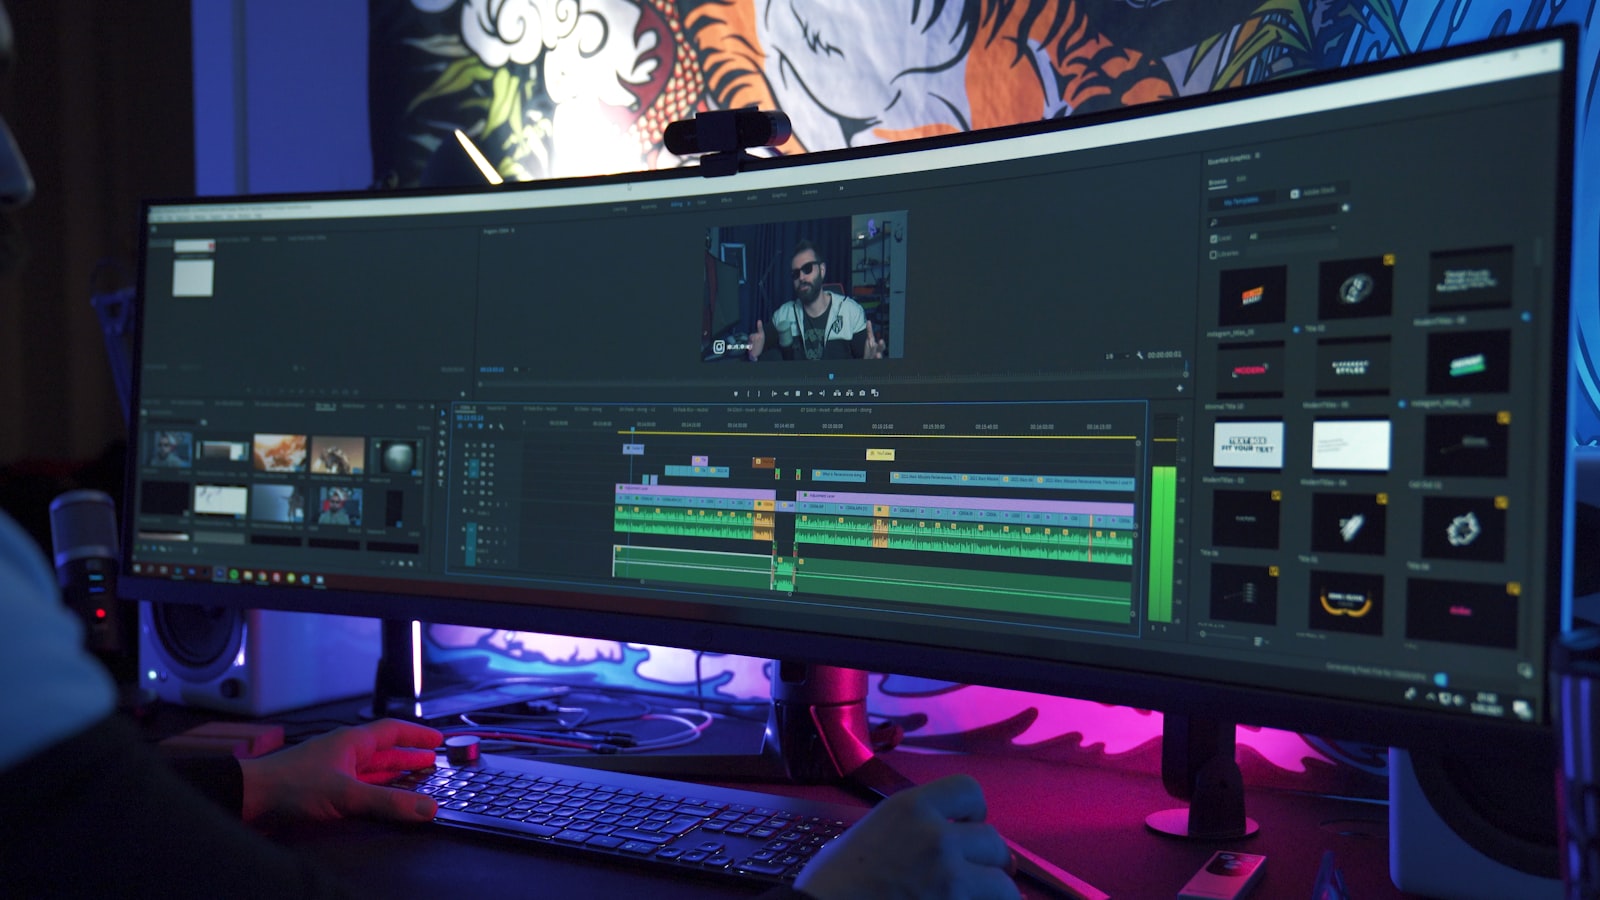
Adjustment layers aren’t limited to one effect. Stack a grade, a subtle vignette, a sharpening pass, and a grain overlay all on the same layer for a complete ‘look’ you can toggle on and off.
Because everything lives on one layer, you can build a signature style and reuse it across projects by copying that single layer.
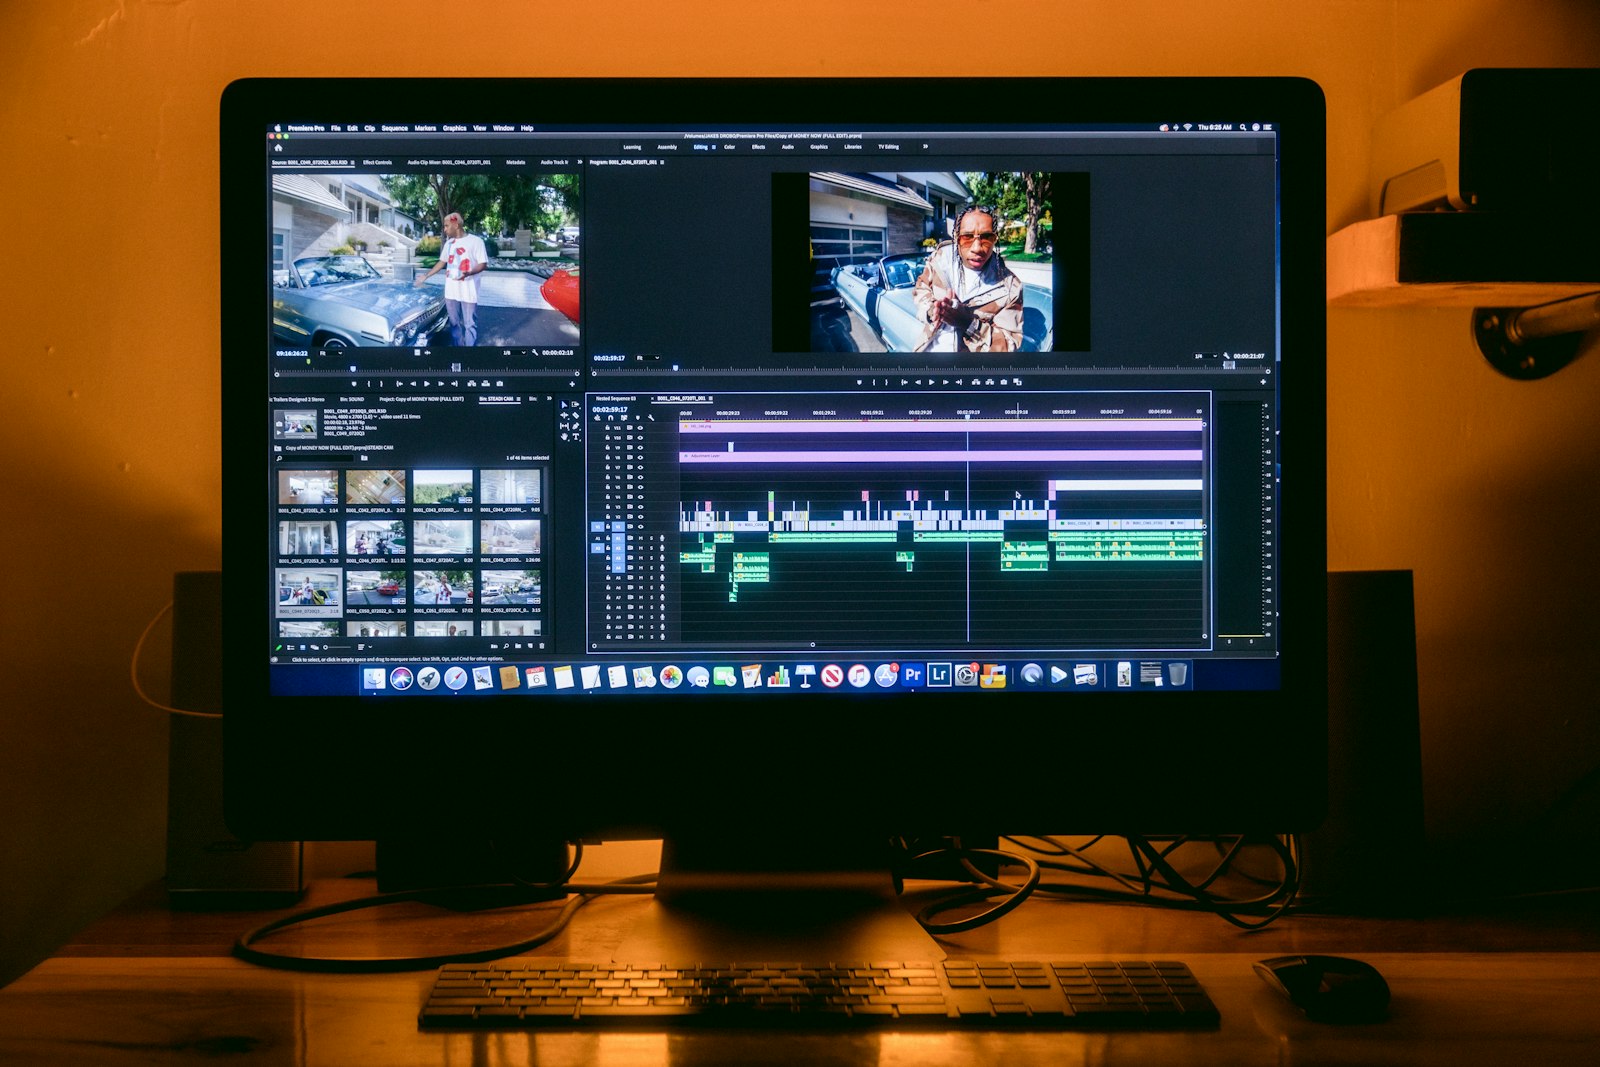
Limit an Adjustment Layer’s Range
An adjustment layer only affects what’s directly beneath it, so its length matters. Trim it to cover just the clips you want — a different grade for an indoor scene than an outdoor one, for example.
Stack several adjustment layers at different points in your timeline to give each section its own treatment while keeping everything organized.
Fade Effects In and Out
Because an adjustment layer is a clip, you can keyframe its Opacity to fade an effect in or out. Ramp a blur up during a transition, then back down, all without touching your footage.
This is a clean way to create temporary effects — like blurring the background behind a title, then revealing the shot again.
Mask Effects to Part of the Frame
Add a mask to an effect on the adjustment layer to confine it to a region of the frame. Sharpen only a face, darken only the edges, or blur only a logo you need to hide.
Masks plus adjustment layers give you targeted control without rendering or stepping outside Premiere.
Adjustment Layers vs. Copying Effects
You could copy an effect from one clip and paste it onto others, but that creates dozens of separate instances to manage. Change your mind and you’re editing every clip again.
An adjustment layer centralizes everything: one place to tweak, one place to disable, one place to reuse. For any look that spans more than a couple of clips, it’s the professional choice.
Adjustment Layer Best Practices
- Label your adjustment layers (Grade, Vignette, Blur) so a stacked timeline stays readable.
- Keep your base correction on the clips and your creative look on the adjustment layer.
- Toggle the layer’s eye icon to compare ‘before and after’ instantly.
- Build a reusable ‘look’ layer you can copy into future projects.
Create a Cinematic Film Look
Adjustment layers are the easiest way to give a whole project a consistent cinematic feel. On one layer, stack a Lumetri grade for color, a gentle vignette to draw the eye, a subtle film grain, and a slight letterbox crop.
Because it all lives on a single layer above your footage, you can fine-tune the entire look in one place or switch it off instantly to compare. Save that layer and you have a reusable signature style.
Use Adjustment Layers for Transitions
Adjustment layers can power creative transitions. Place a short layer over a cut, add an effect like a blur, zoom, or glitch, and keyframe it to peak right on the edit point.
This ‘effect transition’ technique creates smooth, modern moves between clips without third-party plugins — and it pairs naturally with the built-in transitions you already know.
Keep Performance Smooth
Effects on an adjustment layer apply to everything beneath, which can slow playback if the layer spans the whole timeline. To keep editing responsive, render the work area or lower your playback resolution while you work.
On heavy 4K projects, combine adjustment layers with proxies so previews stay smooth even with a full stack of effects.
Premiere vs. After Effects Adjustment Layers
After Effects has adjustment layers too, and they work the same way — affecting all layers beneath them. The difference is depth: After Effects offers far more advanced effects and animation control.
For sequence-wide color and simple effects, stay in Premiere. For complex motion graphics and compositing, an After Effects adjustment layer gives you more power.
Key Takeaways
- Create one via the New Item icon and place it above your clips.
- Drop a Lumetri grade on it to color your whole sequence at once.
- Trim the layer to control exactly which clips it affects.
- Keyframe its opacity or add masks for targeted, fading effects.
A Practical Walkthrough
Say you have a travel video with twenty clips that all need the same warm, contrasty look. Instead of grading each one, you create a single adjustment layer, stretch it across the whole sequence, and add a Lumetri Color effect to it. You grade once, and every clip beneath updates live as you work.
Later you decide the indoor clips need to be cooler than the outdoor ones. You simply split the adjustment layer, give each half its own grade, and the change is instant. This is the everyday magic of adjustment layers: a consistent look you can build, tweak, and reorganize in seconds rather than hours.
Keep a Stacked Timeline Organized
As you add adjustment layers for color, effects, and transitions, your upper tracks can get crowded. Labeling each layer with a clear name and color — Grade, Vignette, Blur — keeps everything readable at a glance, so you always know which layer controls what.
It also helps to keep a consistent track order across projects: corrections low, creative looks above, and temporary effect layers at the top. A disciplined layout means that when you return to a project weeks later, or hand it to a collaborator, the structure explains itself.
Frequently Asked Questions
How do I create an adjustment layer in Premiere Pro?
In the Project panel, click the New Item icon and choose Adjustment Layer, then drag it to a track above the clips you want to affect and stretch it across them.
What is an adjustment layer used for?
It applies effects — most often a color grade — to every clip beneath it at once, so you can create a consistent look in one editable place instead of effecting each clip individually.
Does an adjustment layer affect all clips below it?
Yes, it affects every clip on the tracks directly beneath it, for the length of the layer. Trim the layer to control exactly which clips it influences.
Sources: Wikipedia’s explanation of adjustment layers.
Work smarter with effects at Adobe Video World
Train hands-on with Adobe Certified Instructors across 100+ Premiere Pro & After Effects sessions.



