A workflow taught by Adobe Certified Instructors at Adobe Video World.
Screen replacement — putting new content onto a phone, laptop, or TV in your footage — is a staple of commercials and tech videos. After Effects does it with the Corner Pin effect, which maps your content onto the four corners of a screen, plus tracking to make it move with the shot. This guide covers the full workflow.

What Screen Replacement Is
Screen replacement swaps the display in your footage — a phone, monitor, or TV — with content of your choosing, like an app demo, a website, or a video. Done well, it looks as if the device was showing that content when you filmed.
It’s everywhere in product videos, tech reviews, and commercials, where showing crisp on-screen content matters. The technique combines mapping your content onto the screen’s shape with tracking so it stays locked as the camera or device moves.
Understand the Corner Pin Effect
The key tool is Corner Pin, which has four control points — one for each corner of your content. By dragging these points to the four corners of the screen in your footage, you distort your content to fit the screen’s exact shape and perspective.
This handles the perspective of a screen seen at an angle, since the four corners can form any quadrilateral. Corner Pin is the foundation of screen replacement, mapping flat content convincingly onto an angled display.
Position Your Replacement Content
Place the content you want on the screen — an image or video — on a layer above your footage. Apply Corner Pin to this layer, then drag its four corner points to align precisely with the corners of the screen in the shot.
When the corners match, your content sits perfectly on the screen, taking on its perspective. For a static shot this may be all you need, but most footage has movement, which is where tracking comes in.

Track the Screen’s Movement
If the camera or device moves, the screen’s corners move too, so you must track them. Use After Effects’ tracker to follow the four corners of the screen, generating motion tracking data that drives the Corner Pin points.
The tracker can follow markers or corners across the footage, applying that motion to your corner pins. This is what keeps your replacement content locked to the screen as it shifts, the difference between a static fake and a convincing moving shot.
Use Mocha for Tricky Tracks
For challenging shots, the bundled Mocha planar tracker is the professional’s choice. Mocha tracks a flat surface — the screen — as a plane, handling motion, perspective changes, and partial obstructions better than the basic point tracker.
Mocha generates corner-pin data you bring back into After Effects, locking your content to the screen even through difficult movement. For serious screen replacement, planar tracking with Mocha is far more robust than tracking individual corners.
Match the Screen’s Look
A perfectly tracked screen still looks fake if the content is too clean. Real screens have reflections, glare, slight color shifts, and a glass surface, so adding subtle reflections and matching the brightness and grade integrates your content believably.
Lowering the content’s contrast slightly, adding a faint reflection layer, and matching the footage’s color grade all help. These touches make the replacement feel like it’s genuinely glowing behind glass rather than pasted on top.
Handle Obstructions
Often something passes in front of the screen — a finger, a hand, a reflection. To keep these on top of your replaced content, you mask or roto them out so they appear above the new screen, preserving the illusion that the content is really on the device.
This is where screen replacement gets meticulous, sometimes requiring rotoscoping a hand swiping across a phone. Handling obstructions correctly is what sells a shot where someone interacts with the replaced screen.
Add Screen Glow and Light
A lit screen casts light, so for darker scenes, adding a subtle glow or spill of the screen’s color onto the surroundings completes the realism. This is especially important when a device’s screen would visibly illuminate a face or hand.
Matching how the original screen lit the scene keeps your replacement consistent with the footage’s lighting. A faint glow tying the screen to its environment is the final touch that makes the new content feel genuinely present in the shot.
Screen Replacement Best Practices
- Use Corner Pin to map content onto the screen’s corners.
- Track the screen so the content moves with the shot.
- Use Mocha planar tracking for difficult moving shots.
- Match reflections, grade, and glow for believability.
Common Screen Replacement Mistakes
- Content too clean, with no reflections or screen glass feel.
- Corner pins that drift because the screen wasn’t tracked.
- Obstructions like fingers vanishing behind the new screen.
- A grade that doesn’t match the footage around the screen.
A Real Screen Replacement Example
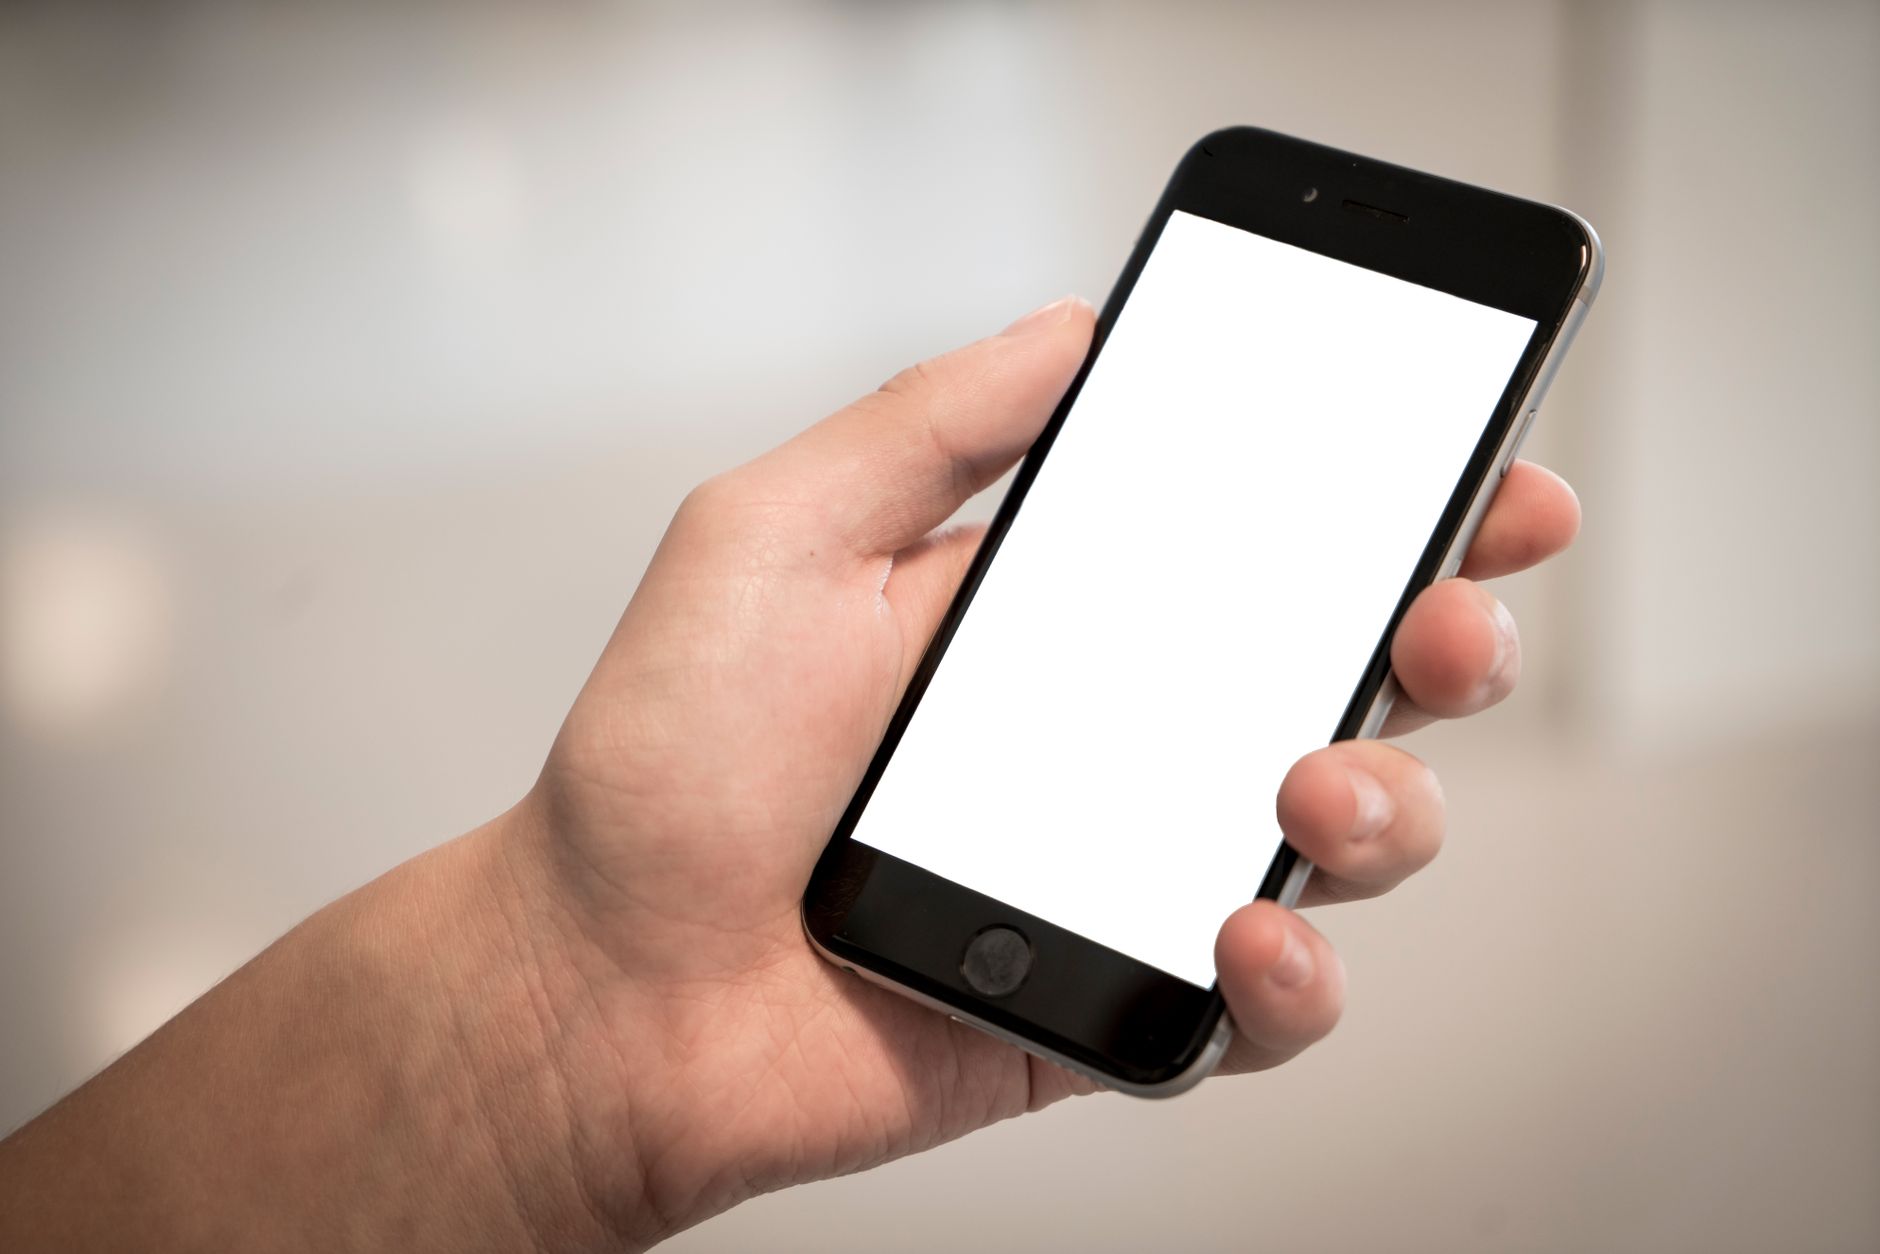
Imagine a commercial where an actor holds a phone and a handheld camera drifts around them. You track the phone’s screen with Mocha as a plane, bring that corner-pin data back, and map a crisp app demo onto the display so it moves perfectly with the shot. The actor’s thumb, masked out, stays on top as it swipes.
Then you add a faint reflection and a screen glow on their fingers, and match the app’s brightness to the room. The result looks exactly as if the phone was running the app on set — the meticulous combination of planar tracking, corner pin, roto, and lighting that professional product videos rely on.
Replace Screens Shot on Green or Tracking Markers
Productions often plan screen replacement in advance by filming the device’s display as a solid green panel or with tracking markers on its corners. This gives a clean, easy surface to key or track, and unambiguous points for the corner pin to lock onto, making the replacement far smoother in post.
If you control the shoot, setting up the screen this way saves hours of difficult tracking and roto. Pairing pre-planned markers with the keying techniques used for green screens turns screen replacement from a painstaking fix into a fast, reliable step in the edit.
Before adding a tracked screen to wide-angle footage, fixing the barrel distortion first keeps the composite aligned with the lens.
Masking a replaced screen cleanly can call on the After Effects Set Matte effect to borrow a matte from another layer.
Where screen replacement covers an object, Content-Aware Fill in After Effects removes one entirely and paints in the background.
Replacing a keyed background pairs naturally with green screen keying with Ultra Key in Premiere Pro for pulling a clean matte first.
Key Takeaways
- Corner Pin maps content onto a screen’s four corners.
- Track the screen so the content stays locked as it moves.
- Use Mocha planar tracking for challenging shots.
- Match reflections, grade, and glow, and handle obstructions.
Frequently Asked Questions
How do I replace a screen in After Effects?
Place your replacement content on a layer above the footage, apply the Corner Pin effect, and drag its four corner points to the corners of the screen. Then track the screen so the content moves with the shot.
How do I keep replaced content locked to a moving screen?
Track the screen’s four corners with After Effects’ tracker, or use the bundled Mocha planar tracker for difficult shots. The tracking data drives the Corner Pin points so your content stays locked as the screen moves.
How do I make a replaced screen look realistic?
Add subtle reflections and a glass-like sheen, match the footage’s brightness and color grade, keep any obstructions like fingers on top by masking them, and add a faint glow if the screen would light its surroundings.
Sources: Adobe’s reference for the Corner Pin and distort effects in After Effects.
Master screen replacement at Adobe Video World
Train hands-on with Adobe Certified Instructors across 100+ Premiere Pro & After Effects sessions.



