A workflow taught by Adobe Certified Instructors at Adobe Video World.
A lens flare is the streak and glow of light that appears when a bright source hits the camera lens, and it adds instant cinematic atmosphere to a shot. After Effects includes a built-in flare and works beautifully with overlays for more realism. This guide covers creating a flare, animating it, and blending it naturally into your footage.
What a Lens Flare Adds
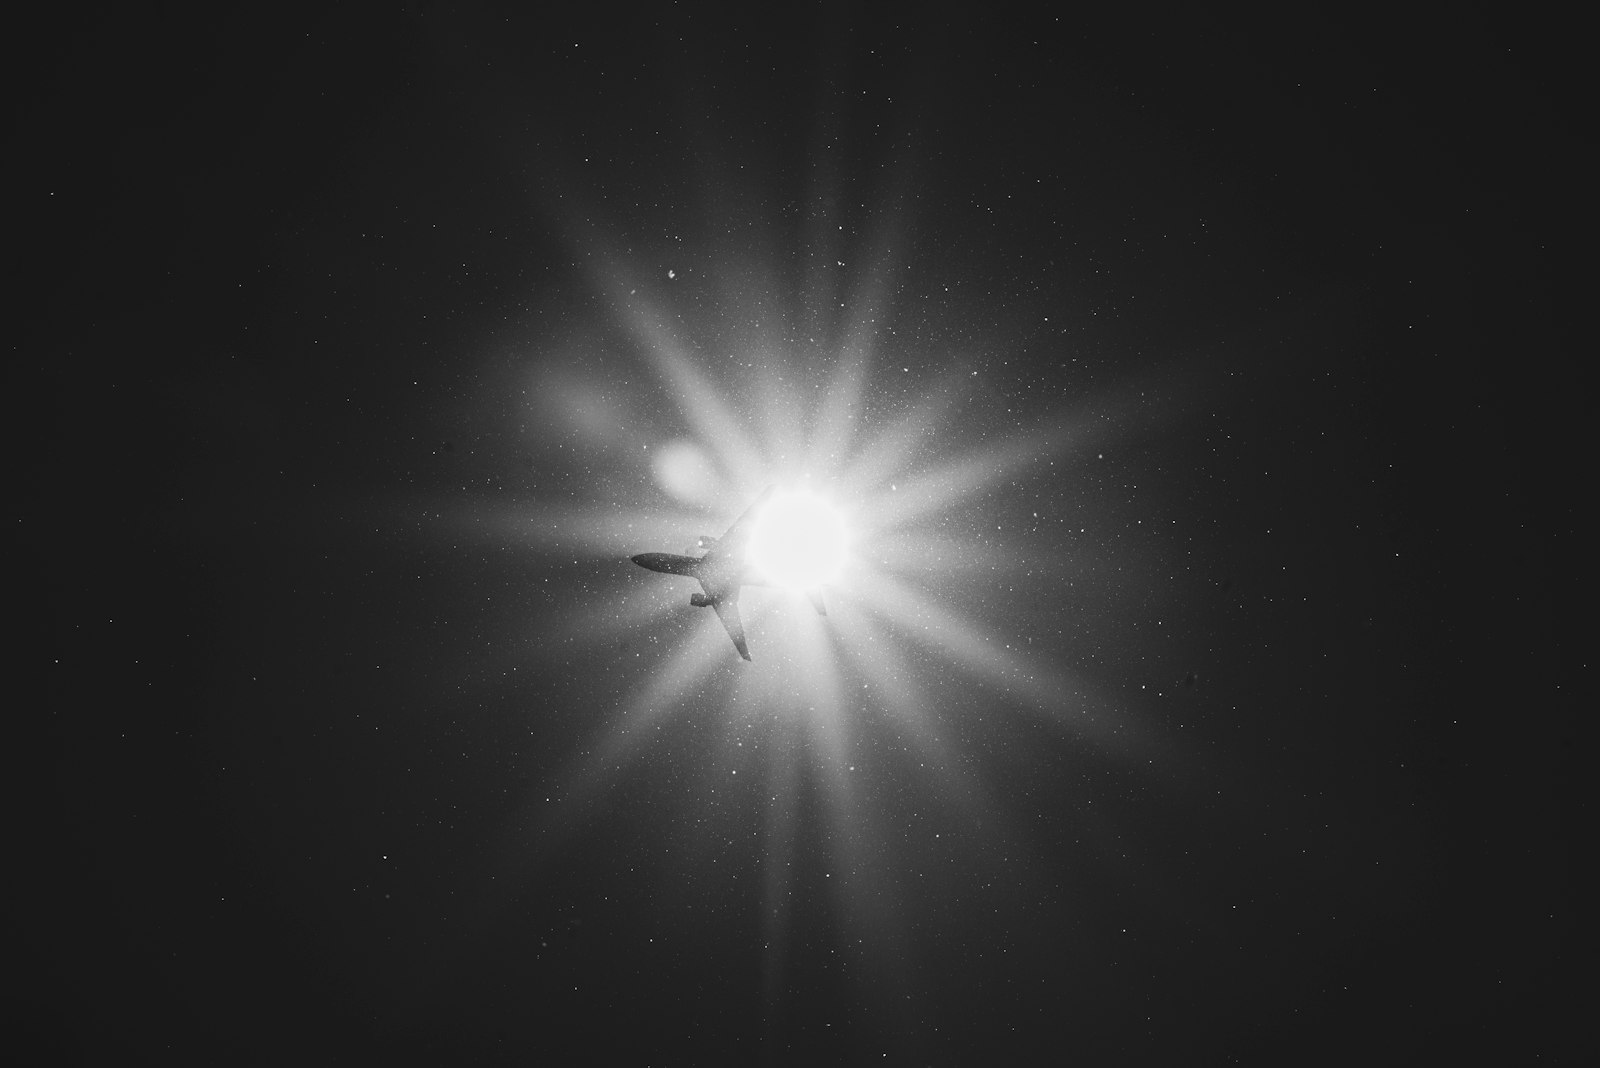
A lens flare simulates light scattering inside a camera lens, producing glows, streaks, and rings across the frame. It suggests a bright sun, a stage light, or a glint off glass, adding warmth, depth, and a filmic quality to a shot.
Used with restraint, a flare makes footage feel more cinematic and alive. It’s a favorite for adding mood to landscapes, energy to action, and a polished sheen to logo reveals, all from a touch of simulated light.
Apply the Built-In Lens Flare
After Effects includes a Lens Flare effect under Generate. Apply it to a solid layer, and you get an adjustable flare with controls for its position, brightness, and the type of lens it simulates.
The Flare Center control sets where the light originates, and the Flare Brightness sets its intensity. This built-in effect is the quickest way to add a flare, giving you a believable starting point you can then refine and animate.
Choose the Lens Type
The Lens Flare effect offers different lens models — like 50-300mm Zoom, 35mm Prime, and 105mm Prime — each producing a distinct flare shape and character. Switching between them changes the streaks, rings, and overall feel of the light.
Pick the lens type that matches the mood you want, from a subtle prime flare to a dramatic zoom streak. Experimenting with each reveals how different the same light source can look, letting you match the flare to your footage’s style.

Blend the Flare with Your Footage
A flare on its own solid won’t interact with your shot until you blend it. Set the flare layer’s blending mode to Add or Screen so its black background drops out and only the bright light shows over your footage.
This is the same compositing principle from our blending modes guide, and it’s essential for a believable flare. With the dark areas gone, the flare reads as genuine light layered onto the scene rather than a separate element.
Animate the Flare
A static flare can look fake, but an animated one feels real. Keyframe the Flare Center to move the light across the frame as the camera or subject moves, so the flare tracks a light source naturally instead of sitting frozen.
Animating the brightness too — flaring up as the light comes into view and fading as it passes — adds life. These keyframes, eased with the techniques from our keyframe guide, make the flare behave like real light reacting to motion.
Track a Flare to a Light Source
For maximum realism, tie the flare to an actual bright spot in your footage. Position and animate the Flare Center to follow a light source in the shot — the sun through trees, a car headlight, a window — so the flare belongs to it.
When the flare moves in sync with a real light in the frame, the brain accepts it completely. Motion tracking that light, using our tracking guide, lets the flare lock onto a moving source for a seamless result.
Use Flare Overlays for Realism
Beyond the built-in effect, real anamorphic and optical flare footage shot against black is widely available. Dropping these overlays onto a layer set to Add or Screen gives richer, more authentic flares than a generated one alone.
These optical overlays carry genuine lens character that’s hard to fake. Combined with the built-in flare or used on their own, they’re how many professionals add the most convincing light streaks, especially the wide anamorphic flares seen in modern cinema.
Keep Flares Subtle
The most common flare mistake is overdoing it — a huge, bright flare that overwhelms the shot and screams ‘effect.’ Real flares are often subtle, a gentle glow or a soft streak, so dialing yours back usually makes it more believable.
Use flares to enhance a mood, not to dominate the frame. A restrained flare that complements the lighting already in your shot reads as cinematic, while an aggressive one quickly looks cheap and distracting.
Lens Flare Best Practices
- Apply the built-in Lens Flare to a solid and pick a lens type.
- Blend with Add or Screen so the black background drops out.
- Animate the Flare Center to follow camera or subject motion.
- Use optical flare overlays for the most authentic look.
Common Lens Flare Mistakes
- An oversized, overly bright flare that dominates the shot.
- A static flare that doesn’t react to motion.
- Forgetting to blend, leaving a dark box around the flare.
- A flare that doesn’t match any light source in the frame.
A Real Lens Flare Shot Example
Imagine a sunset clip of someone walking along a beach. You add a solid with the built-in Lens Flare, set it to a 105mm prime, and position the flare where the sun sits behind them. Blending the layer with Add drops the black away, and the warm glow washes across the frame exactly where the real sunlight would catch the lens.
Then you keyframe the Flare Center to drift as the camera follows the walk, and fade the brightness up as the sun peeks between the buildings. The flare now reacts to the scene like genuine light, turning a pleasant clip into a warm, cinematic moment — all from one effect, a blend mode, and a couple of keyframes.
Match Flare Color to Your Scene
A flare reads as real only when its color fits the light it’s supposed to come from. A warm golden flare suits sunlight, a cool blue one suits a screen or moonlight, and a colored stage light calls for a flare in that hue. Tinting your flare to match grounds it in the scene.
You can adjust the flare’s color directly or add a color treatment on the flare layer, then refine it alongside your overall grade. Keeping the flare consistent with the lighting and palette, as our color grading guide stresses, is the difference between a flare that belongs and one that floats awkwardly on top.
The same additive glow that makes a flare pop is exactly what gives a neon sign effect in After Effects its electric buzz.
If a lens flare adds a single bright burst, creating light rays in After Effects extends that into god-ray shafts.
Pairing a flare with the After Effects light sweep effect gives titles a polished, reflective gleam.
Key Takeaways
- A lens flare adds cinematic light, glow, and streaks.
- Blend the flare with Add or Screen to composite it.
- Animate and track the flare to a real light source.
- Keep flares subtle so they enhance rather than dominate.
Frequently Asked Questions
How do I create a lens flare in After Effects?
Apply the built-in Lens Flare effect (under Generate) to a solid layer, choose a lens type, and set the Flare Center and brightness. Then blend the layer with Add or Screen so it composites over your footage.
How do I make a lens flare look realistic?
Blend it with Add or Screen, animate the Flare Center to follow a real light source in the shot, and keep it subtle. Using optical flare overlays shot against black adds authentic lens character.
Why does my lens flare have a dark box around it?
The flare layer’s black background isn’t being dropped out. Set the layer’s blending mode to Add or Screen so the dark areas vanish and only the bright light shows over your footage.
Sources: Adobe’s documentation on the Lens Flare and generate effects in After Effects.
Add cinematic light at Adobe Video World
Train hands-on with Adobe Certified Instructors across 100+ Premiere Pro & After Effects sessions.



