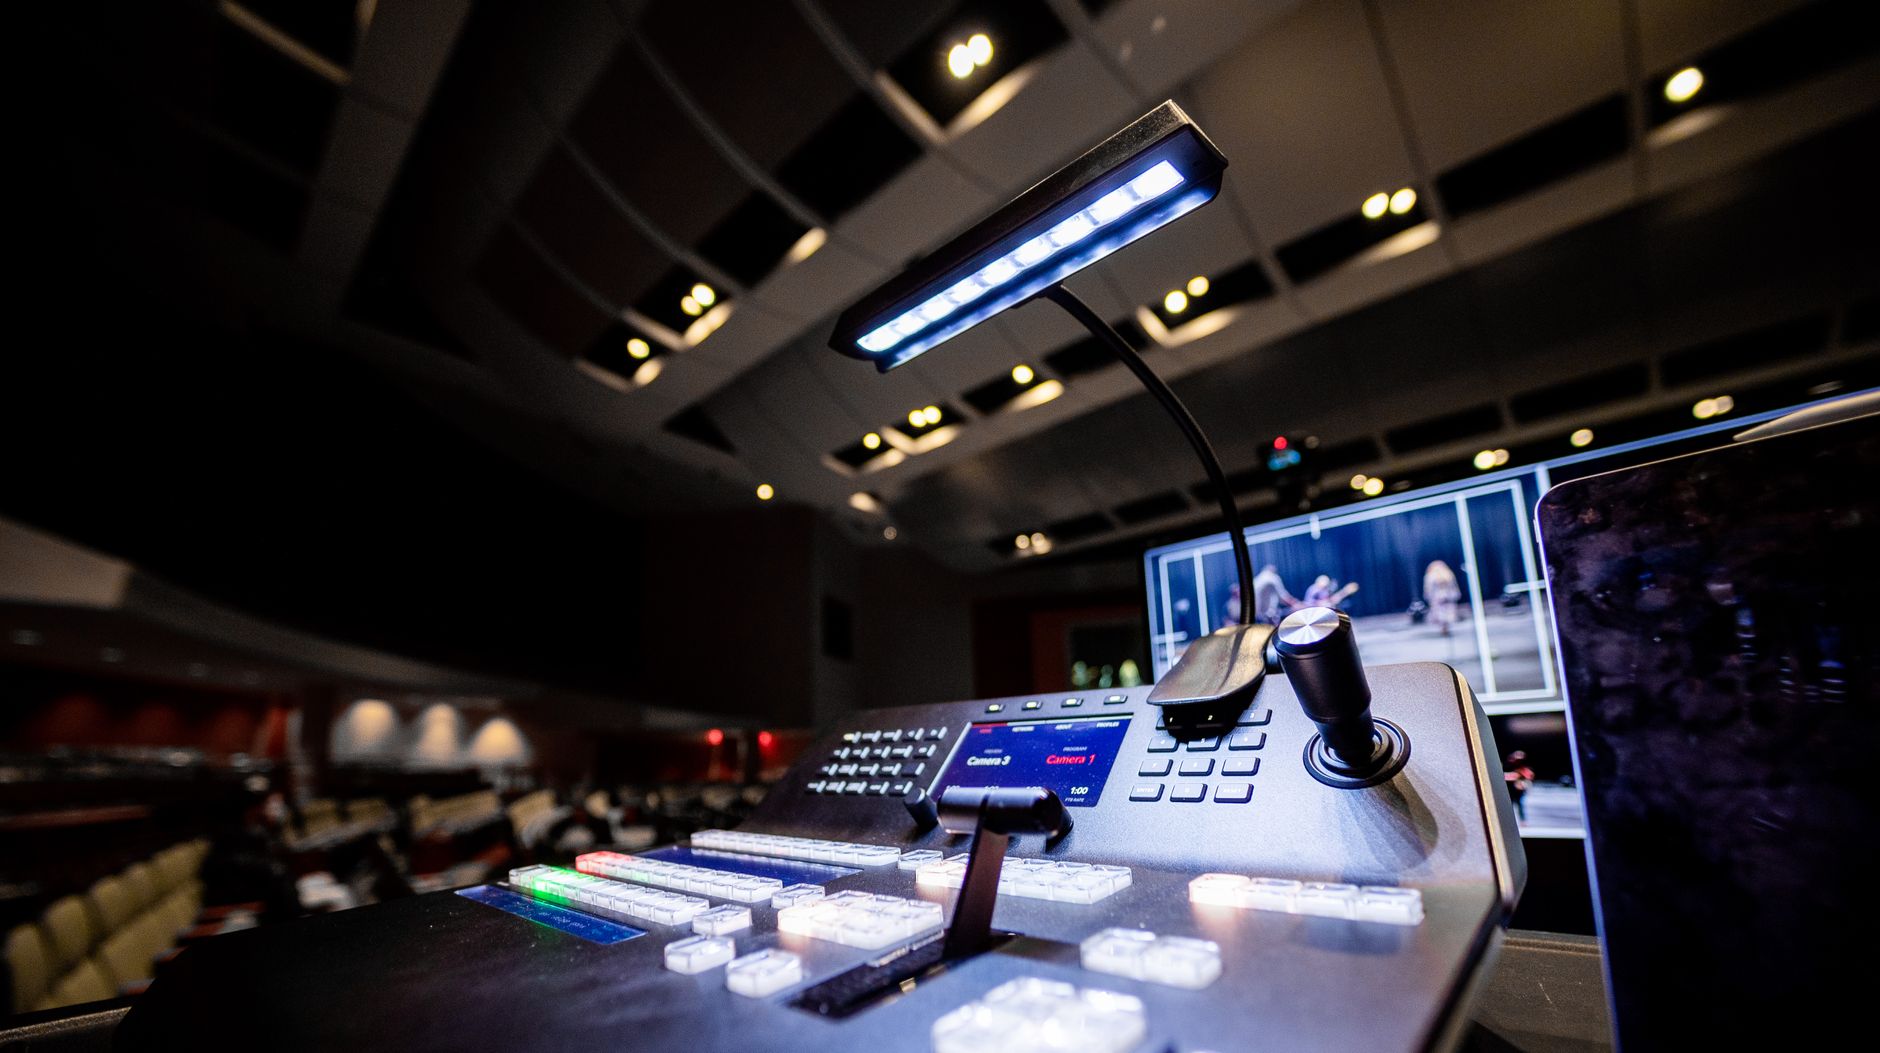
A workflow taught by Adobe Certified Instructors at Adobe Video World.
Premiere Pro’s workspace is the arrangement of panels you work in, and customizing it to your workflow makes editing faster and more comfortable. You can arrange panels, save custom layouts, and switch between task-focused workspaces. This guide covers customizing and managing workspaces for an efficient editing environment.
What Workspaces Are
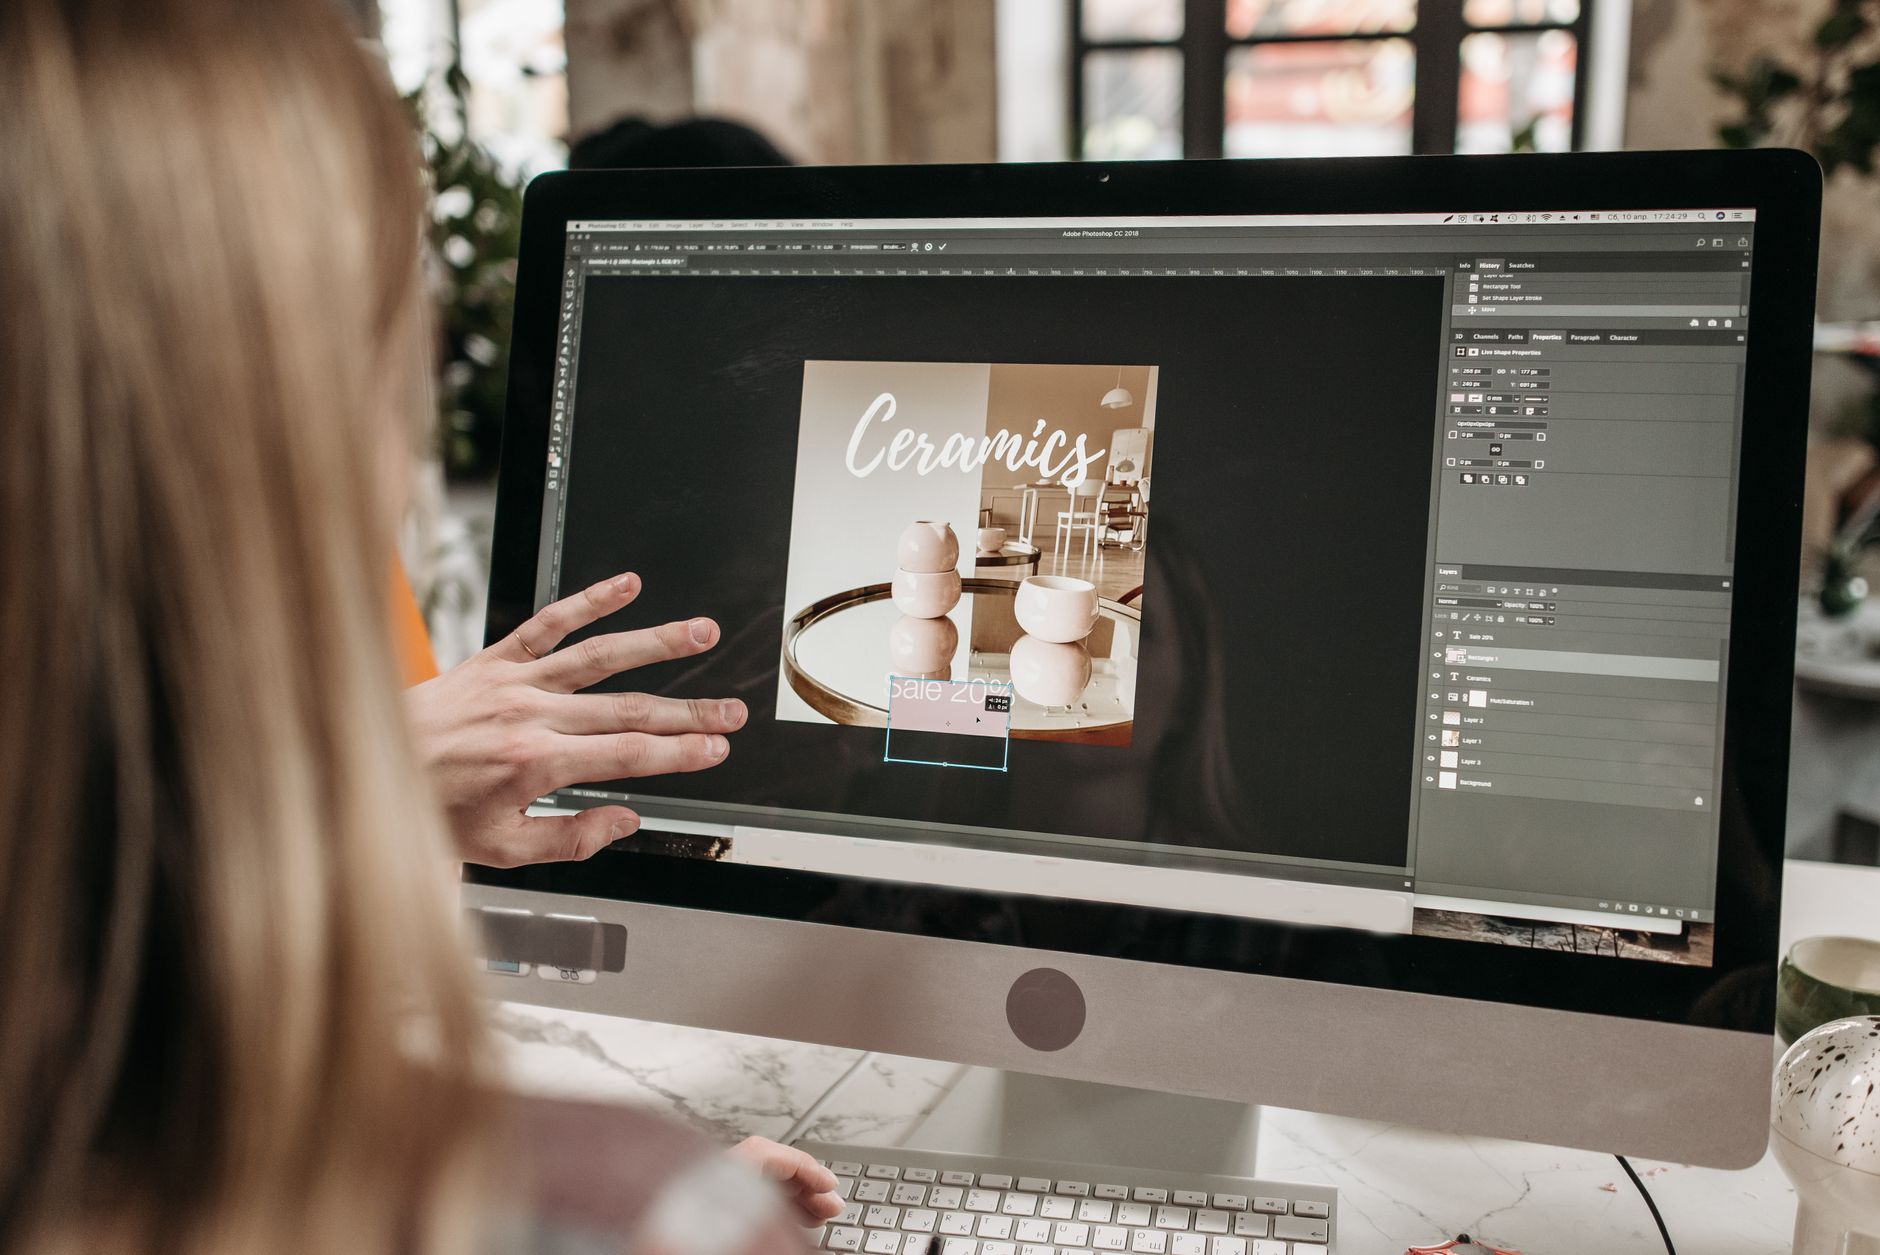
A workspace is the layout of panels — the timeline, monitors, Project panel, effects, and more — arranged on your screen. Premiere lets you customize this layout and save different arrangements for different tasks, like editing, color, or audio.
The default workspaces are starting points, but tailoring them to how you work boosts efficiency. Understanding that the panel layout is fully customizable, and can be saved and switched, lets you build an environment that suits your editing style.

Use the Built-In Workspaces
Premiere includes task-focused workspaces — Editing, Color, Effects, Audio, and more — accessible from the workspace bar at the top. Each arranges the panels relevant to that task, so switching to Color brings up the Lumetri tools and scopes.
These built-in layouts are optimized for their tasks, and switching between them as you move from editing to grading to audio keeps the right tools in front of you. They’re a great foundation you can use as-is or customize further.
Arrange Your Panels
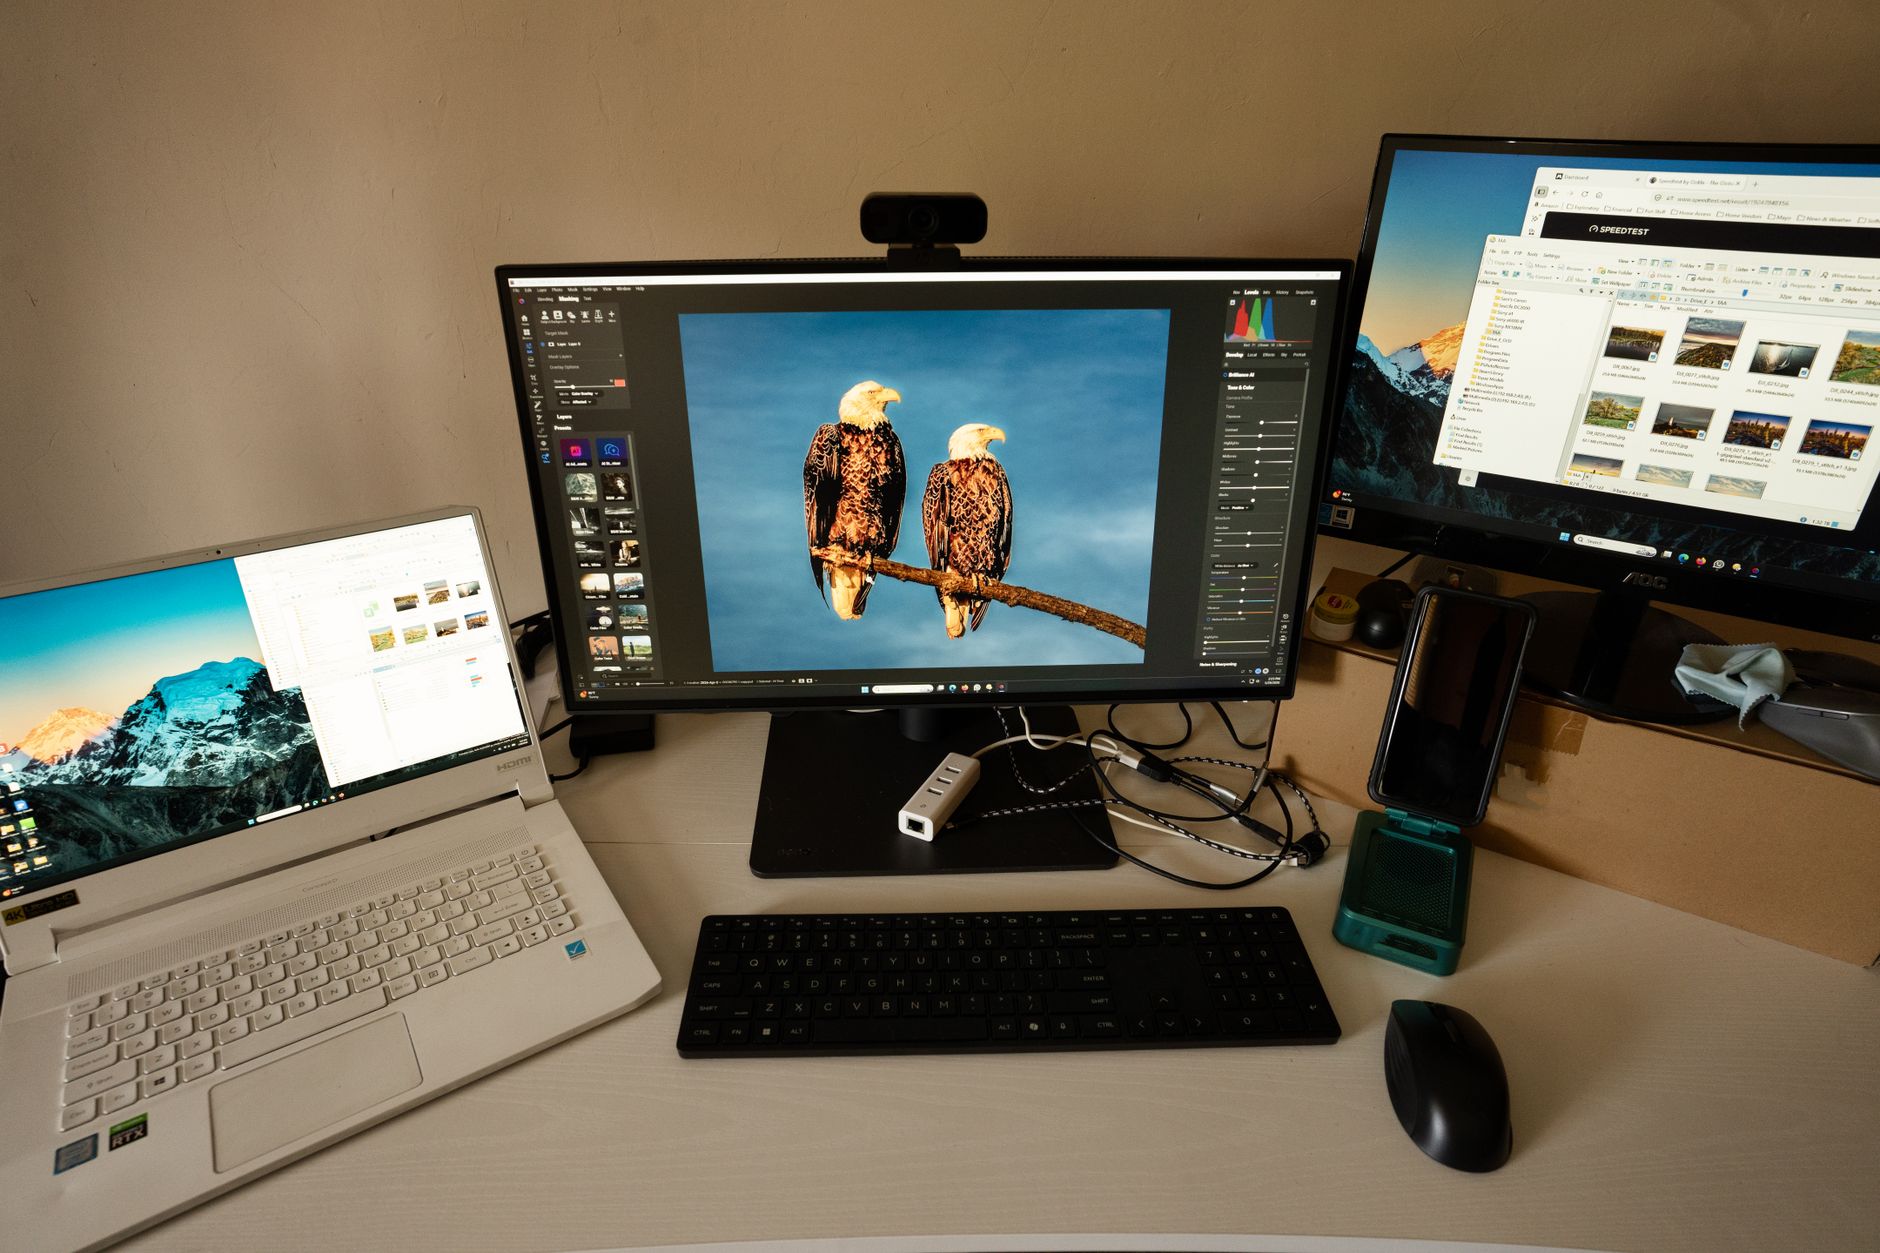
You customize a workspace by dragging panels to rearrange them, docking them into new positions, or grouping them into tabs. Panels can be resized, moved, and arranged however suits you, and you can open or close panels from the Window menu.
Dragging a panel highlights drop zones showing where it will dock. Experimenting with the arrangement lets you put the panels you use most where you want them, building a layout tailored to your workflow rather than the default.
Save a Custom Workspace
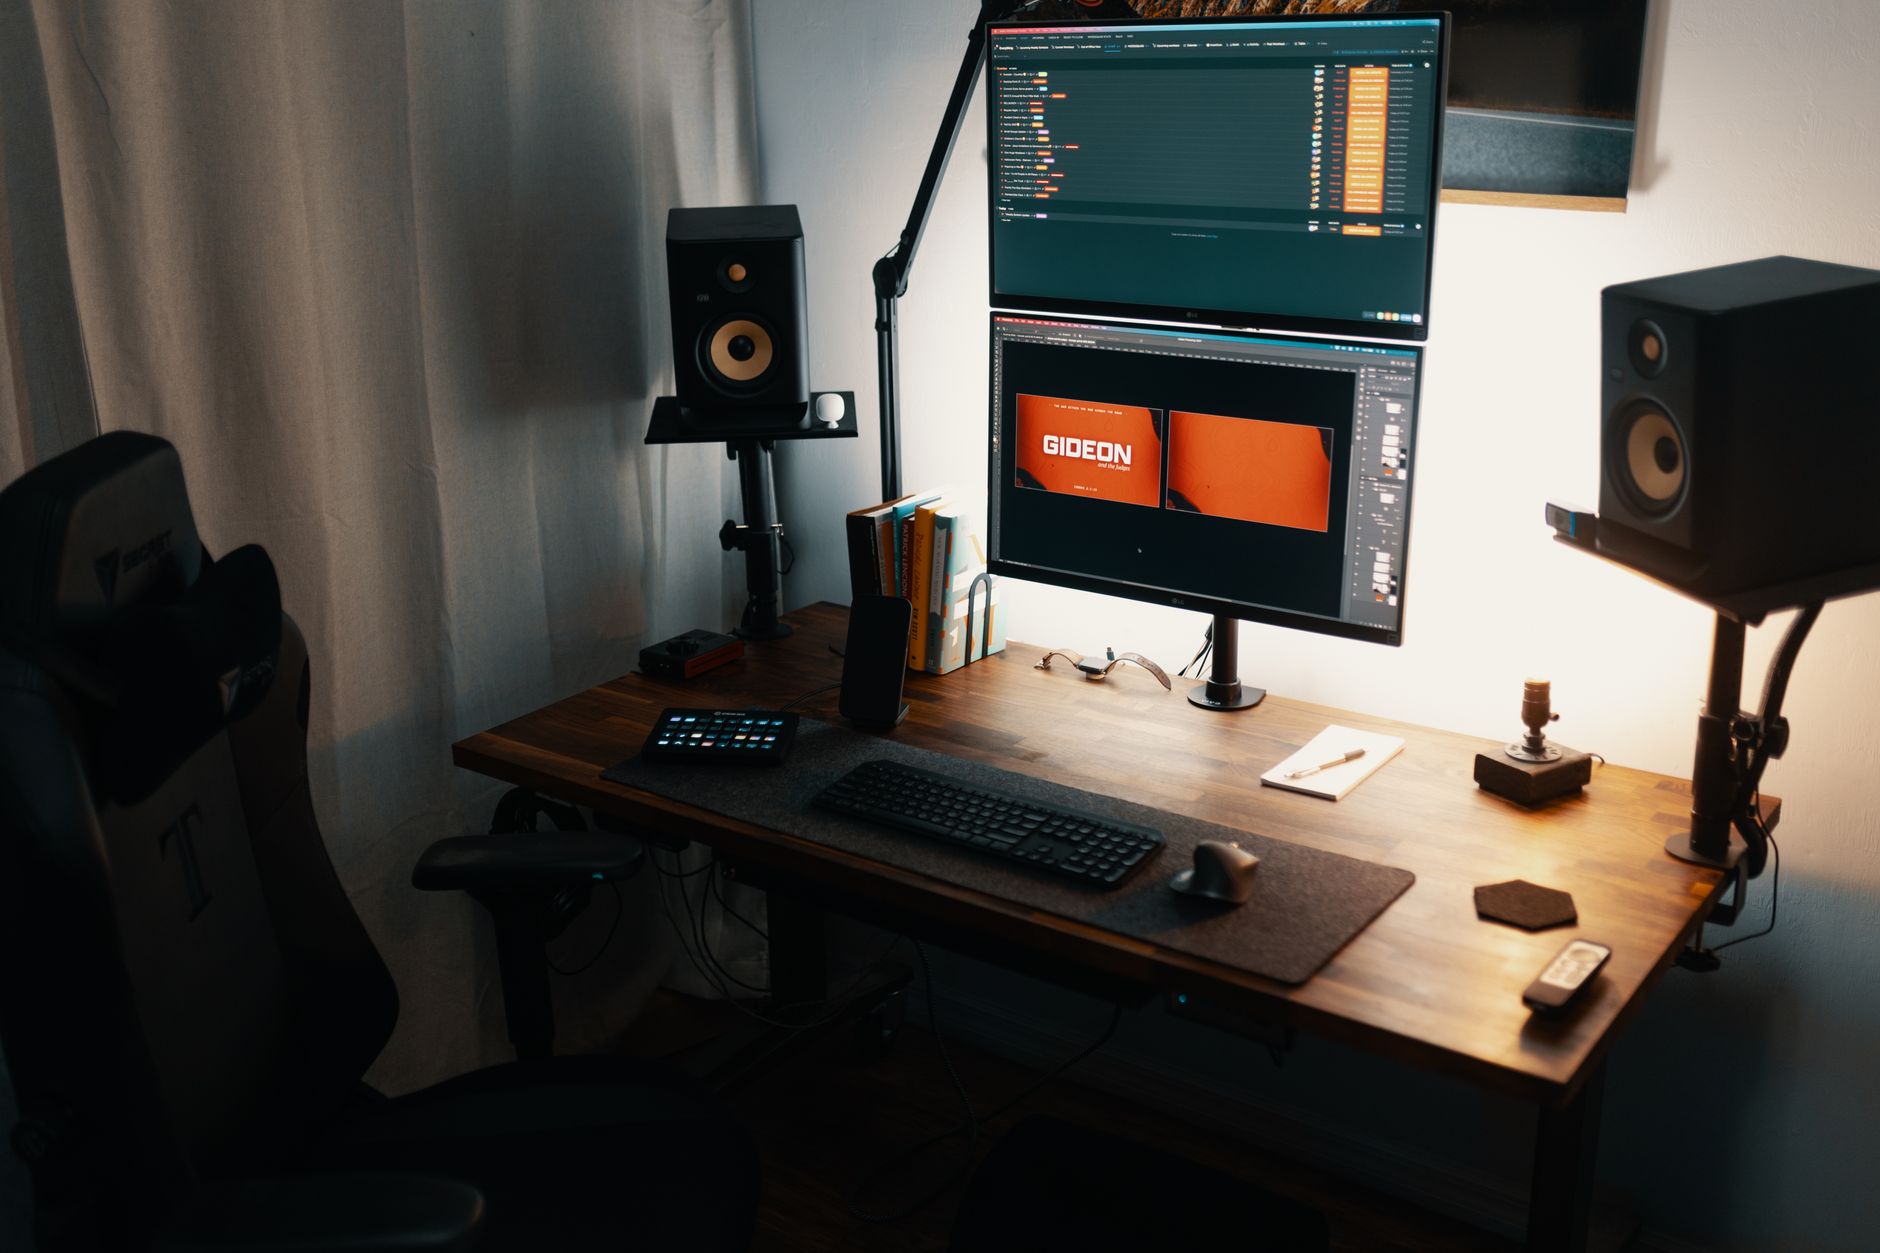
Once you’ve arranged panels how you like, save the layout via the workspace menu’s Save as New Workspace. Your custom workspace then appears in the bar, letting you return to your tailored layout anytime.
Saving workspaces means your careful arrangements persist and are one click away. You can build several — perhaps one for editing, one for finishing — and switch between your own optimized layouts as your task changes.
Create Task-Specific Layouts
Different editing tasks benefit from different layouts. An editing workspace prioritizes the timeline and monitors, a color workspace emphasizes scopes and Lumetri, and an audio workspace highlights the mixer and Essential Sound panel.
Building or customizing a workspace for each major task keeps the relevant tools prominent and the clutter minimal. This task-focused approach, switching layouts as you move through a project, is how experienced editors keep their workflow efficient and focused.
Reset and Manage Workspaces
If a workspace gets messy, you can reset it to its saved state via the workspace menu’s Reset to Saved Layout. You can also edit which workspaces appear in the bar and reorder them to suit your most-used layouts.
Resetting is handy when panels drift out of place during work. Managing your workspaces — resetting, reordering, and removing ones you don’t use — keeps your environment clean and your preferred layouts easily accessible.
Use Multiple Monitors
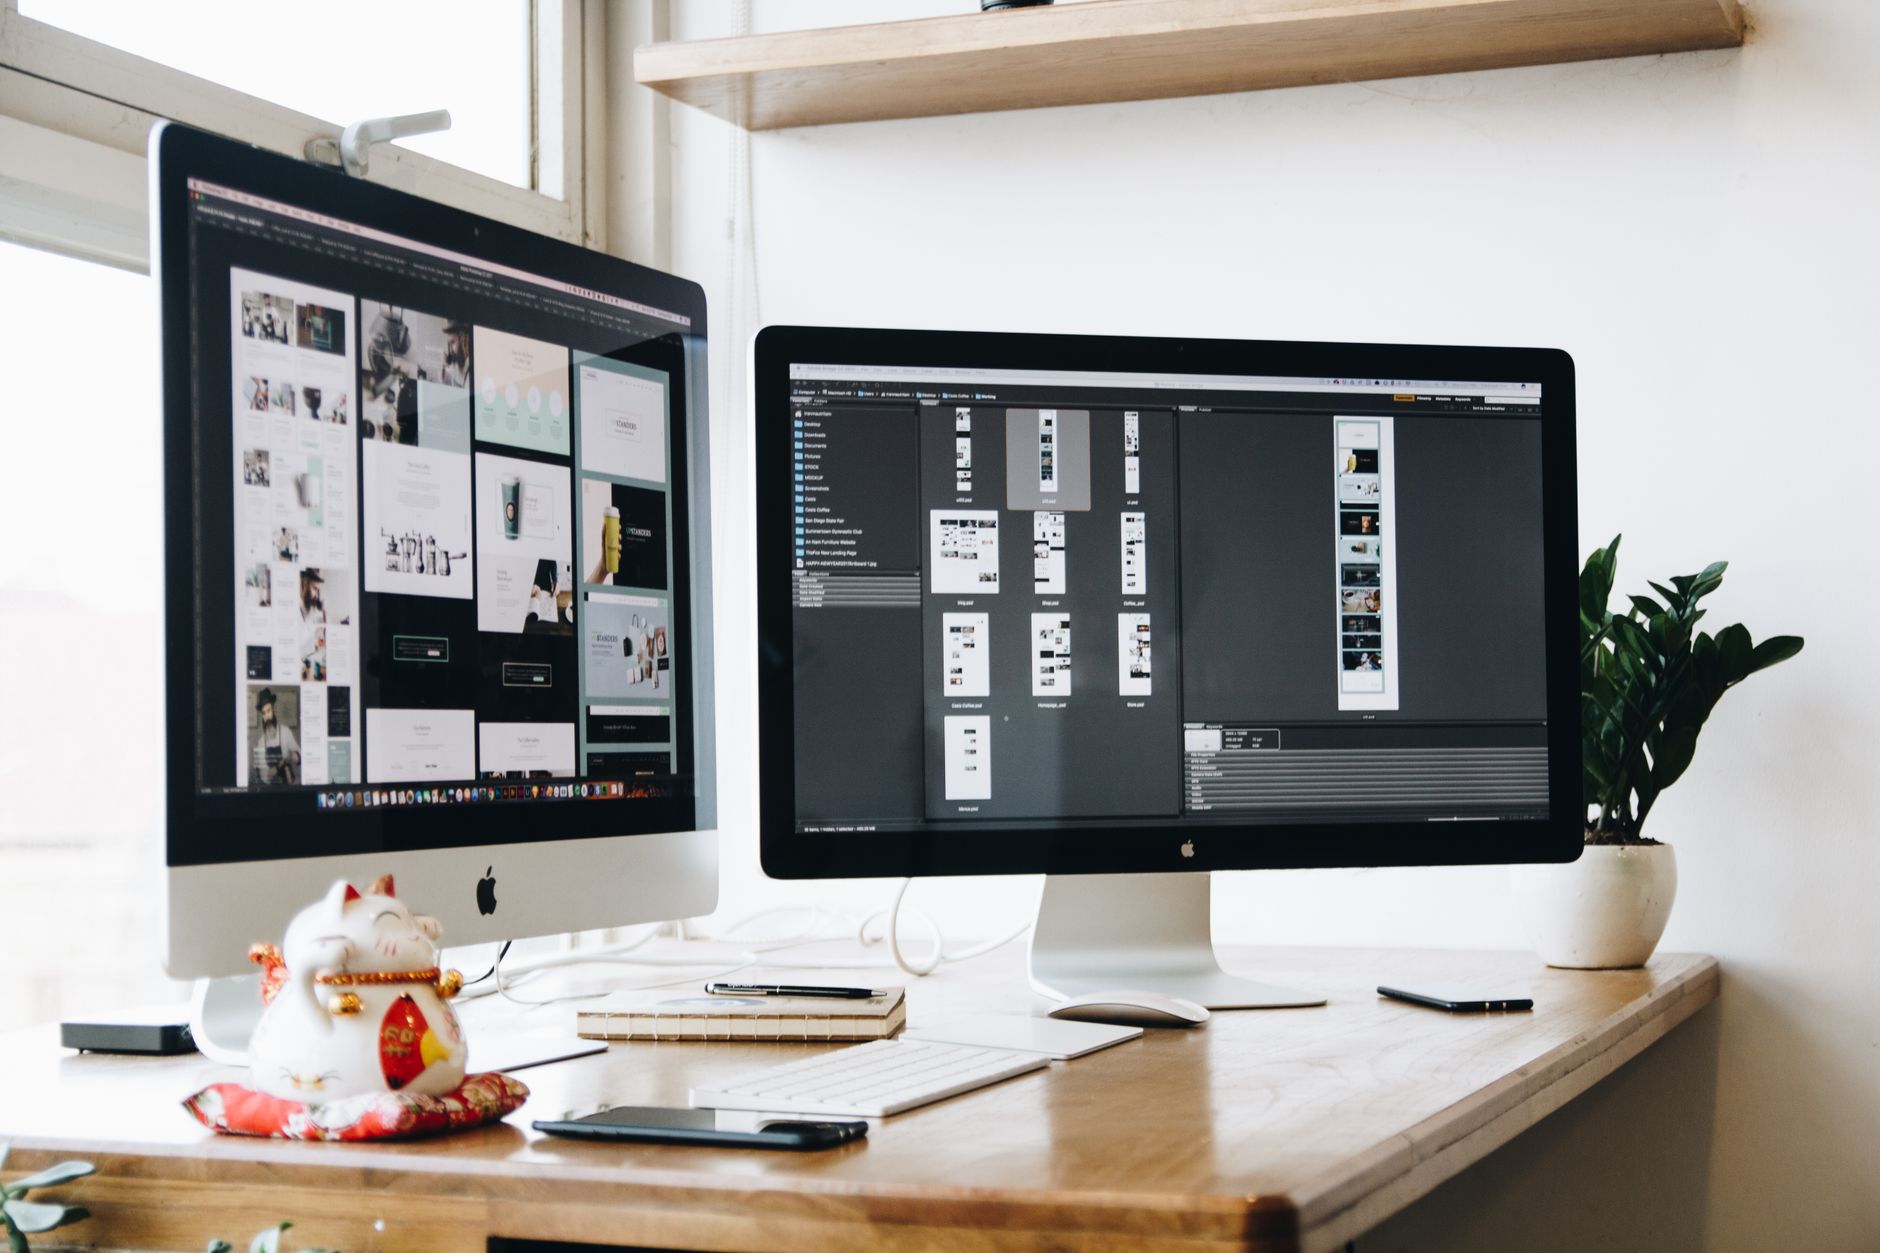
If you have two displays, Premiere’s panels can spread across both, dramatically expanding your workspace. Placing the timeline and monitors on one screen and panels like effects and project on the other gives you more room to work.
A dual-monitor setup is a major productivity boost for editing, letting you see more at once. Arranging your panels across both screens and saving that as a workspace creates a spacious, efficient environment that single-screen editing can’t match.
Workspaces Best Practices
- Use the built-in task workspaces as a starting point.
- Arrange panels to suit your workflow and save the layout.
- Build task-specific workspaces for editing, color, and audio.
- Reset workspaces when they get messy, and use dual monitors.
Common Workspace Mistakes
- Fighting the default layout instead of customizing it.
- Not saving custom arrangements, losing them.
- Cluttered workspaces with unused panels open.
- Ignoring task workspaces for color and audio work.
A Real Workspace Setup Example
Picture configuring Premiere on a dual-monitor rig. On the main screen you place the timeline and Program Monitor large for editing, and on the second screen you dock the Project panel, Effects, and Essential Sound. You save this as a custom ‘Edit’ workspace, then build a second ‘Finish’ layout with the Lumetri panel and scopes front and center.
Now a single click switches your entire environment between cutting and grading, each with exactly the tools that task needs and nothing in the way. That tailored, saved setup turns Premiere from a cluttered default into a focused cockpit, and it’s one of the simplest changes that makes daily editing genuinely faster and more comfortable.
Sync Workspaces Across Machines
If you edit on more than one computer, keeping your workspaces consistent saves frustration. Premiere can sync settings and workspaces through your Creative Cloud account, so your carefully-built layouts follow you from a desktop to a laptop without rebuilding them each time.
Exporting or syncing your preferences means your editing environment feels identical wherever you work, which matters when you switch between a studio and a travel setup. Pairing consistent workspaces with the keyboard customization in our shortcuts guide gives you a portable, familiar editing cockpit that stays the same across every machine you touch.
Workspaces and Keyboard Shortcuts
Workspaces pair powerfully with keyboard shortcuts for a fully customized environment. Just as you tailor the panel layout to each task, customizing your shortcuts to your most-used commands makes your whole editing setup faster and more comfortable, with both the visual and the control layers tuned to you.
Saving these customizations means your optimized environment travels with you and persists across projects. Combining well-organized workspaces with a personalized shortcut set is how experienced editors build a workflow that feels effortless, removing friction from every common action they perform.
Key Takeaways
- A workspace is your customizable panel layout.
- Use built-in task workspaces and customize them.
- Arrange panels to your workflow and save the layout.
- Build task-specific workspaces and use dual monitors.
Frequently Asked Questions
How do I customize a workspace in Premiere Pro?
Drag panels to rearrange, dock, and group them, resize them to suit your workflow, then save the layout via the workspace menu’s Save as New Workspace. Your custom workspace appears in the bar to return to anytime.
What are the built-in workspaces in Premiere Pro?
Premiere includes task-focused workspaces like Editing, Color, Effects, and Audio, accessible from the workspace bar. Each arranges the panels relevant to that task, so switching to Color brings up the Lumetri tools and scopes.
How do I reset a messy workspace?
Use the workspace menu’s Reset to Saved Layout to return the workspace to its saved arrangement. This is handy when panels drift out of place during editing and you want your tidy layout back.
Sources: Wikipedia’s overview of graphical user interface workspaces.
Build your ideal workspace at Adobe Video World
Train hands-on with Adobe Certified Instructors across 100+ Premiere Pro & After Effects sessions.



