A workflow taught by Adobe Certified Instructors at Adobe Video World.
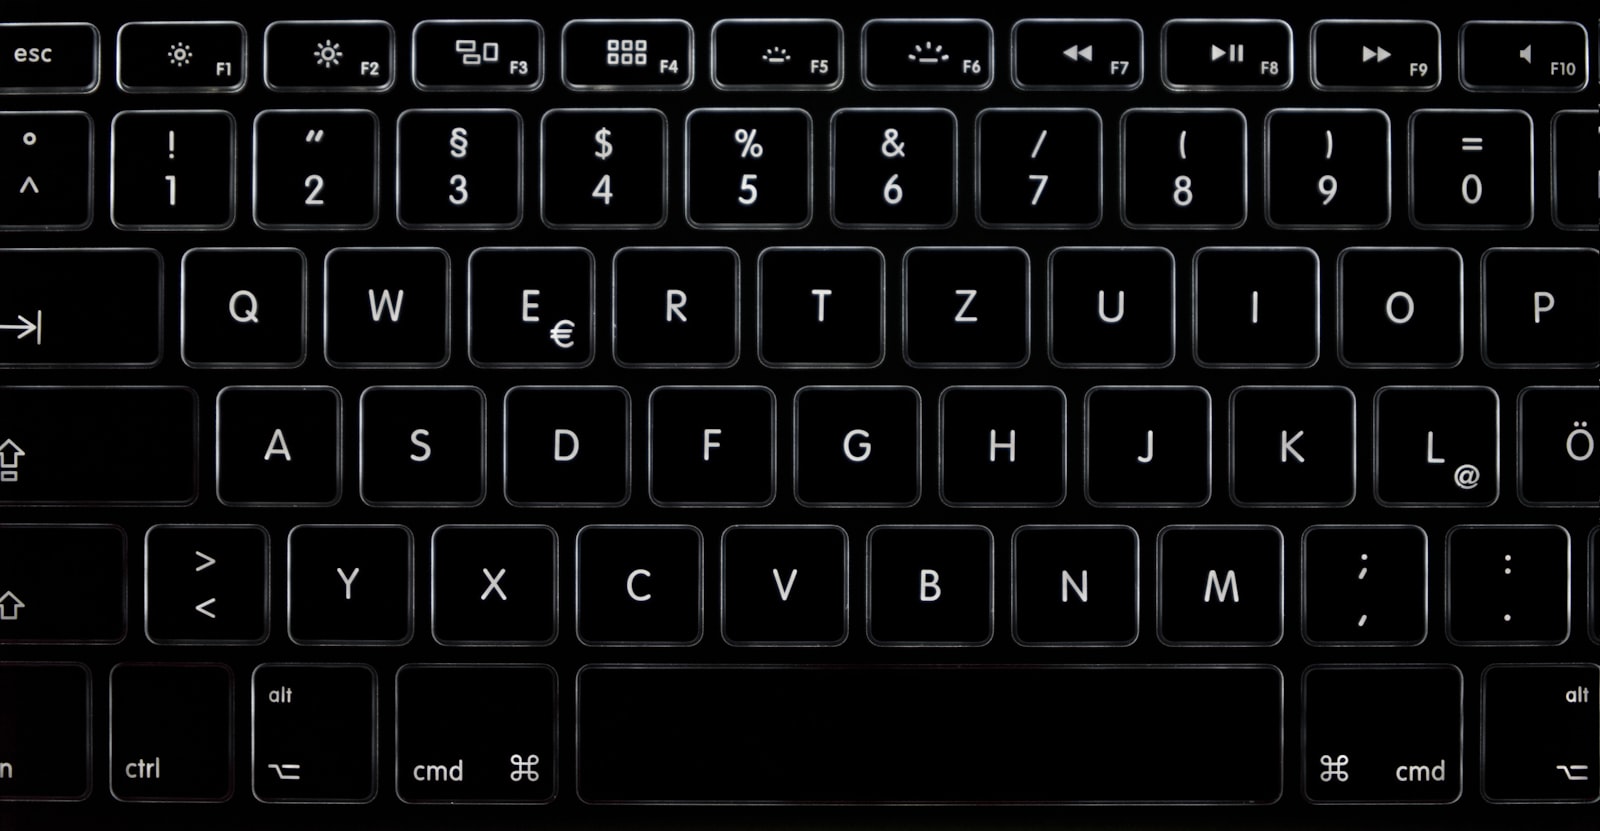
The difference between a slow editor and a fast one usually isn’t talent — it’s the keyboard. Pros barely touch the mouse. Learn these essential Premiere Pro shortcuts and you’ll edit dramatically faster, with your hands staying on the keys where the speed lives.

Why Shortcuts Matter More Than You Think
Every trip to a menu costs a few seconds and breaks your focus. Multiply that across the hundreds of edits in a single project and the time lost is enormous.
Shortcuts keep you in flow. When trimming, cutting, and playback all live under your fingertips, editing stops feeling like fighting the software and starts feeling like an extension of your thinking.
Playback and Navigation: J, K, L
The single most important shortcut is the J-K-L shuttle. Press L to play forward, J to play backward, and K to pause. Tap L or J repeatedly to speed up playback in either direction.
Hold K and tap L or J to move one frame at a time. Mastering J-K-L alone makes scrubbing through footage twice as fast.
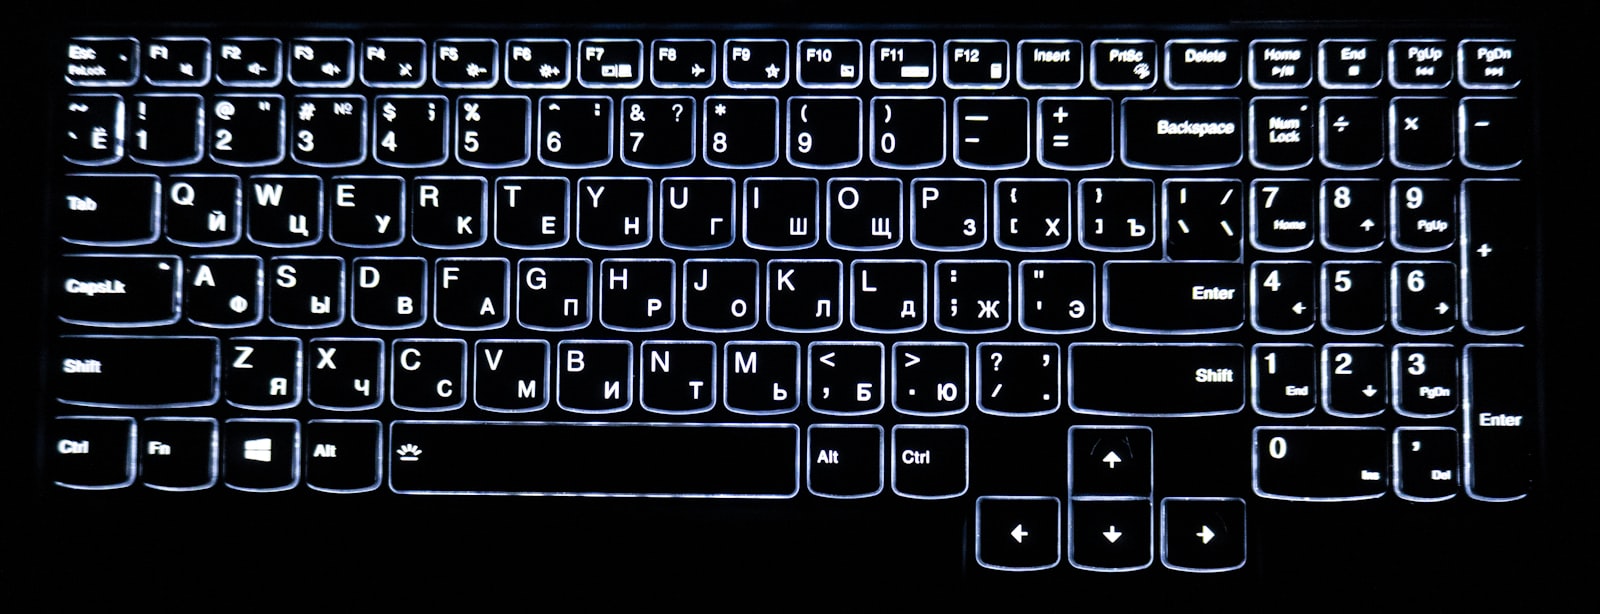
Cutting and Editing Shortcuts
- C — Razor tool (cut a clip)
- V — Selection tool
- Ctrl/Cmd + K — Add edit (split) at the playhead
- Shift + Delete — Ripple delete (remove and close the gap)
- Q / W — Ripple trim the start / end to the playhead
These five turn the slow, mouse-heavy task of cutting into something you do without looking. See our full guide to cutting and trimming clips for how they fit together.
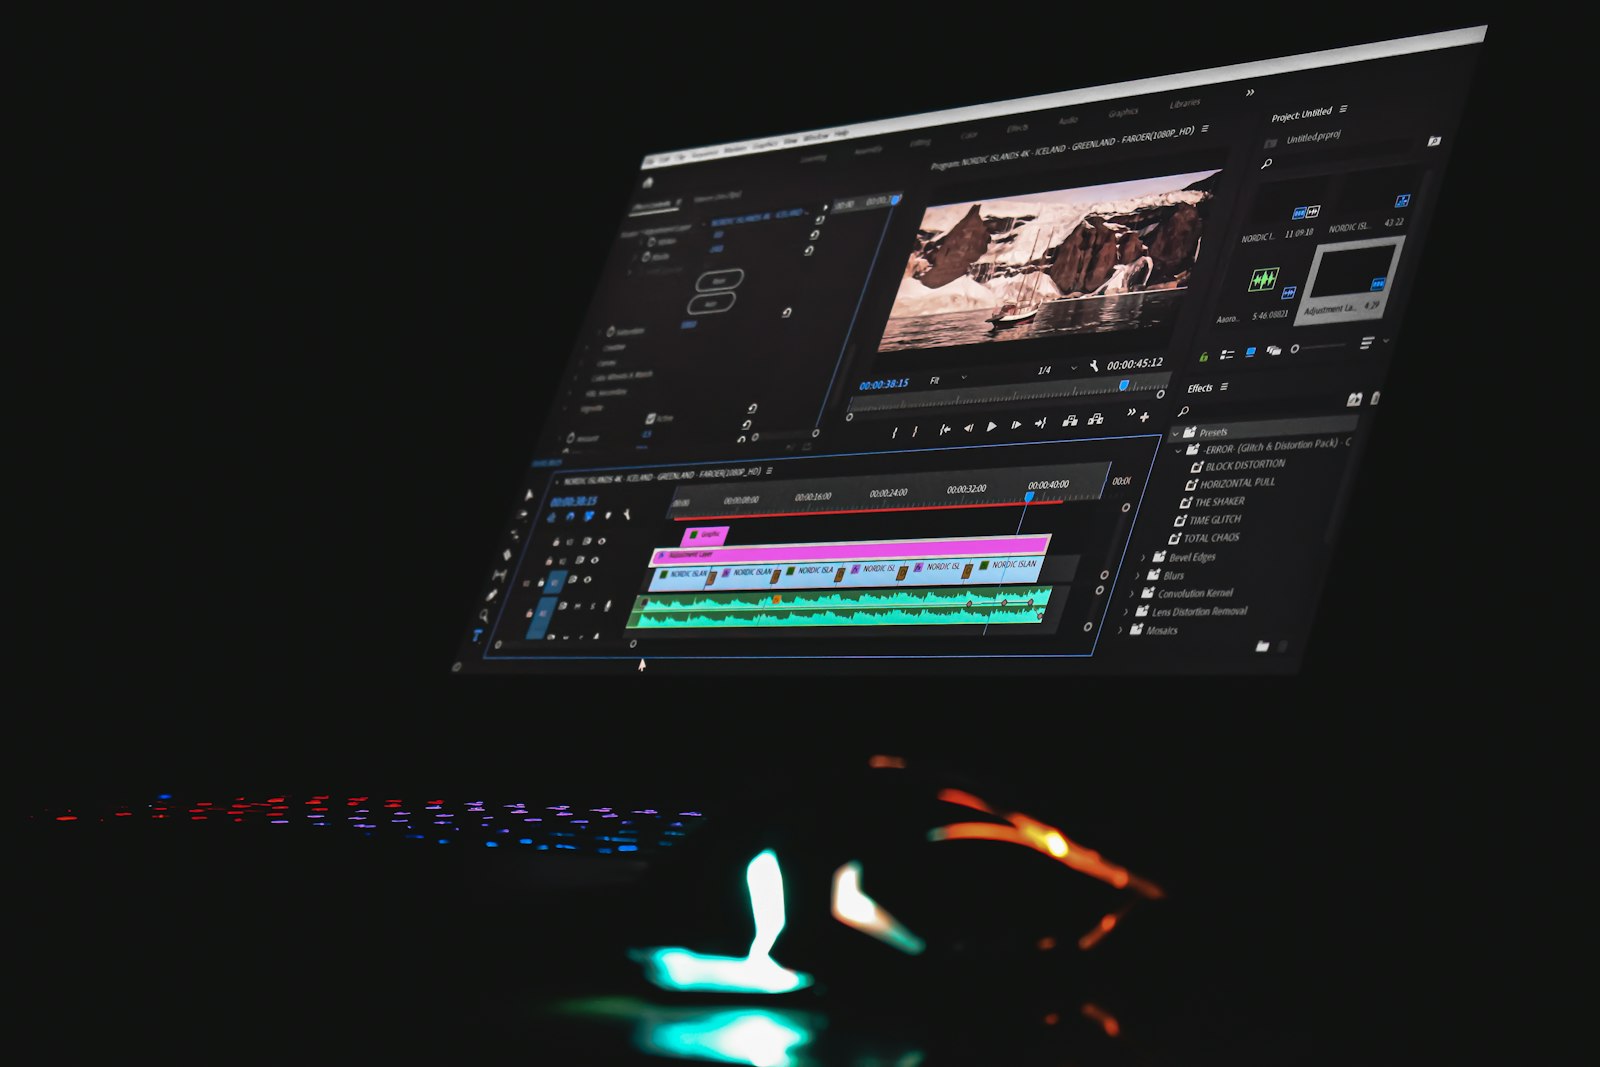
In and Out Points
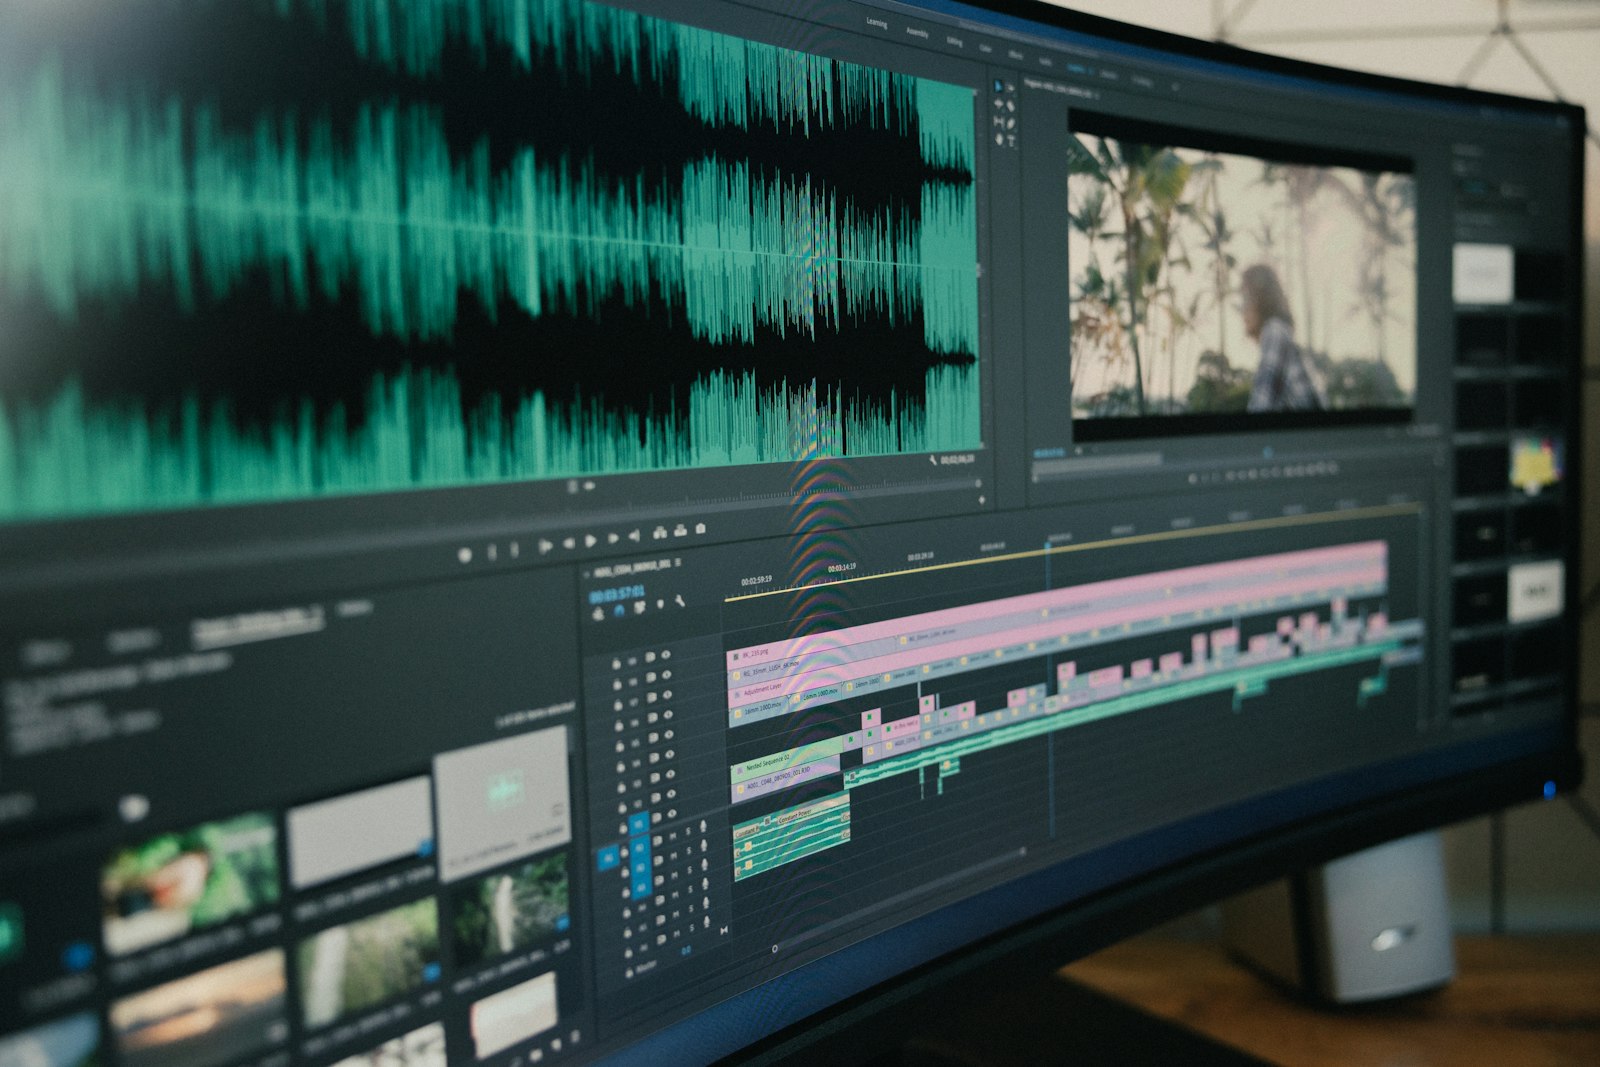
Press I to set an In point and O to set an Out point — on a clip in the Source Monitor or on the timeline itself. This is the foundation of fast, precise three-point editing.
Pair them with Comma (,) to Insert and Period (.) to Overwrite, and you can build a sequence without ever dragging a clip with the mouse.
Timeline Navigation
Use Home and End to jump to the start and end of your sequence, and the Up / Down arrows to leap to the previous or next edit point.
Press the backslash (\) key to zoom the timeline to fit your whole sequence, then + / – to zoom in and out. Quick navigation keeps you oriented on long projects.
Marking and Organizing
Tap M to drop a marker at the playhead — perfect for flagging beats in your music or notes to come back to. Press M again on a marker to add a comment.
Markers are invaluable for syncing edits to audio and for leaving yourself a trail through a complex timeline.
Rendering and Playback Quality
Press Enter to render the work area when playback stutters, and use the playback resolution dropdown (or shortcuts you assign) to drop to 1/2 or 1/4 for smoother previews of heavy footage.
Smooth playback keeps your editing rhythm intact, especially before you’ve set up proxies for 4K footage.
Customize Your Own Shortcuts
Premiere’s defaults are just a starting point. Open Edit > Keyboard Shortcuts (or Premiere Pro > Keyboard Shortcuts on Mac) to see a visual keyboard you can remap.
Assign your most-used commands to comfortable keys near your resting hand position. Editors who customize their layout often shave hours off long projects.
Build the Habit
You don’t have to learn them all at once. Pick three new shortcuts each week and force yourself to use them until they’re automatic, then add three more.
Within a couple of months the keyboard becomes second nature, and you’ll wonder how you ever edited reaching for menus. Speed frees you to focus on the story rather than the software.
Effects and Color Shortcuts
Applying and adjusting effects gets much faster with a few keys. Copy a clip with Ctrl/Cmd + C, then use Ctrl/Cmd + Alt/Option + V to Paste Attributes — instantly applying one clip’s effects and grade to another.
Toggle the visibility of an effect to compare before and after, and keep the Lumetri and Effect Controls panels one click away in your workspace so color tweaks never break your flow.
Audio Editing Shortcuts
Audio deserves the same speed as picture. Press Shift + 6 to jump to the Audio Track Mixer, and use keyframe shortcuts to ride levels without leaving the keyboard.
Add a quick keyboard command for the Essential Sound panel so cleaning dialogue and balancing music is always a keystroke away. Fast audio work is what separates a finished video from a rough cut.
Workspace and Panel Shortcuts
Use the number keys with modifiers to jump between panels — Source, Program, Timeline, Effects, and more — without hunting with the mouse. Press ` (grave/tilde) to maximize whichever panel your cursor is over, then again to restore it.
Save custom workspaces for editing, color, and audio, and switch between them instantly. A tidy, keyboard-driven workspace keeps long sessions comfortable and fast.
Markers and Sync Shortcuts
Markers are central to fast editing. Tap M to add one, and use the marker navigation shortcuts to jump between them when matching cuts to a music track.
For syncing, learn the shortcuts that set In and Out points across clips — they’re the backbone of both multicam editing and three-point editing.
Key Takeaways
- J-K-L is the playback shuttle; learn it first.
- C, Ctrl/Cmd + K, and Shift + Delete cover most cutting.
- I and O set In and Out points for fast three-point editing.
- Customize shortcuts in Edit > Keyboard Shortcuts for your workflow.
Shortcuts in a Real Edit
Picture cutting a five-minute interview. You open each clip in the Source Monitor and scrub with J-K-L to find the good takes, marking each with I and O. You insert them onto the timeline with the comma key, never once reaching for the mouse.
Then you tighten the pacing: Ctrl/Cmd + K to split, Shift + Delete to ripple out the pauses, and the arrow keys to jump between edits. A cut that would take an hour of dragging and clicking comes together in twenty minutes, because your hands never leave the keyboard. That is the real payoff of learning shortcuts.
Stay Comfortable During Long Sessions
Editing for hours rewards a comfortable setup. Keep your most-used shortcuts within easy reach of your resting hand so you are not stretching across the keyboard hundreds of times a day. A left-hand cluster around the home keys for cutting and a right hand on the J-K-L zone is a popular, ergonomic layout.
Some editors add a dedicated shortcut keypad or a customized layout to reduce strain further. Whatever you choose, consistency matters more than complexity: a handful of well-placed keys you use every day will always beat a sprawling map you can never remember.
Frequently Asked Questions
What are the most important Premiere Pro keyboard shortcuts?
J-K-L for playback, C for the Razor tool, Ctrl/Cmd + K to split, Shift + Delete to ripple delete, and I / O to set In and Out points. These cover the bulk of everyday editing.
How do I customize keyboard shortcuts in Premiere Pro?
Go to Edit > Keyboard Shortcuts (Premiere Pro > Keyboard Shortcuts on Mac) to open a visual keyboard, then drag commands onto the keys you want or search for a command and assign it.
What is the J-K-L shortcut in Premiere Pro?
It’s the playback shuttle: L plays forward, J plays backward, and K pauses. Tapping L or J repeatedly speeds up playback in that direction.
Sources: Adobe’s keyboard shortcuts reference.
Edit at the speed of thought — at Adobe Video World
Train hands-on with Adobe Certified Instructors across 100+ Premiere Pro & After Effects sessions.



