A workflow taught by Adobe Certified Instructors at Adobe Video World.
Choppy, stuttering playback while editing 4K, 6K, or RAW footage? You don’t need a faster computer — you need proxies. Proxies are lightweight stand-in copies of your footage that edit buttery-smooth, then swap back to full quality for export. Here’s the complete workflow.
What Proxies Are and Why They Help
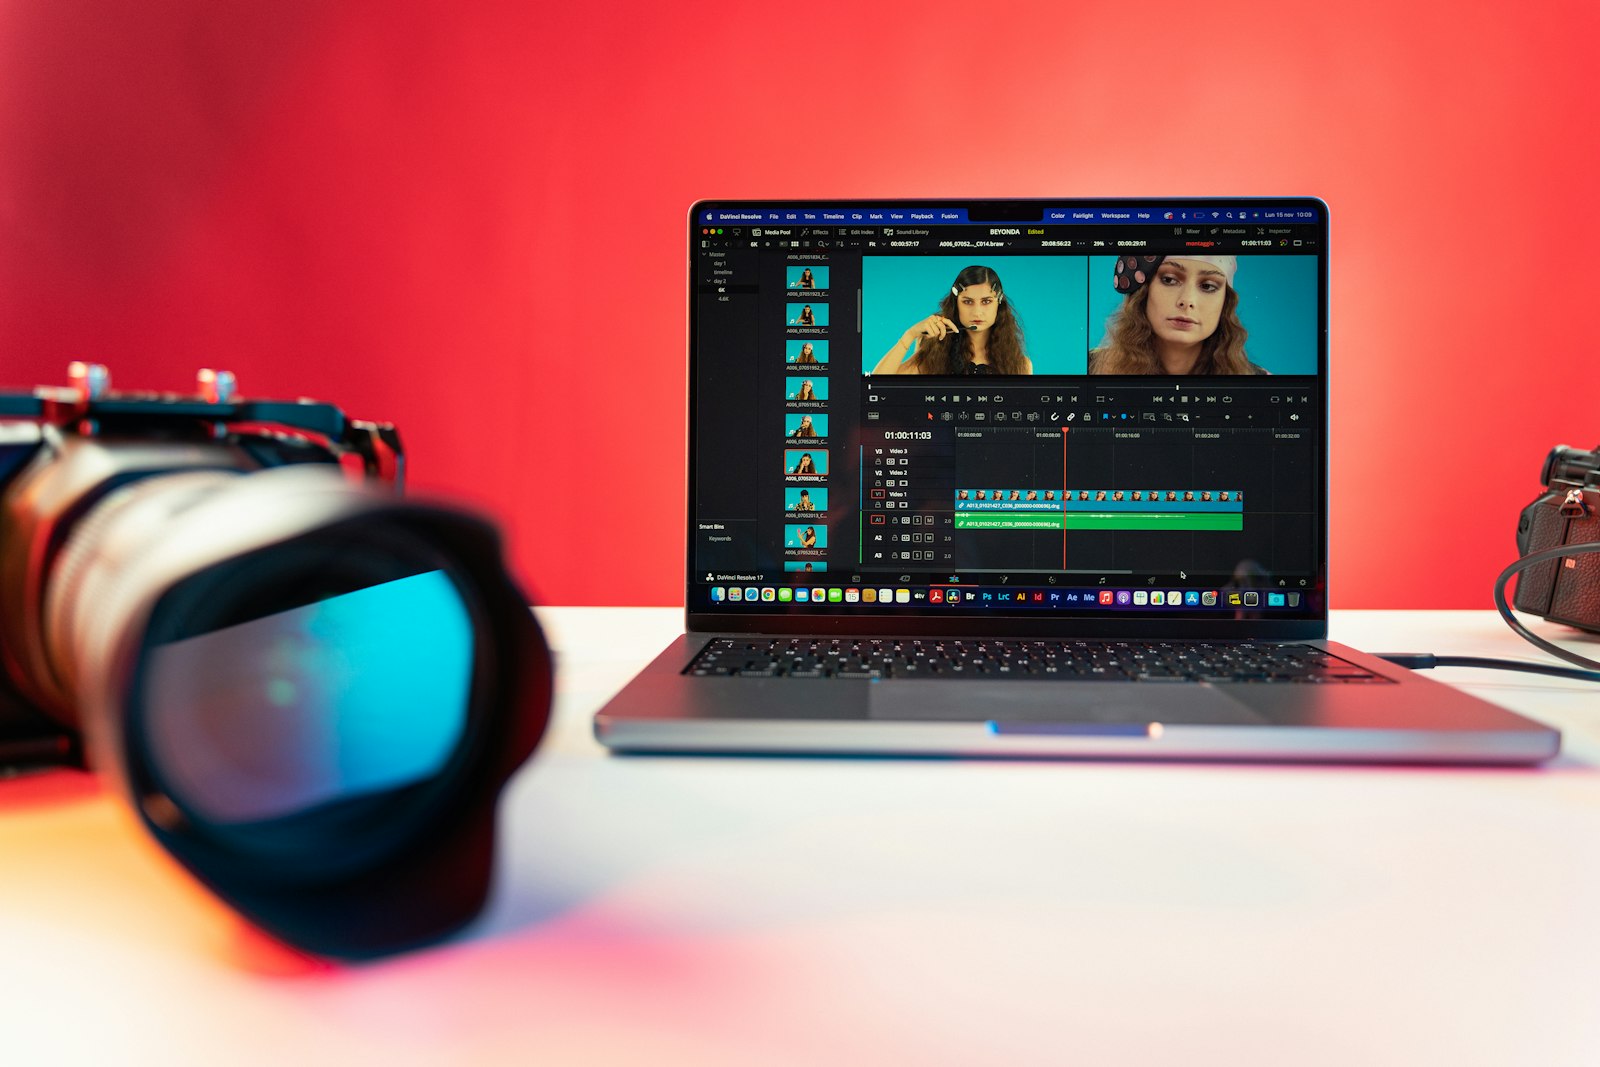
A proxy is a smaller, lower-resolution copy of your original clip. You edit with the easy-to-play proxy, and Premiere automatically uses your full-quality original when it’s time to export.
The result is smooth real-time playback on almost any machine, even with demanding 4K, 6K, or 10-bit footage that would otherwise stutter.
Create Proxies for Existing Clips
Already imported your footage? Select the clips in the Project panel, right-click, and choose Proxy > Create Proxies.
Pick a format and resolution preset, and Premiere hands the job to Media Encoder, which renders the proxies in the background while you keep working.

Choose the Right Proxy Settings
For most editors, a ProRes Proxy or H.264 preset at around 1080p (or even 720p) is the sweet spot — small enough to play smoothly, sharp enough to edit confidently.
Match the proxy frame rate to your footage, and store proxies on a fast drive. There’s no need for high-bitrate proxies; their only job is smooth editing.
Create Proxies on Import
You can generate proxies automatically as you bring footage in. In the Media Browser, enable the Ingest checkbox and set it to Create Proxies.
Now every clip you import gets a proxy made in the background — ideal for large shoots where you’d rather not select and queue clips manually.
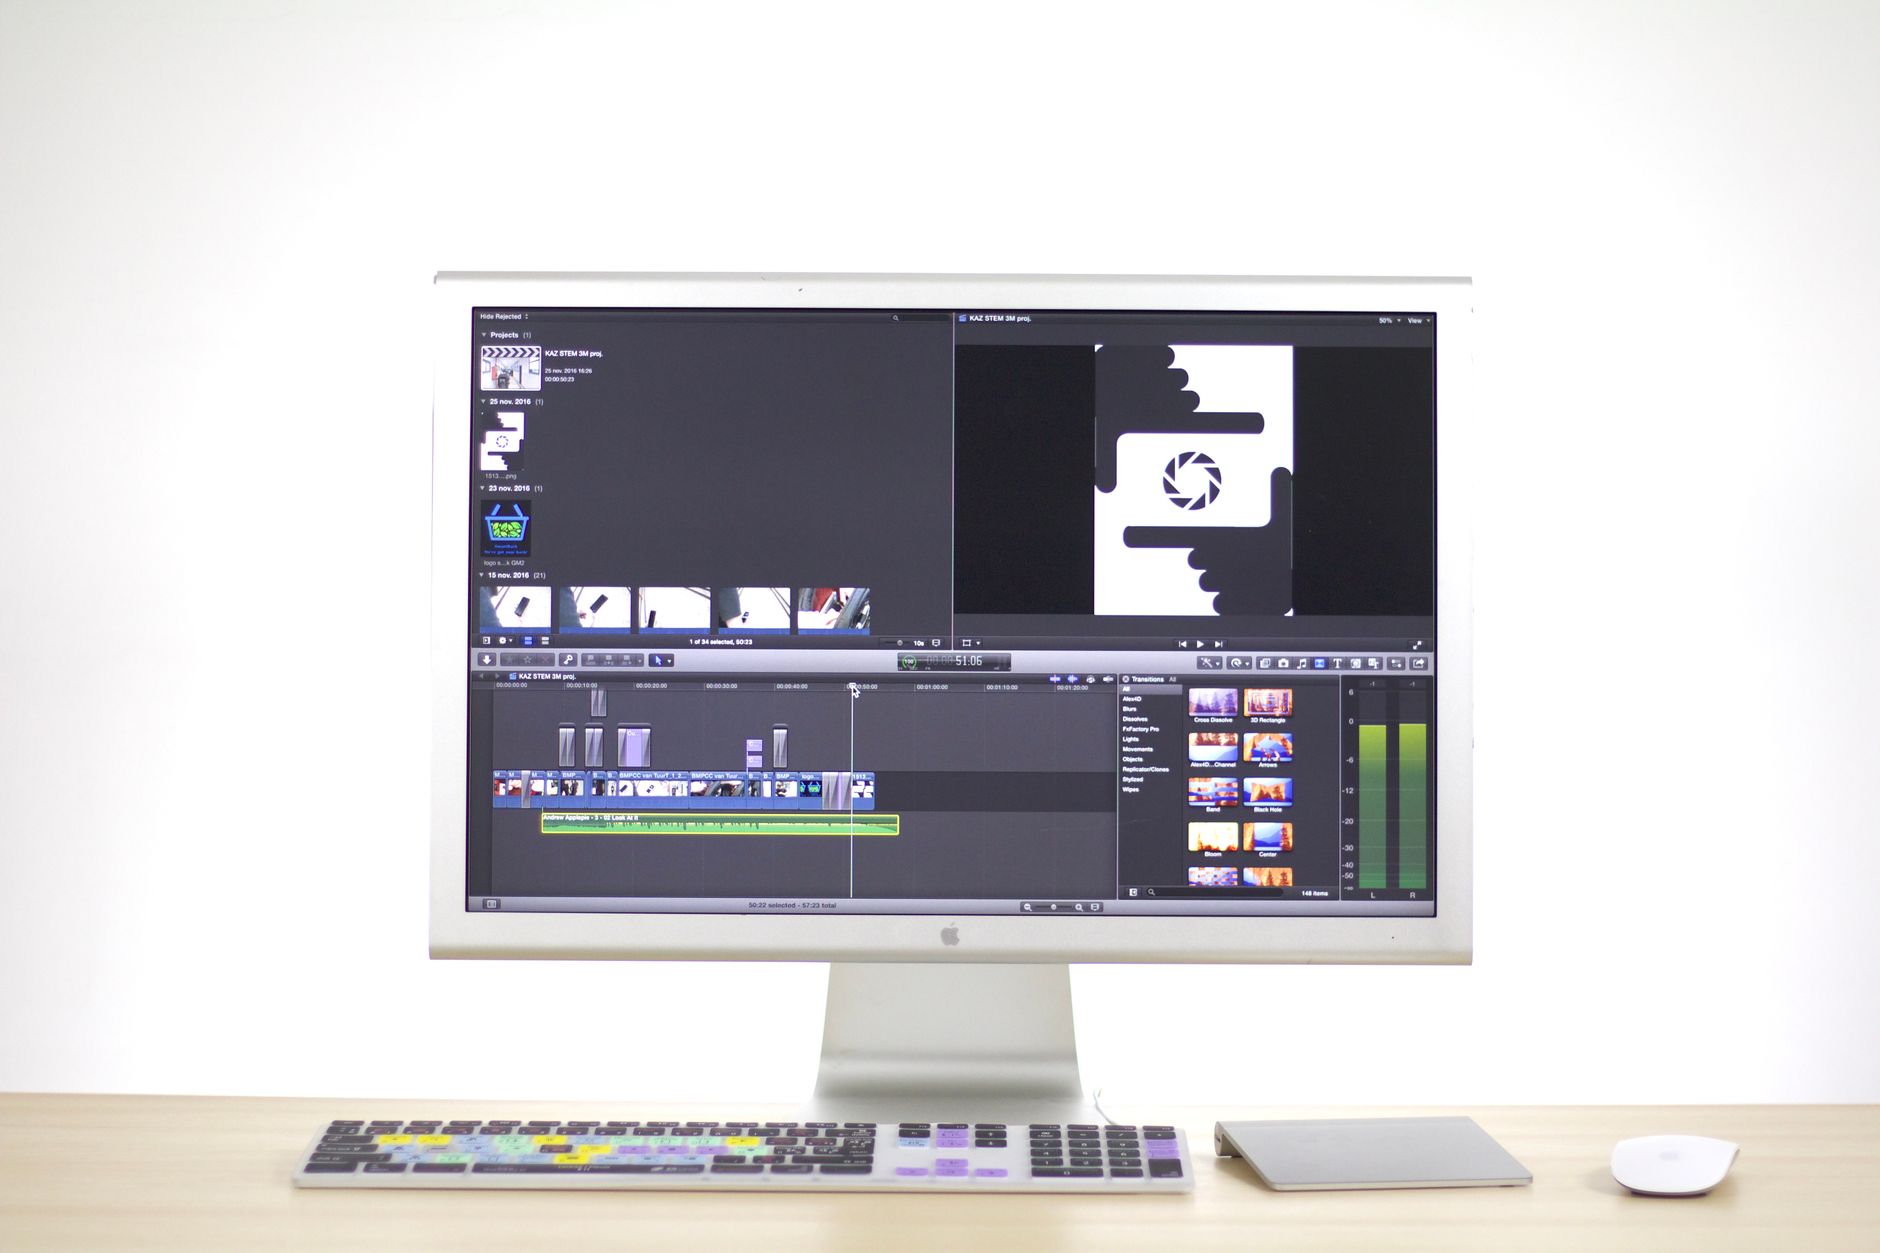
Turn Proxies On and Off
Add the Toggle Proxies button to your Program Monitor (via the ‘+’ button editor), then click it to switch between proxy and full-resolution playback at any time.
Edit with proxies on for speed; flip them off whenever you need to check critical focus or fine detail at full quality. Your edit is identical either way.
Proxies and Color Grading
Because proxies are lower quality, do your final color grade with proxies toggled off, viewing the full-resolution original. You’ll judge color and detail accurately.
Premiere keeps your effects and grades attached to the clip, not the proxy, so nothing is lost when you switch back and forth.
Export Always Uses the Originals
Here’s the key reassurance: even if proxies are toggled on, Premiere automatically renders your full-quality originals at export. You never accidentally deliver a low-res file.
Edit fast with proxies, then export with the right settings straight from your high-resolution footage.
When You Don’t Need Proxies
Proxies aren’t always necessary. If you’re editing 1080p footage on a modern computer, playback is usually smooth already and proxies just add an extra step.
Reach for them when footage is 4K and up, highly compressed (like many drone and mirrorless codecs), or when your timeline is heavy with effects and your machine starts to struggle.
Proxy Workflow Best Practices
- Keep proxies on a separate fast drive to avoid clogging your main storage.
- Use a consistent proxy preset across a project so everything plays evenly.
- Relink proxies if you move files — right-click and choose Proxy > Reconnect Full Resolution Media if needed.
- Delete proxies after delivery to reclaim disk space; you can always regenerate them.
Proxies vs. Optimized and Rendered Media
Premiere offers a few ways to smooth playback, and it helps to know the difference. Proxies are separate low-res copies you edit with and swap out at export. Render files are previews Premiere creates for effects-heavy sections.
Optimized media transcodes certain camera formats into an editing-friendly codec. Proxies give the biggest speed boost for high-resolution footage, while rendering targets specific heavy spots in your timeline.
Match Proxy Settings to Your Footage
Different footage benefits from different proxies. For 4K and 6K video, 1080p proxies strike the best balance. For very long projects or weaker machines, 720p proxies edit even faster.
Highly compressed formats like HEVC and many drone codecs are taxing to decode, so proxies help most there. Keep the proxy frame rate identical to the source so everything stays perfectly in sync.
Speed Up Proxy Creation
Generating proxies for a big shoot takes time, but you can keep working. Media Encoder renders them in the background while you edit, so queue them and carry on.
A computer with hardware encoding (most modern machines) creates H.264 proxies much faster. Render overnight for large projects and wake up to a smooth, ready-to-edit timeline.
Troubleshoot Common Proxy Problems
- Proxies not toggling? Add the Toggle Proxies button to the Program Monitor.
- Footage offline after moving files? Right-click and reconnect the full-resolution media.
- Out-of-sync proxies? Make sure the proxy frame rate matches the source.
- Slow creation? Use an H.264 preset and a fast scratch drive.
Proxies and Modern Hardware
Even as computers get faster, footage gets heavier — higher resolutions, higher frame rates, and more demanding codecs keep arriving. That is why proxies remain a staple of professional workflows: they let you edit tomorrow’s footage smoothly on today’s machine, and they make collaboration across modest laptops practical.
If your timeline ever stutters, reach for proxies before you consider new hardware. A simple low-resolution stand-in often delivers the responsiveness you need for a fraction of the cost, and your final export always conforms back to the pristine originals.
Key Takeaways
- Proxies are low-res copies that make 4K editing smooth.
- Create them via Proxy > Create Proxies, at 1080p or 720p.
- Toggle them on for editing and off to check fine detail.
- Export always uses your full-resolution originals.
A 4K Proxy Workflow, Start to Finish
Here is the workflow most professionals follow. You import your 4K footage and, in the same step, set the Media Browser to ingest and create proxies. While Media Encoder builds them in the background, you start organizing your project, so no time is wasted waiting.
Once the proxies are ready, you toggle them on and edit at full speed — cutting, adding effects, and building the story without a single stutter. When the edit is locked, you toggle proxies off to grade and check focus on the full-resolution footage, then export straight from the originals. Smooth editing, flawless final quality, no compromise.
Proxies and Team Collaboration
Proxies shine on team projects. Because they are small, editors can copy proxy files between machines far faster than full 4K media, and a whole team can cut from the lightweight versions while the originals stay on central storage.
Just agree on one proxy preset and folder structure across the team so everyone’s media relinks cleanly. When it is time to finish, the project conforms back to the full-resolution originals automatically — letting a group of editors work quickly on modest laptops without ever sacrificing delivery quality.
Frequently Asked Questions
What are proxies in Premiere Pro?
Proxies are smaller, lower-resolution copies of your footage that play back smoothly while editing. Premiere automatically switches to your full-quality originals at export.
How do I create proxies in Premiere Pro?
Select clips in the Project panel, right-click, choose Proxy > Create Proxies, pick a 1080p or 720p preset, and Media Encoder renders them in the background while you keep editing.
Do proxies reduce my export quality?
No. Premiere always exports from your full-resolution original footage, even when proxies are toggled on for editing — so final quality is unaffected.
Sources: Adobe’s proxy workflow documentation.
Edit 4K without the lag — at Adobe Video World
Train hands-on with Adobe Certified Instructors across 100+ Premiere Pro & After Effects sessions.



