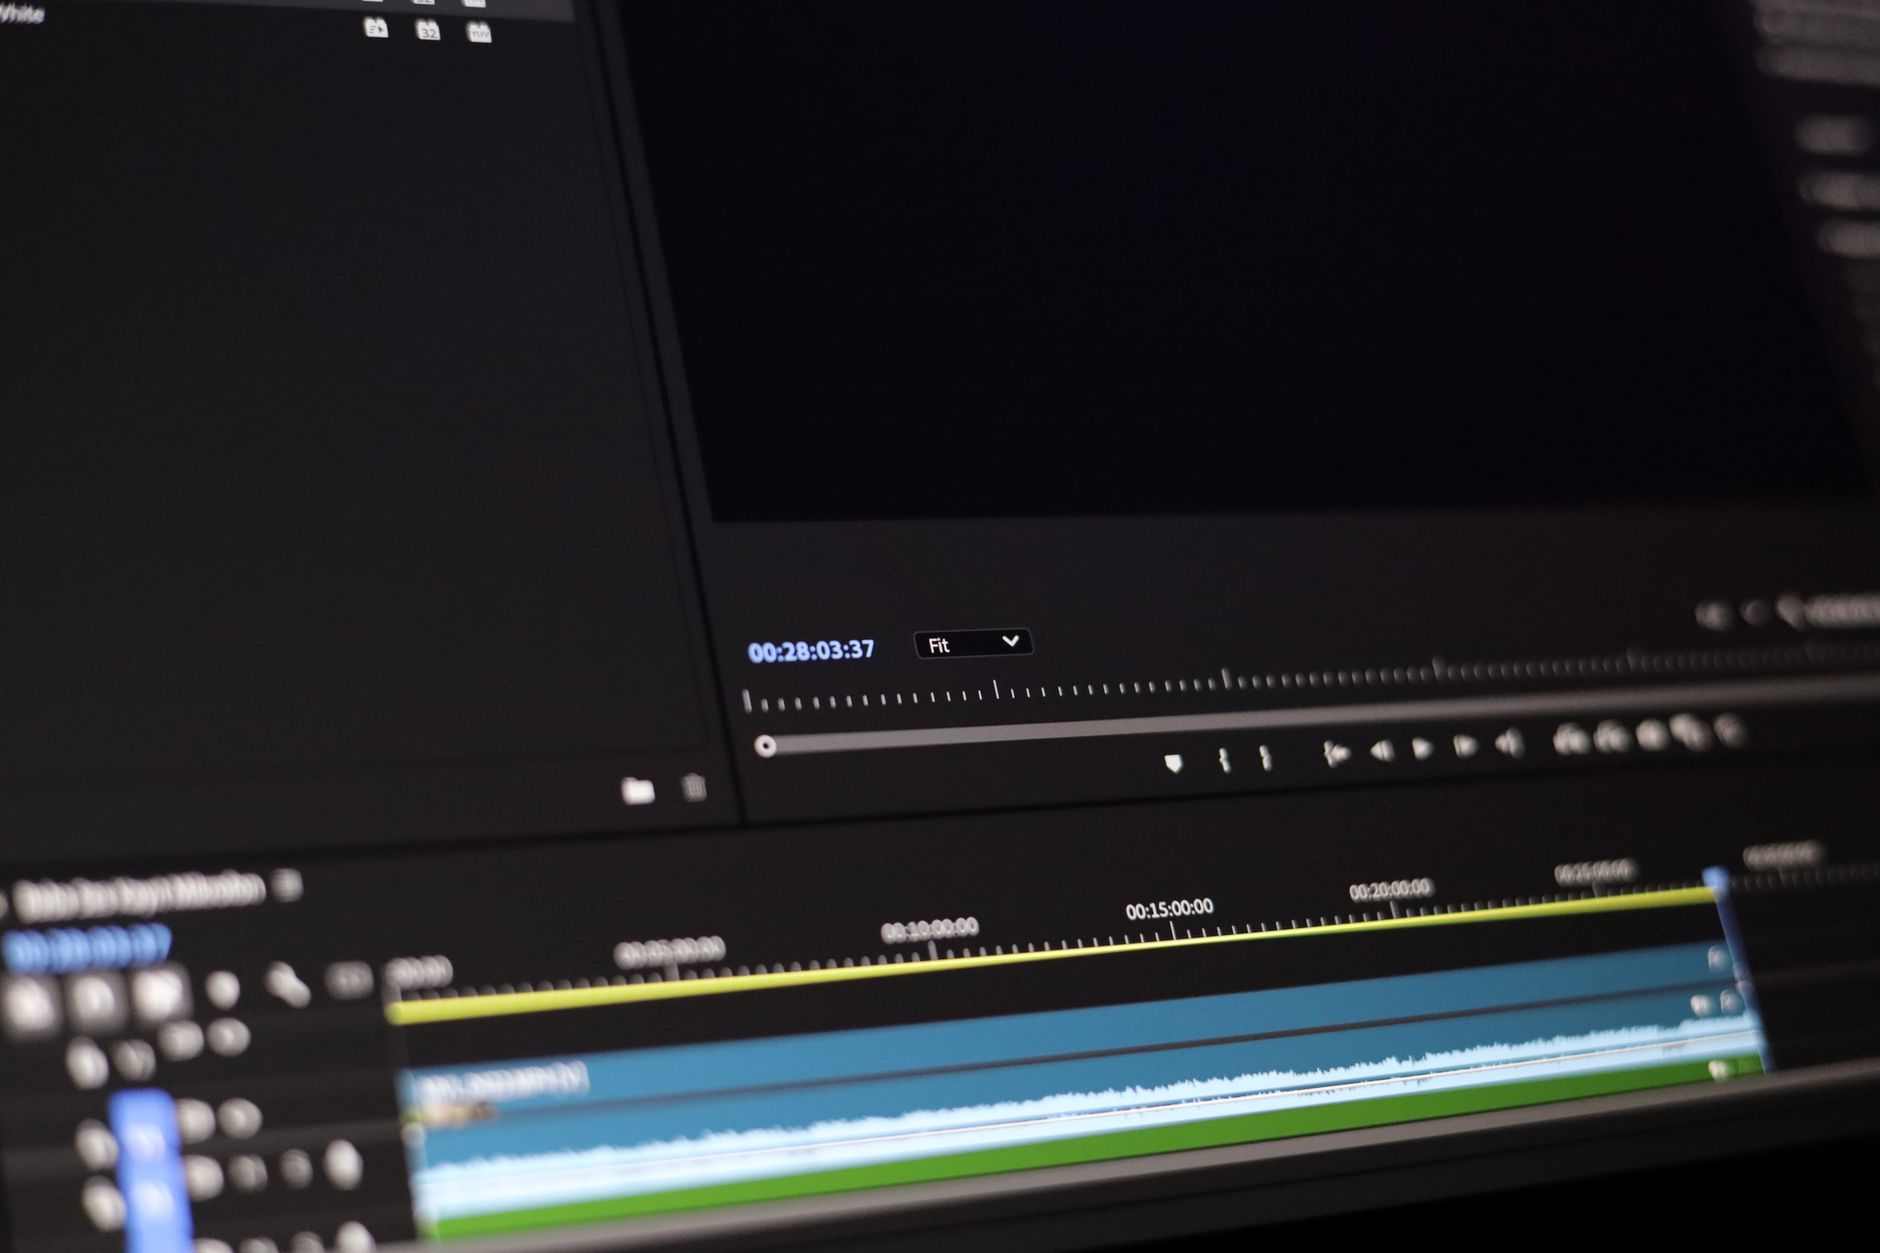
A workflow taught by Adobe Certified Instructors at Adobe Video World.
Transitions smooth the jump from one clip to the next — a fade here, a dissolve there. Premiere Pro makes them simple to apply, but a few hidden rules trip up almost every beginner. This guide covers how to add transitions cleanly, fix the most common error, and keep your edit looking professional.

Where to Find Transitions
All of Premiere Pro’s transitions live in the Effects panel. If you don’t see it, choose Window > Effects from the top menu.
Inside, expand Video Transitions to see categories like Dissolve, Slide, Wipe, and Zoom. Audio transitions sit in their own Audio Transitions folder — the Constant Power crossfade there is the cleanest way to blend two pieces of sound.

How to Apply a Transition
Adding a transition takes one drag:
- Open the Effects panel and find the transition you want (start with Cross Dissolve).
- Drag it onto the cut line between two clips on your timeline.
- Release when the edit point highlights. The transition appears as a small purple rectangle over the cut.
Want it even faster? Place your playhead on a cut, select the edit, and press Ctrl + D (Windows) or Cmd + D (Mac) to drop in the default transition instantly.

The ‘Insufficient Media’ Error — and How to Fix It
This is the error every beginner hits. A transition needs extra frames beyond the cut — called handles — to overlap the two clips. If a clip is trimmed to its very first or last frame, there’s nothing to overlap.
Two quick fixes:
- Trim each clip a little shorter so it has spare frames on both sides before adding the transition.
- Or accept the dialog that offers to apply the transition with repeated frames — fine for short, subtle dissolves.

Adjusting Duration and Timing
The default transition length is one second, which is often too long. To change a single transition, hover over its edge in the timeline and drag inward to shorten it or outward to lengthen it.
Double-click the transition to open its options in the Effect Controls panel, where you can set an exact duration and change the alignment (center, start, or end on the cut). To change the default for every future transition, right-click any transition and choose Set Selected as Default Transition.

Best Transitions for Beginners
- Cross Dissolve — the everyday blend; subtle and professional.
- Dip to Black — fades to black and back; perfect for ending a scene or marking a time jump.
- Constant Power (audio) — smooths abrupt audio cuts so they don’t pop.
- Film Dissolve — a warmer, more cinematic version of the cross dissolve.
Use Transitions Sparingly
The biggest giveaway of an amateur edit is too many flashy transitions. In professional work, the plain cut does most of the heavy lifting; dissolves and fades are reserved for moments that need them.
When you do reach for an effect, keep it short and consistent. A clean cut, a well-timed dissolve, and a polished export will always beat a timeline full of spins and zooms. Once your edit is locked, color grade your footage with the Lumetri Color panel and use the right Premiere Pro export settings to finish strong.
How to Install Third-Party Transition Packs
Beyond the built-in effects, thousands of custom transition packs (glitches, zooms, luma fades) are available from creators and marketplaces. Most come in one of two forms, and they install differently.
Preset packs (.prfpset) are imported through the Effects panel menu — click the panel’s menu icon and choose Import Presets. Motion Graphics Templates (.mogrt) are added through Window > Essential Graphics > Install Motion Graphics Template, then dragged onto your timeline like any graphic. Always preview a pack on a test cut before using it in a real project.
Common Transition Mistakes to Avoid
A few habits instantly mark an edit as amateur. Steer clear of these:
- Overusing flashy transitions — spins, page-curls, and zooms date an edit fast. Default to a cut.
- Inconsistent durations — vary the length of every dissolve and the pacing feels sloppy. Pick one length and stick to it.
- Transitions on every cut — restraint reads as professional; constant motion reads as a beginner.
- Ignoring audio — add a short Constant Power crossfade so your sound doesn’t pop at each edit.
Add a Fade to Black or White
A fade to black is the most classic way to open or close a video, and it’s slightly different from a transition between two clips. To fade in from black at the very start of your timeline, drag the Dip to Black transition onto the left edge of your first clip — where there’s no second clip, Premiere fades from black automatically.
Do the same on the right edge of your final clip to fade out at the end. For a softer, dreamier feel, try Dip to White instead, which works beautifully for flashbacks, wedding films, and emotional montages. Pair the visual fade with an audio crossfade so the sound dips at the same moment for a truly polished open and close.
Understand Transition Alignment
Every transition can sit in one of three positions relative to the cut, and choosing the right one matters. Center at Cut spreads the transition evenly across both clips — the default and the safest choice for a balanced dissolve.
Start at Cut places the entire transition on the incoming clip, while End at Cut places it on the outgoing clip. These two are useful when only one of your clips has spare frames (handles). Select the transition, open Effect Controls, and click the alignment buttons or drag the transition box left or right over the cut to reposition it exactly where you want.
Build a Transition Preset Library
Once you’ve dialed in a transition you like — say a 12-frame cross dissolve with a specific alignment — you can save it as a preset and reuse it instantly. Right-click the transition in the timeline, choose Save Preset, name it, and it appears in your Effects panel under Presets.
Building a small library of your go-to transitions keeps your edits consistent and dramatically speeds up your workflow on longer projects. Combine that consistency with a steady cutting and trimming routine and your timelines will come together far faster.
Animating a shape as a matte builds custom reveals with the Track Matte Key in Premiere Pro, going beyond the built-in transitions.
Beyond standard cuts and dissolves, the After Effects radial wipe makes a stylish clock-style transition between shots.
Closing a sequence with the Premiere Pro rolling credits pairs naturally with a final fade to black.
Frequently Asked Questions
How do I add a transition between two clips in Premiere Pro?
Open the Effects panel (Window > Effects), expand Video Transitions, then drag a transition such as Cross Dissolve onto the cut line between the two clips. Or select the cut and press Ctrl/Cmd + D for the default transition.
Why does Premiere Pro say ‘insufficient media’ when I add a transition?
The clips don’t have spare frames (handles) to overlap. Trim each clip slightly shorter before the cut, or accept Premiere’s offer to apply the transition using repeated frames.
How do I change a transition’s duration?
Drag the edge of the transition in the timeline to lengthen or shorten it, or double-click it and set an exact duration in the Effect Controls panel.
Sources: Adobe’s transitions overview.
Master Premiere Pro editing at Adobe Video World
Train hands-on with Adobe Certified Instructors across 100+ Premiere Pro & After Effects sessions.



