A workflow taught by Adobe Certified Instructors at Adobe Video World.
ND filters are essential for shooting video in bright conditions, letting you keep the correct shutter speed and aperture without overexposing. They’re like sunglasses for your lens. Understanding why and how to use them is key to a cinematic look outdoors. This guide explains ND filters and how to use them for video.
What ND Filters Are
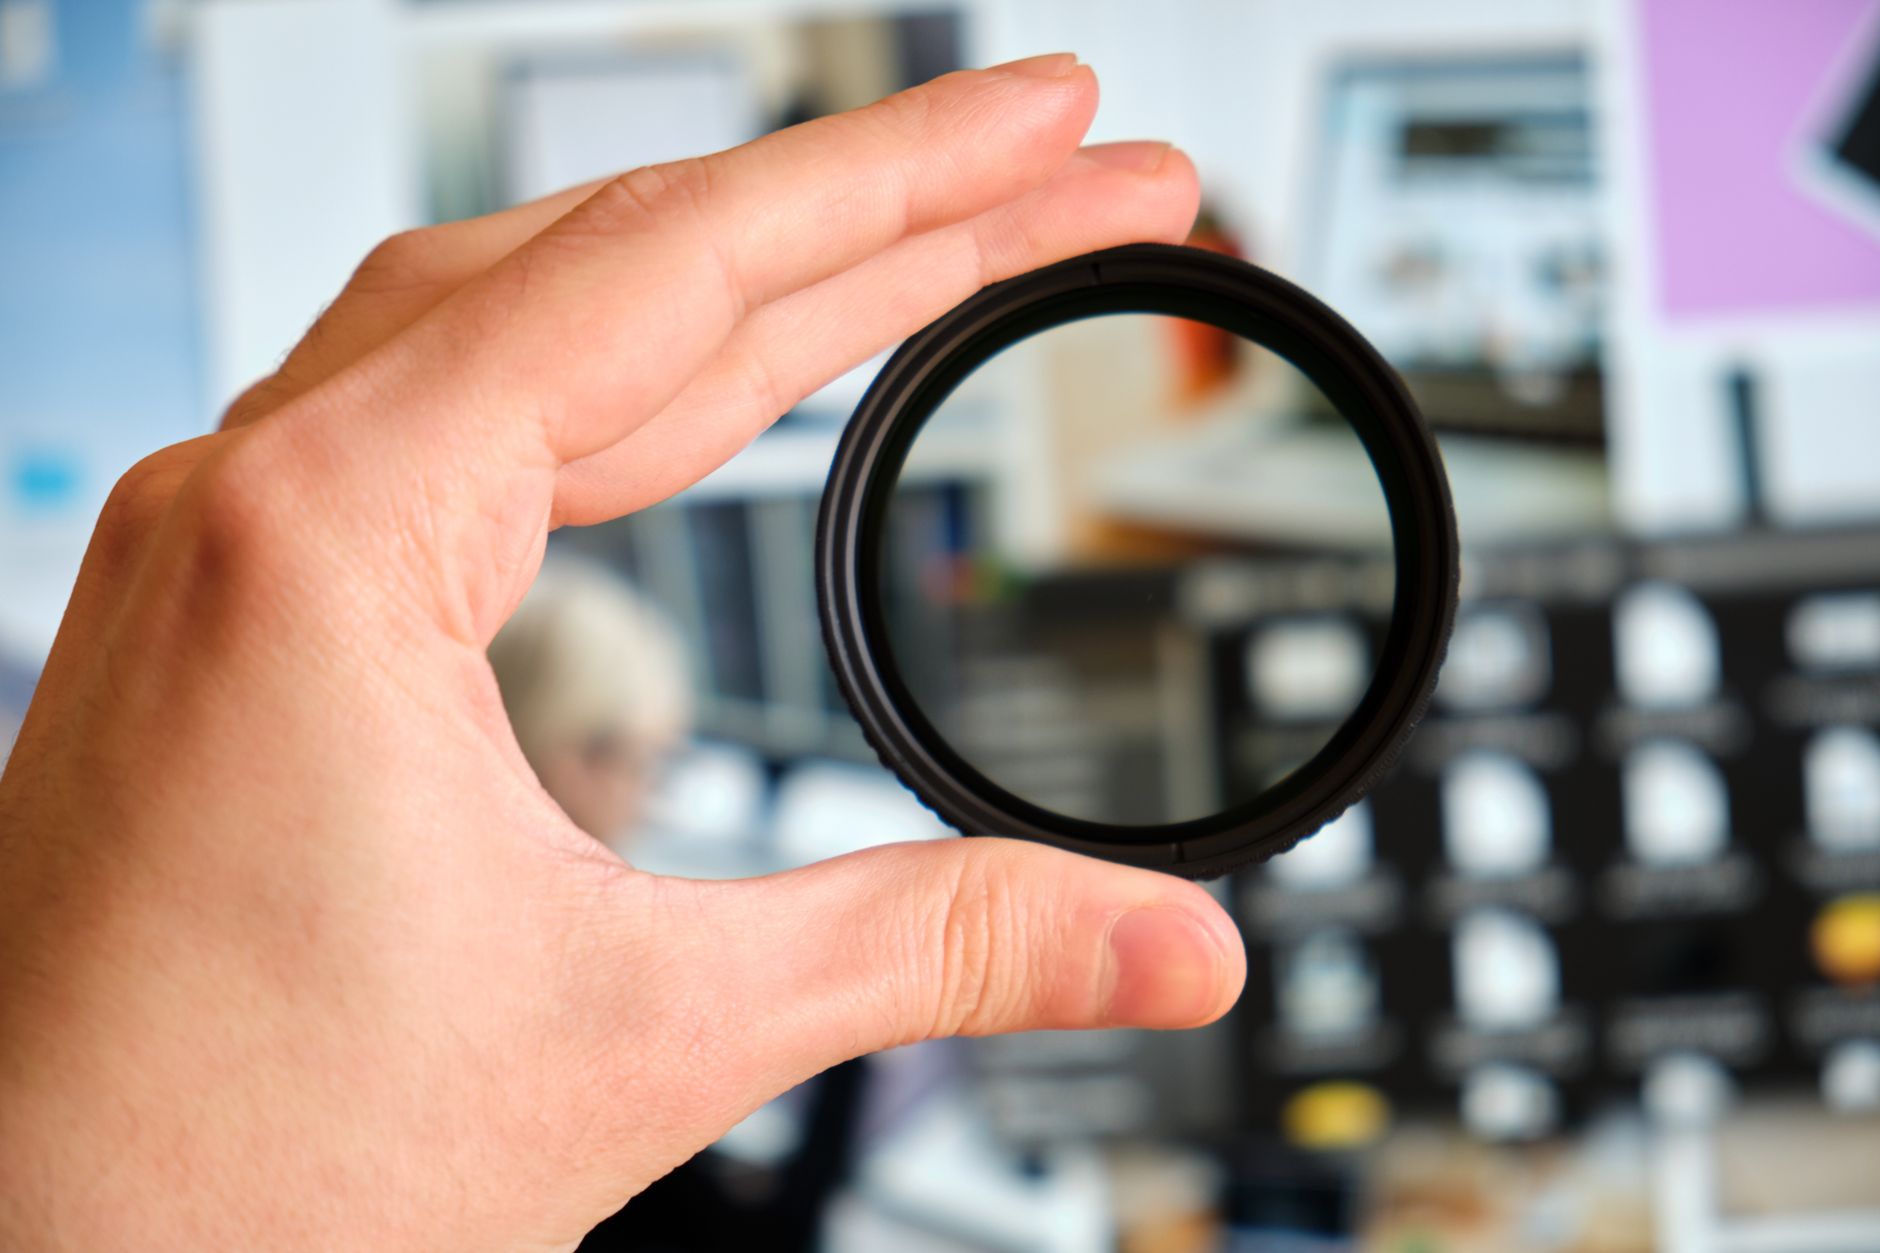
A neutral density (ND) filter is a dark filter that reduces the amount of light entering your lens, without affecting color. It’s essentially sunglasses for your camera, cutting light so you can use your desired settings in bright conditions.
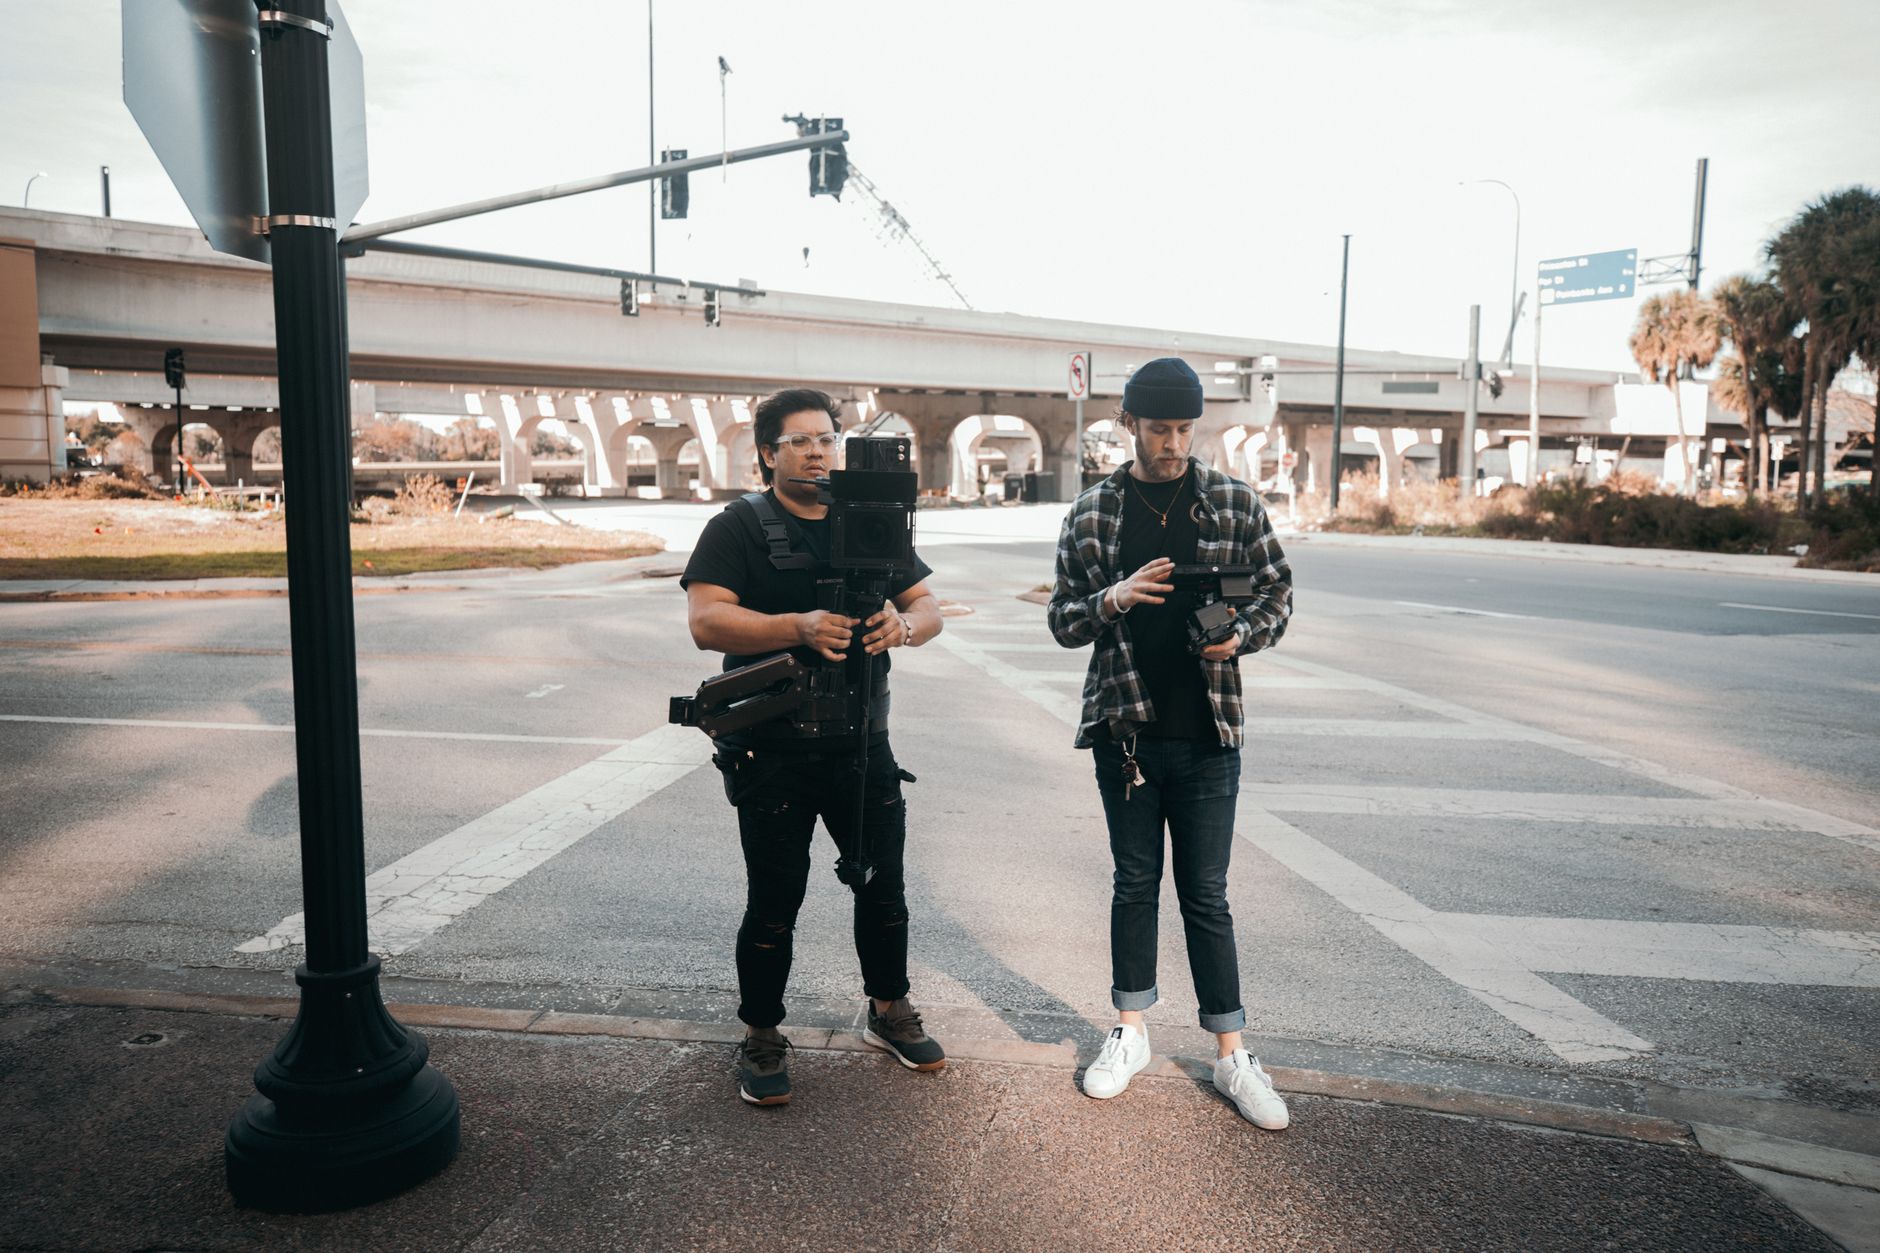
ND filters are crucial for video because of the constraints of shooting motion. Where a photographer can simply use a faster shutter in bright light, video has shutter-speed rules, making ND filters the tool for controlling exposure outdoors.
Why Video Needs ND Filters
Video follows the 180-degree shutter rule, fixing your shutter speed to about double your frame rate for natural motion blur. In bright light, this often overexposes the image, and you can’t just speed up the shutter without making motion look unnatural.
ND filters solve this by reducing light so you can keep the correct shutter speed and your desired aperture. Without them, bright conditions force you to either break the shutter rule or close the aperture too far, both compromising your look.
Keep Your Aperture Where You Want It
ND filters also let you shoot with a wide aperture in bright light for shallow depth of field. Without ND, bright conditions force you to narrow the aperture to avoid overexposure, losing the blurred-background look.
By cutting the light, an ND filter lets you keep that wide aperture and its cinematic blur even in sunlight. This is a major reason filmmakers use ND filters — to maintain both the correct shutter and a wide aperture for the look they want.
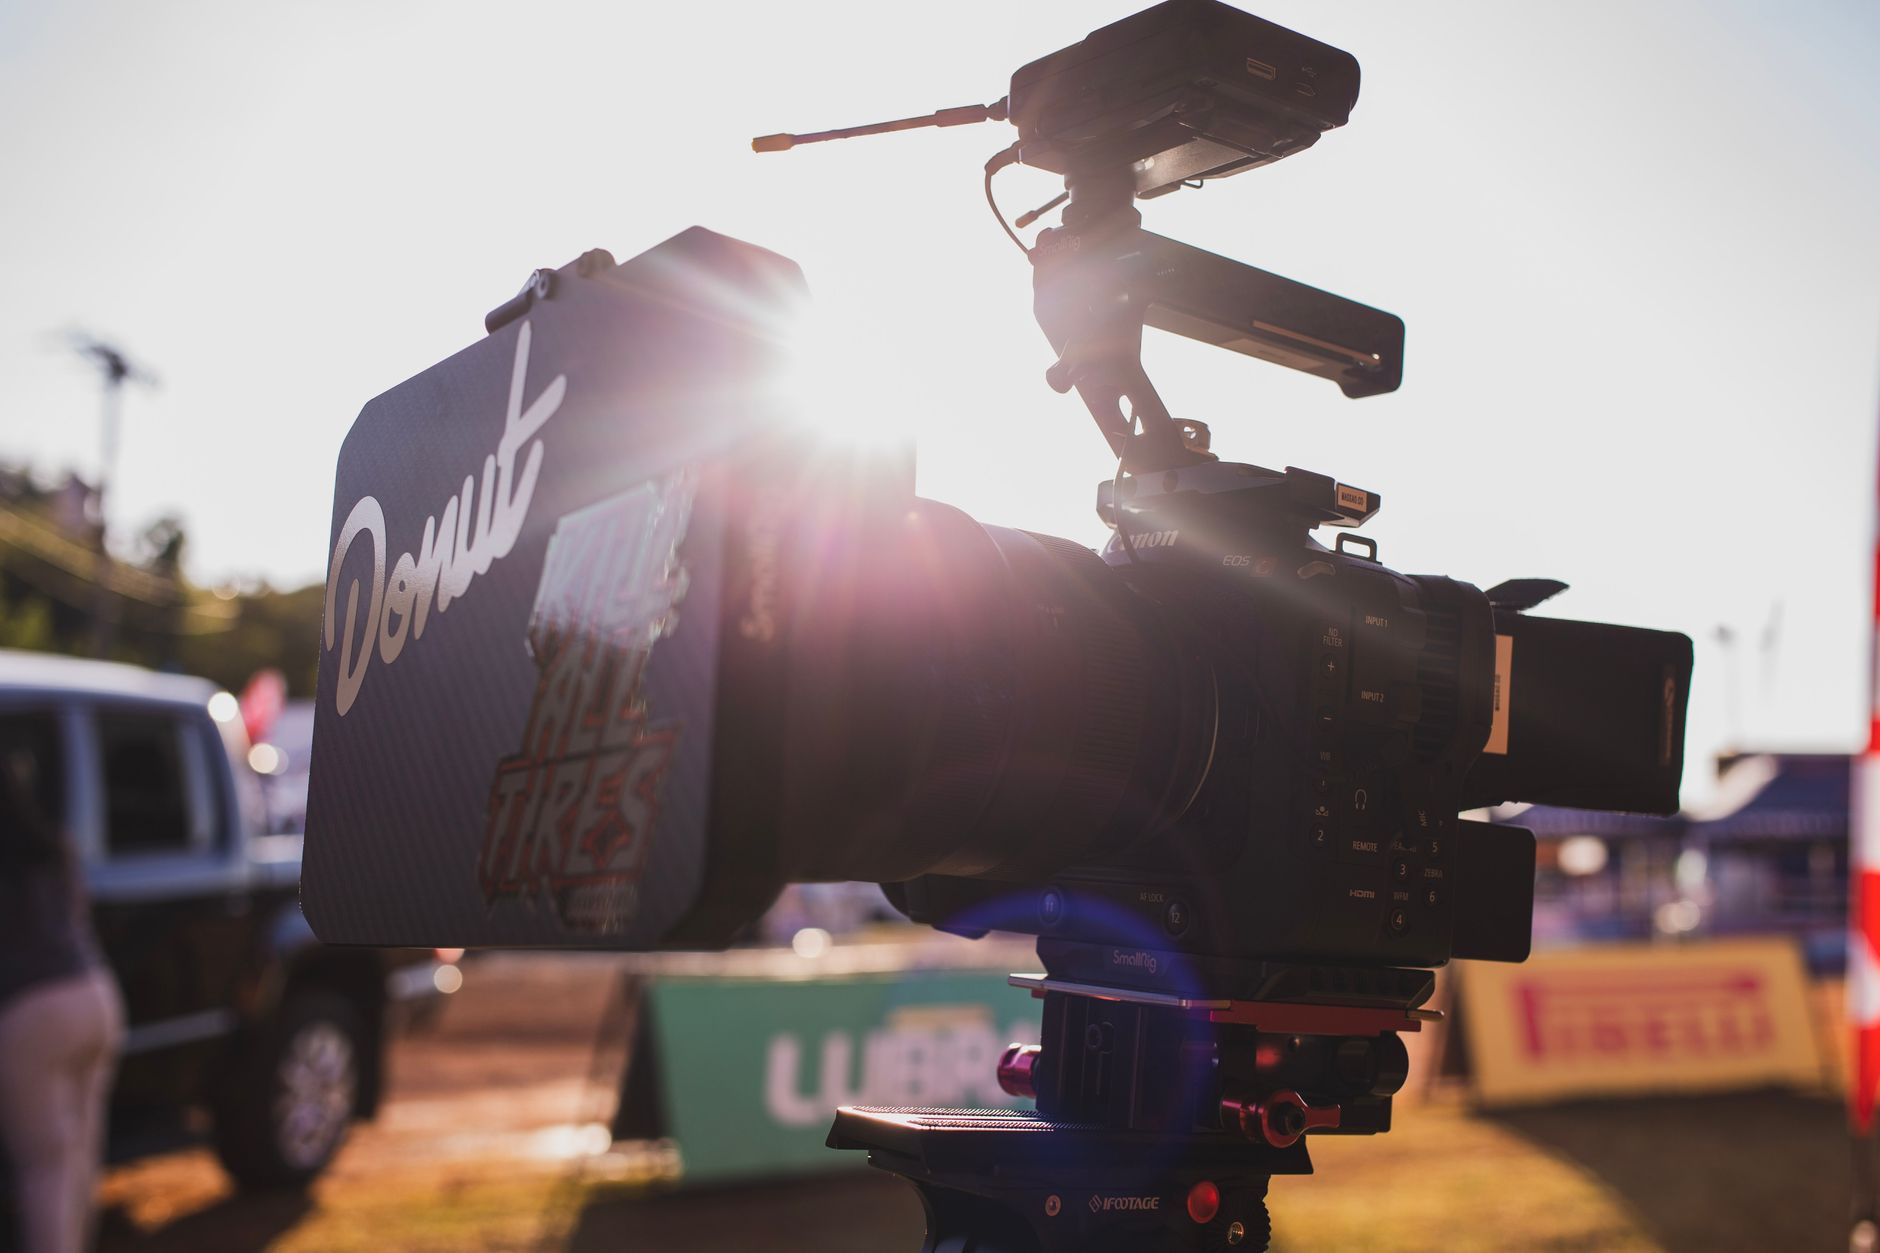
Choose the Right Strength
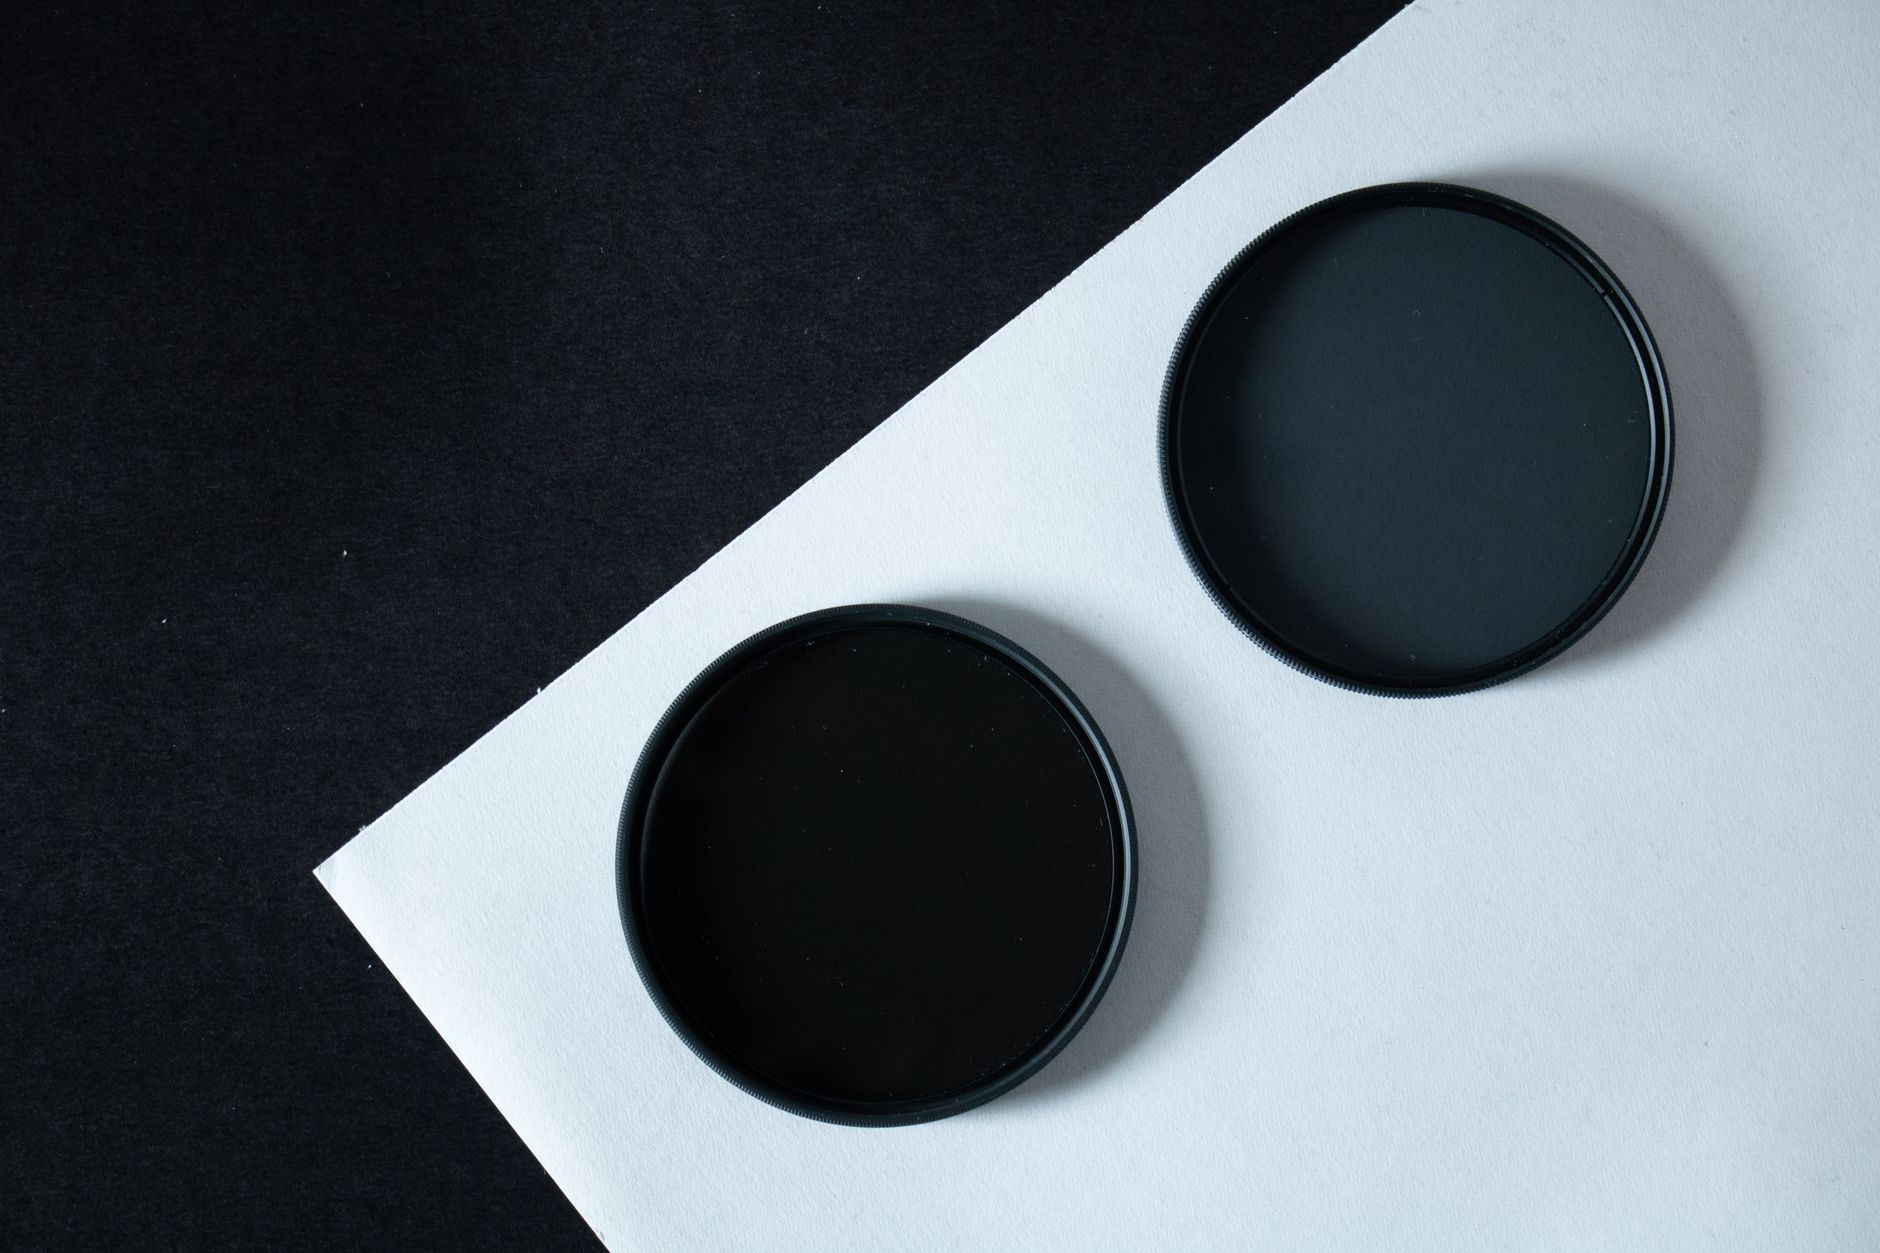
ND filters come in different strengths, measured by how many stops of light they cut. Brighter conditions need stronger ND filters, and you’ll want a range or a variable ND to handle different lighting, from light shade to direct sun.
Matching the ND strength to the conditions is key — too little doesn’t solve overexposure, too much underexposes. Carrying several strengths, or a variable ND, ensures you can dial in the right amount of light reduction for any situation.
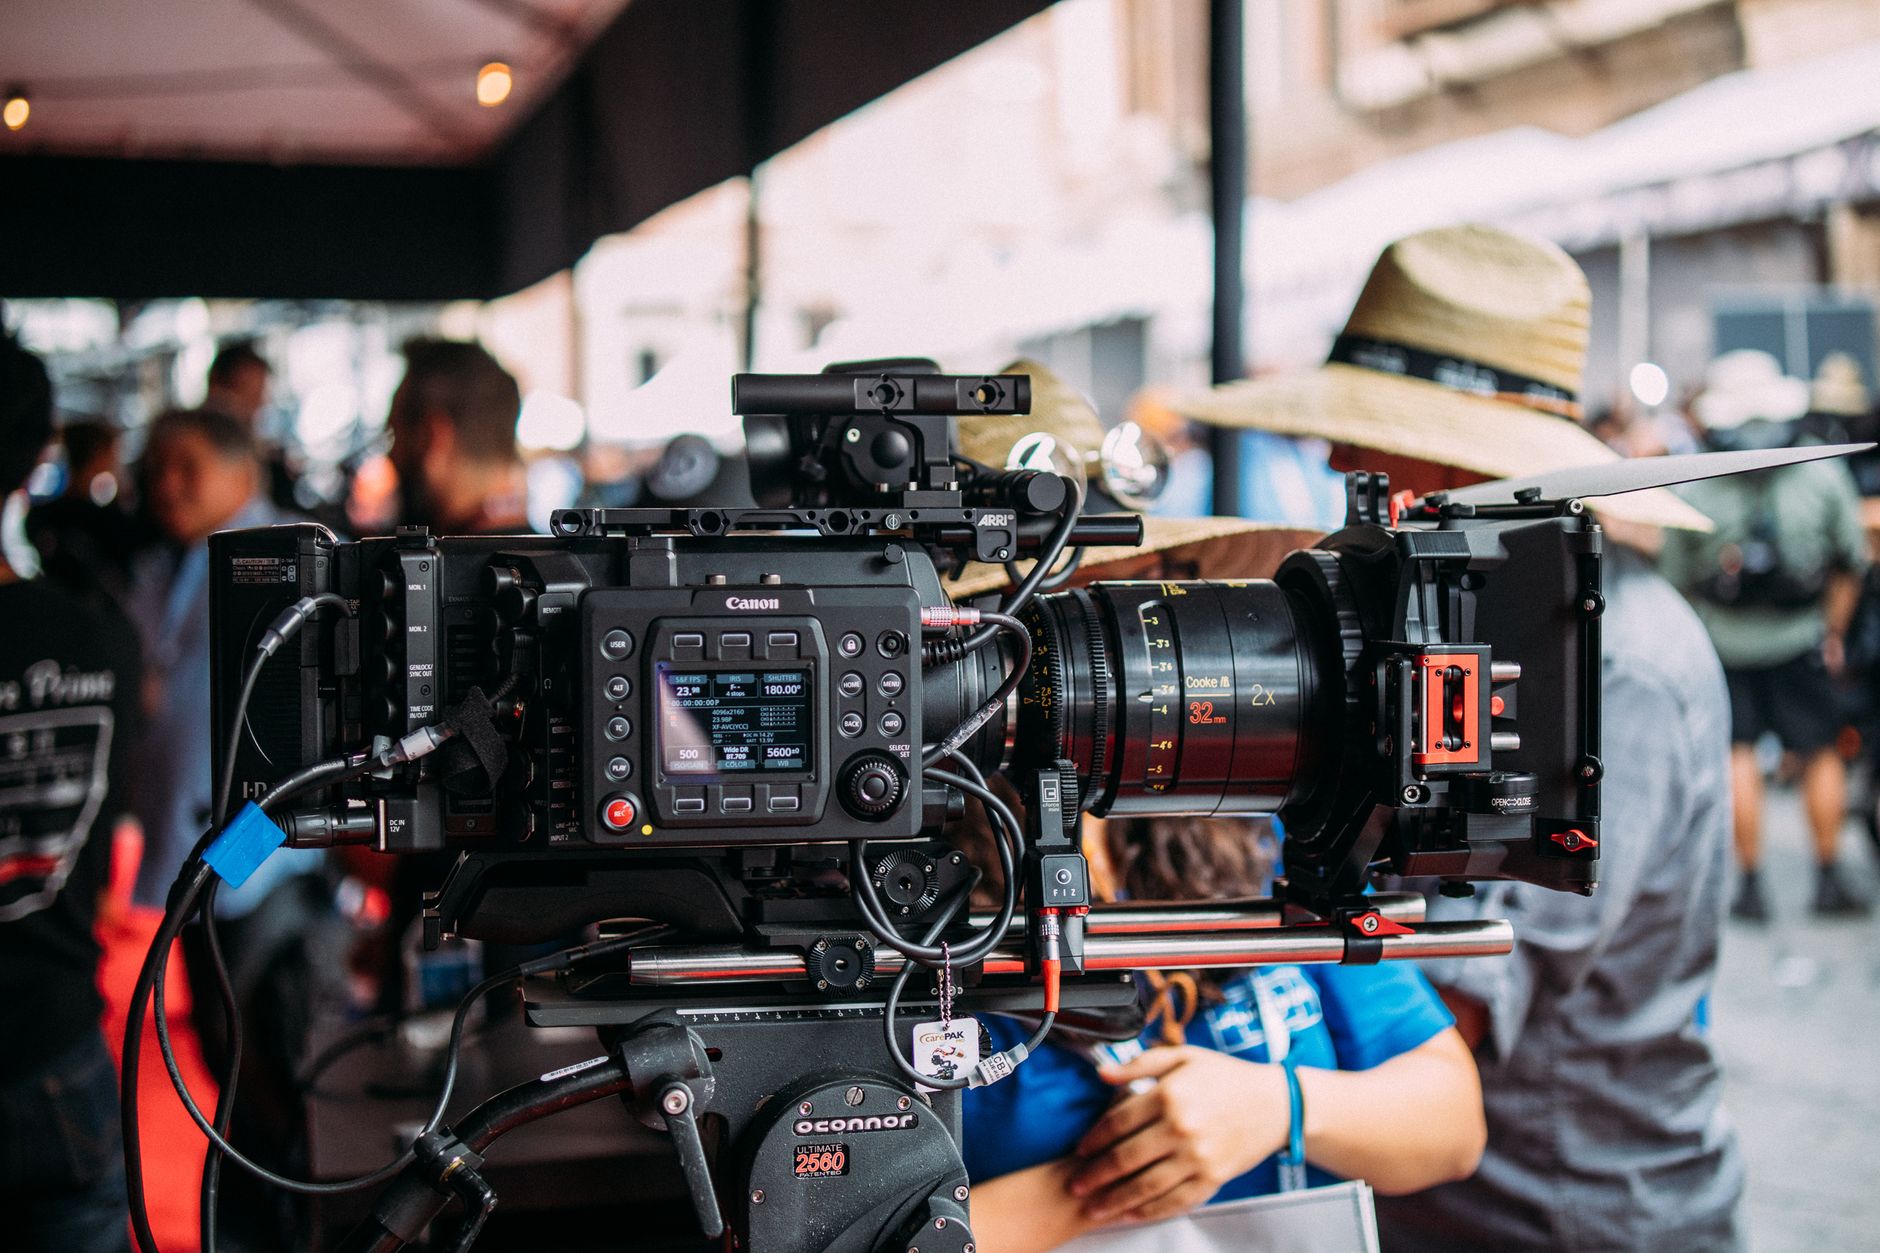
Use a Variable ND Filter
A variable ND filter adjusts its strength by rotating, covering a range of light reduction in one filter. This convenience makes it popular for run-and-gun shooting, letting you adapt to changing light without swapping filters.
Variable NDs are versatile and quick to adjust, though quality varies and cheaper ones can introduce color casts or an X-pattern at extremes. A good variable ND is a practical, flexible solution for handling varied outdoor light efficiently.
Avoid Common ND Problems
Cheaper ND filters can introduce issues — color casts that tint your footage, reduced sharpness, or vignetting. Using quality filters avoids these problems, keeping your image clean while controlling exposure.
With variable NDs, pushing them to their extremes can cause uneven darkening or color shifts. Staying within the filter’s effective range and using well-made filters keeps your footage clean, so the ND controls light without degrading the image.
Use ND for the Cinematic Look
ND filters are part of achieving a cinematic look outdoors. By letting you maintain the proper shutter speed for natural motion blur and a wide aperture for shallow depth of field, they enable the filmic image even in bright sun.
Without ND, bright conditions force compromises that flatten the cinematic look. Using ND filters to keep your ideal settings, combined with good exposure technique, is essential for shooting professional, cinematic video outdoors.
ND Filter Best Practices
- Use ND filters to control exposure in bright light.
- Keep the correct shutter speed and your desired aperture.
- Match the ND strength to the lighting conditions.
- Use quality filters to avoid color casts and softness.
Common ND Filter Mistakes
- Shooting bright scenes without ND, overexposing or breaking the shutter rule.
- Narrowing the aperture instead of using ND, losing depth of field.
- Cheap filters introducing color casts or softness.
- Pushing a variable ND to its problematic extremes.
A Real ND Filter Example
Imagine filming a sunny park scene at 24fps. You want a 1/48 shutter for natural motion blur and a wide f/2 aperture for a blurred background, but the bright sun blows the image out completely at those settings. You screw on a variable ND, dial it until the exposure drops into range, and suddenly you have a perfectly exposed, cinematic shot with both the correct shutter and the shallow depth of field intact.
Without the ND you’d have been forced to close the aperture and lose the blur, or speed up the shutter and lose the natural motion. That filter is what lets you keep your creative settings in bright light — exactly why ND filters are considered essential for serious outdoor video.
ND Filter Systems and Care
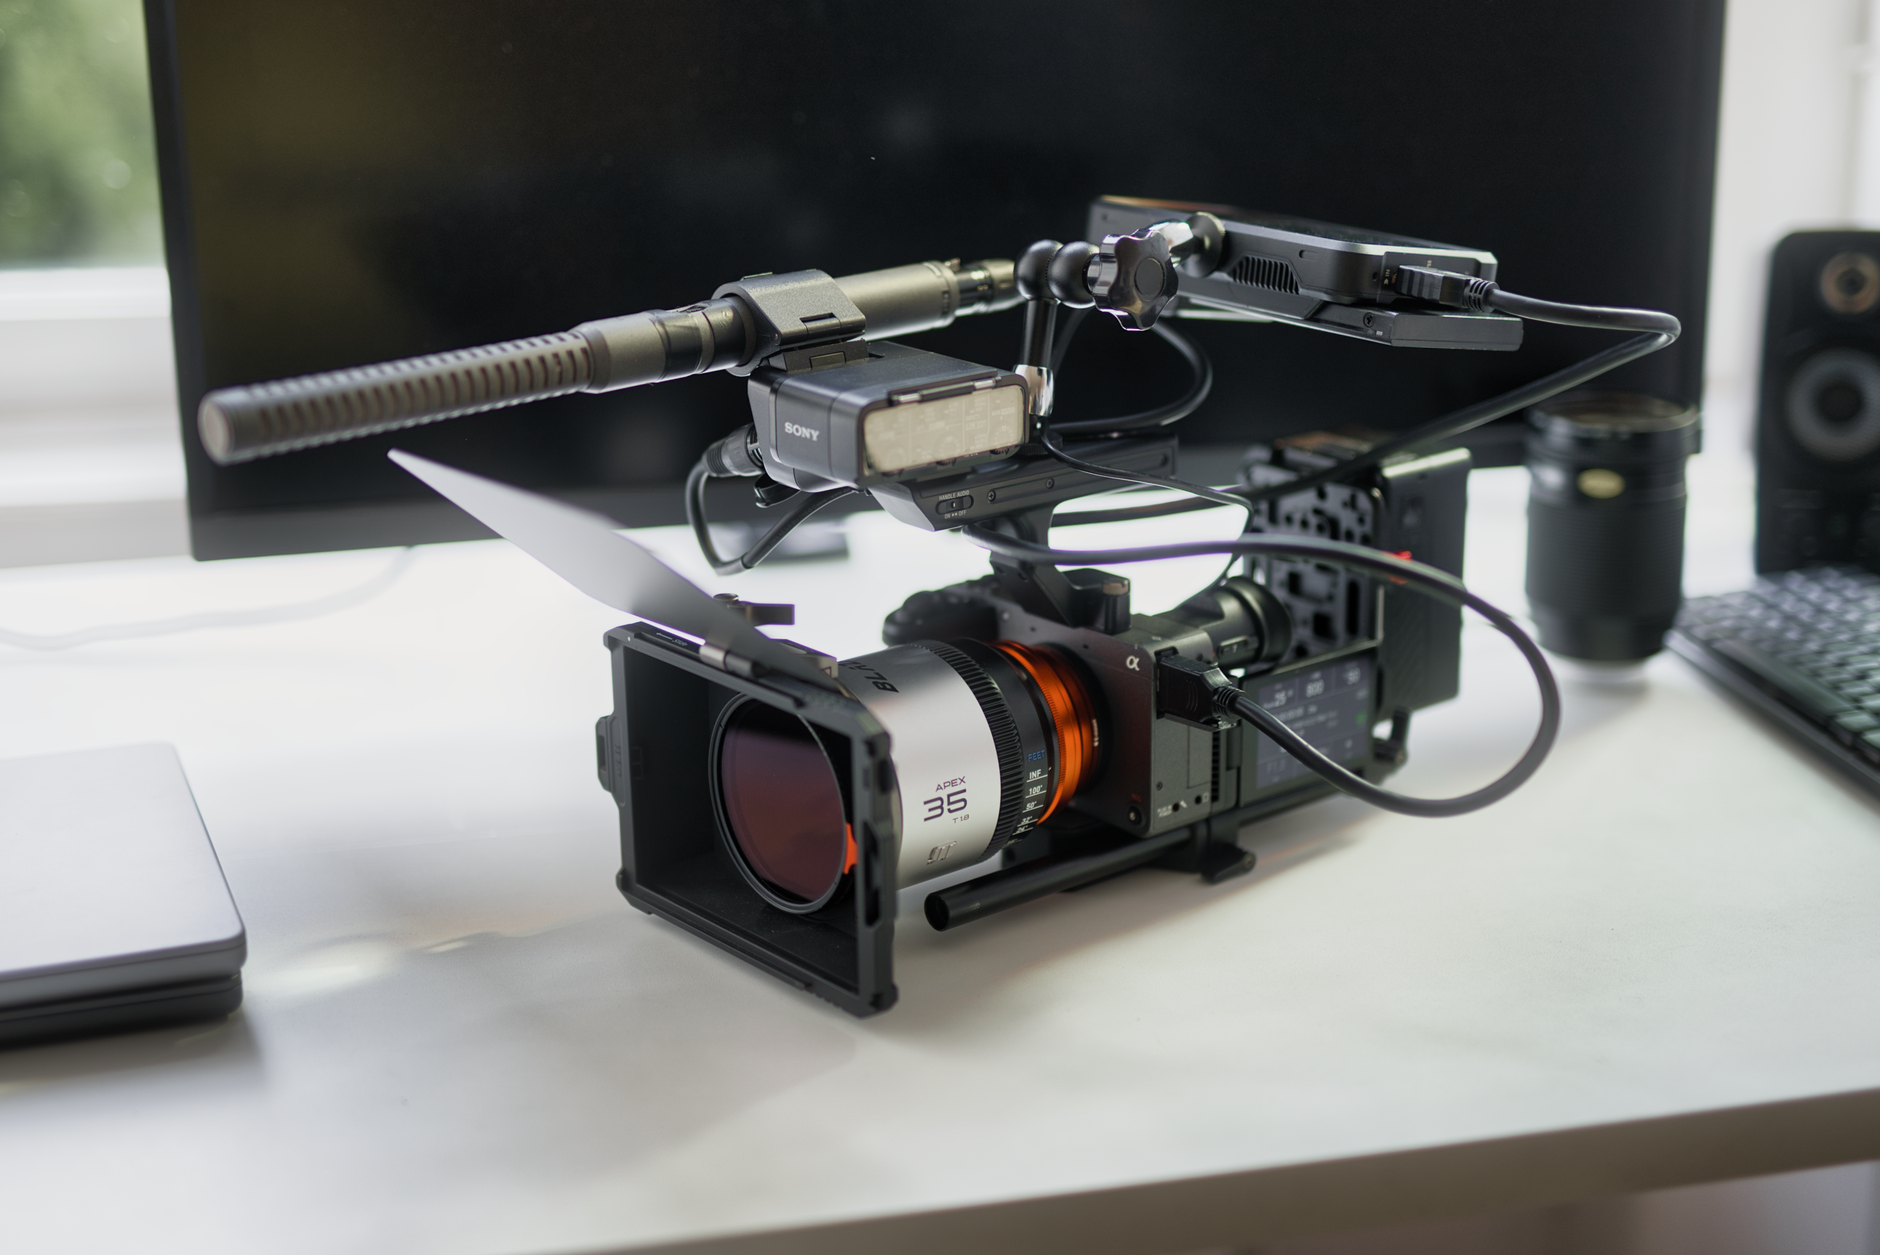
ND filters come as screw-on circular filters and as larger square filters used in a matte box, each suiting different setups. Screw-on and variable NDs are convenient and compact for run-and-gun work, while square filter systems offer high optical quality and are favored on bigger productions where image purity matters most.
Whichever system you use, keeping the glass clean and scratch-free protects your image, since a smudged or low-quality filter degrades everything behind it. Treating your filters as carefully as your lenses, and pairing them with the exposure discipline in our camera settings guide, ensures they control light without ever compromising your footage.
ND Filters and Exposure Workflow
Using ND filters becomes second nature once it’s part of your exposure routine. Setting your frame rate and shutter first for natural motion, choosing your aperture for the depth of field you want, then dialing in ND to balance the exposure is a reliable order that keeps your creative settings intact.
This workflow puts the ND filter in its proper role — the tool that lets your chosen shutter and aperture survive bright conditions. Internalizing this order, alongside the exposure fundamentals in our camera settings guide, makes shooting cinematic footage outdoors fast and consistent.
ND filters are one of the most useful camera accessories for shooting cinematic video outdoors.
Key Takeaways
- ND filters reduce light like sunglasses for your lens.
- They let you keep the correct shutter and aperture in bright light.
- Match the ND strength to the conditions; variable NDs are flexible.
- Use quality filters for a clean, cinematic look outdoors.
Frequently Asked Questions
What is an ND filter used for in video?
An ND (neutral density) filter reduces the light entering your lens without affecting color, like sunglasses for your camera. In video it lets you keep the correct shutter speed and a wide aperture in bright conditions without overexposing.
Why do I need ND filters for video?
Video follows the 180-degree shutter rule, fixing your shutter speed for natural motion blur. In bright light this overexposes the image, and you can’t just speed up the shutter. ND filters cut the light so you can keep the correct settings.
What is a variable ND filter?
A variable ND filter adjusts its strength by rotating, covering a range of light reduction in one filter. It’s convenient for run-and-gun shooting, though quality varies and cheaper ones can cause color casts at extreme settings.
Sources: Wikipedia’s article on neutral-density filters.
Control light at Adobe Video World
Train hands-on with Adobe Certified Instructors across 100+ Premiere Pro & After Effects sessions.



