
A workflow taught by Adobe Certified Instructors at Adobe Video World.
When you cut between shots filmed on different cameras or in changing light, the color jumps around and instantly looks unprofessional. Color matching evens everything out so your whole edit feels like one cohesive piece. Premiere Pro’s Color Match tool can do most of this automatically — here’s how to use it and refine the result by hand.
Why Color Matching Matters
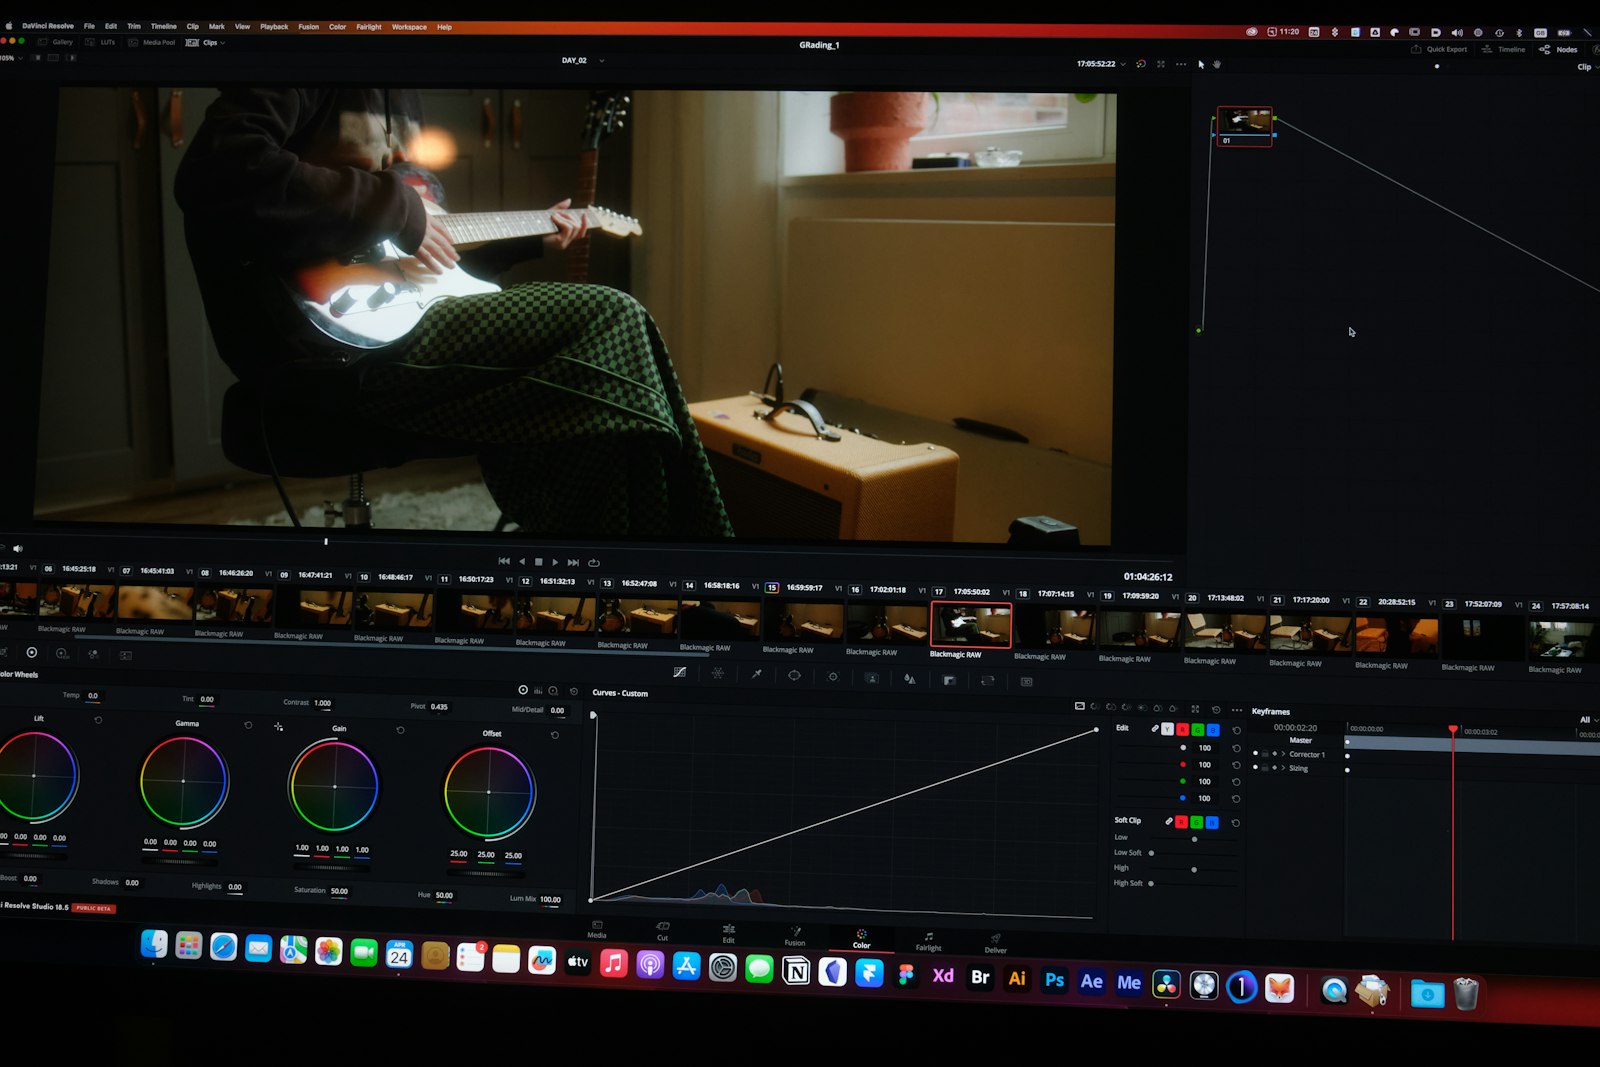
Few things break the illusion of a polished video faster than color that shifts from shot to shot. One clip looks warm and bright, the next cool and dim, and the cut between them jars the viewer even if they can’t say why. Color matching removes that distraction so attention stays on the story.
It matters most in interviews shot with two cameras, in footage filmed across a changing day, and in any project that mixes sources. Getting every clip to share the same look is what separates an amateur edit from a professional one, and Premiere makes it surprisingly achievable.
Correct Before You Match
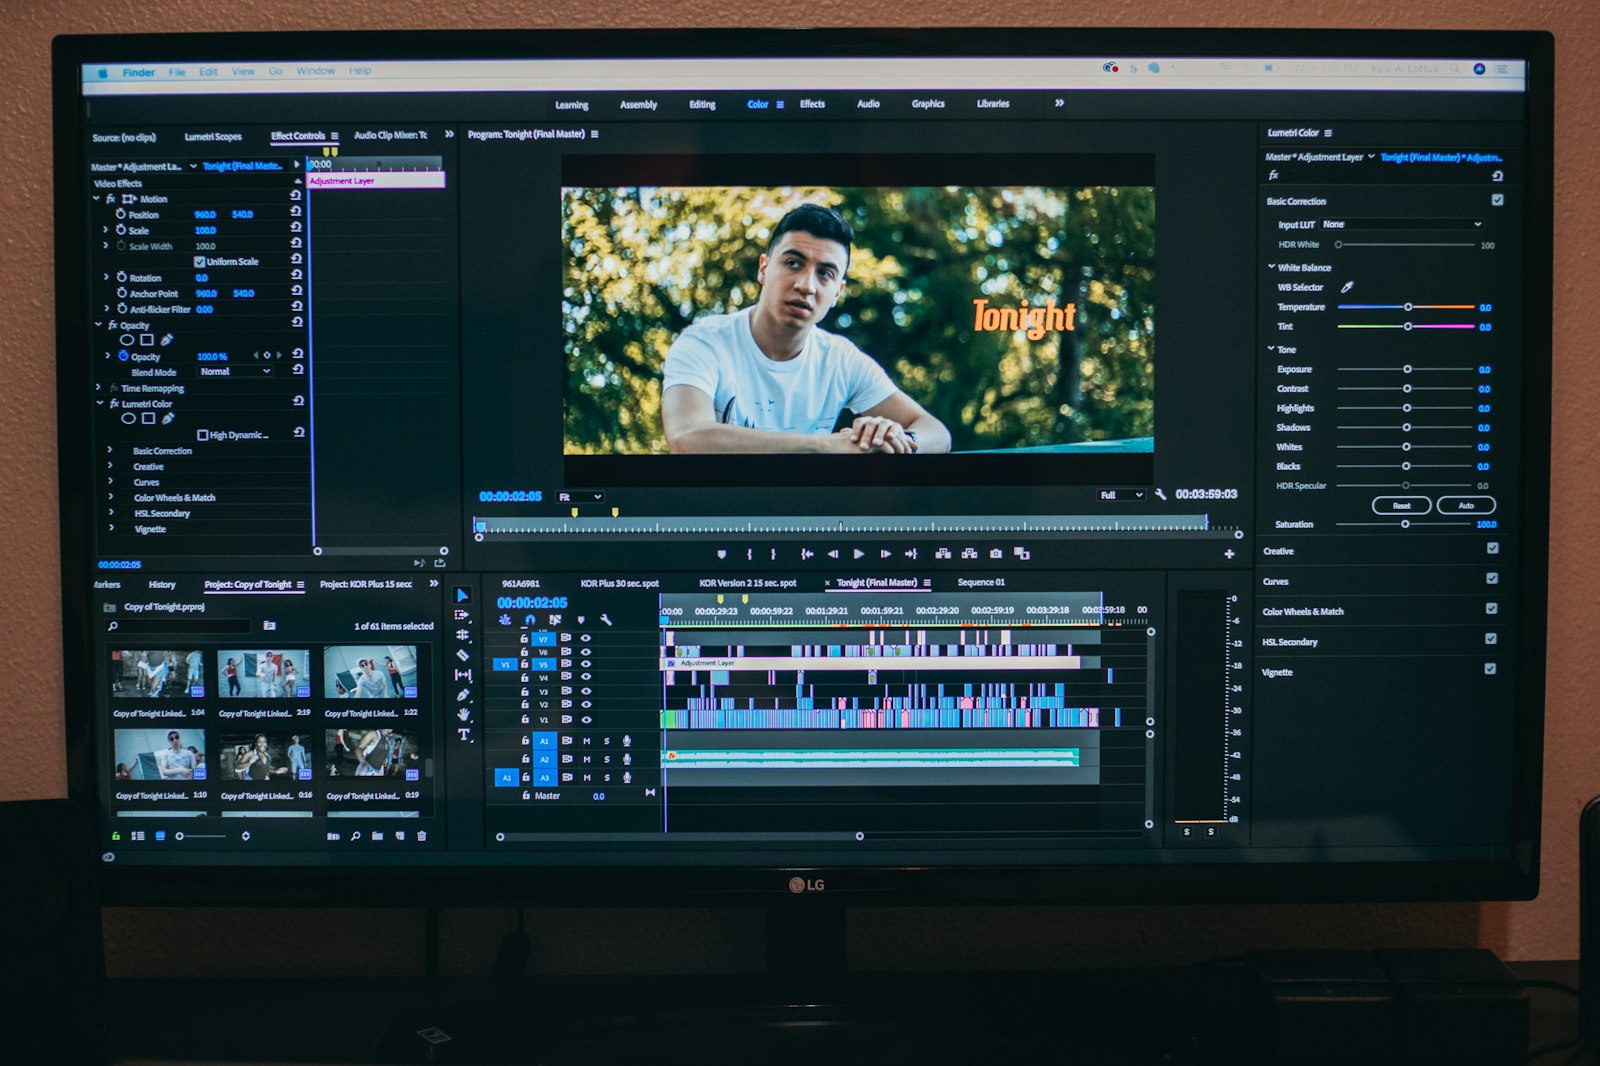
Color matching works best when you start from a clean base, so do your basic correction first. Open the Lumetri Color panel and use the Basic Correction tools to fix white balance and exposure on your hero shot — the clip you want everything else to match. This becomes your reference.
Trying to match clips before correcting them is like building on sand; the tool has nothing consistent to aim for. A few seconds spent neutralizing your reference shot, as covered in our color grading guide, makes the automatic match dramatically more accurate.
Open the Color Match Tool
Premiere’s automatic matching lives in the Lumetri Color panel under the Color Wheels & Match section. Expand it and you’ll find a comparison view button and a Match button. The comparison view splits your screen so you can see two shots side by side.
This is where the magic happens: you tell Premiere which shot to copy from and which to apply the look to, and it analyzes both. The tool reads skin tones, shadows, and highlights to calculate how to bring one shot in line with the other automatically.
Match Two Shots Automatically
Place your playhead on the clip you want to fix, then click Comparison View and navigate the reference side to your hero shot. With both shots visible, click Apply Match and Premiere adjusts the current clip to match the reference’s color and tone.
It happens in a second, and the result is usually a strong starting point. The tool is especially good at matching skin tones, which are the hardest thing to get right by eye — turn on Face Detection in the panel and it prioritizes matching faces for an even more natural result.

Refine the Result by Hand
Automatic matching gets you most of the way, but rarely all the way. After applying a match, check the result and fine-tune with the Lumetri color wheels and curves if the shot looks slightly off. The tool gives you a foundation; your eye gives you the finish.
Pay particular attention to skin tones and to any color the automatic match pushed too far. Small manual adjustments after the match are completely normal and are what take a good match to a seamless one that no viewer would ever question.
Match Across an Entire Sequence
On a long edit you’ll have many clips to bring in line, so work methodically. Pick one strong reference shot and match every other clip to it, rather than matching each clip to its neighbor, which lets errors drift and compound across the timeline. A single reference keeps the whole piece anchored.
For efficiency, you can copy a successful Lumetri adjustment from one clip and paste it onto similar shots, then run the match only where lighting genuinely differs. This combination of pasting and matching is how editors keep a feature-length timeline visually consistent without grading every clip from scratch.
Use Adjustment Layers for a Shared Look
Once your shots match, you often want to apply one creative grade over everything for a unified style. An adjustment layer placed above your clips lets you add that look once and have it affect the entire sequence at the same time.
This two-step approach — match shots to each other first, then grade them all together with an adjustment layer — is the professional standard. It keeps your correction and your creative look separate and editable, so you can tweak either one without redoing the other.
Watch Your Scopes
Your eyes adapt and deceive you, so trust the scopes as well. Open the Lumetri Scopes (Window > Lumetri Scopes) and compare the waveform and vectorscope of your matched clips. When two shots match, their scopes look similar, giving you objective confirmation beyond your subjective impression.
The vectorscope is especially useful for skin tones, which should sit along the same line for every shot of the same person. Reading scopes takes a little practice, but it’s the habit that lets colorists match shots with confidence rather than guesswork.
Color Matching Best Practices
- Correct your reference shot before matching anything to it.
- Match every clip to one hero reference, not to its neighbor.
- Turn on Face Detection so skin tones match naturally.
- Confirm matches with the scopes, not just your eyes.
Common Color Matching Mistakes
- Matching uncorrected clips, giving the tool no consistent target.
- Matching clip to clip, letting color drift across the timeline.
- Trusting the automatic result without checking skin tones.
- Ignoring the scopes and relying only on a tired eye.
Color Matching for Multicam Interviews
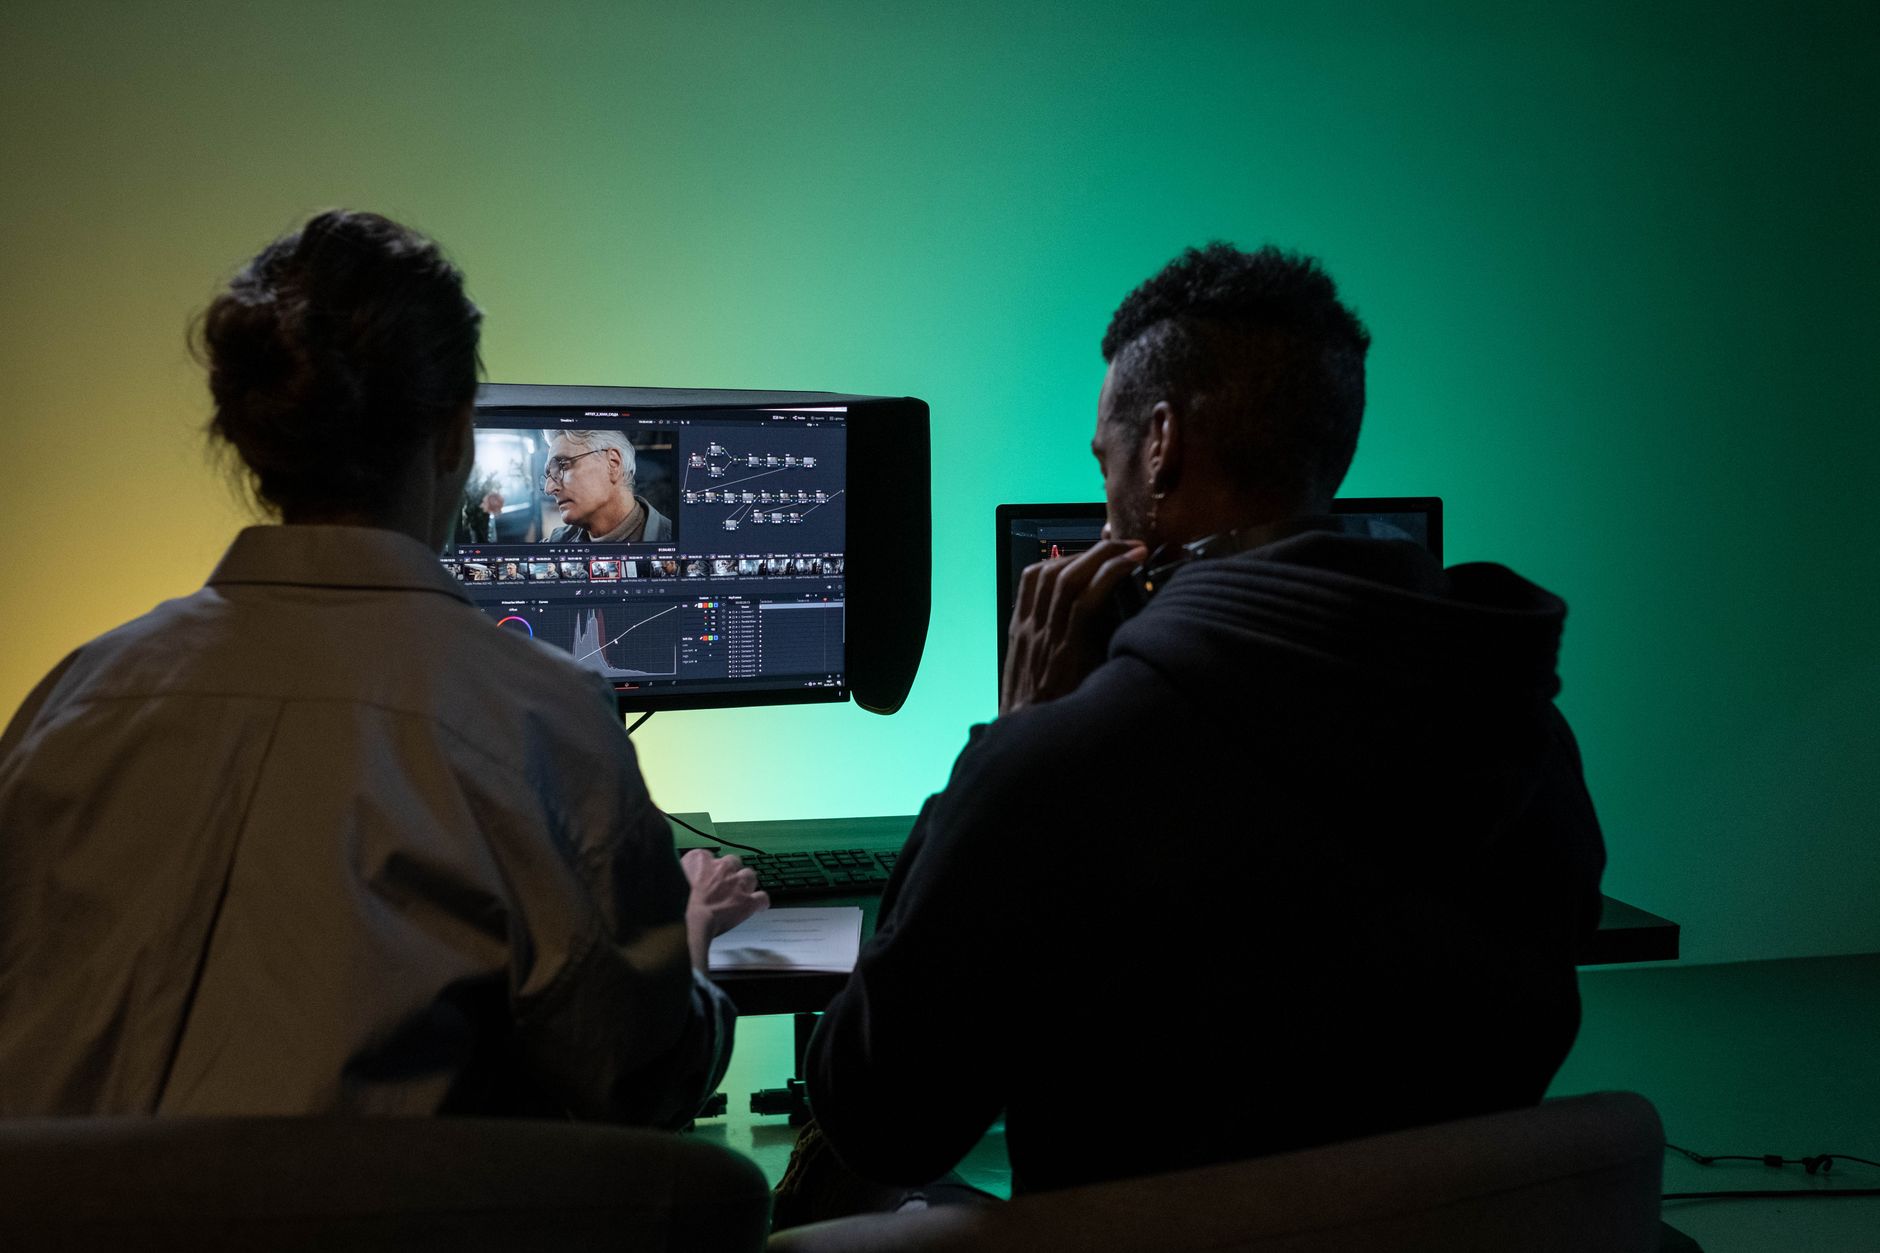
Two-camera interviews are where color matching earns its keep, because even identical camera models drift apart in color over a shoot. Pick the wide shot as your reference, correct it cleanly, then match the close-up to it so cutting between angles is seamless. The viewer should never notice the switch.
If your cameras are different models entirely, expect to do more manual work after the automatic match, since their sensors render color differently. Match the skin tones first and foremost, because faces are what the audience watches, and a consistent complexion across angles sells the whole edit as one coherent conversation.
Build a Color Workflow That Scales
On a large project, a repeatable order of operations keeps color manageable. Correct each shot, match everything to a single reference, then add one creative grade on an adjustment layer over the top. Following the same sequence every time means you never lose track of what each adjustment is doing.
This structure also makes revisions painless, because correction, matching, and creative look stay separate and editable. When a client asks for a warmer feel, you adjust the grade layer alone without disturbing the careful matching beneath it — the kind of efficiency that matters most on long, deadline-driven edits.
Key Takeaways
- Correct your reference shot first, then match other clips to it.
- Use Comparison View and Apply Match in the Lumetri panel.
- Refine skin tones and color by hand after the automatic match.
- Add a shared creative grade on an adjustment layer once shots match.
Frequently Asked Questions
How do I color match two clips in Premiere Pro?
In the Lumetri Color panel, open Color Wheels & Match, click Comparison View, set the reference side to your hero shot, then click Apply Match. Premiere adjusts the current clip to match the reference’s color and tone.
Does Premiere’s color match work on skin tones?
Yes, and it’s one of its strengths. Turn on Face Detection in the Color Match section so the tool prioritizes matching faces, which produces a more natural result than matching the whole frame.
Why don’t my clips match even after using the tool?
Usually the clips weren’t corrected first, or you matched clip to clip instead of to one reference. Correct your hero shot, match everything to it, then refine skin tones by hand.
Sources: Adobe’s color matching documentation.
Master color at Adobe Video World
Train hands-on with Adobe Certified Instructors across 100+ Premiere Pro & After Effects sessions.



