A workflow taught by Adobe Certified Instructors at Adobe Video World.
Masks let you apply an effect to just part of the frame instead of the whole shot — blur a face, brighten a subject, hide a logo, or create a spotlight. Premiere Pro builds masking right into its effects, and with mask tracking, your mask can follow a moving subject automatically. Here’s how to use them.
What a Mask Does
A mask defines a region of the frame where an effect applies. Add a blur with a mask, and only the masked area blurs while the rest stays sharp. It’s how you target an effect precisely instead of treating the whole image at once.
Masks are the foundation of countless techniques, from face blurring to selective color to creative reveals. Once you understand them, a huge range of effects opens up.
Add a Mask to an Effect
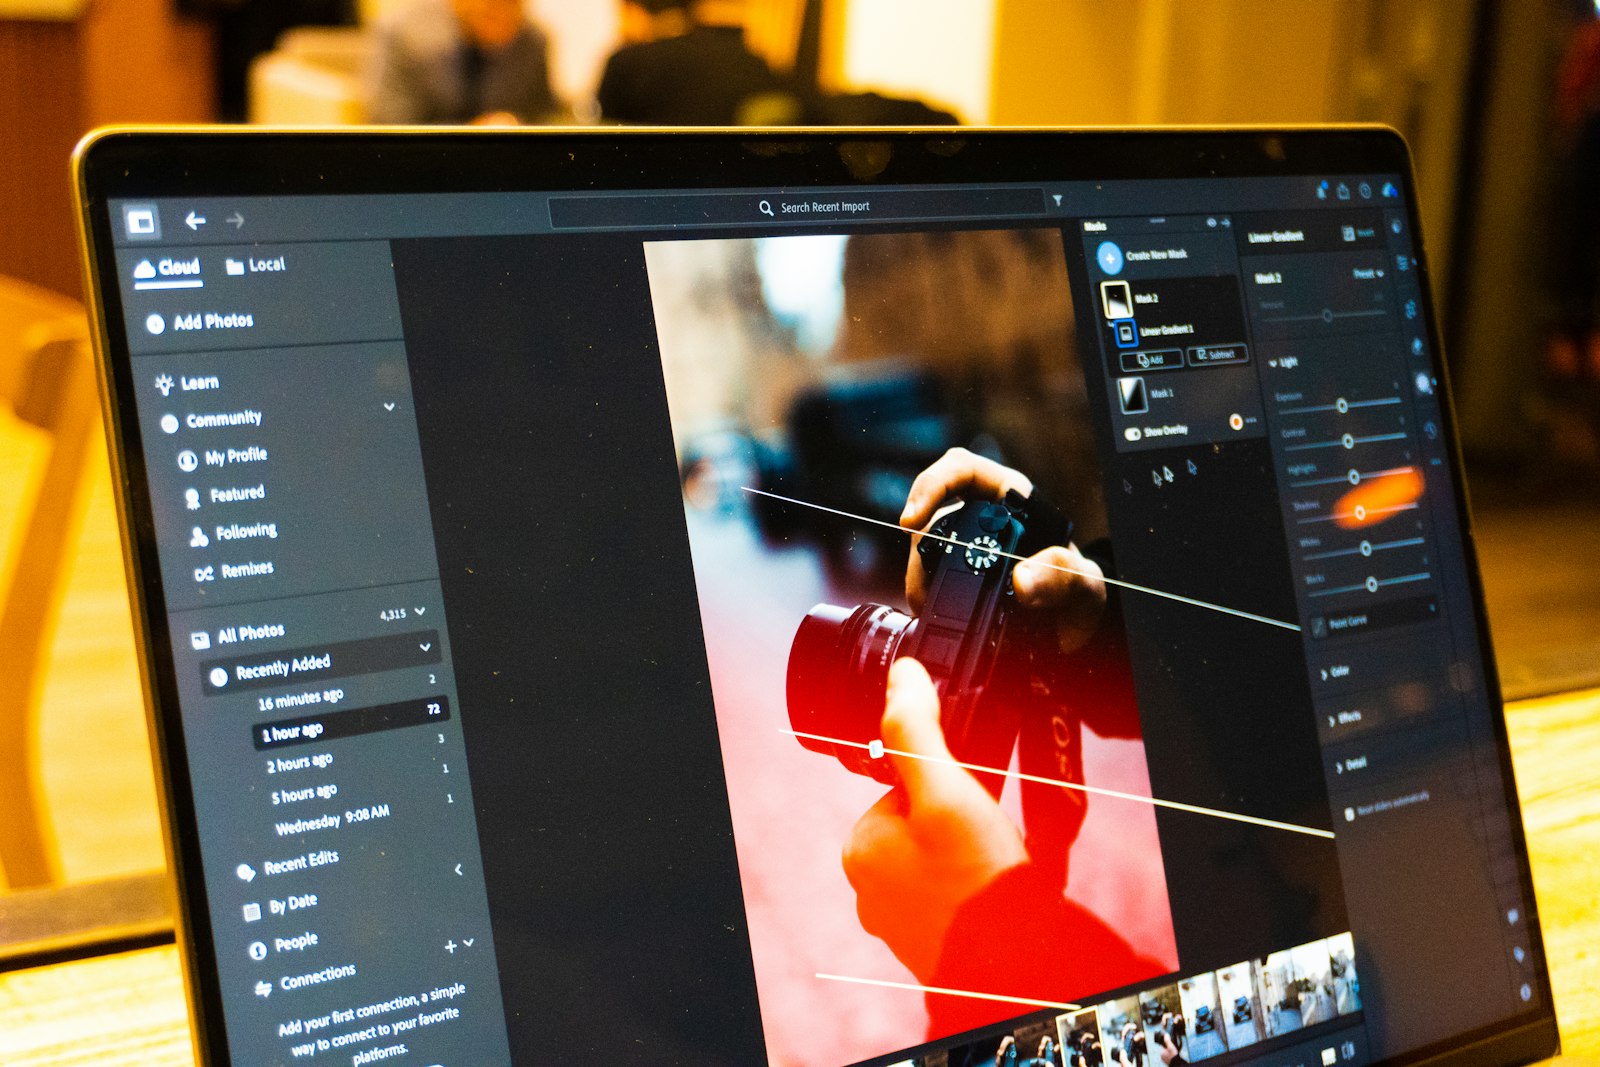
In Premiere, masks live inside effects. Apply an effect like Gaussian Blur to a clip, then open Effect Controls and you’ll see three mask shape buttons beneath it: an ellipse, a rectangle, and a free-draw pen.
Click a shape to add a mask, and the effect immediately confines itself to that shape. You can add several masks to one effect for more complex selections.

Shape and Feather the Mask
Drag the mask’s handles to resize and reposition it over your target. The Mask Feather control softens the edge so the effect blends smoothly into the surrounding image rather than showing a hard line.
Feathering is what makes a mask look natural — a sharp-edged blur screams ‘edited,’ while a feathered one disappears into the shot. Adjust Mask Expansion to grow or shrink the whole shape at once.
Blur a Face or License Plate
The most common masking job is hiding a face, logo, or license plate. Apply a Mosaic or Gaussian Blur effect, draw a mask around the area, and feather the edge slightly.
Now only that region is obscured. This is essential for privacy in interviews, vlogs, and any footage with bystanders who didn’t consent to appear.
Track a Moving Mask
Faces and objects move, and dragging a mask frame by frame would be agony. Premiere’s Mask Tracking solves this: click the play arrow next to Mask Path and Premiere follows your subject automatically.
The mask travels with the face or object across the shot, keeping your blur or effect locked on. Mask tracking turns a tedious manual task into a one-click operation.
Create a Vignette
Masks make beautiful creative effects too. To darken the edges of your frame and draw the eye to the center, apply a brightness or exposure effect, draw a large ellipse mask, invert it, and feather it heavily.
The result is a subtle vignette that adds a cinematic, focused feel. Many color workflows include a vignette as a finishing touch alongside the main grade.
Apply Selective Color or Light
Want to brighten just a subject’s face or boost the color of one object? Mask a Lumetri or color effect to that area. The rest of the shot stays untouched while your selected region pops.
This selective approach is a core part of professional color grading, letting you guide the viewer’s eye exactly where you want it.
Invert a Mask
Every mask has an Inverted checkbox that flips which side the effect applies to — inside the shape or outside it. This simple toggle doubles what a single mask can do.
Blur everything except a face, or brighten everything around a subject: inverting is the trick behind both. It’s a small option with big creative range.
Combine Masks with Other Effects
Masks become powerful when layered with the rest of your toolkit. Stack a masked effect on an adjustment layer to apply it across multiple clips, or combine masking with effects for split-screens and creative transitions.
Thinking of masks as a way to target any effect — not just blur — unlocks a whole category of polished, professional looks.
Masking Best Practices
- Feather mask edges so effects blend naturally.
- Use Mask Tracking for any moving subject instead of manual keyframing.
- Invert the mask to flip the effect inside or outside the shape.
- Check the tracked mask across the whole clip and fix any drift.
Common Masking Mistakes
- Hard, unfeathered edges that look obviously edited.
- Forgetting to track a mask on a moving subject.
- A mask drawn too tight, exposing the subject as it shifts.
- Over-blurring until the masked area looks like a sticker.
A Real Face-Blur Example
Say you filmed a vlog on a busy street and a passerby’s face needs hiding for privacy. You apply a Mosaic effect to the clip, draw an ellipse mask around the face, and feather the edge so the blur blends in. Then you click Mask Tracking and Premiere follows the face as the person walks, keeping it covered automatically.
A task that would have meant repositioning the mask on dozens of frames is done in a single pass. You scrub through to confirm the track held, fix any frame where it slipped, and the passerby stays anonymous throughout the shot.
Masks vs. Track Mattes
Masks aren’t the only way to isolate part of an image. A track matte uses one layer’s shape or luminance to control another layer’s visibility, which is better suited to text reveals and complex, animated shapes. Masks, built into each effect, are ideal for confining an effect to a region.
As a rule, reach for a mask when you want to apply an effect to part of the frame, and a track matte when you want one layer to reveal another. Many polished looks combine both, and understanding the distinction helps you pick the cleaner approach for each shot.
Keep Performance Smooth with Masks
Masks, especially tracked ones with heavy blurs, are processor-intensive and can slow playback. To keep editing responsive, render the work area over the masked section or lower your playback resolution while you work on the rest of the timeline.
On demanding 4K projects, combining masks with proxies keeps previews smooth even when several masked effects stack up. A little attention to performance means the creative masking work never grinds your edit to a halt.
Key Takeaways
- Masks confine an effect to part of the frame using shapes or the pen.
- Feather edges and use Mask Expansion for a natural blend.
- Use Mask Tracking to follow moving faces and objects automatically.
- Invert masks and combine them with effects for creative looks.
Frequently Asked Questions
How do I blur a face in Premiere Pro?
Apply a Gaussian Blur or Mosaic effect, draw a mask around the face in Effect Controls, feather the edge, then use Mask Tracking so the blur follows the face as it moves.
How do I make a mask follow a moving object?
In Effect Controls, click the play arrow next to Mask Path to start Mask Tracking. Premiere analyzes the footage and moves the mask to follow your subject automatically.
What does inverting a mask do?
It flips which side of the mask the effect applies to — inside the shape or outside it. For example, inverting lets you blur everything except a face rather than just the face.
Sources: Adobe’s masking and tracking guide.
Unlock creative effects at Adobe Video World
Train hands-on with Adobe Certified Instructors across 100+ Premiere Pro & After Effects sessions.



