A workflow taught by Adobe Certified Instructors at Adobe Video World.
Mesh Warp distorts a layer using an adjustable grid of points, giving you precise, flexible control over reshaping and bending images. It’s used for everything from subtle corrections to flowing animated warps. This guide explains how Mesh Warp works, how to manipulate the grid, and how to create controlled distortions.
What Mesh Warp Does
Mesh Warp overlays a grid of control points on your layer, and moving those points distorts the image beneath them. This gives you a flexible, hands-on way to bend, stretch, and reshape areas of a layer with precision.
Unlike automatic distortion effects, Mesh Warp puts you in direct control of where and how the image warps. By manipulating the grid points and their handles, you sculpt the distortion exactly, making it ideal for deliberate reshaping.
Apply Mesh Warp and Set the Grid
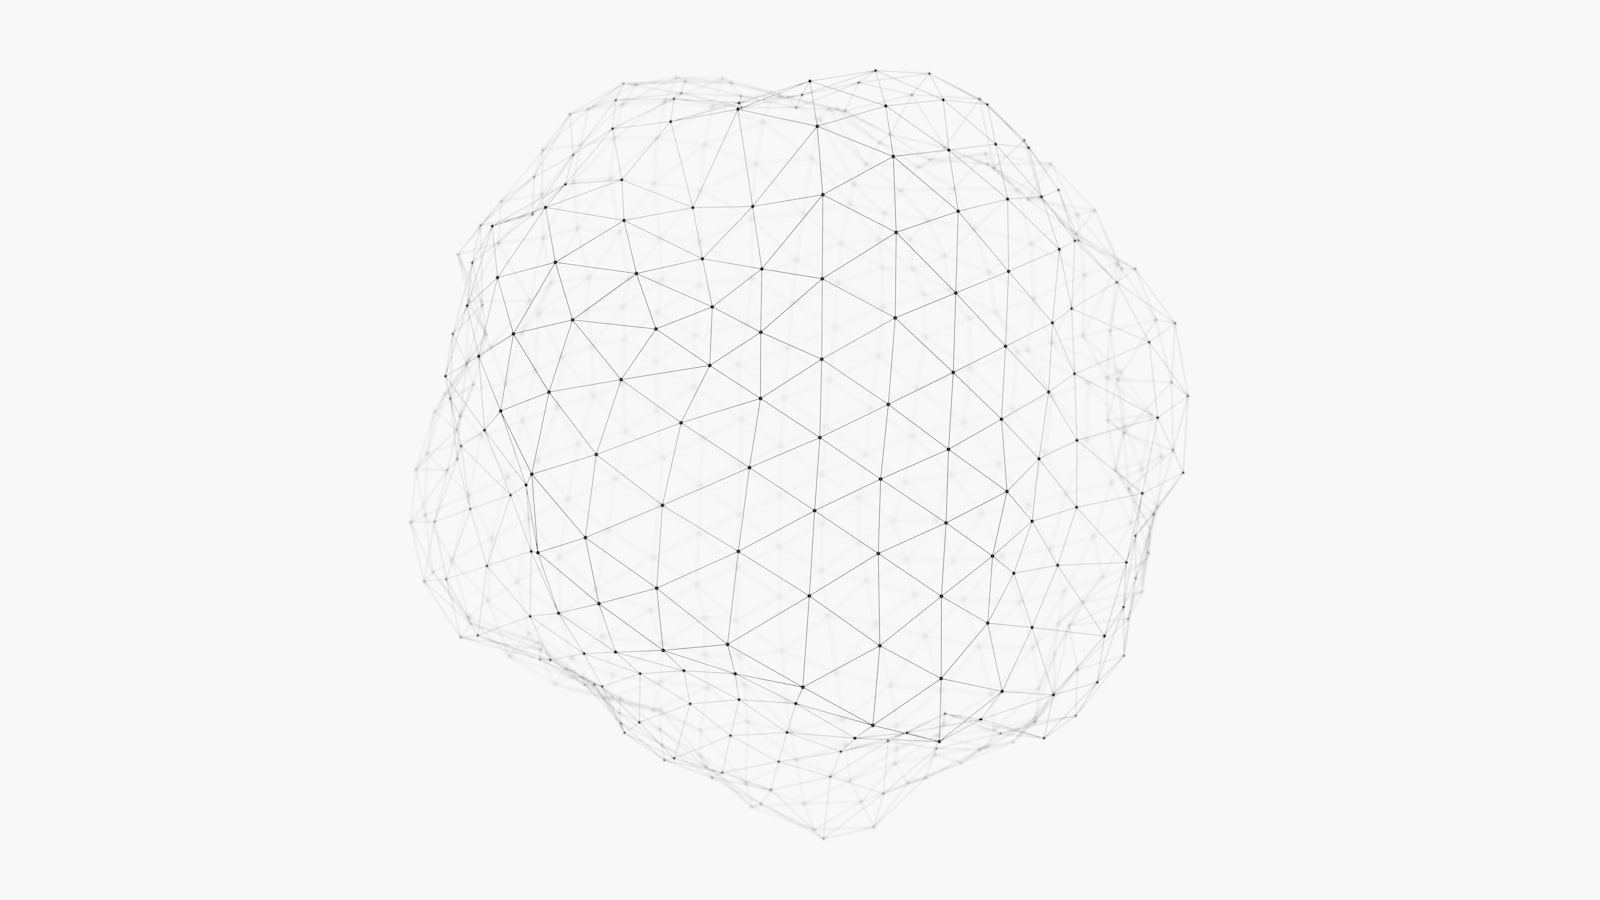
Apply Mesh Warp from the Distort category, and a grid appears over your layer. The Rows and Columns controls set how many divisions the grid has, determining how finely you can control the distortion.
More rows and columns give finer control but more points to manage, while fewer give broad, smooth warps. Choosing an appropriate grid density for your task balances control against complexity, setting up the distortion workspace.
Manipulate the Grid Points
To distort, drag the grid’s vertices (the points where lines cross) to push and pull the image. Each vertex also has Bezier handles that bend the grid lines, letting you create smooth, curved distortions rather than just straight pulls.
Working point by point, you reshape the layer wherever you want. The Bezier handles are key to smooth results, allowing flowing curves instead of sharp kinks, which is essential for natural-looking warps.
Create Smooth, Curved Distortions
The Bezier handles on each vertex let you make organic, curved warps. Adjusting them so the grid lines bend smoothly produces flowing distortions — bulges, waves, and reshaping — that look natural rather than jagged.
This curved control distinguishes Mesh Warp from simple corner-based distortions. Taking time to refine the handles, much like working with the pen tool, gives you the smooth, professional distortions the effect is capable of.
Animate the Warp
Mesh Warp’s Distortion Mesh can be keyframed, so the entire warp animates over time. This lets you create flowing, morphing distortions — an image bending, a shape forming, or organic movement rippling across the layer.
Animating the mesh opens up dynamic effects that a static warp can’t achieve. Keyframing the grid points, eased smoothly, makes the distortion move and evolve, useful for morphs, reveals, and living organic motion.
Use It for Reshaping and Correction
Mesh Warp is excellent for subtle, precise reshaping. You can adjust the proportions of an element, fix an awkward shape, or nudge part of an image into place, all with the localized control the grid provides.
Because you control specific points, these corrections stay confined to the area you’re adjusting. This makes Mesh Warp a useful retouching and fixing tool, not just a creative distortion effect, similar to how Liquify is used.
Mesh Warp vs. Other Distortion Tools
Mesh Warp offers grid-based, precise control, while Liquify uses freeform brushes and procedural effects generate automatic distortion. Mesh Warp suits structured, controllable warps where you want exact, repeatable adjustments.
Choose Mesh Warp when you need a precise, keyframeable grid distortion, Liquify for painterly freeform warping, and procedural effects for organic randomness. Knowing which tool fits the task keeps your distortion work efficient.
Mesh Warp Best Practices
- Set the grid density to balance control and complexity.
- Use the Bezier handles for smooth, curved distortions.
- Keyframe the distortion mesh to animate the warp.
- Use it for precise reshaping as well as creative effects.
Common Mesh Warp Mistakes
- Too dense a grid, making it hard to manage.
- Ignoring the Bezier handles, leaving jagged distortions.
- Over-warping until the image breaks down.
- Using it where a freeform or procedural tool fits better.
A Real Mesh Warp Example
Picture animating a flag-style ripple across a logo without using a dedicated wave effect. You apply Mesh Warp with a modest grid, then keyframe the vertices in a wave pattern that travels across the layer, using the Bezier handles to keep every bend smooth. The logo undulates as if caught in a breeze, with full control over exactly how each part moves.
Because you’re driving each point by hand, the motion can be art-directed precisely rather than left to a procedural effect. That hands-on control is Mesh Warp’s signature strength, letting you craft bespoke, smooth distortions that match exactly what a shot needs.
Mesh Warp for Morphing
Mesh Warp is a valuable tool for morphing one shape into another. By keyframing the grid so an element’s mesh gradually reshapes toward a new form, you can create smooth transformations where one object flows into another, with the grid giving you precise control over how every region transitions.
Pairing the warp with masking and cross-dissolves between the source and target sells the morph. This deliberate, grid-driven approach to morphing, alongside the freeform option of Liquify, gives you two complementary ways to create organic shape transformations depending on how much precise control each morph demands.
Keep Mesh Warp Performance Smooth
A dense Mesh Warp grid with many animated points can become processor-intensive, especially on high-resolution footage, so balancing grid density against the control you actually need keeps your project responsive. Often a coarser grid with well-placed points achieves a smooth warp more efficiently than a fine one.
Pre-rendering a finished warp or isolating it in a pre-composition also keeps previews fast. Treating Mesh Warp with the same optimization mindset as any demanding effect ensures its precise control doesn’t come at the cost of a sluggish timeline, letting you sculpt distortions without bogging down the edit.
Mesh Warp for Faking 3D
Mesh Warp can fake subtle three-dimensional perspective on flat artwork. By pushing the grid points to suggest depth — making one edge appear closer and another farther — you can give a 2D element a sense of dimension or a gentle perspective shift without true 3D geometry.
Animating these warps can simulate a card turning, a surface bending, or a perspective change, all from a flat layer. This faked depth, combined with shading, is a clever, lightweight alternative to building real 3D when you only need a hint of dimension.
For a rhythmic, repeating ripple rather than freeform pushing, the wave warp effect in After Effects is the simpler tool.
Where mesh warp pushes pixels locally, creating effects with polar coordinates bends the whole frame into rings and tunnels.
Distorting the source first with mesh warp feeds richer patterns into the kaleidoscope effect in After Effects.
Where mesh warp reshapes large areas, creating rough, distorted edges in After Effects adds fine, jagged detail to outlines.
Key Takeaways
- Mesh Warp distorts a layer using an adjustable grid of points.
- Drag vertices and use Bezier handles for smooth warps.
- Keyframe the distortion mesh to animate the warp.
- It excels at precise, controllable reshaping and correction.
Frequently Asked Questions
What does Mesh Warp do in After Effects?
Mesh Warp overlays an adjustable grid of points on a layer, and moving those points distorts the image beneath them. It gives precise, hands-on control over bending, stretching, and reshaping areas of a layer.
How do I make smooth distortions with Mesh Warp?
Use the Bezier handles on each grid vertex to bend the grid lines into smooth curves, rather than just dragging the points straight. This produces flowing, organic distortions instead of jagged kinks.
How do I animate a Mesh Warp?
Keyframe the Distortion Mesh property, which records the positions of all the grid points. Animating the mesh over time creates flowing, morphing distortions like bending, rippling, or organic movement across the layer.
Sources: Adobe’s documentation on After Effects distort effects, including Mesh Warp.
Warp with precision at Adobe Video World
Train hands-on with Adobe Certified Instructors across 100+ Premiere Pro & After Effects sessions.



