A workflow taught by Adobe Certified Instructors at Adobe Video World.
Roughen Edges adds rough, irregular, torn, or eroded edges to text and shapes, breaking up clean digital outlines for a grungy, organic, or hand-drawn look. It’s a quick way to add character and texture. This guide covers how Roughen Edges works, its edge types, and how to use it for stylized effects.
What Roughen Edges Does
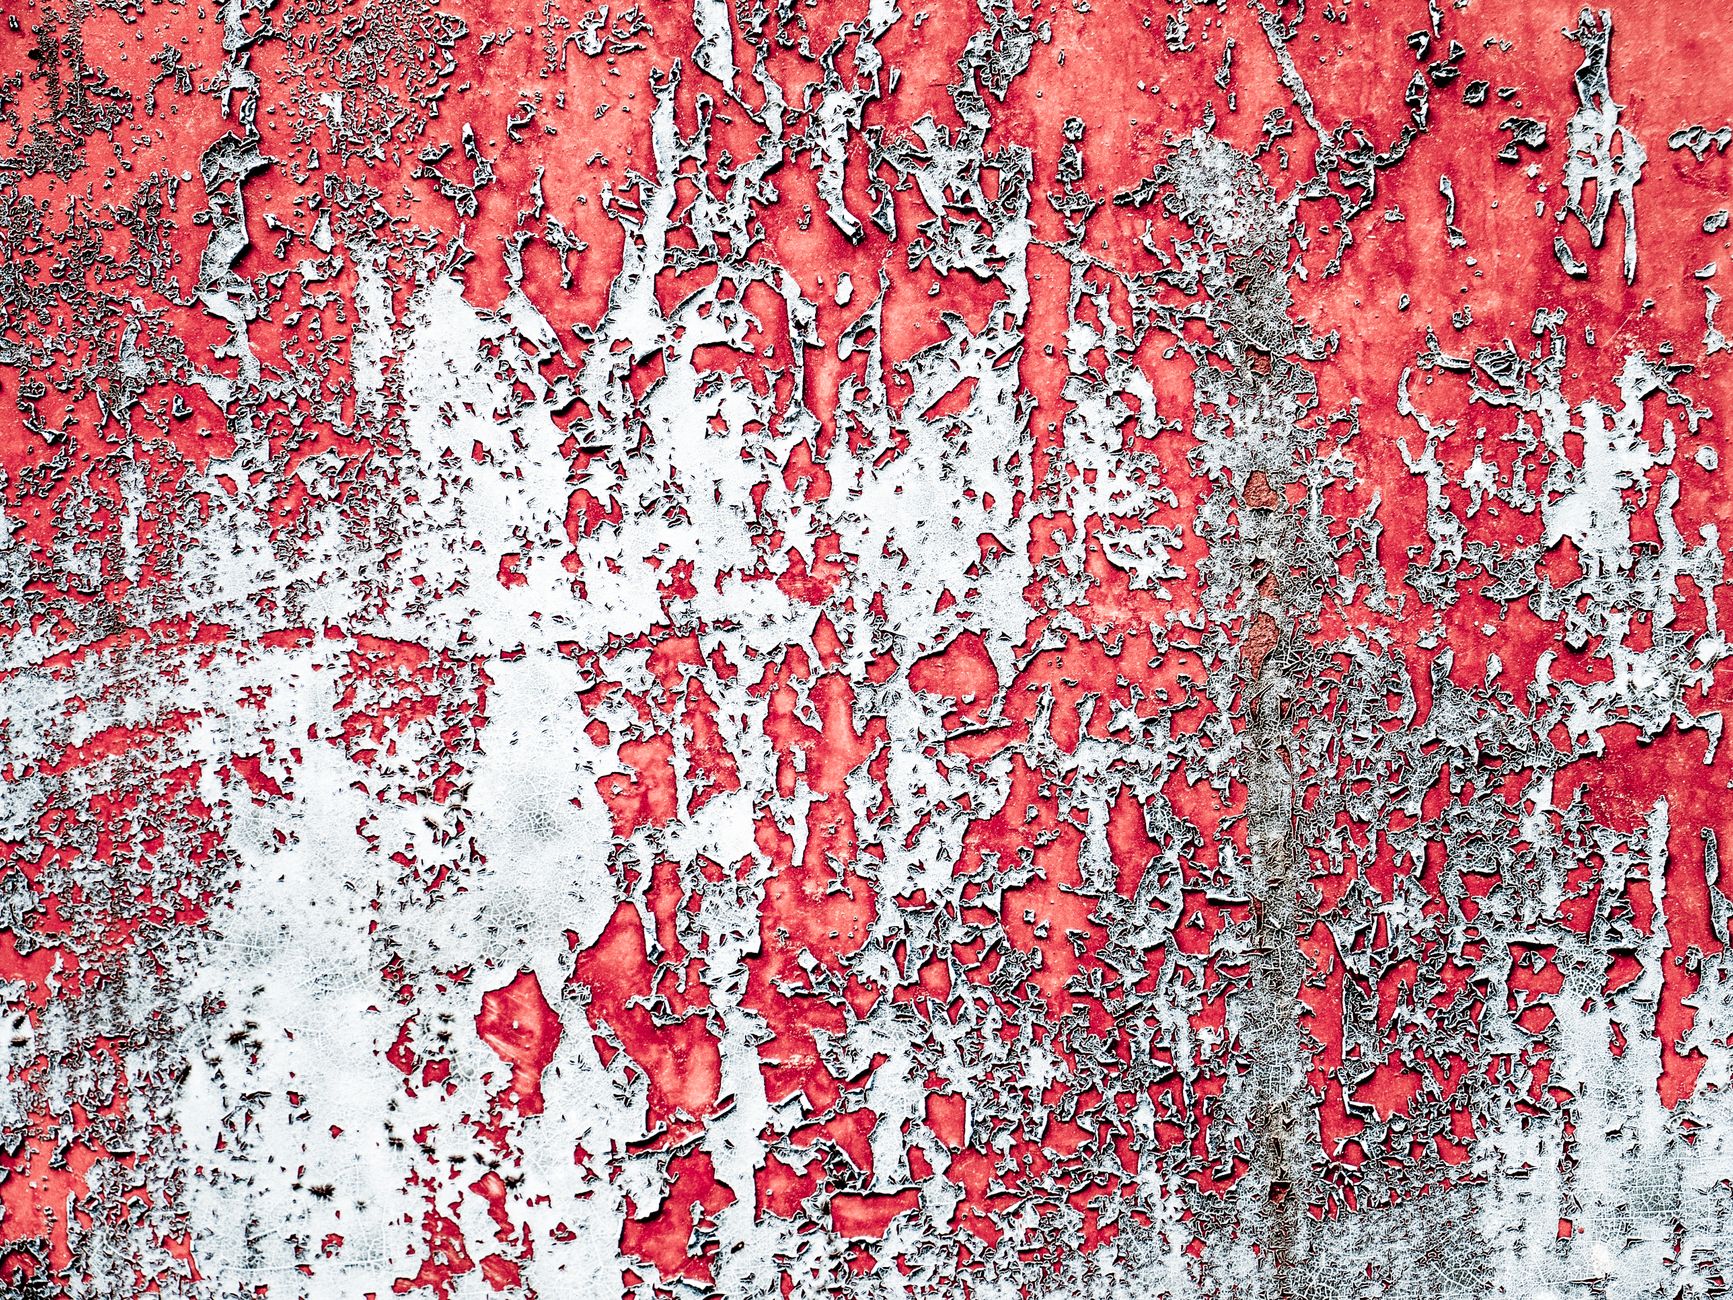
Roughen Edges distorts the edges of a layer with noise, turning clean, smooth outlines into rough, irregular, or torn ones. This breaks up the perfect digital edge, adding texture and an organic, hand-made quality to text and shapes.
The effect is great for grunge, vintage, and hand-drawn aesthetics, where pristine edges look too clean. By roughening the boundary, it gives elements character and a tactile feel, as if they were drawn, torn, or eroded.
Apply Roughen Edges
Apply Roughen Edges from the Stylize category to a layer with defined edges — text, a shape, or a graphic with alpha. The effect immediately roughens its outline, with controls to shape the type and amount of the roughening.
It works on the edges of the layer’s alpha, so it suits text and shapes rather than full-frame footage. Once applied, its settings let you dial in exactly how rough, torn, or eroded the edges become.
Choose the Edge Type
The Edge Type setting offers different styles — Roughen, Rough Color, Photocopy, Spiky, and more. Each produces a distinct edge character, from soft roughening to sharp spikes to a photocopied, high-contrast look.
Choosing the edge type sets the overall style, whether you want gentle organic roughness or aggressive torn edges. Trying the different types reveals their range, letting you match the effect to the aesthetic you’re after.
Control the Roughness
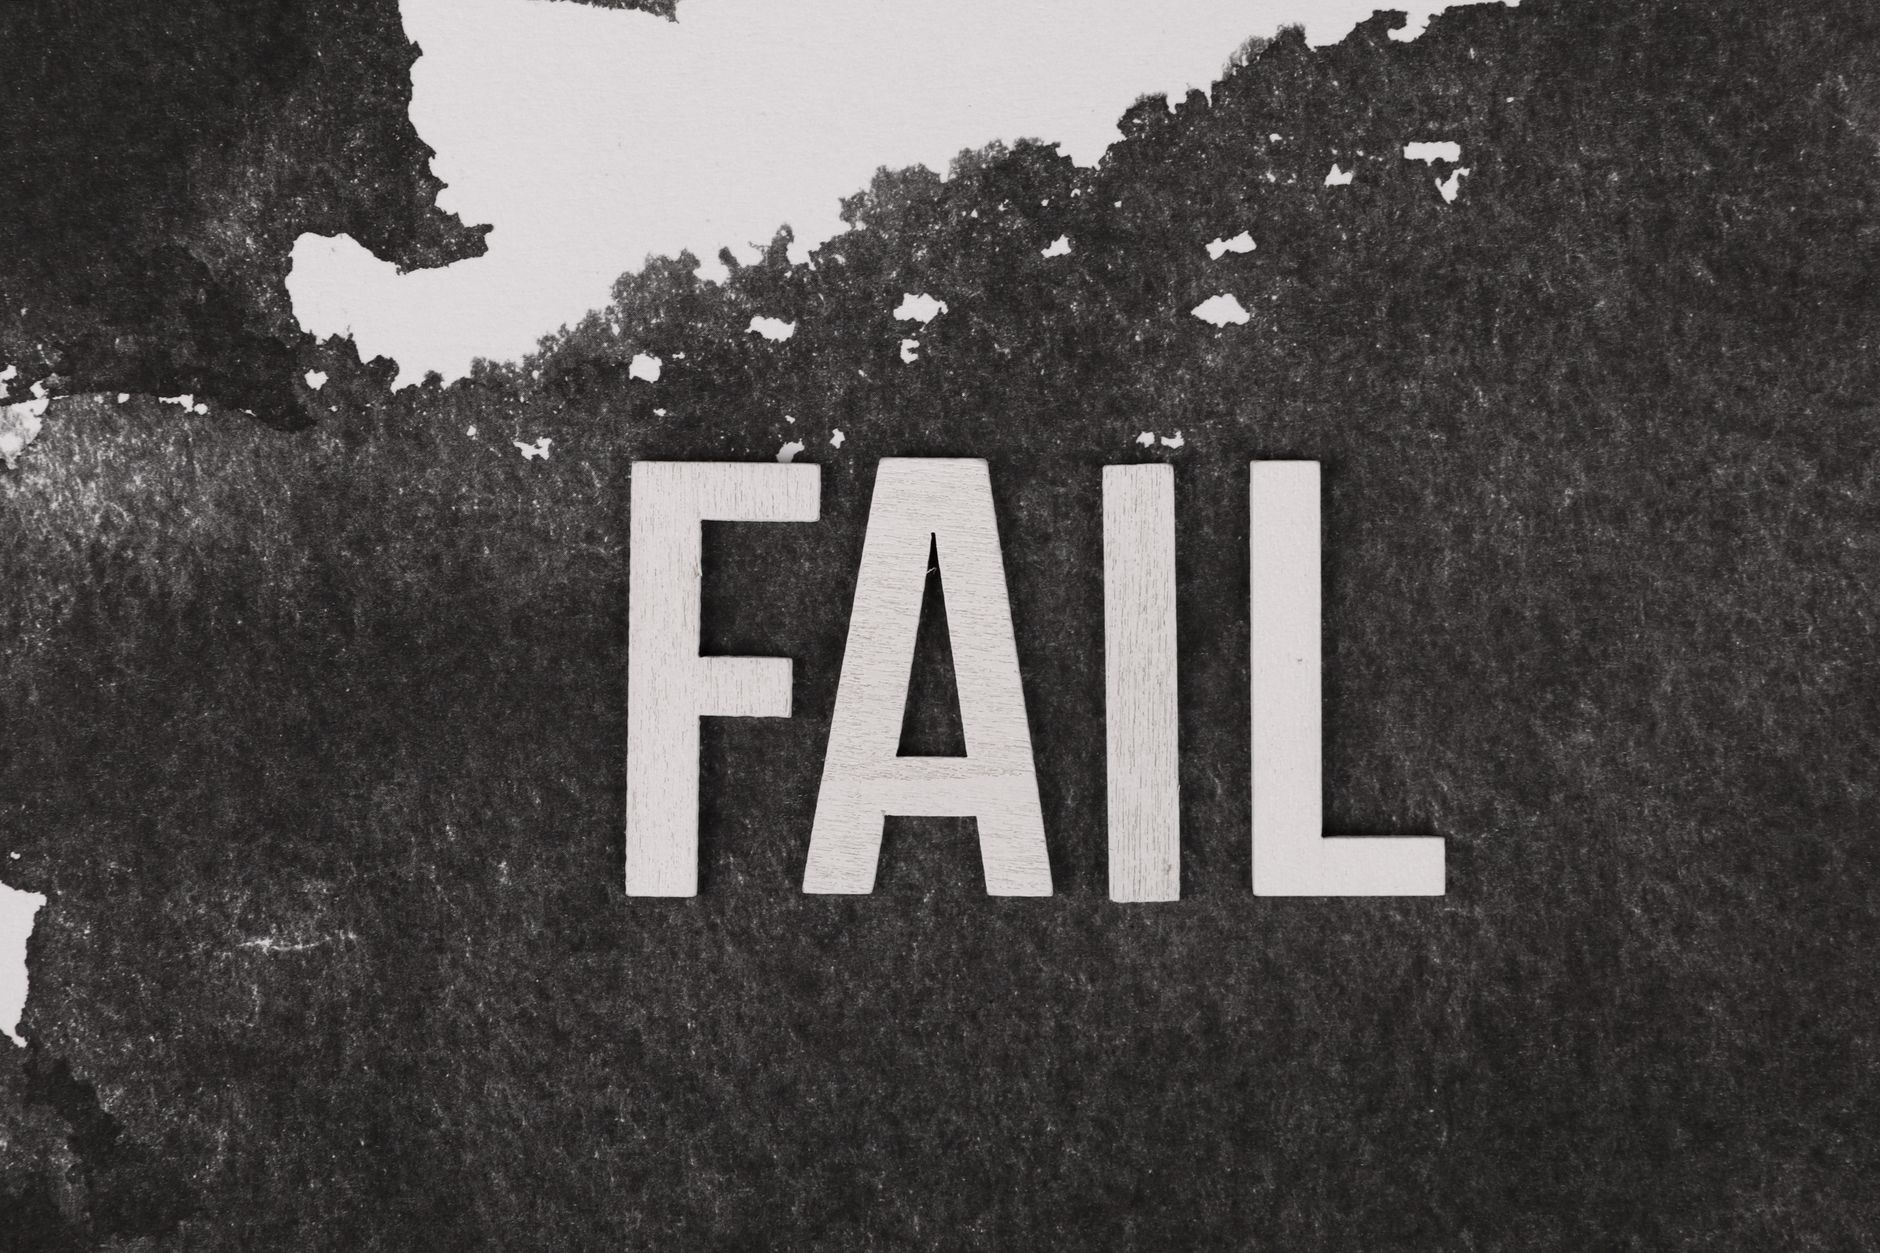
Key controls shape the result. Border sets how far into the layer the roughening reaches, Edge Sharpness controls the contrast of the rough edge, and Scale and Complexity adjust the size and detail of the irregularity.
Tuning these determines whether the edge is subtly textured or heavily eroded. A small border with fine detail gives a delicate roughness, while a large border with high complexity creates dramatically torn, decayed edges.
Create Grunge and Vintage Looks
Roughen Edges is perfect for grunge and vintage styling. Roughening text and graphics gives them a worn, distressed quality that suits grunge design, vintage branding, and edgy aesthetics, breaking the clean digital look.
Combined with textures, a faded grade, and other distressing, roughened edges complete a convincingly worn look. This treatment adds authenticity to vintage and grunge designs that pristine edges would undermine.
Make Hand-Drawn Effects
Roughen Edges helps fake a hand-drawn look. Applying subtle roughening to text or shapes gives them the slightly irregular edge of hand-drawn or inked artwork, and animating the effect creates a lively, sketchy wobble.
Animating the Evolution so the rough edges shift each frame produces a boiling, hand-animated quality, like traditional cartoons. This combination of roughened edges and frame-by-frame movement convincingly mimics organic, hand-made animation.
Animate for a Boiling Effect
The Evolution property animates the roughening, making the edges shift and crawl over time. Keyframing or cycling Evolution creates the ‘boiling’ look of traditional hand-drawn animation, where lines subtly wobble frame to frame.
This boiling effect adds organic life to text and shapes, perfect for a hand-animated style. A gentle, continuous evolution gives the edges a living, sketchy quality, which is a hallmark of the hand-drawn aesthetic many motion designers love.
Roughen Edges Best Practices
- Apply it to text and shapes with defined alpha edges.
- Choose the Edge Type to set the roughening style.
- Tune Border, Scale, and Complexity for the right texture.
- Animate Evolution for a hand-drawn boiling effect.
Common Roughen Edges Mistakes
- Over-roughening until text becomes unreadable.
- The wrong edge type for the intended look.
- Forgetting to animate Evolution for a living, boiling edge.
- Using it on full footage instead of edged elements.
A Real Roughen Edges Example
Picture creating a grungy band logo. You set the name in a bold font, apply Roughen Edges with a torn edge type, and raise the border and complexity until the clean letters look eroded and distressed, as if printed on rough paper and worn down. A faded grade and a paper texture behind it complete the gritty, hand-made aesthetic.
Animating the Evolution makes the rough edges crawl and boil frame to frame, giving the logo a restless, hand-inked energy. That combination of roughened edges, texture, and boiling animation transforms sterile digital text into something that genuinely feels handcrafted — exactly the organic character the effect is prized for.
Roughen Edges for Hand-Drawn Animation
Roughen Edges is a key ingredient in faking traditional hand-drawn animation. Applying subtle roughening to shapes and lines, then cycling the Evolution so the edges shift each frame, recreates the ‘boil’ of hand-inked cartoons where every line wobbles slightly, giving digital animation an organic, sketchy life.
Combined with the stepped timing of Posterize Time and the line-drawing of Trim Paths, roughened boiling edges complete a convincing hand-drawn look. This stack of techniques lets you build charming, tactile, frame-by-frame-style animation entirely with digital tools, capturing the warmth of traditional craft.
Roughen Edges in Real Projects
Roughen Edges earns its place across many real projects — distressing a logo for a grunge band, adding a hand-inked wobble to cartoon titles, eroding text for a horror promo, or giving clean graphics an organic, imperfect edge. Its versatility makes it a quiet workhorse for any look that wants to escape pristine digital perfection.
The key in each case is matching the edge type and intensity to the aesthetic — a subtle roughness for a refined hand-made feel, an aggressive tear for gritty impact. Tuning the effect to the project, rather than applying it uniformly, is what makes the rough edges feel intentional and stylistically right.
Combine Roughen Edges with Texture
Roughened edges look most convincing when paired with supporting texture. Adding a paper, grunge, or ink texture behind or over the roughened element reinforces the hand-made, distressed quality, so the edges and the surface tell the same story rather than the rough edge floating on a clean background.
Layering a faded grade and subtle noise completes the worn aesthetic. This combination of roughened edges, texture, and color treatment is how designers build a fully convincing grunge or hand-drawn look, where every element supports the same imperfect, organic feel.
For organic, hand-distorted motion, the After Effects mesh warp gives far more control than edge roughening alone.
Key Takeaways
- Roughen Edges adds rough, torn, organic edges to text and shapes.
- Choose the Edge Type to set the style of roughening.
- Tune the border, scale, and complexity for the texture.
- Animate Evolution for a hand-drawn boiling effect.
Frequently Asked Questions
What does Roughen Edges do in After Effects?
Roughen Edges distorts the edges of a layer with noise, turning clean outlines into rough, irregular, torn, or eroded ones. It adds texture and an organic, hand-made quality to text and shapes for grunge and hand-drawn looks.
How do I make a hand-drawn effect with Roughen Edges?
Apply subtle roughening to your text or shapes, then animate the Evolution property so the rough edges shift each frame. This creates the ‘boiling’ look of traditional hand-drawn animation, where lines wobble frame to frame.
Why does Roughen Edges only affect the edges?
The effect works on the edges of a layer’s alpha channel, so it roughens the outline of text, shapes, and graphics with transparency. It’s designed for edged elements rather than full-frame footage.
Sources: Adobe’s documentation on Roughen Edges and the stylize effects in After Effects.
Add organic edges at Adobe Video World
Train hands-on with Adobe Certified Instructors across 100+ Premiere Pro & After Effects sessions.



