A workflow taught by Adobe Certified Instructors at Adobe Video World.
A clear, confident voiceover elevates tutorials, explainers, documentaries, and ads. Recording one well takes more than talking into a mic — it requires the right gear, a treated space, good delivery, and clean editing. This guide covers everything from microphone choice to performance and editing, so your narration sounds professional and engaging.
Why Voiceover Quality Matters
A voiceover carries your message, and poor audio quality undermines even great content. Clear, warm, well-recorded narration keeps viewers engaged and conveys professionalism, while muffled, echoey, or noisy voiceover makes a video hard to watch.
Because the voice is often the spine of a video, investing in good voiceover pays off enormously. The good news is that clean narration is achievable on a modest budget with the right approach, building on our audio recording guide.
Choose the Right Microphone
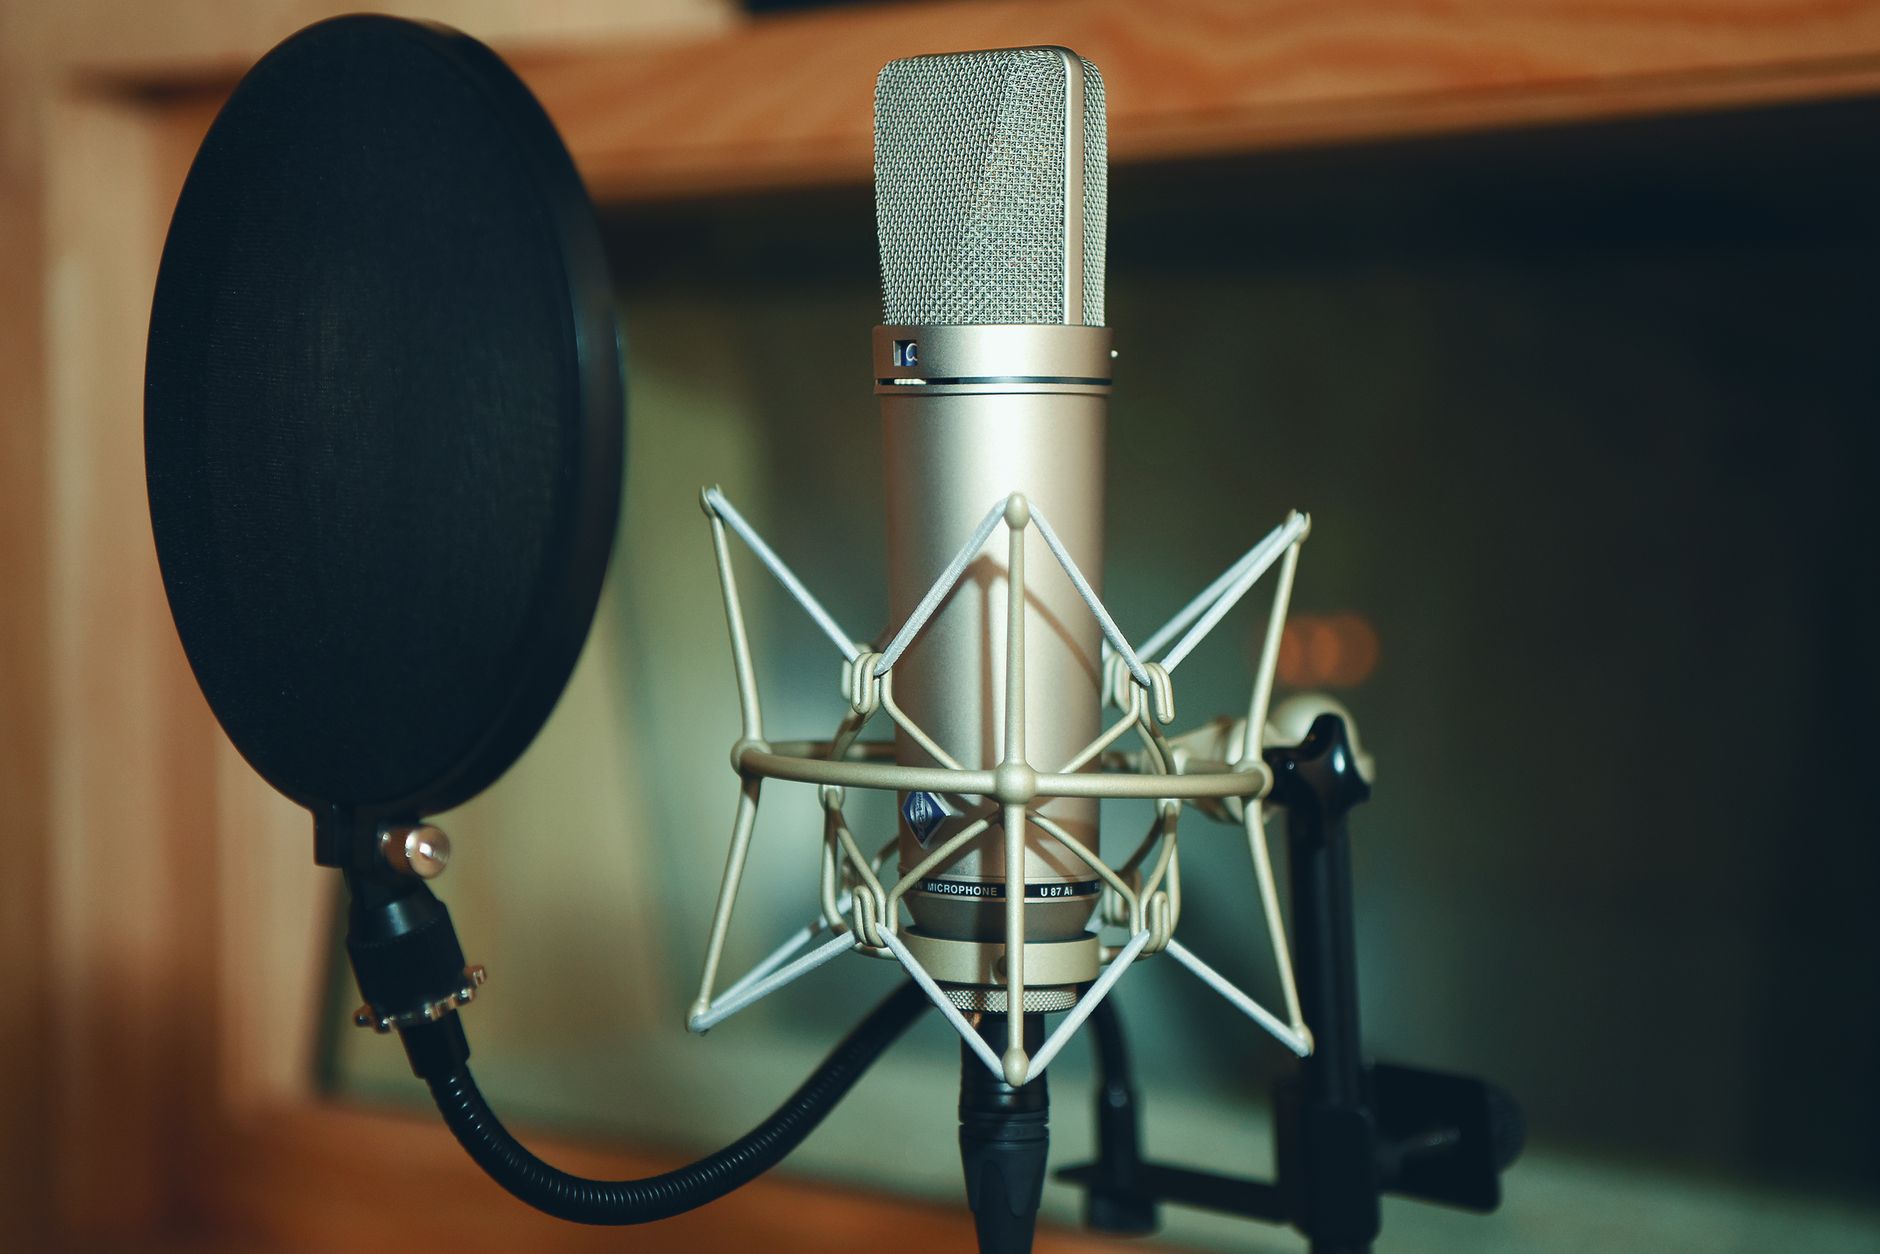
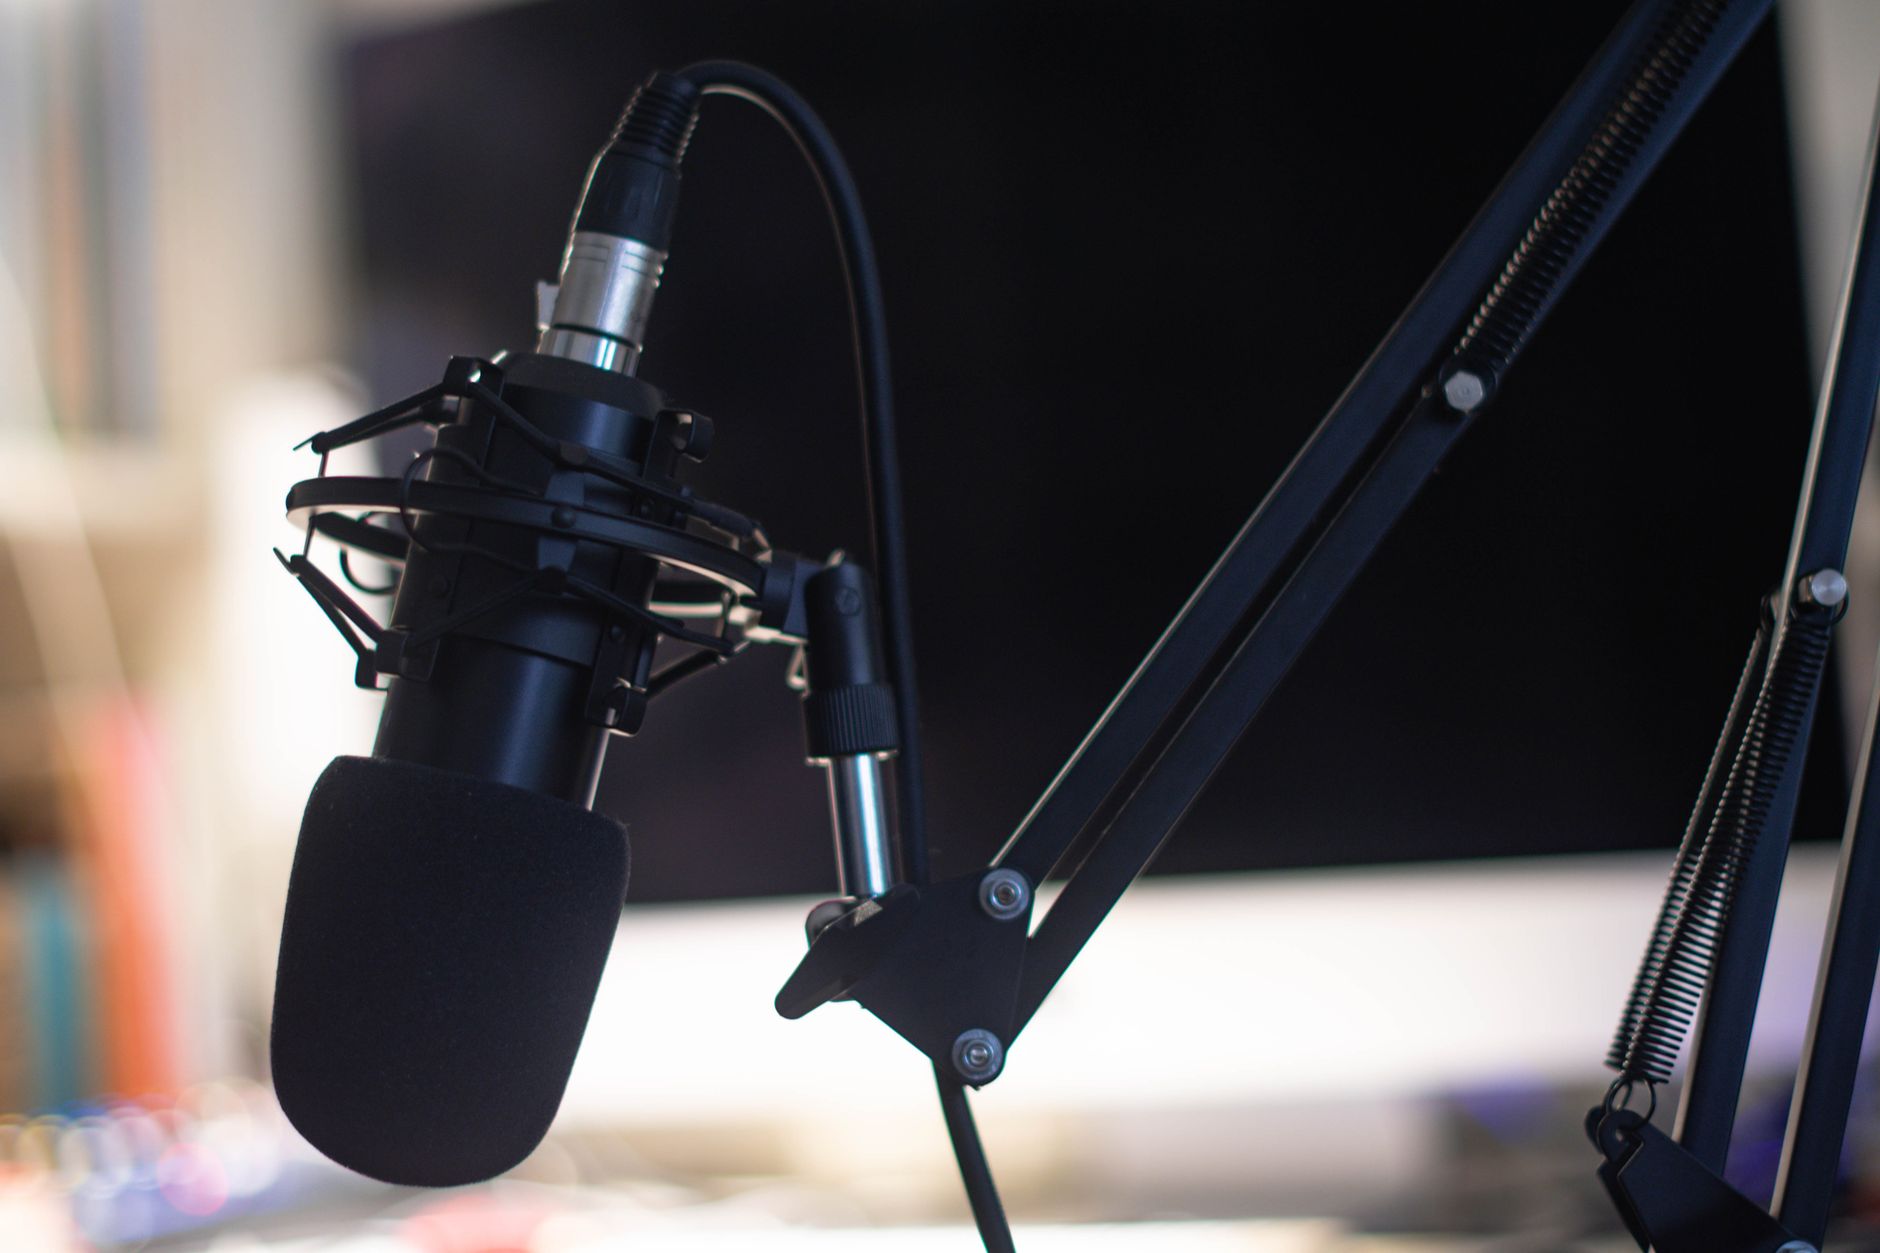
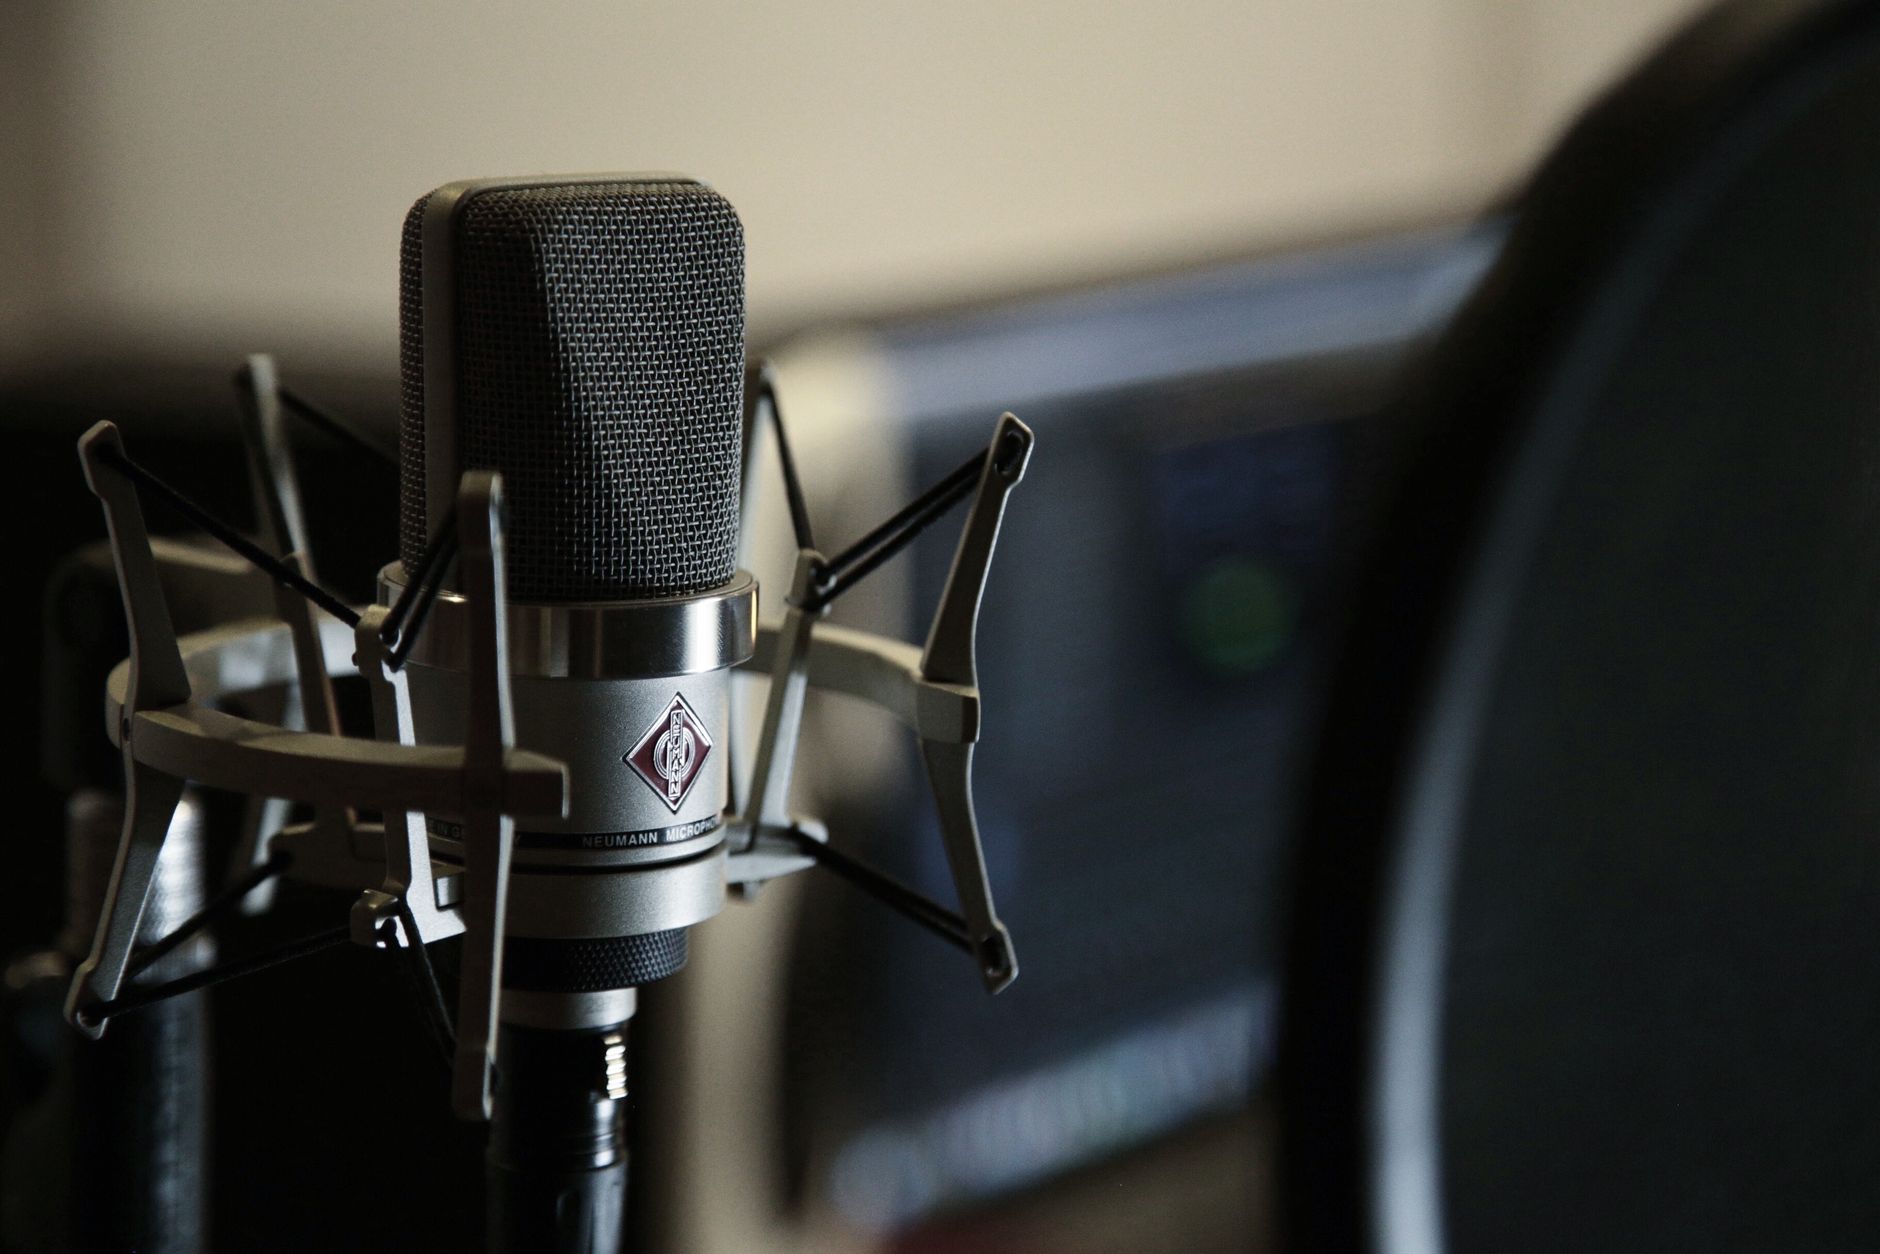
A dedicated microphone is essential for quality voiceover. A USB microphone is an easy, affordable start, while an XLR mic with an audio interface offers higher quality, and a large-diaphragm condenser captures voice warmly.
The mic matters more than almost any other gear for voiceover. Choosing a decent dedicated microphone over a built-in one transforms your narration, giving it the clarity and warmth that make a voice pleasant to listen to.
Treat Your Recording Space
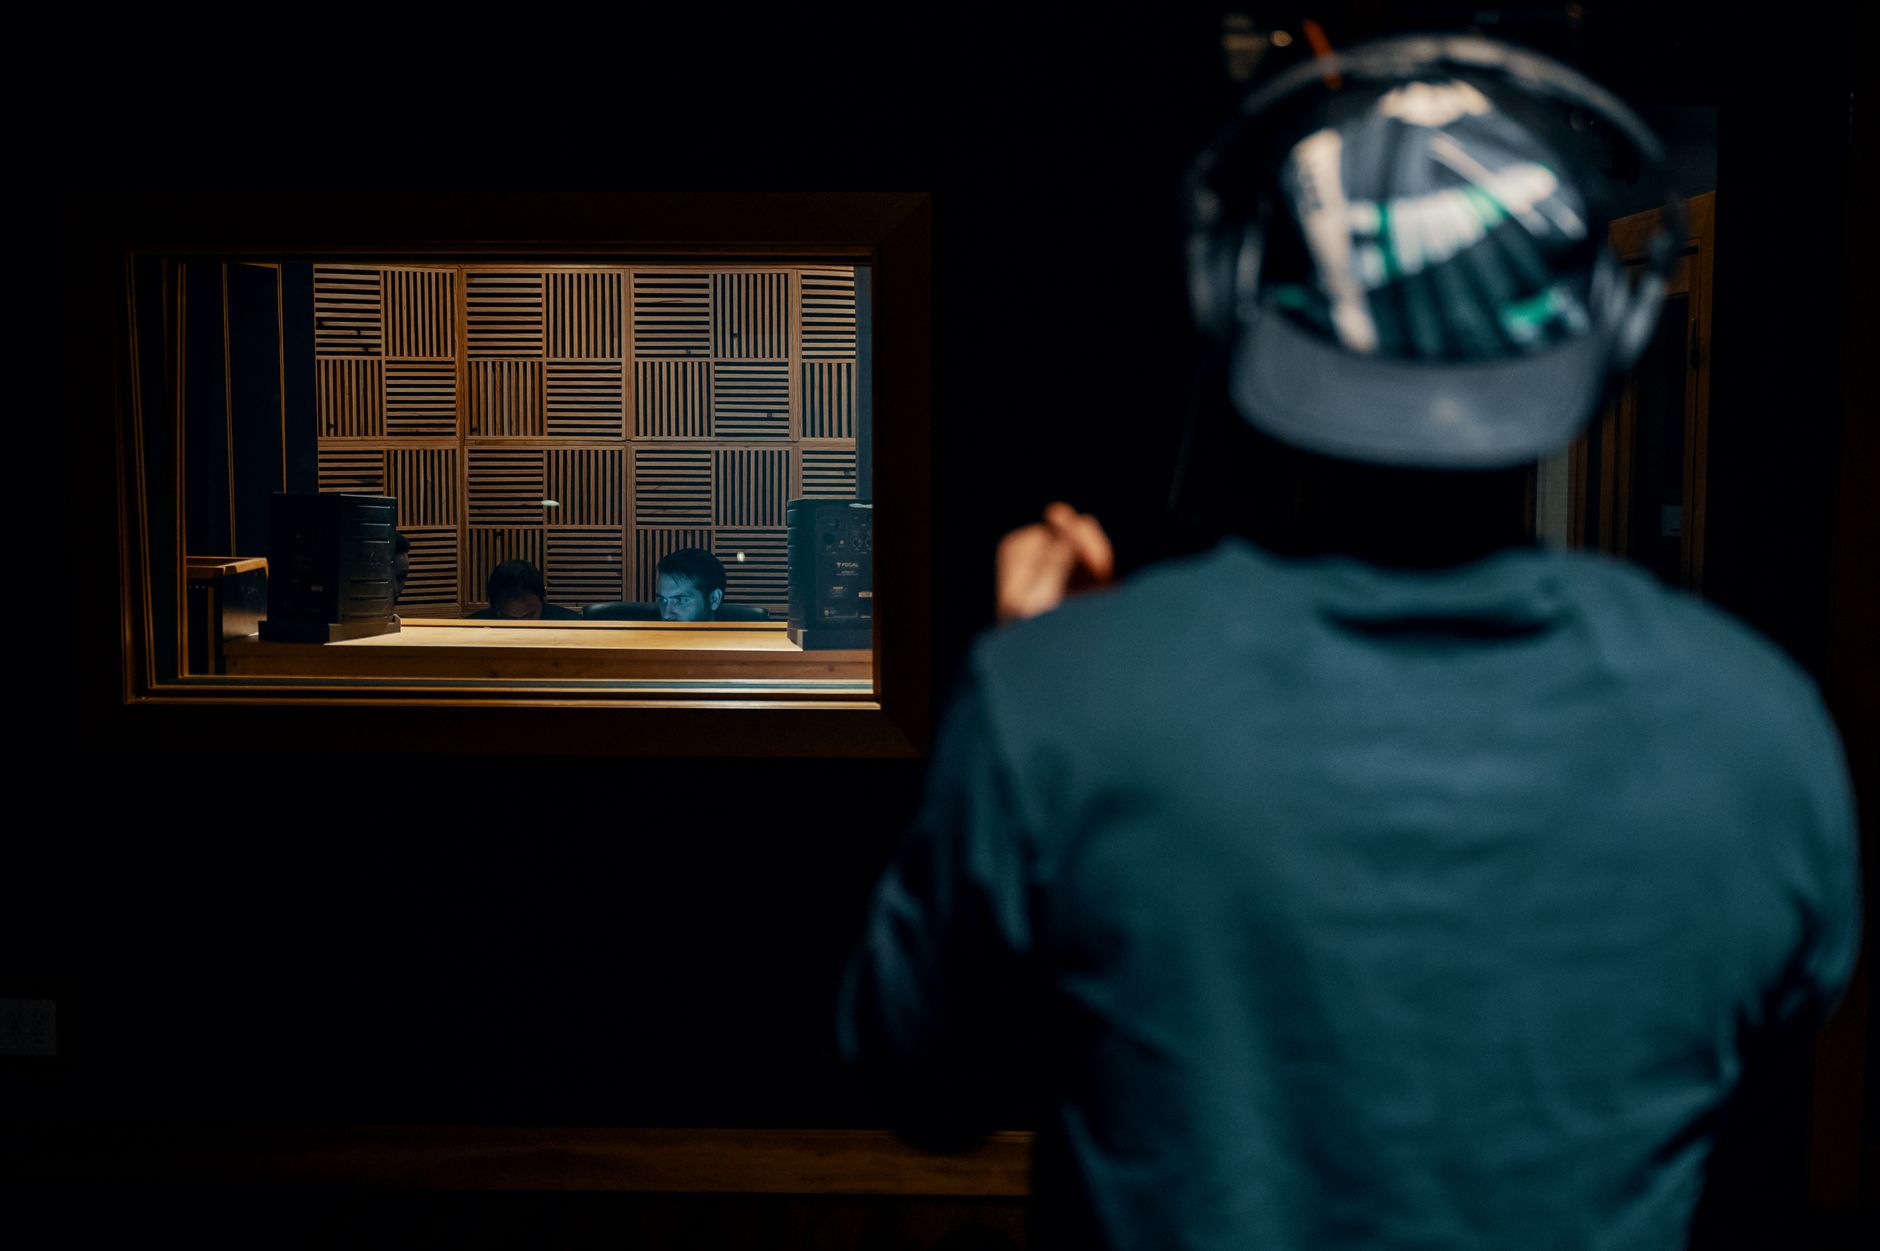
Room acoustics make or break voiceover. Recording in an untreated room creates echo, so use a space with soft furnishings, add foam or blankets to absorb reflections, or record in a closet full of clothes for natural sound treatment.
A quiet, non-echoey space is as important as the microphone. Controlling your environment — eliminating background noise and taming reflections — gives your voice the clean, intimate sound of a professional recording, even at home.
Position the Mic Correctly
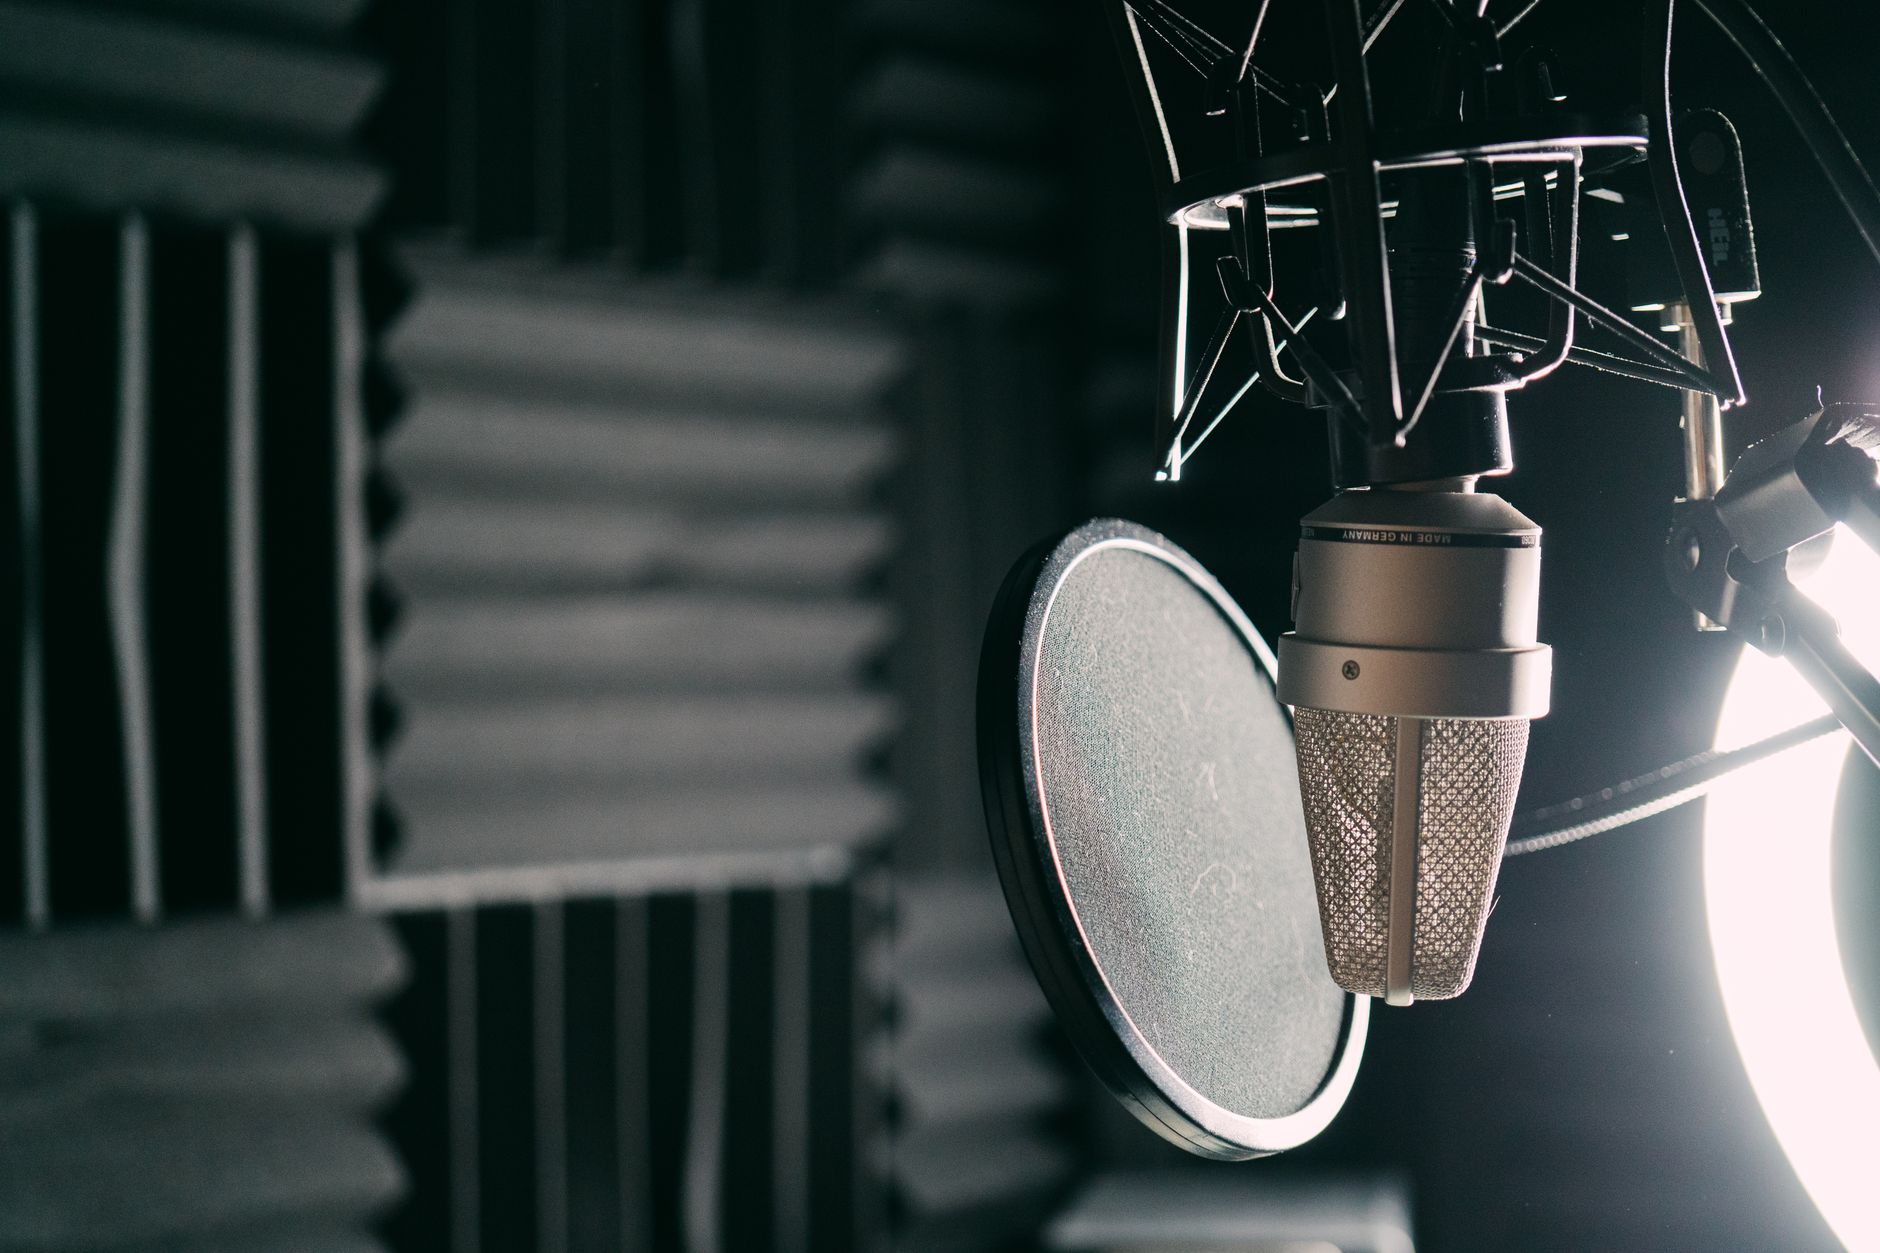
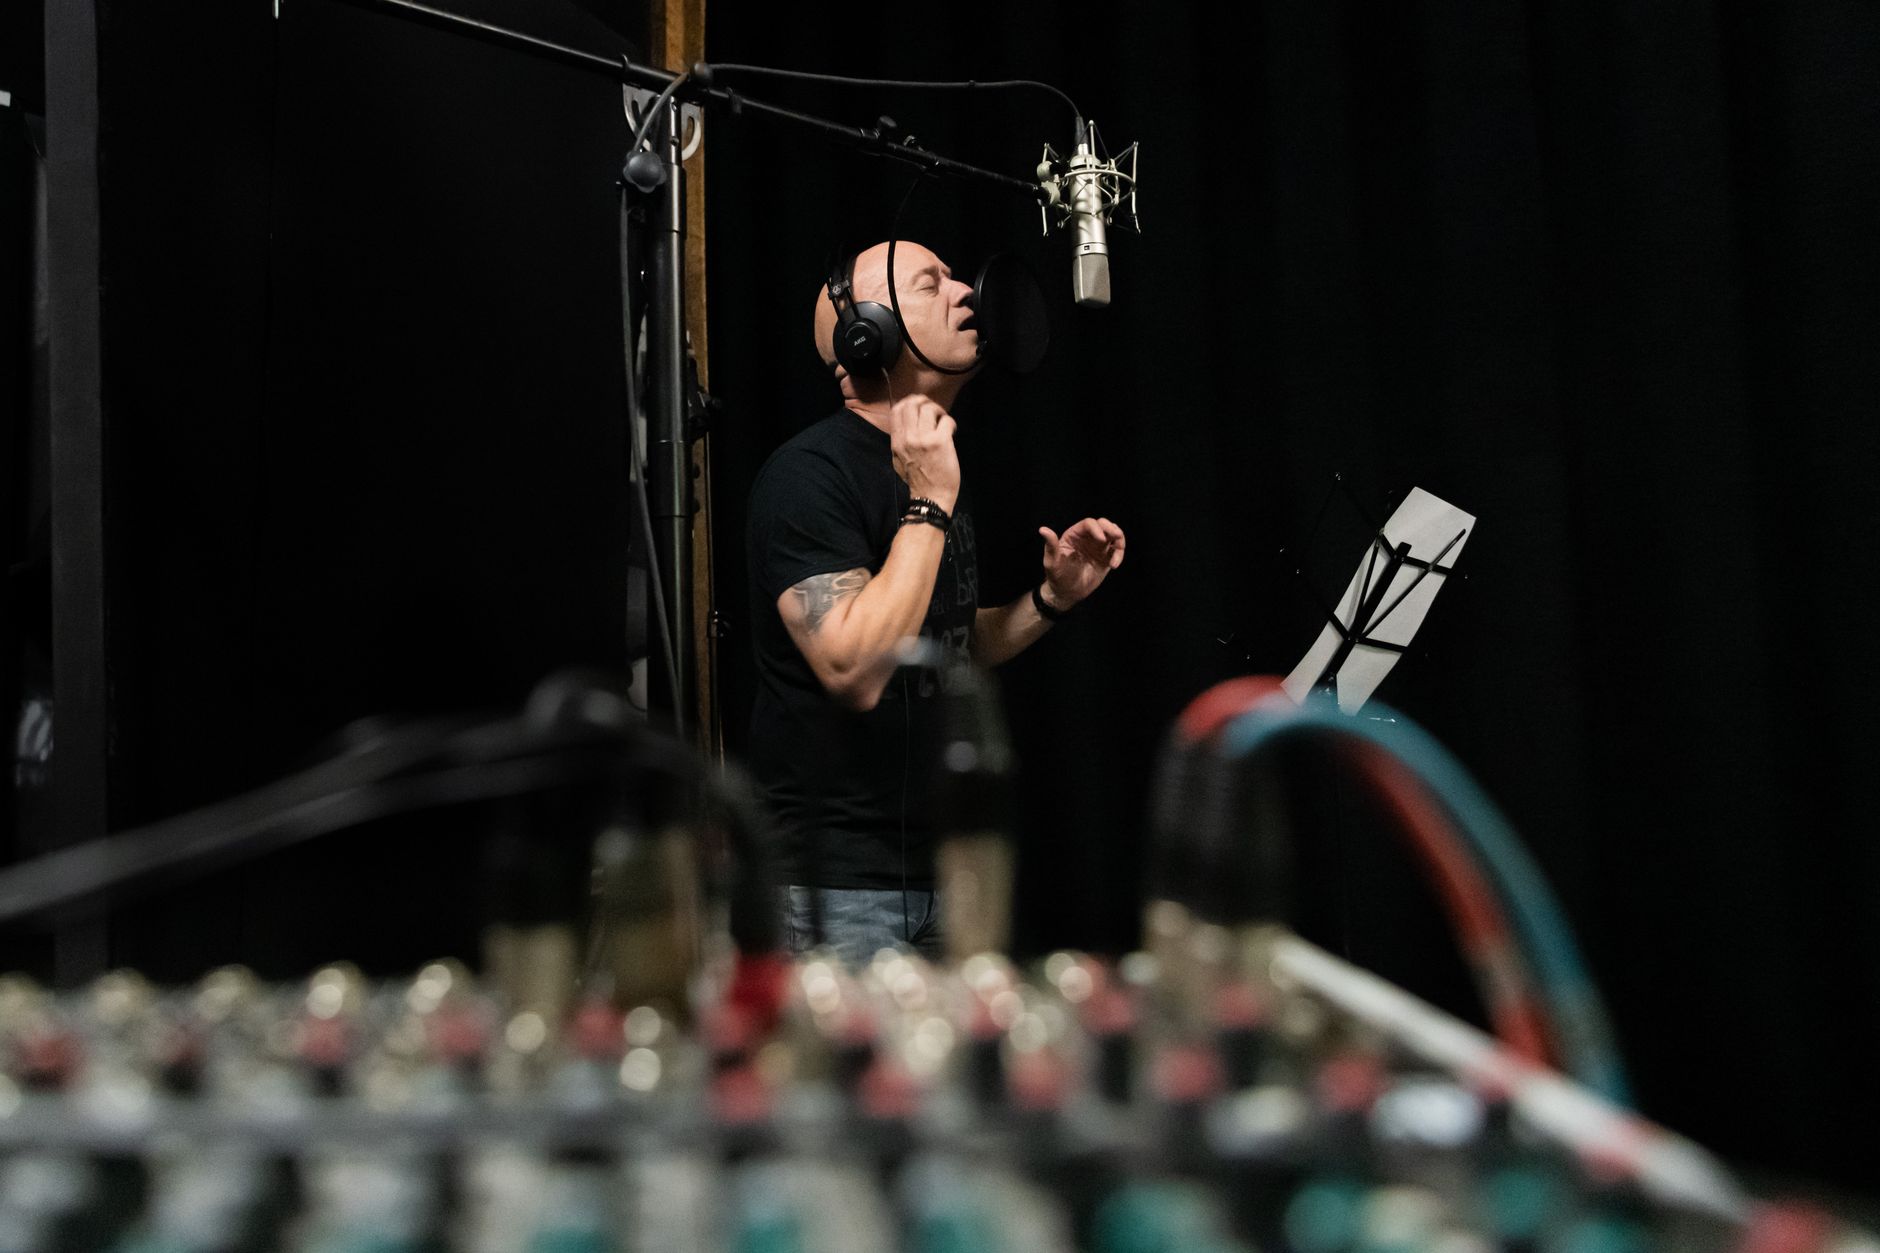
Mic placement shapes your sound. Position the microphone close to your mouth but slightly off-axis, with a pop filter between you and the mic to reduce harsh plosive ‘p’ and ‘b’ sounds that cause popping.
Getting close gives a strong, intimate voice with less room sound, while the pop filter and slight angle prevent distracting pops and breath blasts. This positioning is a simple but crucial part of capturing clean, professional narration.
Deliver a Strong Performance
Great voiceover is performance, not just reading. Speak with energy and clarity, vary your pace and tone to stay engaging, and sound natural and conversational rather than stiff, smiling slightly to warm your delivery.
Reading flatly makes even good content dull, while an engaged, expressive delivery holds attention. Practicing your script, marking where to emphasize and pause, and performing rather than reciting is what separates compelling narration from a monotone read.
Set Levels and Monitor
Record at a healthy level — strong but not clipping — and monitor with headphones so you catch problems as they happen. Watching your levels prevents recordings that are too quiet to use cleanly or distorted from being too loud.
Monitoring lets you hear pops, noise, or mistakes in real time, so you can re-record immediately. Capturing clean, well-leveled voiceover at the source, rather than fixing it later, is the foundation of a professional result.
Edit Your Voiceover
Editing turns a raw take into polished narration. Cut out mistakes, long pauses, and breaths, then clean up any noise and balance the levels, using tools like the Adobe Audition for repair and polish.
Tightening the timing, removing umms and dead air, and applying gentle EQ and compression make the voiceover crisp and consistent. This editing, much like tightening talking-head footage, is what gives narration its professional, effortless flow.
Sync Voiceover to Your Video
Finally, place your voiceover in the edit and time it to the visuals. Adjusting the pacing of your cuts to match the narration, and ducking music beneath the voice using our audio guide, keeps the voice clear and dominant.
The voiceover should drive the edit, with visuals and music supporting it. Syncing the narration to the footage and mixing it so the voice sits clearly on top is what ties a narrated video together into a cohesive, professional piece.
Voiceover Best Practices
- Use a dedicated mic with a pop filter, positioned close.
- Record in a treated, quiet, non-echoey space.
- Perform with energy and varied pace, not a flat read.
- Edit out mistakes and pauses, then mix the voice on top.
Common Voiceover Mistakes
- Recording in an echoey room with background noise.
- A flat, monotone delivery that loses the listener.
- Plosive pops from no pop filter or poor mic placement.
- Music too loud, burying the narration.
A Real Voiceover Session Example
Imagine recording narration for a tutorial. You set up a condenser mic with a pop filter in a closet lined with hanging clothes, getting in close and slightly off-axis. You’ve marked your script for emphasis and pauses, and you perform it with energy, re-recording any line that pops or stumbles while monitoring on headphones.
Afterward you bring the take into Audition, cut the breaths and mistakes, apply gentle noise reduction and a touch of EQ and compression, and the raw recording becomes crisp, warm, professional narration. That whole chain — treated space, close mic, performed delivery, careful edit — is what makes a home voiceover sound genuinely broadcast-ready.
Develop Your Voiceover Voice
Beyond gear and technique, voiceover is a skill that improves with practice. Recording regularly, listening back critically, and studying narrators you admire trains your pacing, tone, and clarity over time, helping you find a natural delivery that feels authentic rather than forced or robotic.
Warming up your voice, staying hydrated, and reading the script aloud a few times before recording all sharpen your performance. Combined with the recording fundamentals in our audio guide, this ongoing practice is what turns a hesitant first attempt into confident, engaging narration that carries a video.
Voiceover Recording on a Budget
You don’t need a professional studio to record clean narration. A modest USB condenser mic, a pop filter, and a closet full of hanging clothes as a makeshift sound booth can produce surprisingly broadcast-quality voiceover, because the soft clothing absorbs the reflections that cause echo.
What matters most is controlling your space and getting close to the mic, not spending heavily on gear. Combined with a performed delivery and careful editing, this budget setup rivals far more expensive ones, proving once again that technique and environment matter more than equipment for great audio.
The same booth discipline that produces a clean voiceover underpins editing a podcast.
A clear narration track is what turns a raw capture into a tutorial, so voiceover work pairs closely with editing a screen recording.
Key Takeaways
- Quality voiceover keeps viewers engaged and conveys professionalism.
- Use a good mic and a treated, quiet space.
- Deliver an engaged performance, not a flat read.
- Edit the narration clean and mix the voice clearly on top.
Frequently Asked Questions
How do I record a professional voiceover?
Use a dedicated microphone with a pop filter in a treated, quiet space, position the mic close but slightly off-axis, deliver with energy and varied pace, monitor your levels with headphones, then edit out mistakes and mix the voice on top.
What microphone is best for voiceover?
A USB microphone is an affordable, easy start, while an XLR mic with an audio interface offers higher quality. A large-diaphragm condenser captures voice warmly. Any dedicated mic vastly outperforms a built-in one.
How do I stop popping sounds in my voiceover?
Use a pop filter between you and the microphone, and position the mic slightly off-axis rather than directly in front of your mouth. This reduces the harsh plosive ‘p’ and ‘b’ sounds that cause popping.
Sources: Wikipedia’s article on voice-over.
Find your voice at Adobe Video World
Train hands-on with Adobe Certified Instructors across 100+ Premiere Pro & After Effects sessions.



