A workflow taught by Adobe Certified Instructors at Adobe Video World.
Great video needs great audio, and Adobe Audition is the professional tool for cleaning recordings — removing noise, hum, and hiss, and polishing voices until they sound clear. It goes far beyond what Premiere’s audio tools offer. This guide covers noise reduction, the spectral display, and the workflow for clean, professional sound.

Why Use Audition for Audio
While Premiere Pro handles basic audio well, Adobe Audition is a dedicated audio workstation with far deeper repair and restoration tools. For serious cleanup — stubborn background noise, hum, clicks, and clipping — Audition does what a video editor can’t.
It also offers a spectral view that lets you see and surgically remove specific sounds. For podcasts, interviews, and any project where voice clarity is critical, Audition is the professional’s choice, and Premiere integrates with it directly.
Send Audio from Premiere to Audition
Premiere and Audition work together seamlessly. Right-click a clip in Premiere and choose Edit Clip in Adobe Audition, and the audio opens in Audition for cleanup, with changes able to flow back to your edit.
This round-trip means you can do detailed audio repair in Audition without leaving your Premiere workflow behind. It’s the natural pipeline for cleaning dialogue, building on the basics in our Essential Sound guide.
Capture a Noise Print
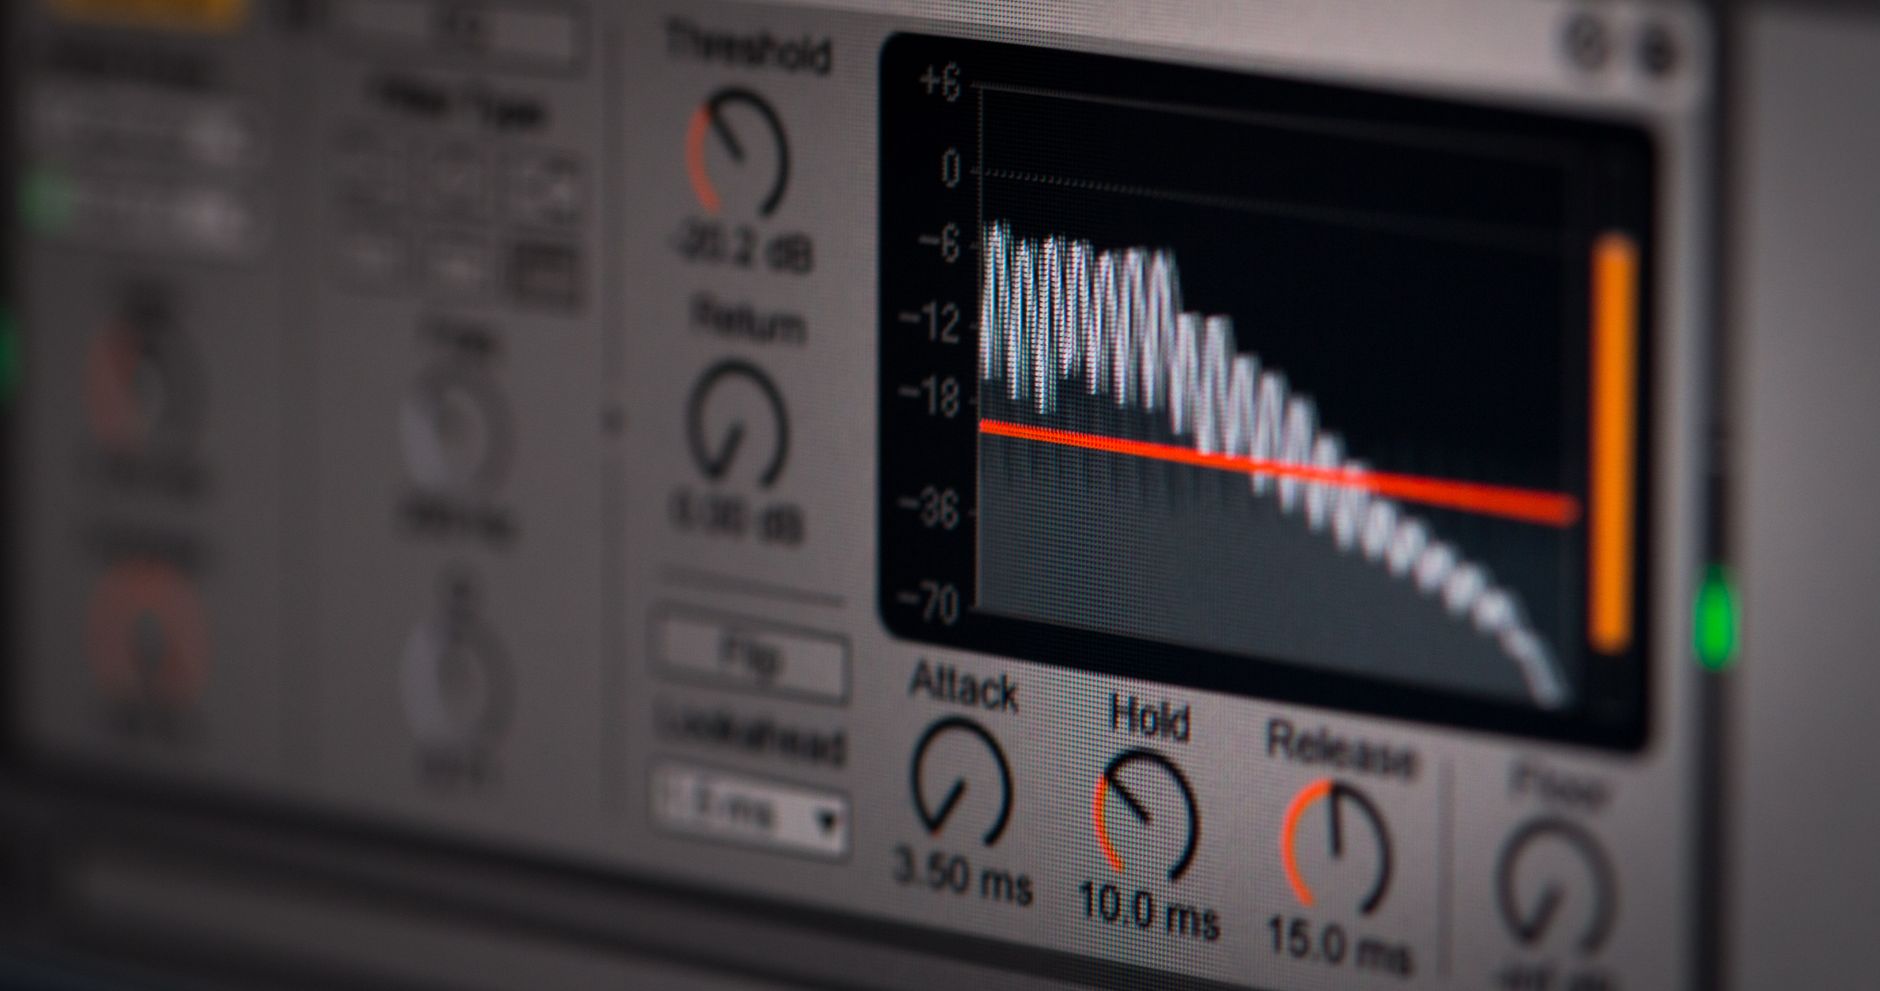
Audition’s noise reduction starts with a noise print — a sample of the unwanted background noise. Select a region of pure noise where no one is speaking, and capture it so Audition learns exactly what to remove.
This sample is the key to clean noise reduction, because it tells the tool the precise fingerprint of the hum, hiss, or air conditioning you want gone. A good noise print from a quiet moment makes the whole reduction far more accurate.

Apply Noise Reduction
With a noise print captured, apply Noise Reduction (process) to remove that noise from the whole clip. Audition uses the print to subtract the background sound, and you control how aggressively it does so.
The art is in the amount: reduce too little and noise remains, too much and the voice sounds watery and artificial. Dialing in just enough reduction to clean the background while keeping the voice natural is the goal.

Remove Hum, Clicks, and Hiss
Audition has dedicated tools for specific problems. DeHummer removes electrical hum, DeClicker handles mouth clicks and pops, and DeEsser tames harsh sibilance, each targeting one type of unwanted sound.
Applying these targeted effects in sequence tackles each issue without over-processing the whole recording. This focused approach — fixing one problem at a time — produces cleaner results than trying to solve everything with a single heavy effect.
Use the Spectral Display
Audition’s spectral frequency display shows sound as a visual image of frequencies over time, where you can literally see noises like a cough or a click as distinct shapes. You can then select and delete them directly.
This visual, surgical editing is something a standard video editor simply can’t do. Spotting an isolated unwanted sound in the spectral view and painting it out, while leaving the voice untouched, is one of Audition’s most powerful capabilities.
Polish the Voice
After cleanup, a little polish makes a voice shine. Gentle EQ to add warmth or clarity, light compression to even out the levels, and careful normalization bring a recording up to a professional, consistent standard.
These finishing touches, related to the level work in our Essential Sound guide, turn a clean recording into a polished one. The aim is a voice that sounds clear, full, and effortless to listen to.
Send the Clean Audio Back
Once your audio is repaired and polished in Audition, it returns to your video edit. Whether through Premiere’s round-trip or by exporting the cleaned file, the improved audio replaces the noisy original in your sequence.
Doing cleanup in Audition and finishing the mix in Premiere plays to each tool’s strengths. This combined workflow — repair in Audition, assemble and balance in Premiere — is how professionals achieve consistently clean, clear sound.
Audio Cleanup Best Practices
- Capture a noise print from a silent section before reducing noise.
- Apply just enough noise reduction to keep the voice natural.
- Use DeHummer, DeClicker, and DeEsser for specific problems.
- Use the spectral display to surgically remove isolated sounds.
Common Audio Cleanup Mistakes
- Over-reducing noise until the voice sounds watery.
- Skipping the noise print, making reduction inaccurate.
- Solving everything with one heavy effect instead of targeted tools.
- Forgetting to polish with EQ and compression after cleanup.
A Real Audio Rescue Example
Imagine an interview recorded in a room with a buzzing air conditioner. In Audition, you find a gap where no one speaks, capture a noise print of that hum, and apply Noise Reduction at a moderate setting — enough to silence the AC without making the voice sound underwater. Then a touch of DeHummer clears a faint electrical hum underneath.
Finally, gentle EQ adds warmth and light compression evens the levels, and the once-distracting recording sounds clean and broadcast-ready. A take that might have been unusable is rescued through a measured, step-by-step cleanup — the everyday magic of Audition’s restoration tools in a real interview workflow.
Build a Repeatable Cleanup Chain
Once you find a cleanup process that works for your recording setup, save it as a repeatable chain. Audition lets you store a sequence of effects as a preset or favorite, so the same noise reduction, hum removal, EQ, and compression can be applied to every clip from that microphone and room.
This consistency is invaluable for podcasts and series, where every episode should sound the same. A saved processing chain turns careful one-time tuning into a one-click standard, and finishing the balance in Premiere’s Essential Sound panel keeps the whole series sounding cohesive.
Catching subtle noise and clicks is much easier with accurate monitoring headphones for audio editing.
Audition’s tools shine when you need removing echo and reverb from a boomy room recording.
Key Takeaways
- Audition offers far deeper audio repair than a video editor.
- Capture a noise print, then apply measured noise reduction.
- Use targeted tools and the spectral display for specific sounds.
- Polish with EQ and compression, then return the audio to Premiere.
Frequently Asked Questions
How do I remove background noise in Adobe Audition?
Select a region of pure background noise and capture a noise print, then apply Noise Reduction (process). The print tells Audition exactly what to remove — use just enough reduction to clean the noise while keeping the voice natural.
How do I send audio from Premiere to Audition?
Right-click a clip in Premiere Pro and choose Edit Clip in Adobe Audition. The audio opens in Audition for detailed cleanup, and your changes can flow back into the Premiere edit.
What is the spectral display in Audition?
The spectral frequency display shows sound as a visual image of frequencies over time, so you can see noises like coughs or clicks as distinct shapes and select and delete them surgically without affecting the voice.
Sources: Adobe’s guide to noise reduction in Audition.
Get pristine audio at Adobe Video World
Train hands-on with Adobe Certified Instructors across 100+ Premiere Pro & After Effects sessions.



