
A workflow taught by Adobe Certified Instructors at Adobe Video World.
Green screen lets you replace a background with anything you want, and in Premiere Pro the Ultra Key effect does the keying. It removes a solid color background and composites your subject onto a new one. Getting a clean key takes technique. This guide covers applying Ultra Key, refining the matte, and fixing edges and spill for a professional composite.

What Ultra Key Does
Ultra Key is Premiere’s chroma keying effect, which removes a specific color — usually a green or blue screen — making it transparent so a new background shows through. This lets you place your subject in any scene you like.
Keying is the foundation of green screen work, from weather reports to film effects. Ultra Key analyzes your chosen color and builds a matte that separates the subject from the background, which you then refine for a clean, believable composite.

Start with a Good Green Screen
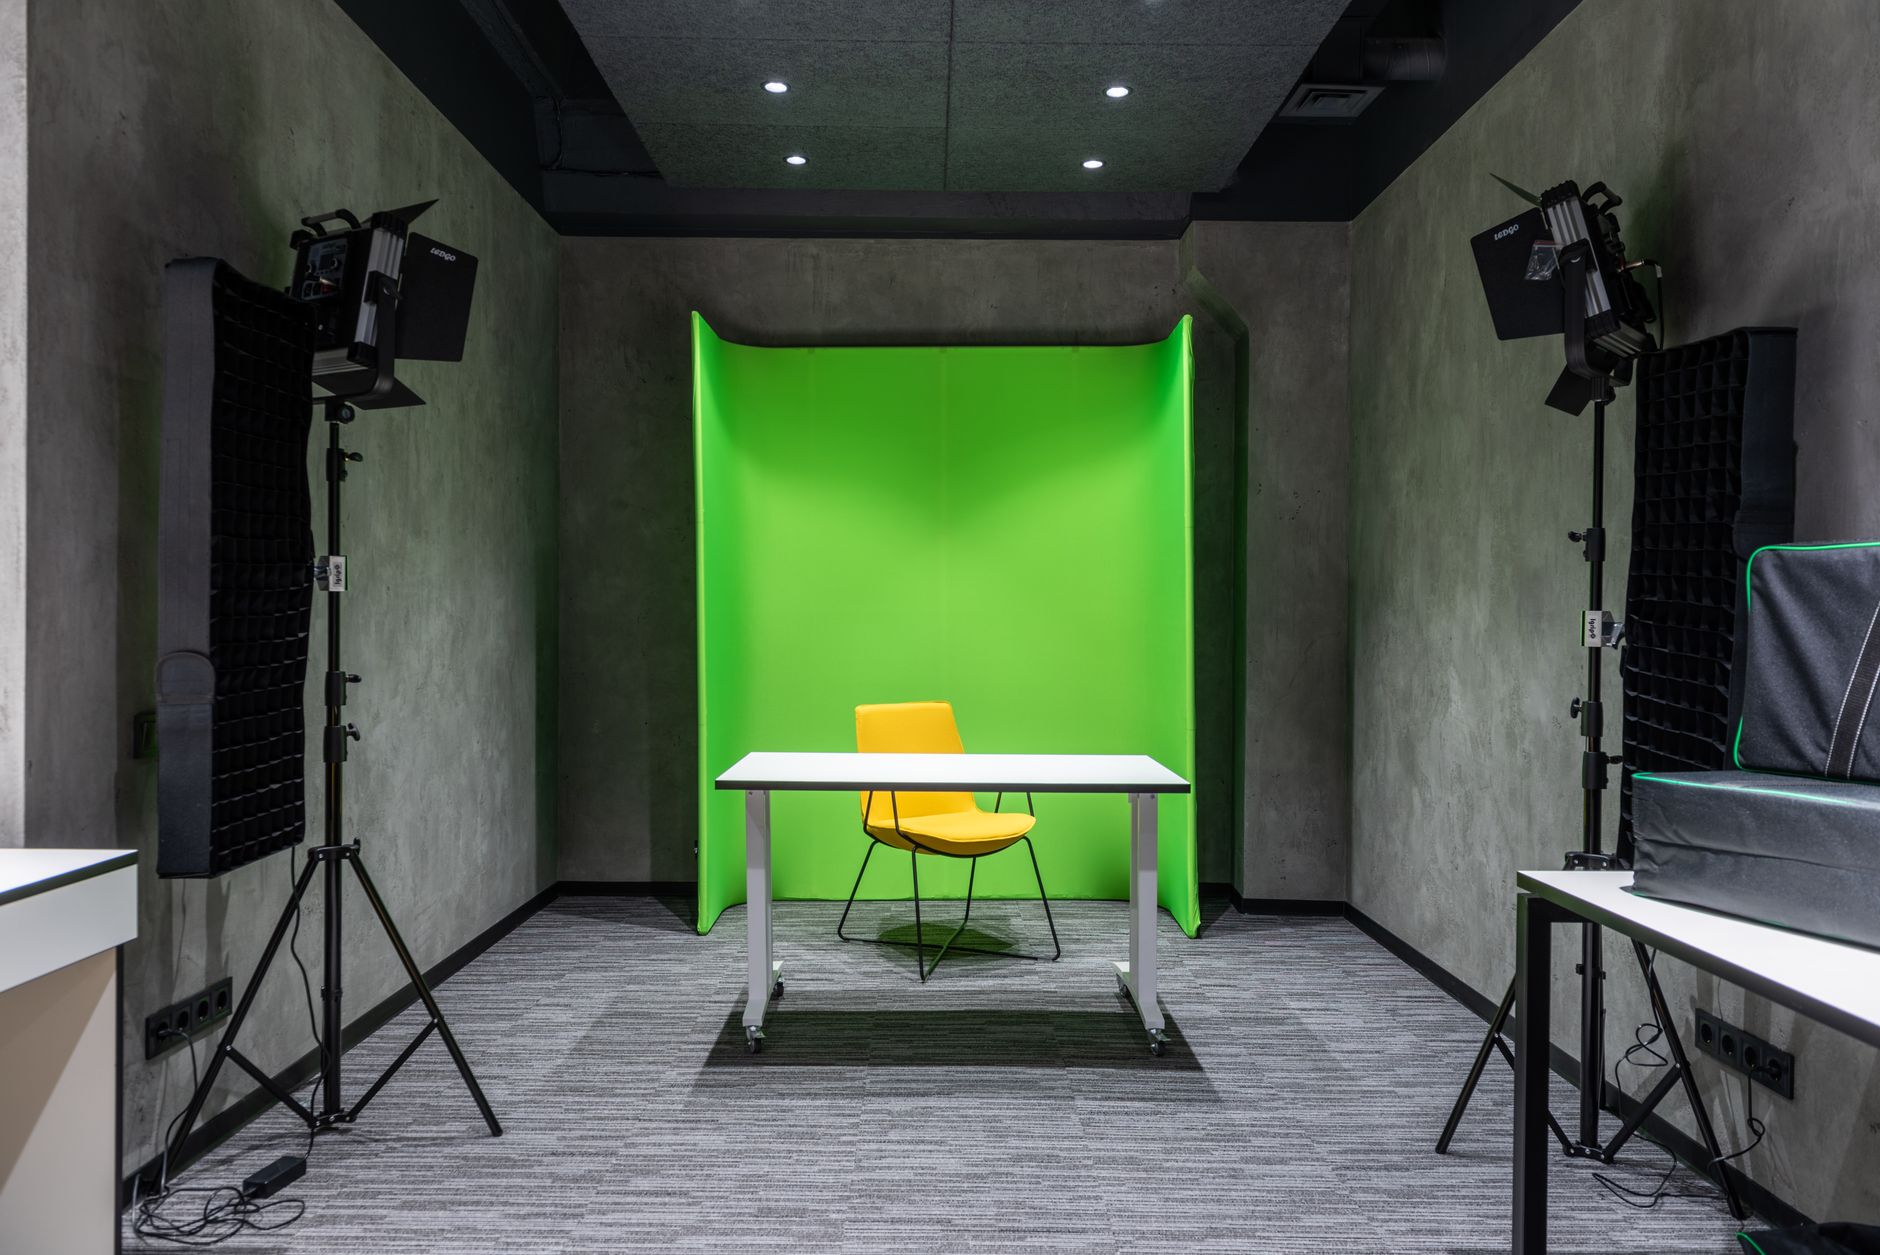
A clean key depends heavily on good footage. The green screen should be evenly lit with no shadows or hotspots, the subject lit separately and kept away from the screen to avoid spill, and the color bright and consistent.
No amount of keying fully fixes a poorly shot green screen, so getting the lighting right on set matters most. A flat, evenly-lit screen and well-separated subject give Ultra Key the clean material it needs to produce a crisp key.
Apply Ultra Key and Pick the Color
Drag the Ultra Key effect onto your green screen clip, then use the Key Color eyedropper to sample the green background. Premiere immediately keys out that color, making it transparent so any layer beneath shows through.
Sampling a representative area of the green is the crucial first step. Once you’ve picked the color, the background drops out, giving you a starting key that you’ll then refine using the effect’s matte controls.

Choose a Setting and Refine the Matte
Ultra Key offers Setting presets — Default, Relaxed, Aggressive — that give different starting points. From there, the Matte Generation and Matte Cleanup controls refine the key, adjusting transparency, highlights, shadows, and edges.
These controls let you tighten the key so the background is fully removed while the subject stays solid. Adjusting Pedestal and Threshold cleans up noise and semi-transparent areas, dialing in a matte that’s neither too harsh nor too soft.
Use the Matte View
A powerful technique is switching Ultra Key’s Output to view the matte in black and white. This shows your subject as solid white against a black background, making it easy to see holes, gray areas, and edge problems.
In this view, you adjust the controls until the subject is cleanly white and the background pure black, with crisp edges between them. Working on the matte directly is the most reliable way to achieve a clean key before switching back to the composite.
Fix Edges and Spill
Green screens often leave a green fringe or spill on the subject’s edges. Ultra Key’s Spill Suppression removes the green tint that the screen casts onto the subject, while edge controls refine the boundary for a clean cutout.
These touches integrate the subject believably onto the new background. Without spill suppression, a subject can have an unnatural green rim that gives away the composite, so removing it is essential for a professional result.
Composite onto a New Background
With a clean key, place your new background on the track below your keyed clip, and the subject appears in front of it. Matching the subject’s color and lighting to the background, using our color grading guide, sells the composite.
A subject that’s keyed cleanly but doesn’t match the background’s color temperature or lighting still looks pasted on. Grading the subject to fit the scene — its warmth, contrast, and brightness — is what makes the composite believable.
Ultra Key vs. After Effects Keylight
Ultra Key handles most green screen work well within Premiere. For demanding shots — fine hair detail, difficult spill, or motion blur — After Effects’ Keylight offers more advanced keying control.
Knowing both lets you choose the right tool: Ultra Key for quick, clean keys in your edit, and Keylight for challenging composites that need finer control. Many editors key simple shots in Premiere and send tricky ones to After Effects.
Ultra Key Best Practices
- Start with an evenly-lit green screen and separated subject.
- Sample the key color, then refine with the matte controls.
- Use the matte view to clean up holes and edges.
- Apply spill suppression and grade the subject to match.
Common Ultra Key Mistakes
- Trying to key a poorly-lit, uneven green screen.
- Over-keying until the subject’s edges break up.
- Leaving green spill on the subject’s edges.
- Not matching the subject’s color to the new background.
A Real Green Screen Composite Example
Imagine keying a presenter shot against a well-lit green screen onto a virtual office background. You apply Ultra Key, sample the green, switch to the matte view, and nudge the Pedestal and Threshold until the presenter is solid white against pure black with crisp edges. Spill Suppression strips the faint green rim from their shoulders and hair.
Back in the composite, you drop the office background underneath and grade the presenter slightly warmer to match its lighting. The result looks like they’re genuinely standing in the office, not pasted on — proof that a clean key is half good footage and half careful refinement in the matte view, finished with grading that ties subject and background together.
Light and Shoot for the Key You Want
The biggest determiner of a clean key happens before you ever open Premiere — on set. Lighting the green screen evenly and separately from your subject, keeping the subject far enough from the screen to avoid spill, and avoiding shadows on the backdrop all give Ultra Key clean, consistent color to work with.
It’s also worth matching your subject’s lighting to the background you plan to composite onto, so the final shot is believable. Combining good on-set practice with the lighting techniques for your subject means the key practically falls into place, while a sloppily-lit screen fights you no matter how skilled your keying.
Key Takeaways
- Ultra Key removes a green or blue screen for compositing.
- A clean key starts with a well-lit green screen.
- Refine the matte and use the matte view to perfect it.
- Suppress spill and grade the subject to match the background.
Frequently Asked Questions
How do I use Ultra Key in Premiere Pro?
Apply the Ultra Key effect to your green screen clip, use the Key Color eyedropper to sample the green, then refine with the Matte Generation and Cleanup controls. Place your new background on the track below.
How do I get a clean green screen key?
Start with an evenly-lit green screen and a separated subject, sample the key color, then use Ultra Key’s matte view to clean up holes and edges. Apply Spill Suppression to remove green fringing on the subject.
What’s the difference between Ultra Key and Keylight?
Ultra Key is Premiere’s keyer, great for most green screen work in your edit. After Effects’ Keylight offers more advanced control for demanding shots like fine hair, difficult spill, or motion blur.
Sources: Wikipedia’s article on chroma key.
Master green screen at Adobe Video World
Train hands-on with Adobe Certified Instructors across 100+ Premiere Pro & After Effects sessions.



