A workflow taught by Adobe Certified Instructors at Adobe Video World.
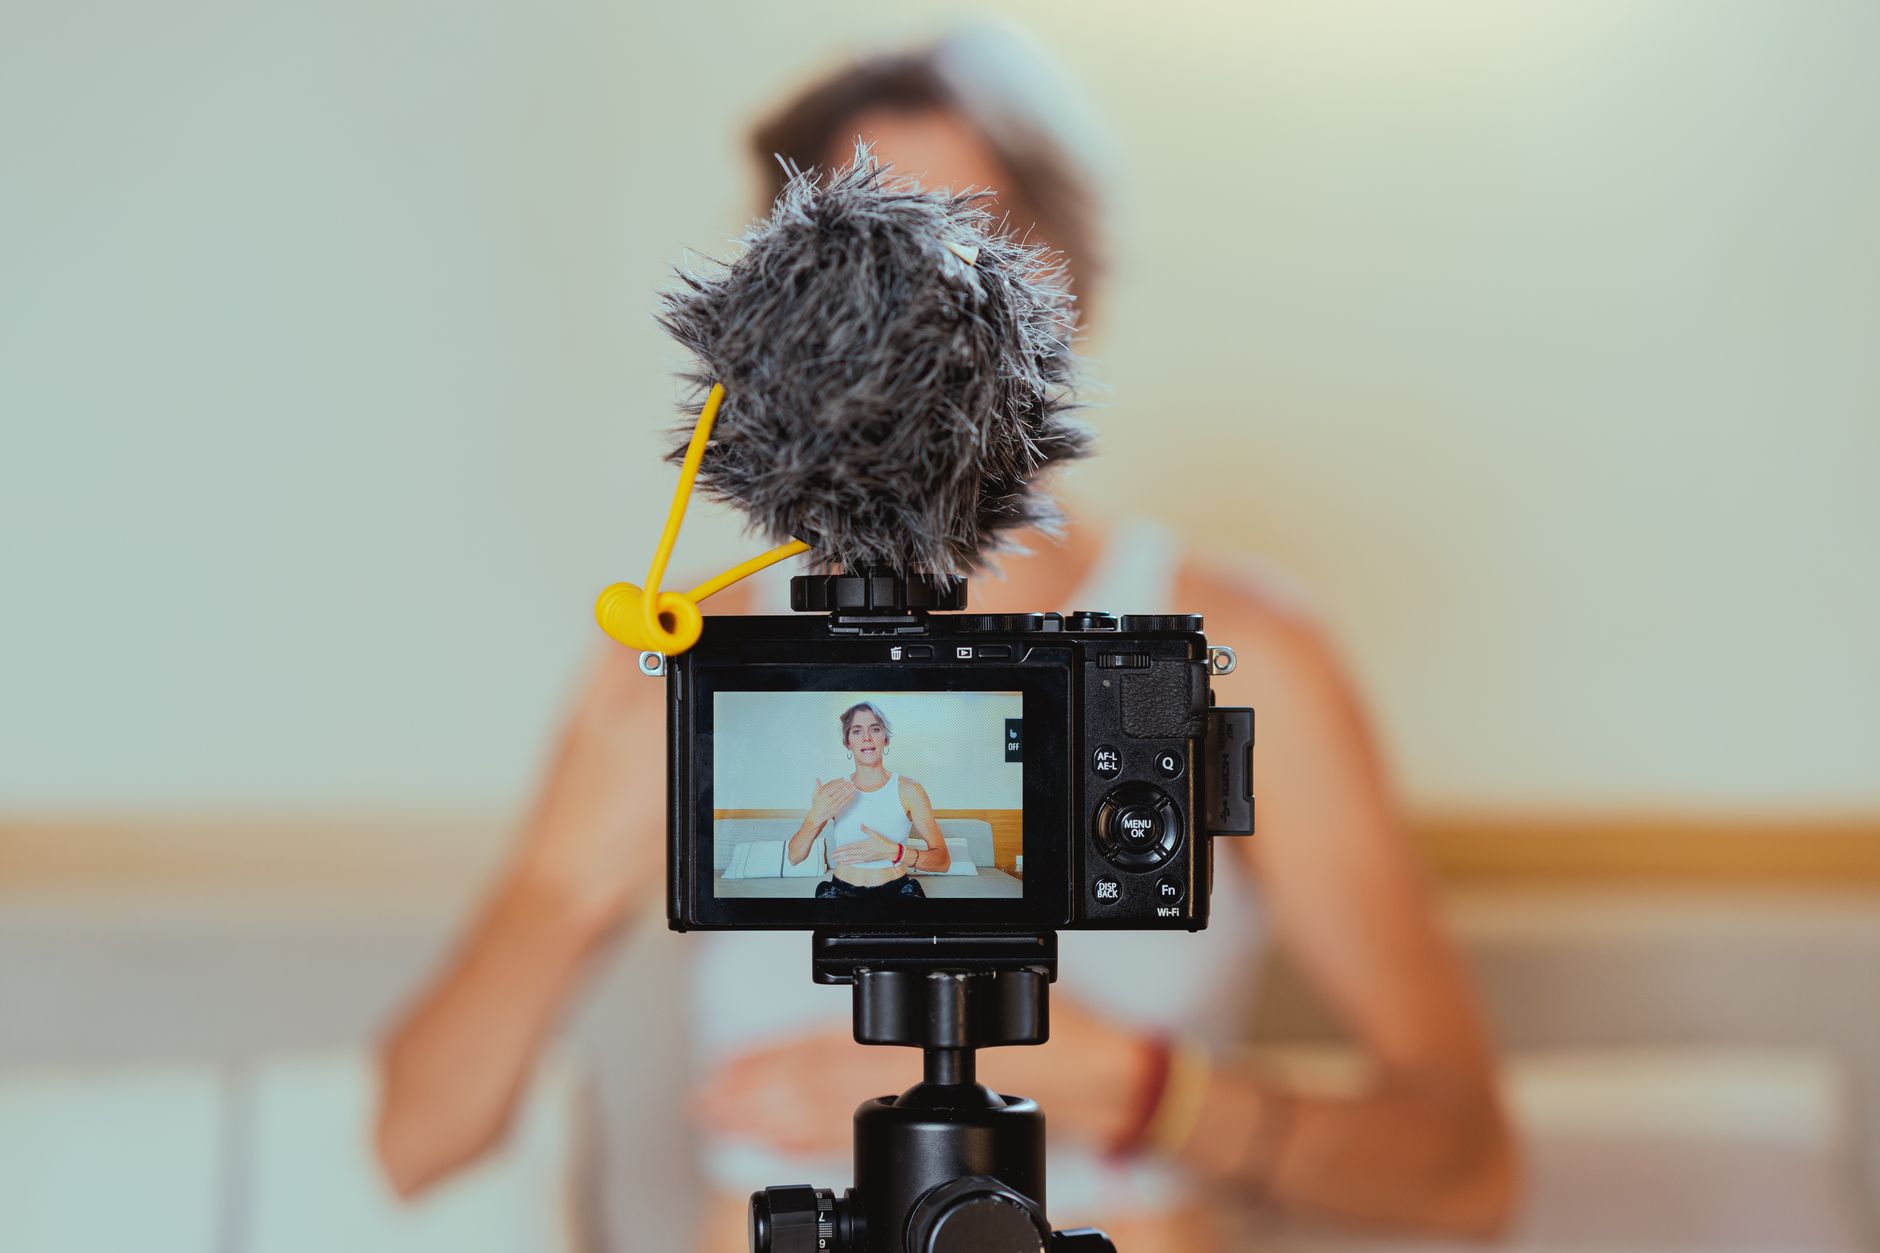
Talking-head videos — a single person speaking to camera — are everywhere, from tutorials to vlogs to interviews. Keeping them engaging takes real editing technique, since a static person talking can quickly lose viewers. This guide covers tightening the speech, covering cuts, and adding visual interest to keep talking-head videos compelling.

The Talking-Head Challenge
A talking-head video shows one person speaking, which risks being visually static and slow. The challenge is keeping viewers engaged when the picture barely changes, which is where editing makes all the difference between a dull video and a dynamic one.
Good talking-head editing tightens the delivery, adds visual variety, and maintains energy. These techniques transform a long, static recording into a snappy, engaging video, which is essential for the tutorials, vlogs, and explainers built on this format.
Tighten the Speech
The first step is removing dead air. Cutting pauses, ums, false starts, and rambling tightens the delivery, keeping the energy up and respecting the viewer’s time, which is the foundation of an engaging talking-head edit.
This tightening creates jump cuts as the speaker’s position shifts at each cut. Ruthlessly trimming everything that doesn’t add value, as our pacing guide covers, is what gives talking-head videos their snappy, professional feel.
Handle the Jump Cuts
Tightening creates jump cuts, which you can embrace or smooth. The fast-paced jump-cut style is popular and signals energy, while smoothing them with Morph Cut or covering them with B-roll hides the jumps for a seamless look.
Choosing how to handle the cuts shapes your video’s style. Many creators embrace visible jump cuts for energy, while others cover them for polish, and combining both — jump cuts where energy suits, B-roll where smoothness does — works well.
Cover with B-Roll
B-roll is the talking-head editor’s best friend. Cutting to relevant supporting footage over the speaker’s audio illustrates their points, adds visual interest, and hides jump cuts, all while keeping the narration flowing.
Layering B-roll over the talking head whenever you can illustrate what’s being said keeps the video visual rather than static. This is the single most effective way to make a talking-head video engaging, breaking up the static shot with relevant imagery.

Add Graphics and Text
On-screen graphics keep talking-head videos dynamic. Adding text callouts, lower thirds, lists, and visual aids that reinforce the speaker’s points adds visual interest and helps communicate, especially in tutorials and explainers.
These graphics, built with our titles and lower thirds techniques, give viewers something to look at and reinforce the message. Animating key points and stats on screen keeps the energy up and aids comprehension.
Add Captions
Captions are increasingly essential, since many viewers watch without sound. Adding subtitles makes your talking-head video accessible and keeps sound-off viewers engaged, with the text reinforcing the spoken words.
Captions boost watch time and reach, especially on social platforms where autoplay is muted. Adding clear, well-timed captions ensures your message lands even without audio, a key consideration for talking-head content viewed on phones.
Vary the Visuals
Beyond B-roll and graphics, variety keeps things fresh. Punch-ins to a tighter shot, cutting between camera angles if you have them, and subtle zooms break up the static talking head and add visual rhythm to the edit.
These variations, like the punch-in technique, give a single-camera talking head a multi-angle feel. Mixing wide and tight framings and adding movement keeps the visuals from feeling monotonous over a long video.
Polish the Audio
Clear audio is critical for talking-head video, where the words carry everything. Cleaning up the audio, balancing levels, and adding subtle background music keeps the voice crisp and the video professional, as our audio guide covers.
Since viewers tolerate imperfect visuals but not bad audio, polishing the sound is essential. Clean, well-leveled narration with tasteful music underneath gives a talking-head video the professional audio quality that keeps viewers listening.
Talking-Head Editing Best Practices
- Tighten the speech by cutting pauses and filler.
- Cover jump cuts with B-roll and relevant footage.
- Add graphics, captions, and visual aids for interest.
- Vary the framing and polish the audio.
Common Talking-Head Mistakes
- Leaving the speech loose and full of dead air.
- A static single shot with no B-roll or variety.
- No captions, losing sound-off viewers.
- Poor audio that makes the video hard to watch.
A Real Talking-Head Edit Example
Picture a ten-minute raw take for a five-minute tutorial. You cut every pause, stumble, and tangent, which tightens it to five minutes but leaves a string of jump cuts. Over most of those cuts you lay relevant B-roll — screen captures, demonstrations, examples — so the speaker’s audio keeps flowing while the visuals change and the jumps vanish.
Then you add captions, a few animated callouts for key points, and a subtle music bed, and punch in occasionally for variety. The static ten-minute recording becomes a snappy, visual five-minute video that holds attention throughout — exactly the transformation good talking-head editing delivers, turning a person talking into an engaging watch.
Talking-Head Pacing and Energy
Pacing makes or breaks a talking-head video, since a single speaker can quickly feel slow. Beyond cutting pauses, varying the energy with B-roll, graphics, and occasional reframes keeps momentum, while a flat, evenly-paced edit loses viewers no matter how good the content is.
Matching the cutting rhythm to the speaker’s energy and the topic keeps the video alive. Tightening relentlessly, especially the opening, and building in visual variety throughout is what transforms a long static recording into something that holds attention from start to finish.
Sound and Music in Talking-Head Edits
Audio carries a talking-head video, so a clean voice and a supporting music bed matter enormously. Balancing tasteful background music under clear narration adds energy and emotion without competing with the speaker, while silence can make a talking-head edit feel flat and bare.
Ducking the music under the voice, and choosing tracks that match the video’s tone, keeps the mix professional. This audio layer, combined with clean dialogue, gives a talking-head video the polished, engaging feel that keeps viewers comfortable and listening throughout.
Key Takeaways
- Tighten the speech to keep energy and respect viewers’ time.
- Cover jump cuts with B-roll and add graphics and captions.
- Vary the framing with punch-ins and angles.
- Polish the audio, which carries a talking-head video.
Frequently Asked Questions
How do I make a talking-head video more engaging?
Tighten the speech by cutting pauses and filler, cover the resulting jump cuts with relevant B-roll, add graphics and captions for visual interest, vary the framing with punch-ins, and polish the audio. These keep a static format dynamic.
How do I deal with jump cuts in a talking-head video?
Embrace them for a fast-paced, energetic style, smooth them with Morph Cut, or cover them with B-roll for a seamless look. Many creators combine approaches — jump cuts where energy suits, B-roll where smoothness does.
Why should I add captions to talking-head videos?
Many viewers watch without sound, especially on social media where autoplay is muted. Captions make your video accessible, keep sound-off viewers engaged, reinforce your message, and boost watch time and reach.
Sources: Wikipedia’s overview of the talking head format.
Make talking heads engaging at Adobe Video World
Train hands-on with Adobe Certified Instructors across 100+ Premiere Pro & After Effects sessions.



