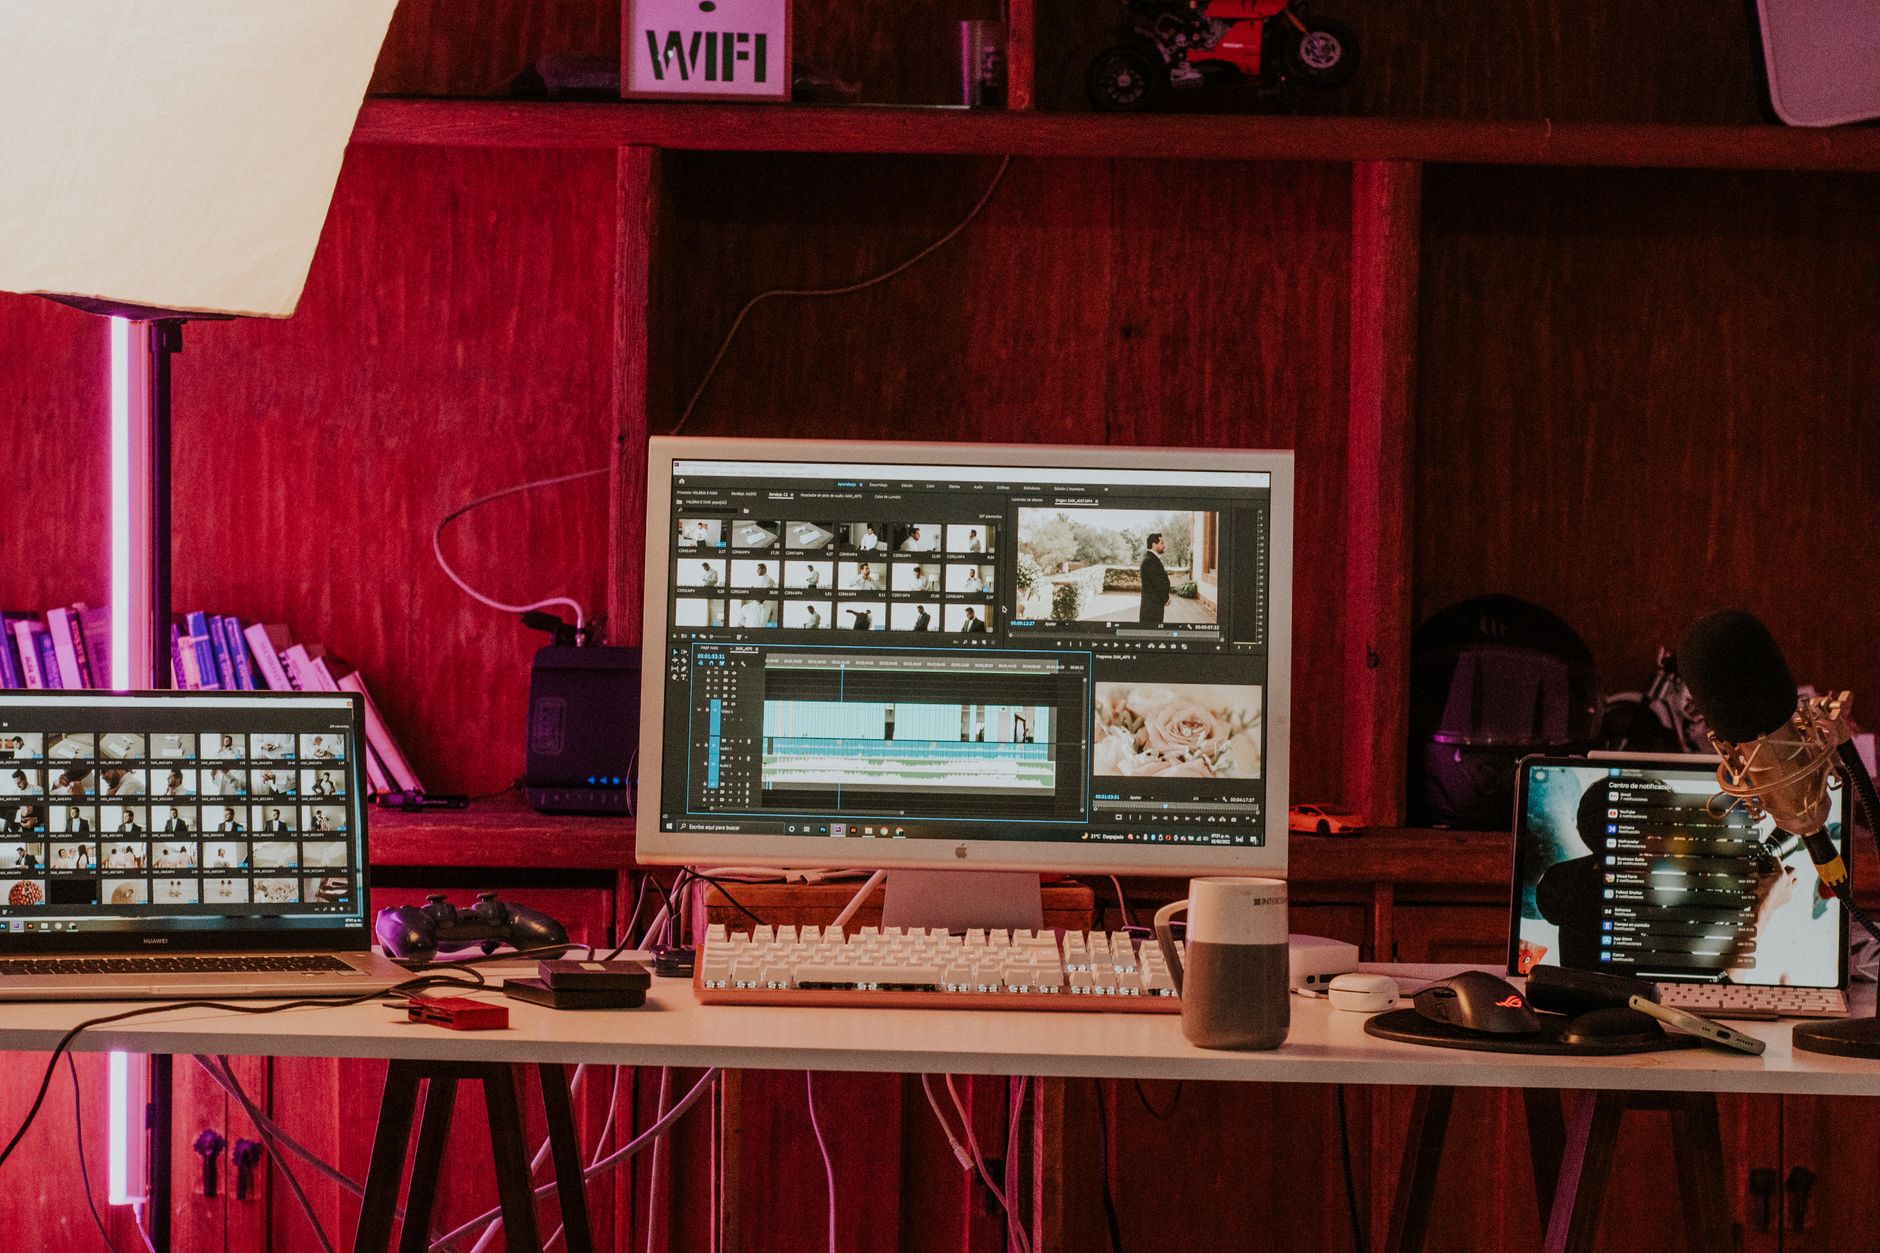
A workflow taught by Adobe Certified Instructors at Adobe Video World.
Cutting is the heart of editing. Before any transition, title, or color grade, you have to get the right frames in the right order. This guide covers every way to cut, trim, and split clips in Premiere Pro — and the shortcuts that make it fast.
Split a Clip with the Razor Tool
The most direct way to cut is the Razor tool (keyboard shortcut C). Click anywhere on a clip and it splits into two separate pieces you can move, delete, or trim independently.
Faster still: leave the regular Selection tool (V) active, place the playhead where you want to cut, and press Ctrl + K (Windows) or Cmd + K (Mac) to split at the playhead. This ‘add edit’ shortcut is how most pros cut.
Trim Clip Edges
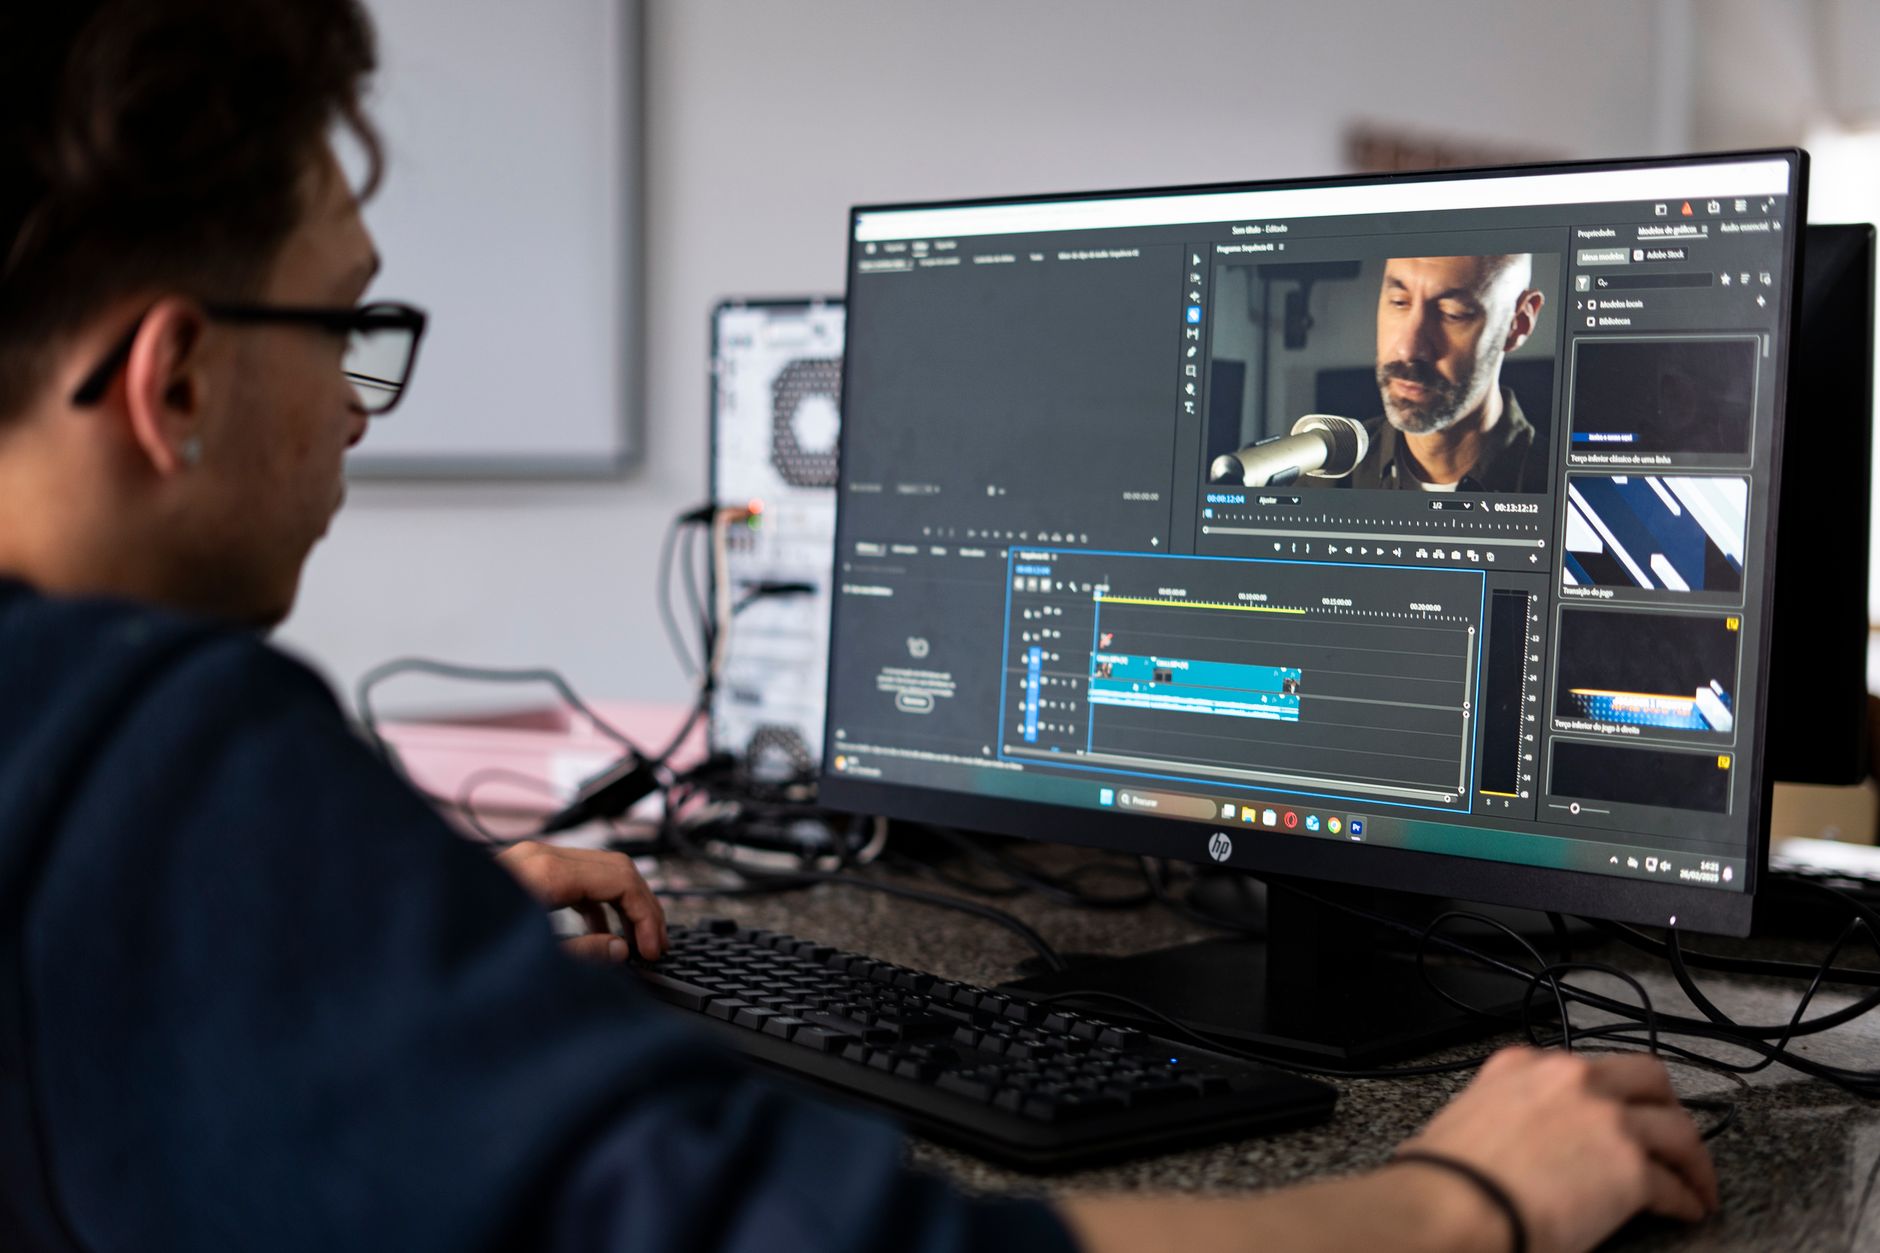
Trimming means shortening or extending a clip without splitting it. Hover over the left or right edge of a clip until the cursor becomes a red bracket, then drag inward to trim or outward to reveal more footage.
For frame-accurate trims, click an edit point and use the keyboard: this selects the trim and lets you nudge it one frame at a time. Trimming this way keeps your cuts precise without accidentally moving other clips.
Ripple Delete to Close Gaps
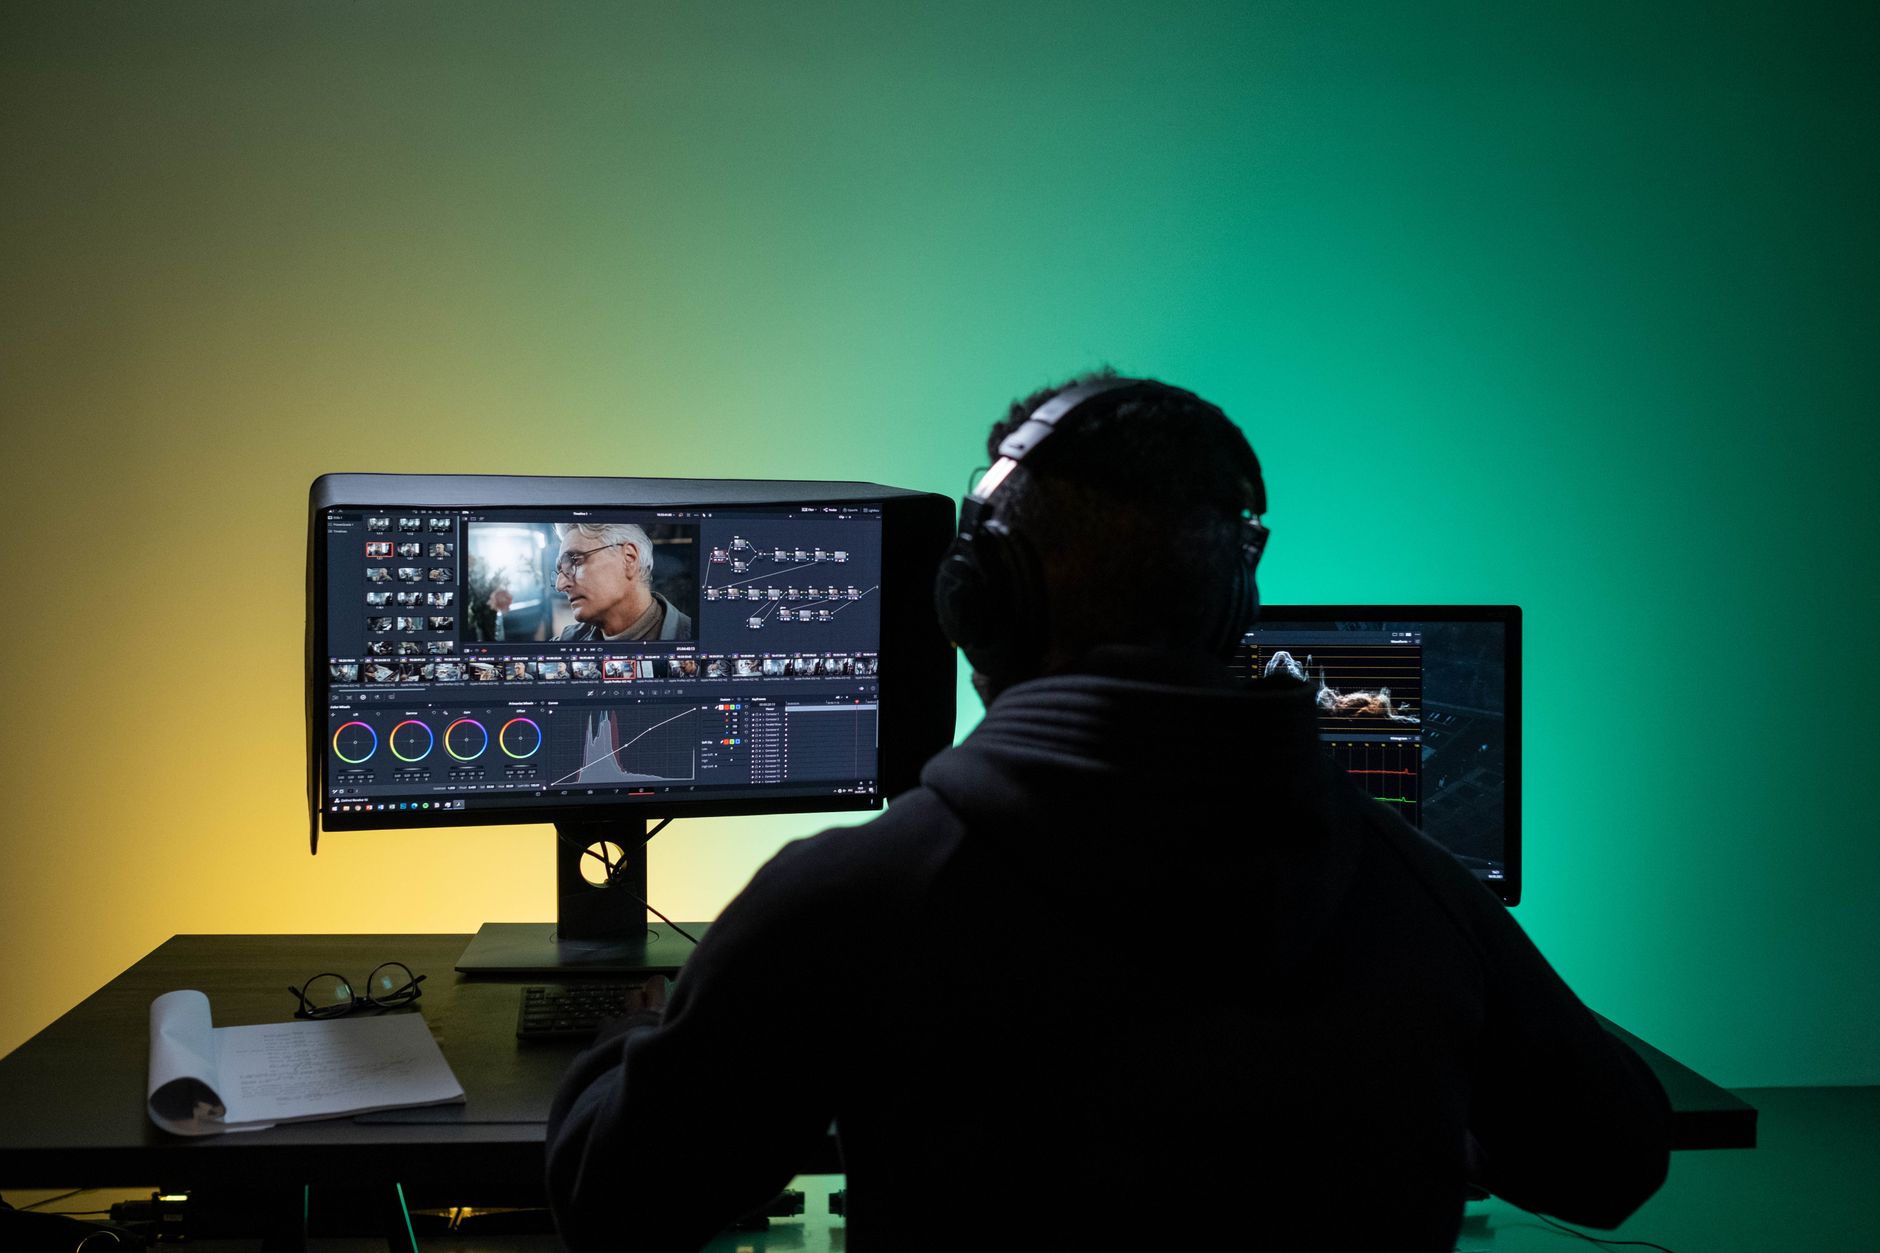
Delete a clip with the regular Delete key and you leave an empty gap. Use Shift + Delete instead for a ripple delete — it removes the clip and pulls everything after it left to close the gap automatically.
Ripple delete is one of the biggest time-savers in Premiere Pro. It keeps your timeline tight without dragging clips around manually.

Trim in the Source Monitor First
Professionals rarely drag whole clips to the timeline. Instead, open a clip in the Source Monitor (double-click it in the Project panel), then set an In point (I) and Out point (O) to mark exactly the section you want.
Only that selected range is added when you drag it to the timeline or press the Insert (,) or Overwrite (.) shortcut. This ‘three-point editing’ approach is faster and far cleaner than trimming on the timeline.

Essential Cutting Shortcuts
- C — Razor tool
- V — Selection tool
- Ctrl/Cmd + K — Add edit (split) at playhead
- Q / W — Trim to playhead (ripple the start / end)
- Shift + Delete — Ripple delete
- I / O — Set In / Out points
Learning even a handful of these will transform your speed. When your rough cut is done, you can refine the pacing with well-placed transitions between clips and speed ramps for slow-motion moments.
Insert vs. Overwrite Edits
When you add a clip from the Source Monitor, Premiere offers two modes that behave very differently. Understanding them is the difference between a tidy timeline and a messy one.
- Overwrite (.) drops the clip onto the timeline and replaces whatever was already there — nothing shifts.
- Insert (,) pushes existing clips to the right to make room, so nothing is lost.
Use Overwrite when you’re replacing a shot, and Insert when you’re adding a shot into an existing sequence without losing the surrounding footage.
Work with Linked Audio and Video
By default, a clip’s video and audio move together as a linked pair. To trim or move just one, right-click the clip and choose Unlink — handy for J-cuts and L-cuts, where the audio from one shot starts before or continues after its picture.
Hold Alt (Windows) or Option (Mac) while clicking to temporarily select just the video or audio without unlinking permanently. These overlapping audio edits are one of the simplest ways to make a dialogue scene feel polished and professional.
Lift and Extract Edits
Beyond ripple delete, Premiere has two precise removal tools that work with In and Out points. Mark a section on the timeline with I and O, then choose your removal method.
- Lift (;) removes the marked section but leaves a gap, like a regular delete.
- Extract (‘) removes the section and closes the gap, like a ripple delete.
Lift and extract are perfect for surgically removing a mistake or a filler word from the middle of a take without disturbing your carefully built timeline around it.
Use the Trim Editor for Precise Cuts
For frame-perfect work, double-click any edit point to open the Trim Monitor, which shows the last frame of the outgoing clip beside the first frame of the incoming clip. This side-by-side view lets you match action across a cut — like a hand reaching for a door in one shot and grabbing it in the next.
Inside the Trim Monitor you can perform a rolling edit (moving the cut point while keeping the overall duration the same) or a slip edit (changing which frames of a clip are shown without moving it). Mastering these makes your cuts feel invisible and intentional.
Stay Organized with Nesting and Labels
As a timeline grows, organization saves hours. Select a group of clips, right-click, and choose Nest to combine them into a single, tidy sequence you can move and apply effects to as one unit — ideal for a finished intro or a complex multi-layer section.
Use clip labels (colors) to group footage types — interviews, b-roll, graphics — so you can find anything at a glance. A clean, well-labeled timeline is the foundation of fast editing, especially before you move on to adding transitions and effects.
Pro Tips for Faster Cutting
Speed in editing comes from removing friction, not from rushing. A few habits separate editors who finish on time from those who don’t.
- Learn the J-K-L shuttle — tap L to play forward, J to play back, and K to pause. It is the fastest way to scrub through footage and find your edit points.
- Cut on action — make your cut in the middle of a movement and the edit feels seamless to the viewer.
- Build a rough assembly first — get every clip roughly in order before you fine-trim a single frame.
- Customize your keyboard — open Edit > Keyboard Shortcuts and map your most-used commands to comfortable keys.
Adopt even two of these and your edits will come together noticeably faster, leaving more time for the creative work of adding transitions, titles, and color.
Frequently Asked Questions
What is the shortcut to cut a clip in Premiere Pro?
Press C for the Razor tool and click the clip, or keep the Selection tool active and press Ctrl/Cmd + K to split the clip at the playhead.
How do I delete a clip without leaving a gap?
Use Shift + Delete to ripple delete. It removes the clip and shifts the following clips left to close the gap automatically.
What is three-point editing?
Setting an In and Out point on a clip in the Source Monitor (and a point on the timeline), so only the selected range is added. It’s faster and more precise than trimming on the timeline.
Sources: Wikipedia’s overview of video editing.
Edit faster — learn live at Adobe Video World
Train hands-on with Adobe Certified Instructors across 100+ Premiere Pro & After Effects sessions.



