A workflow taught by Adobe Certified Instructors at Adobe Video World.
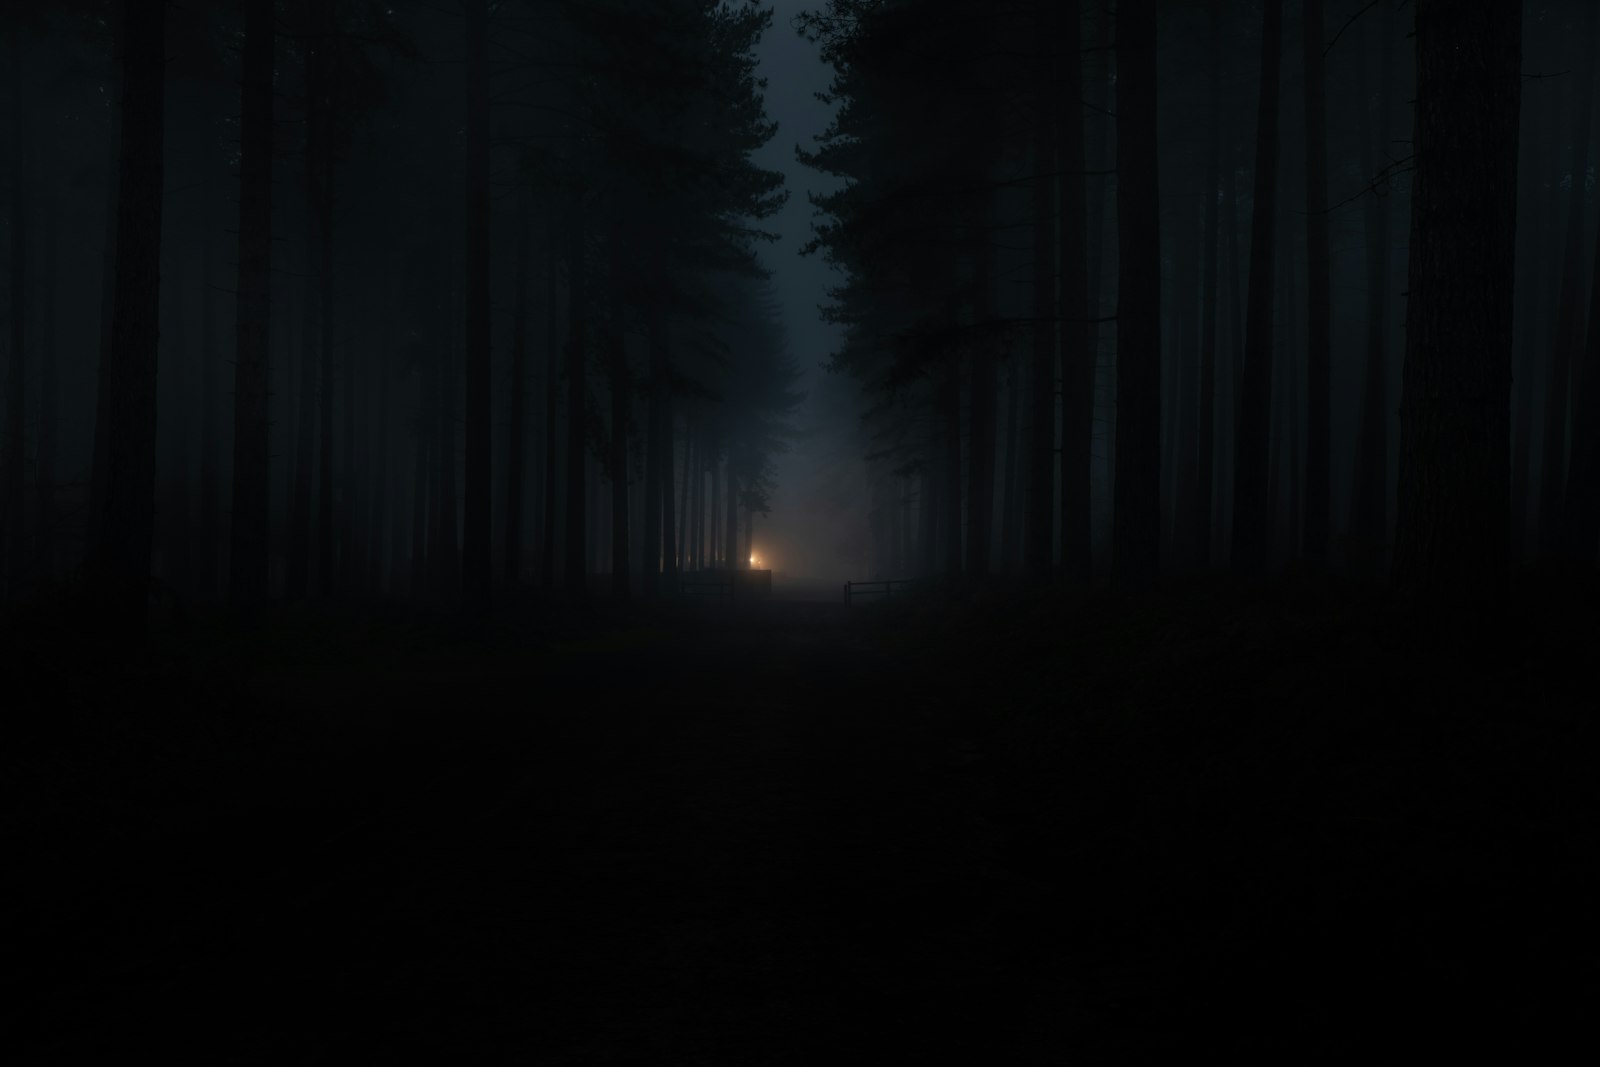
A vignette darkens the edges of the frame, gently drawing the viewer’s eye toward the center and adding cinematic mood. It’s a subtle but powerful finishing touch used throughout film and photography. Premiere Pro offers a built-in vignette and custom options. This guide covers adding one with Lumetri, creating a custom vignette, and keeping it tasteful.
What a Vignette Does
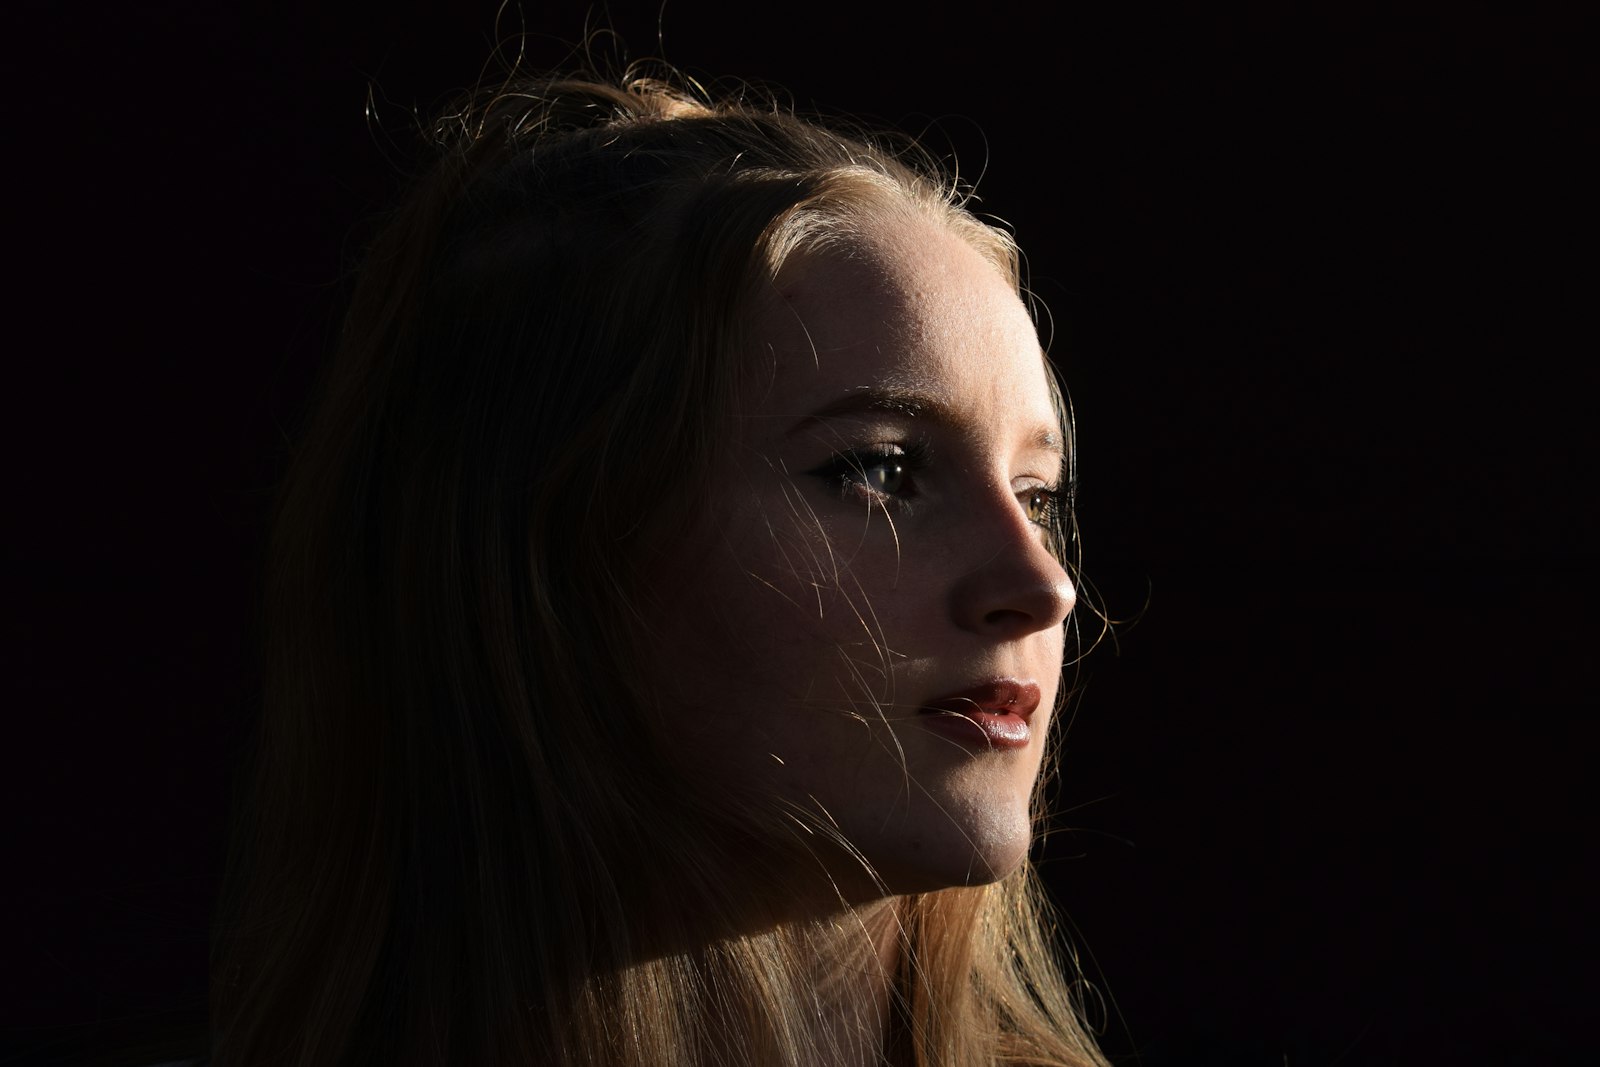
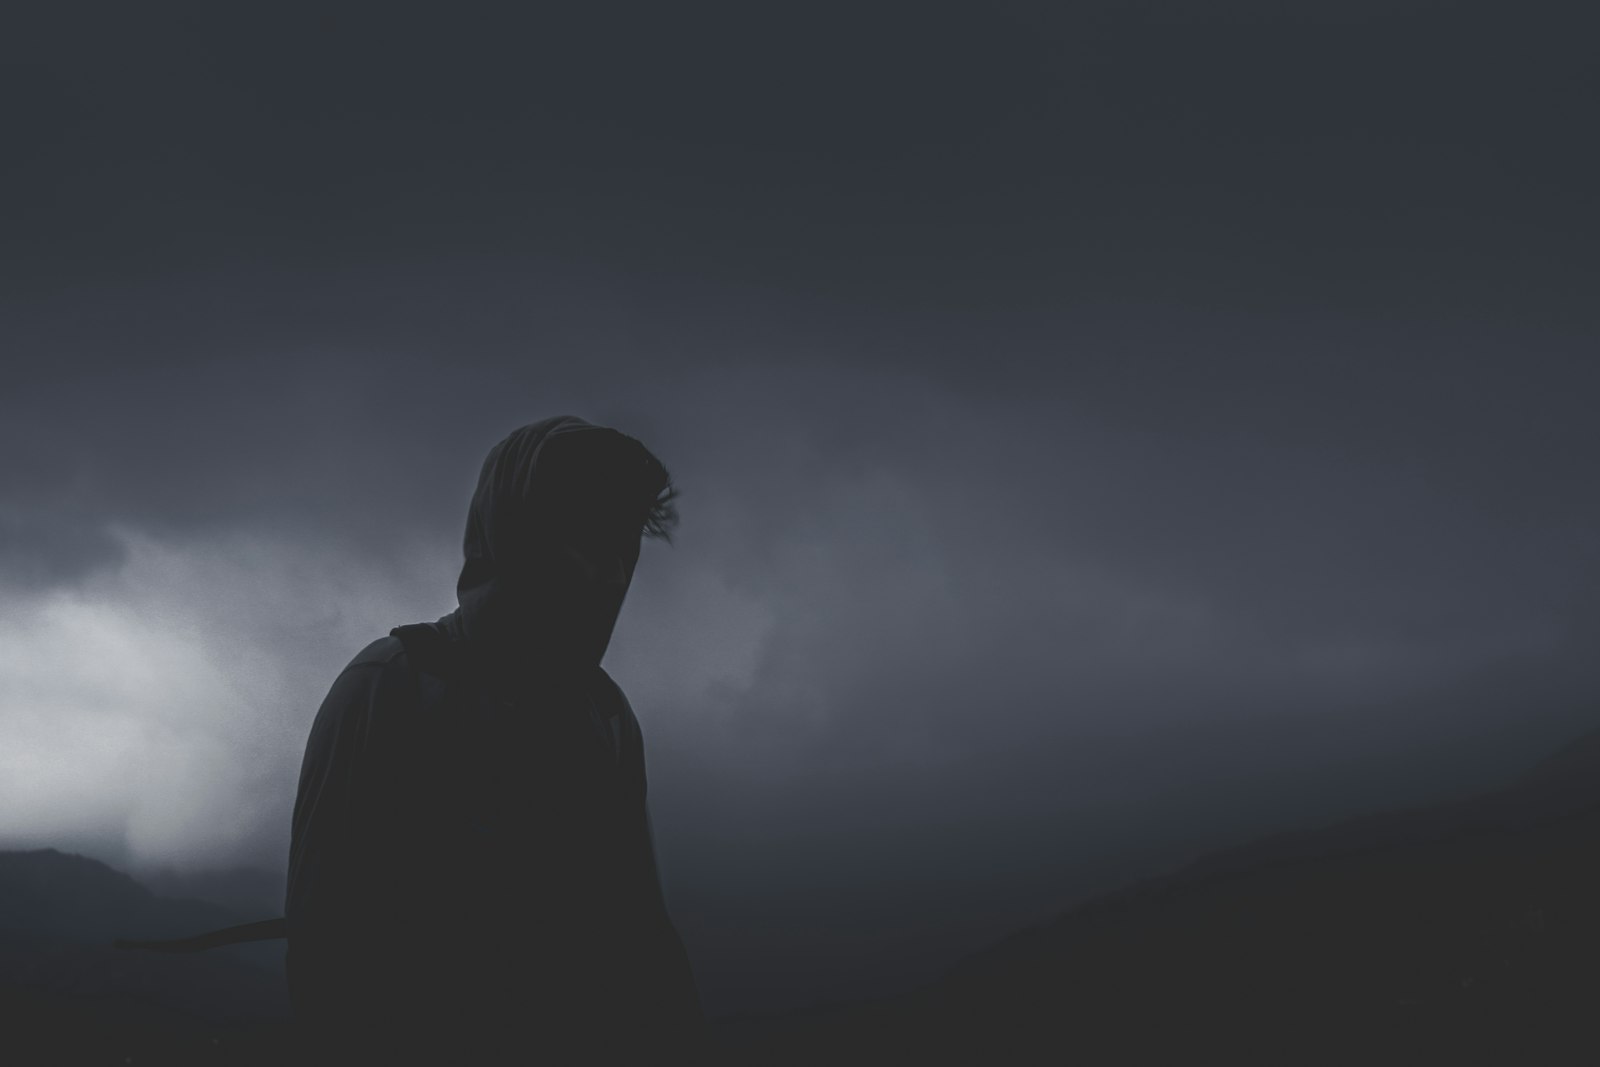
A vignette is a gradual darkening (or occasionally lightening) toward the edges and corners of the frame. By making the periphery dimmer, it naturally pulls the viewer’s attention to the brighter center, where your subject usually sits.
This focusing effect adds depth and a cinematic, classic quality to footage. Vignettes appear everywhere in film and photography precisely because they guide the eye and enhance mood so effectively, all while remaining subtle when done well.
Why Use a Vignette
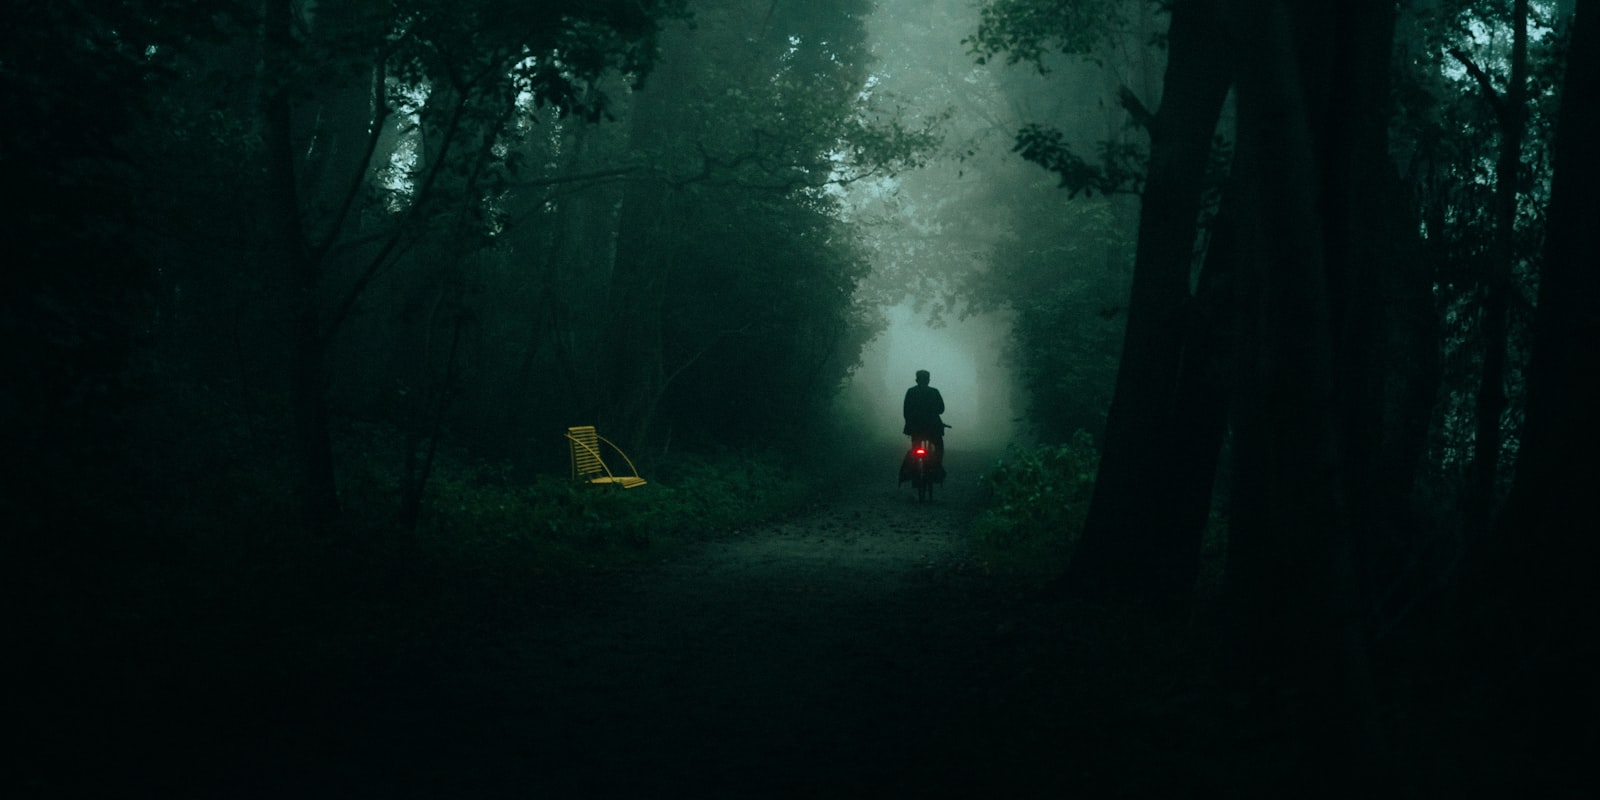
Vignettes serve two main purposes: directing focus and setting mood. Darkened edges keep the viewer’s eye on your subject, while the effect adds atmosphere — a vignette can make a shot feel more intimate, dramatic, or vintage.
It’s a finishing touch that elevates an image with very little effort. Combined with a strong color grade, a subtle vignette helps complete the polished, cinematic look many editors are after.
Use the Lumetri Vignette Control
The easiest method is built into the Lumetri Color panel, which has a dedicated Vignette section. Its sliders let you control the amount of darkening, the midpoint (how far in it reaches), the roundness, and the feather of the edge.
Amount sets how dark the edges go, Midpoint controls how much of the frame is affected, and Feather softens the transition. These few sliders let you craft a vignette quickly without any masking.
Control the Vignette’s Shape
The Lumetri vignette controls shape as well as darkness. Roundness adjusts whether the vignette is more circular or rectangular, letting you match it to your frame and subject, while feather keeps the edge soft and natural.
A well-shaped vignette hugs the frame naturally rather than appearing as an obvious dark circle. Tuning roundness and feather together ensures the darkening blends smoothly into the image, which is essential for a subtle, professional result.
Create a Custom Vignette with a Mask
For more control, build a vignette manually. Apply a color or exposure adjustment to darken the whole clip, then use a large, heavily feathered mask inverted so the darkening affects only the edges, leaving the center bright.
This custom approach lets you place the vignette exactly where you want, even off-center to follow an off-center subject. The heavy feather is crucial here, making the darkening blend gradually rather than showing a visible mask edge.
Position the Vignette for Your Subject
A vignette works best centered on your subject, which isn’t always the middle of the frame. With a custom mask, you can offset the vignette so its bright center sits on an off-center subject, keeping the focus exactly where you want it.
This is something the standard centered vignette can’t do. Positioning the bright area over your actual subject, rather than assuming they’re centered, makes the vignette’s focusing effect far more effective and intentional.
Keep It Subtle
The cardinal rule of vignettes is subtlety. A heavy, obvious vignette looks amateurish and dated, drawing attention to itself, while a gentle one works invisibly, guiding the eye and adding mood without the viewer noticing it’s there.
Dial the amount back until the effect is barely perceptible as a distinct element. The best vignettes are felt rather than seen, so err on the side of too little, and your footage will gain focus and atmosphere without looking processed.
Apply It Across a Sequence
To vignette many clips consistently, use an adjustment layer. Place the vignette on an adjustment layer above your footage, and it applies uniformly to every clip beneath, keeping the effect consistent across a whole sequence.
This is far cleaner than adding a vignette to each clip individually. One adjustment layer ensures every shot shares the same vignette, and you can adjust the whole look from a single place, which is ideal for a consistent cinematic finish.
Vignette Best Practices
- Use the Lumetri Vignette sliders for a quick, clean vignette.
- Adjust roundness and feather so it blends naturally.
- Use a masked custom vignette to follow an off-center subject.
- Apply it on an adjustment layer for sequence-wide consistency.
Common Vignette Mistakes
- A heavy, obvious vignette that looks dated.
- Hard edges from too little feather.
- A centered vignette that misses an off-center subject.
- Adding it clip by clip instead of on an adjustment layer.
A Real Vignette Example
Take an interview clip where the subject sits slightly off-center against a cluttered room. A standard centered vignette would darken toward the middle and miss them, so instead you darken the whole frame with an adjustment, draw a large heavily-feathered mask over the subject, invert it, and slide its bright center onto their face.
Now the busy edges fall gently into shadow while the subject stays bright, and the eye goes straight to them. Kept subtle enough that no one would consciously notice it, the vignette quietly focuses attention and adds a touch of mood — a small, invisible finishing move that makes the shot feel composed and cinematic.
Vignettes in the Wider Grade
A vignette works best as one ingredient in a complete grade, not a standalone trick. Adding it after you’ve balanced exposure, set contrast with an S-curve, and established your color palette lets it reinforce the mood you’ve already built, deepening the cinematic feel rather than fighting it.
Because it darkens the edges, a vignette also subtly increases the sense of contrast and focus the rest of your grade creates. Layering it thoughtfully on top of the work in our Lumetri curves guide is how a vignette becomes a seamless part of a polished look instead of an obvious effect bolted on at the end.
Key Takeaways
- A vignette darkens the edges to focus the eye and add mood.
- Use the Lumetri Vignette sliders for a quick result.
- Build a masked vignette to follow an off-center subject.
- Keep it subtle and apply it on an adjustment layer.
Frequently Asked Questions
How do I add a vignette in Premiere Pro?
Open the Lumetri Color panel and use the Vignette section. The Amount slider darkens the edges, Midpoint controls how far in it reaches, and Roundness and Feather shape and soften it for a natural look.
How do I make a vignette follow an off-center subject?
Build a custom vignette: darken the whole clip with an adjustment, then use a large, heavily feathered mask, inverted, and position its bright center over your off-center subject so the focus stays on them.
How do I keep a vignette subtle?
Dial the amount back until the darkening is barely perceptible as a distinct element, and use plenty of feather so the edge blends smoothly. The best vignettes are felt rather than seen, so err on the side of too little.
Sources: Wikipedia’s article on vignetting.
Draw the eye at Adobe Video World
Train hands-on with Adobe Certified Instructors across 100+ Premiere Pro & After Effects sessions.



