
A workflow taught by Adobe Certified Instructors at Adobe Video World.
Stuttering playback, laggy scrubbing, and long render times turn editing into a chore. The good news is that most Premiere Pro slowdowns have simple fixes that don’t require buying a new computer. This guide walks through the settings and habits that make Premiere run smoothly, from GPU acceleration to clearing the cache.
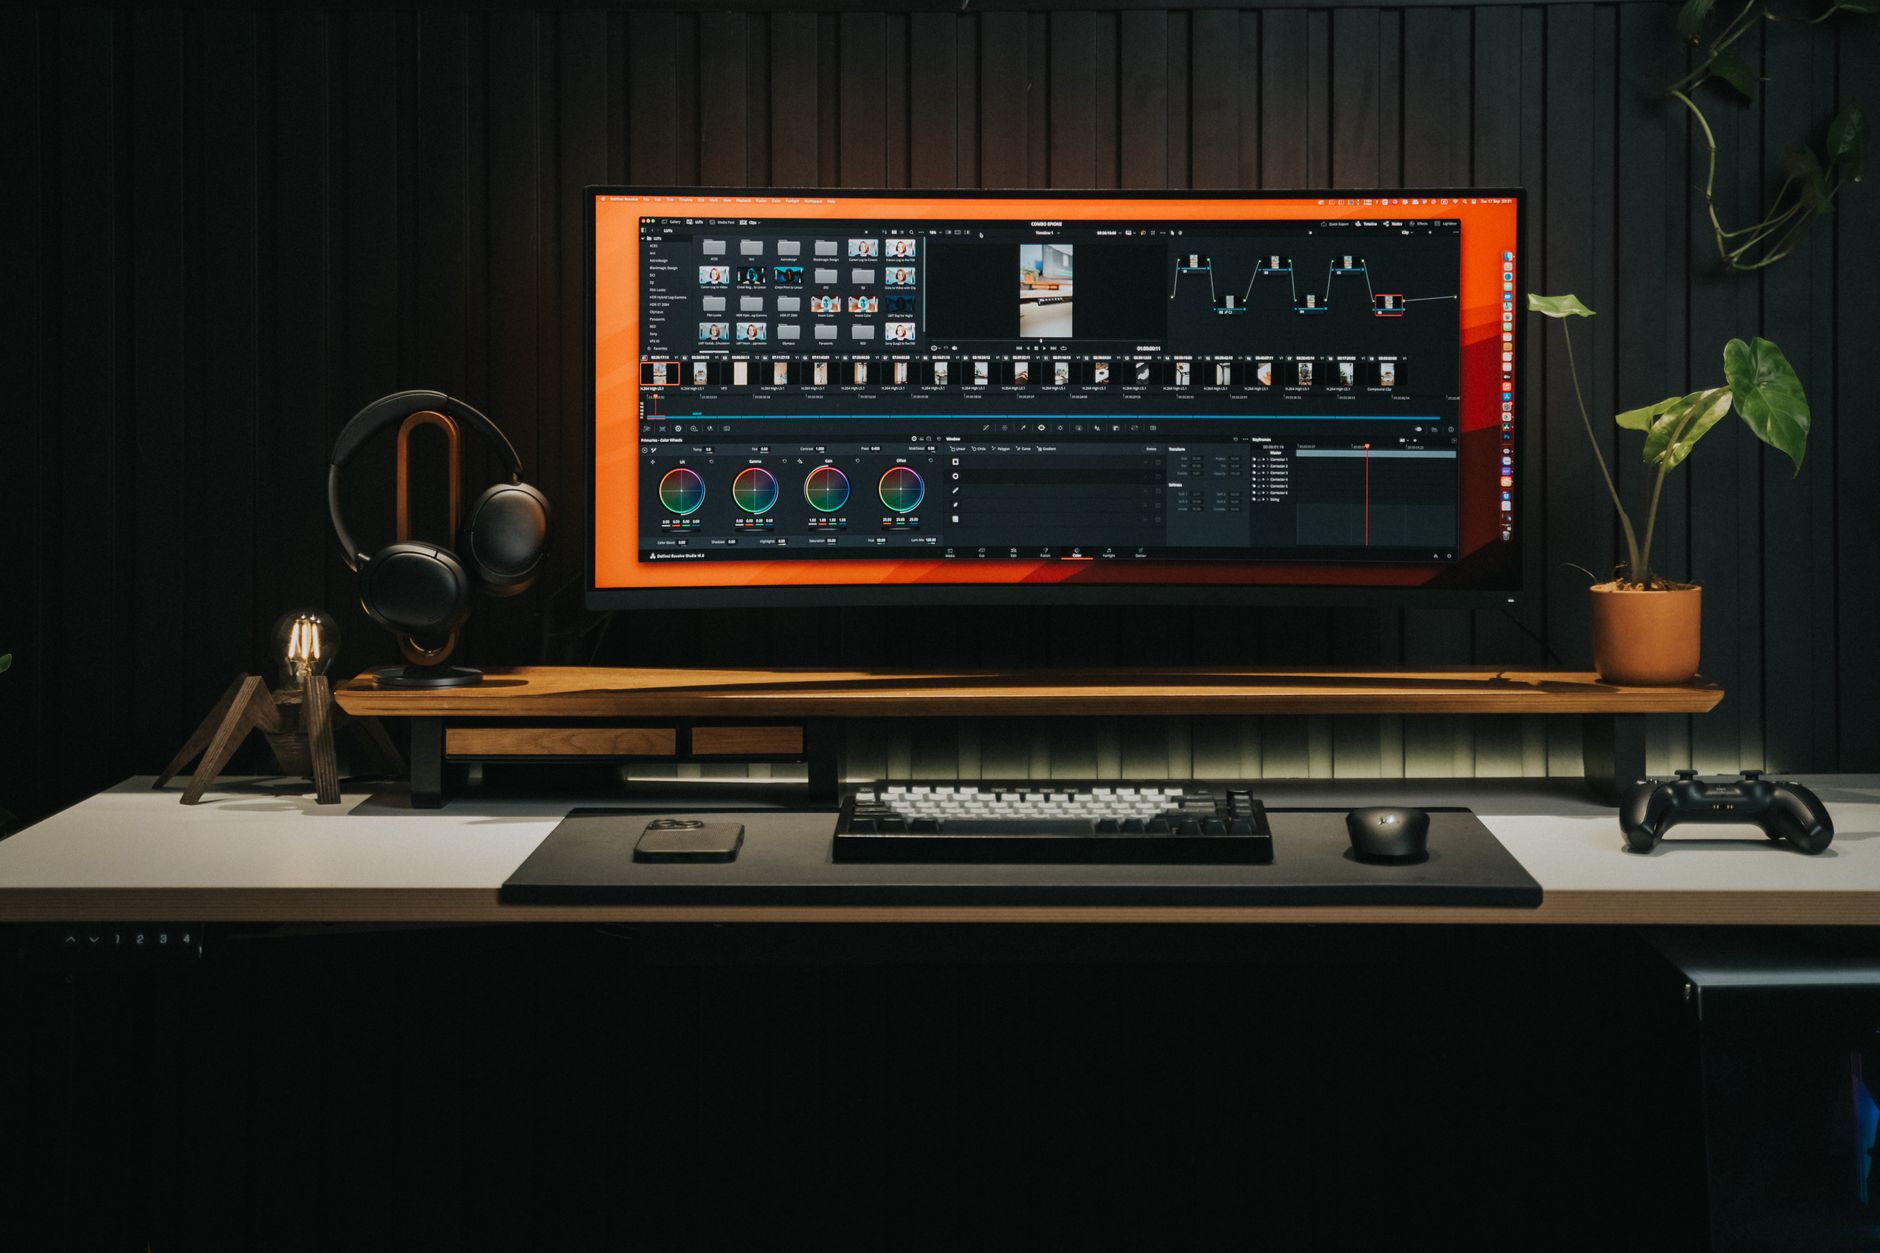
Why Premiere Runs Slowly
Premiere’s performance depends on a balance between your footage and your hardware. High-resolution formats, heavily compressed codecs, stacked effects, and a cluttered cache all demand more than your computer can deliver in real time, and playback stutters as a result. Understanding the cause points you to the right fix.
The encouraging part is that you rarely need new hardware. Most lag comes from settings that aren’t optimized or habits that overload the system, and adjusting a handful of them transforms a sluggish project into a responsive one. Work through the steps below in order and your editing will feel dramatically smoother.
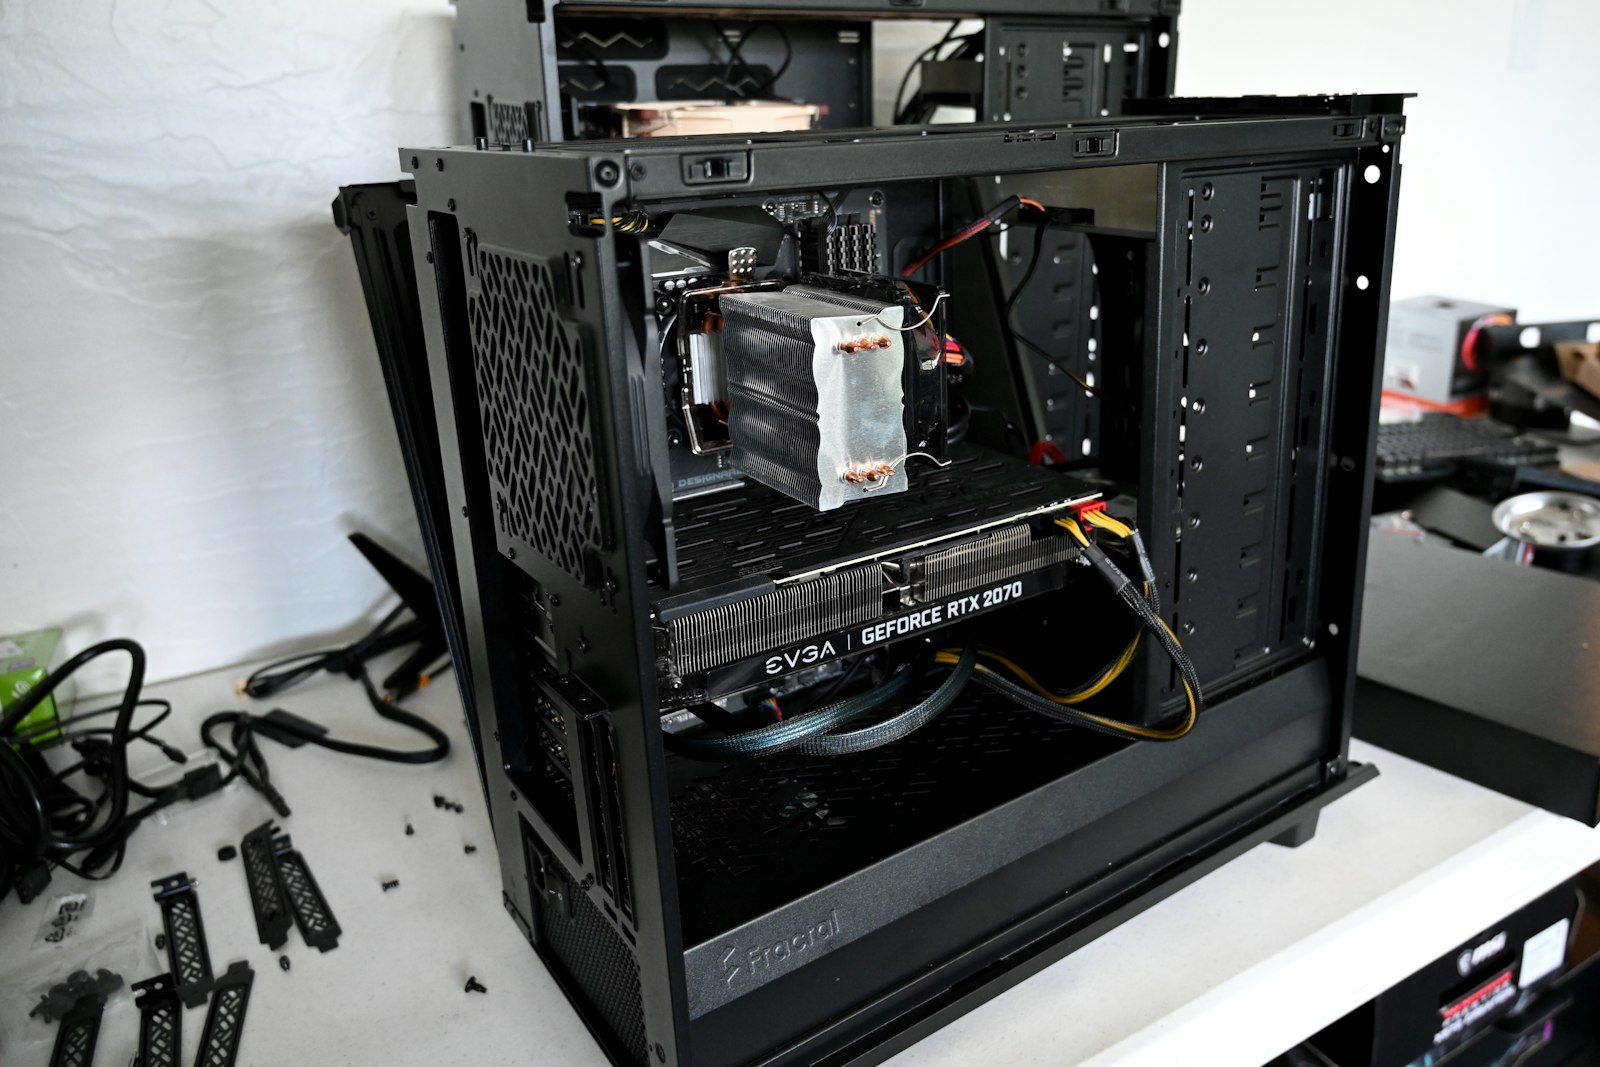
Enable GPU Acceleration
The single biggest performance setting is your renderer. Go to File > Project Settings > General and set the Renderer to Mercury Playback Engine GPU Acceleration rather than Software Only. This offloads heavy processing to your graphics card, which is far faster than your CPU alone.
If the GPU option is greyed out, your graphics drivers may need updating, so install the latest from your card’s manufacturer. GPU acceleration speeds up playback of effects, exports, and scrubbing, and it’s the first thing to check on any system that feels slow.
Use Proxies for High-Res Footage
If you’re editing 4K, 6K, or RAW footage, proxies are the most effective fix of all. Proxies are small, low-resolution copies you edit with smoothly, while Premiere automatically swaps in the full-quality originals at export. Heavy footage that stutters becomes instantly responsive.
Our complete guide to using proxies walks through creating and toggling them. For demanding modern formats, this is often the difference between an unusable timeline and a smooth one, with no loss of final quality.
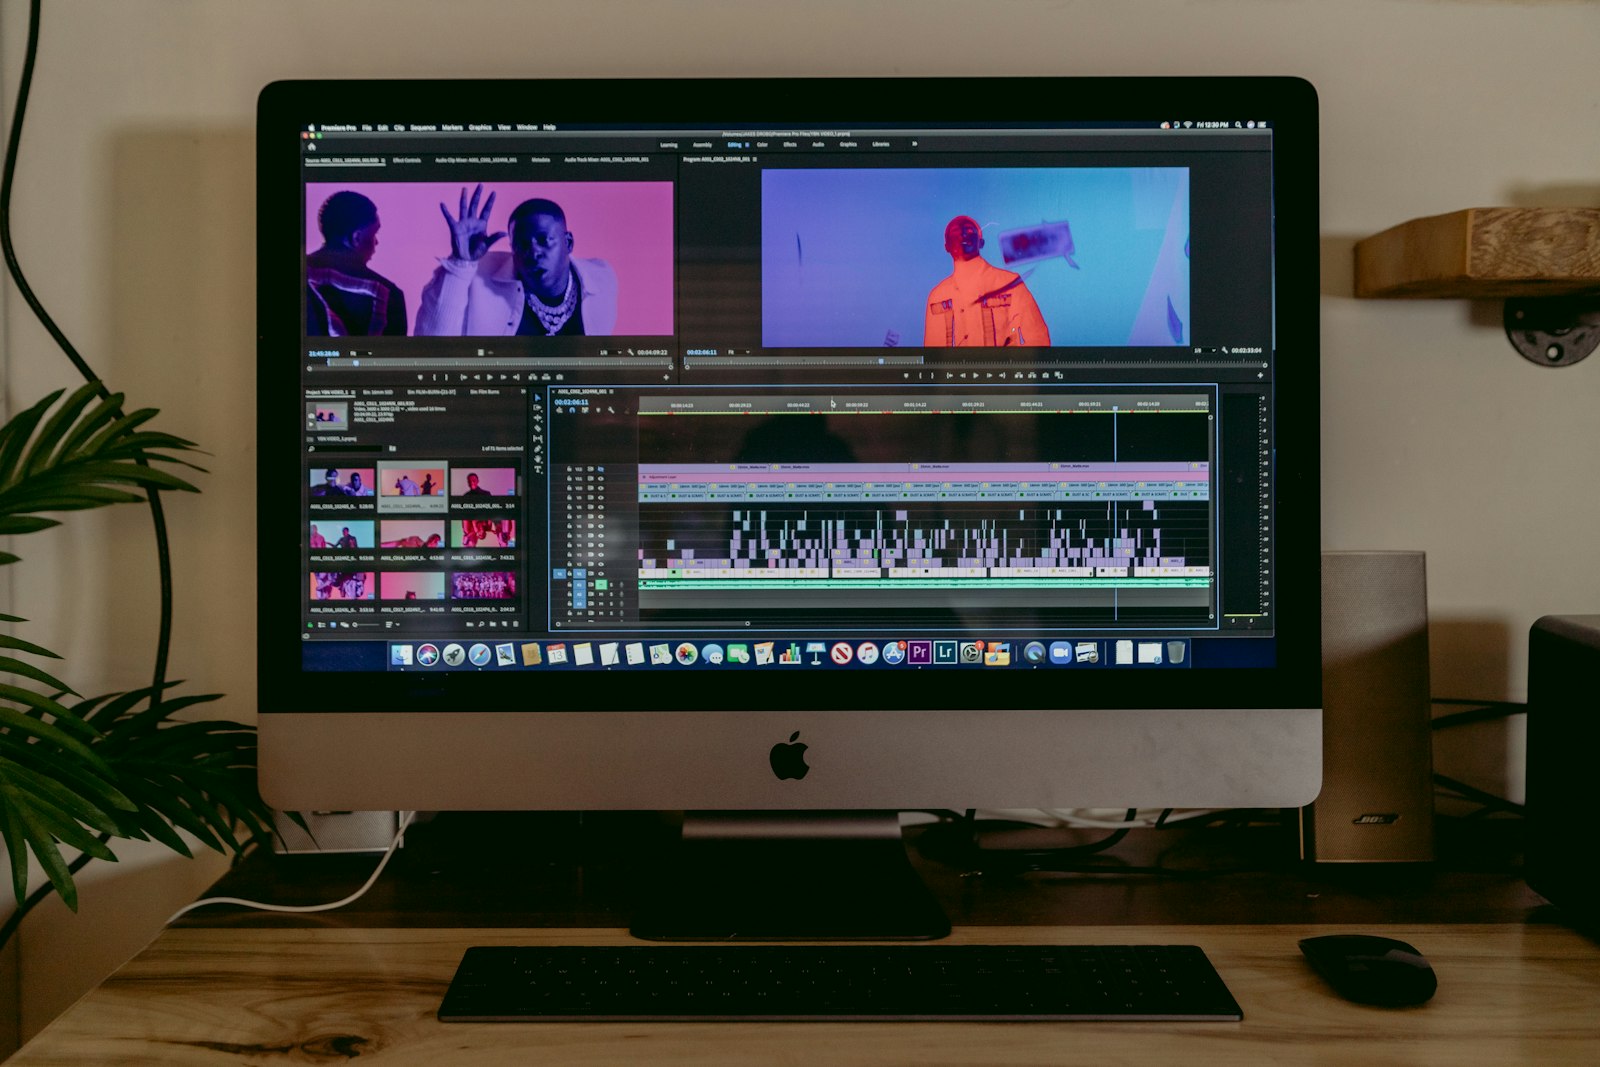
Lower the Playback Resolution
You don’t need full resolution while you edit, only while you check fine detail. In the Program Monitor, set the playback resolution dropdown to 1/2 or 1/4 for smoother previews of heavy footage. The image looks softer during playback but your edit is unaffected.
This is a quick, reversible fix you can toggle whenever a section bogs down. Drop the resolution while you cut, raise it when you need to inspect focus or color, and your playback stays smooth without committing to anything permanent.
Clear the Media Cache
Premiere stores cache files to speed up playback, but over time these can balloon and actually slow things down. Go to Preferences > Media Cache and delete old, unused cache files to reclaim space and clear out stale data.
Set the cache to delete automatically after a period, and ideally store it on a fast separate drive. A bloated cache is a common, easily-overlooked cause of sluggishness, and clearing it regularly keeps Premiere running like new.
Render Previews for Heavy Sections
When a section with stacked effects won’t play smoothly, render it. Set your work area over the troublesome part and press Enter to render previews, and Premiere plays that section back in real time afterward. The render bar above the timeline turns from red or yellow to green.
Rendering trades a little waiting now for smooth playback later, which is well worth it on effects-heavy timelines. It’s especially helpful before reviewing a cut with a client, so the playback never stutters during the screening.
Manage Your RAM and Scratch Disks
Premiere is memory-hungry, so give it room to work. In Preferences > Memory, allocate more RAM to Premiere and less to other applications, and close programs you aren’t using while editing. More available memory means smoother multitasking and playback.
Also set your scratch disks and cache to a fast SSD rather than the same drive as your operating system. Spreading the workload across fast, separate drives prevents bottlenecks where Premiere is reading footage and writing cache to the same disk at once.
Optimize Your Project and Effects
How you build a project affects its speed. Some effects are far heavier than others, and warp stabilizer, blurs, and lots of color work add up quickly, so apply them thoughtfully and consider rendering them in. Pre-composing or nesting complex sections also lightens the load.
Keep your timeline tidy and disable effects you’re not currently judging. A lean, organized project with effects applied deliberately rather than scattered everywhere will always outperform a cluttered one, regardless of how powerful your computer is.
Performance Best Practices
- Set the renderer to Mercury Playback Engine GPU Acceleration.
- Use proxies for 4K and highly compressed footage.
- Lower playback resolution and render heavy sections.
- Clear the media cache regularly and use fast SSD scratch disks.
Common Performance Mistakes
- Leaving the renderer on Software Only and ignoring the GPU.
- Editing raw 4K without proxies on a modest machine.
- Never clearing a bloated media cache.
- Stacking heavy effects without rendering previews.
Hardware That Actually Helps
Before spending money chasing speed, know which upgrades genuinely matter for Premiere. A capable GPU accelerates playback and export, plenty of RAM keeps multitasking smooth, and fast SSD storage for your footage and cache removes the biggest bottleneck of all. These three make the largest real-world difference.
A faster CPU helps with encoding and effects, but it rarely transforms a system the way an SSD and more memory do. If your machine feels sluggish, optimize your settings first using the steps above, and only then consider targeted hardware upgrades where you’ve identified an actual bottleneck.
A Quick Routine Before Every Edit
A two-minute setup routine prevents most slowdowns before they start. At the beginning of a session, confirm GPU acceleration is on, generate or toggle proxies for heavy footage, clear any stale media cache, and close applications you don’t need. Starting from a clean, optimized state keeps the whole session responsive.
Make this routine a habit and you’ll rarely fight lag mid-edit, when interruptions hurt your creative flow the most. Pair it with the ongoing habits of rendering heavy sections and keeping your timeline tidy, and Premiere will stay fast even as your project grows in size and complexity.
Key Takeaways
- Enable GPU acceleration in Project Settings first.
- Use proxies and lower playback resolution for heavy footage.
- Clear the cache and store it on a fast separate drive.
- Render previews and apply heavy effects deliberately.
Frequently Asked Questions
How do I make Premiere Pro run faster?
Enable GPU acceleration in Project Settings, use proxies for high-resolution footage, lower the playback resolution, clear the media cache, render heavy sections, and store cache and scratch files on a fast SSD.
Why is Premiere Pro so laggy?
Usually high-resolution or heavily compressed footage, stacked effects, a bloated cache, or the renderer set to Software Only. Switch to GPU acceleration, use proxies, and clear the cache to fix most lag.
Do proxies improve Premiere Pro performance?
Yes, significantly. Proxies are low-resolution copies you edit with smoothly, while Premiere exports from the full-quality originals — making 4K and RAW footage far more responsive on any machine.
Sources: Adobe’s performance optimization guide.
Edit faster at Adobe Video World
Train hands-on with Adobe Certified Instructors across 100+ Premiere Pro & After Effects sessions.



